前言
画图板在1.0版本实现了简单的画图功能,这期将让画图板有更多的图形和颜色可以选择。
本次所需用到的开发包:
- java.awt
- java.awt.event
- javax.swing
一、更多的图形
这次将加入4种图形可供选择,分别是等腰三角形,三角形,多边形和长方体,并使用按钮实现功能
等腰三角形
public class DrawListen implements MouseListener{
	int x1,y1,x2,y2;
	Graphics gr;
		public void mousePressed(MouseEvent e) {
		 int x = e.getX();
		 int y = e.getY();
		 x1 = x;
		 y1 = y;
	}

	public void mouseReleased(MouseEvent e) {
		 int x = e.getX();
		 int y = e.getY();
		 x2 = x;
		 y2 = y;
		 int tx = (x1 + x2)/2;
		 int ty = y1;
		 gr.drawLine(tx, ty, x1, y2);
		 gr.drawLine(tx, ty, x2, y2);
		 gr.drawLine(x2, y2, x1, y2);
	}
......
}
三角形
public class DrawListen implements MouseListener{
	int x3,x4,x5,y3,y4,y5;
	int count = 0;
	Graphics gr;

	public void mouseClicked(MouseEvent e) {
        int x = e.getX();
        int y = e.getY();
        gr.fillOval(x - 3, y - 3, 6, 6);//点击提示,形成点
    		if(count==0) {
                x3 = x;
                y3 = y;
                count++;
    		}else if(count==1) {
                x4 = x;
                y4 = y;
                gr.drawLine(x3, y3, x4, y4);
                count++;
    		}else if(count==2) {
                x5 = x;
                y5 = y;
                gr.drawLine(x3, y3, x5, y5);
                gr.drawLine(x5, y5, x4, y4);
                count = 0;
    			}
	}
......
}
多边形
public class DrawListen implements MouseListener{
	int x3,x4,x5,y3,y4,y5;
	int count = 0;
	Graphics gr;
	public void mouseClicked(MouseEvent e) {
        int x = e.getX();
        int y = e.getY();
        gr.fillOval(x - 3, y - 3, 6, 6);//点击提示
            if(count==0) {
            	x3 = x;
            	y3 = y;
            	x4 = x;
            	y4 = y;
            	count++;
            }else if(count!=0) {
        		x5 = x;
        		y5 = y;
            	if(Math.sqrt((x5-x3)\*(x5-x3)+(y5-y3)\*(y5-y3))<=20){//在离初始点的一定范围内会自动连接,形成闭环
            		gr.drawLine(x4, y4, x3, y3);
            		count = 0;
            	}else {
            		x5 = x;
            		y5 = y;
            		gr.drawLine(x4, y4, x5, y5);
            		x4 = x5;
            		y4 = y5;
           	 		}
	}
......
}
长方体
public class DrawListen implements MouseListener{
	int x1,y1,x2,y2;
	Graphics gr;
	public void mousePressed(MouseEvent e) {
		 int x = e.getX();
		 int y = e.getY();
		 x1 = x;
		 y1 = y;
	}

	public void mouseReleased(MouseEvent e) {
		 int x = e.getX();
		 int y = e.getY();
		 x2 = x;
		 y2 = y;
		int dx = 40;
		int dy = 40;
		gr.drawRect(Math.min(x1,x2), Math.min(y1,y2),Math.abs(x2-x1),Math.abs(y2-y1));
		gr.drawLine(Math.min(x1,x2), Math.min(y1,y2),Math.min(x1,x2)+dx, Math.min(y1,y2)-dy);
		gr.drawLine(Math.max(x1,x2), Math.max(y1,y2),Math.max(x1,x2)+dx, Math.max(y1,y2)-dy);
		gr.drawLine(Math.max(x1,x2), Math.min(y1,y2),Math.max(x1,x2)+dx, Math.min(y1,y2)-dy);
		gr.drawLine(Math.min(x1,x2)+dx, Math.min(y1,y2)-dy,Math.max(x1,x2)+dx, Math.min(y1,y2)-dy);
		gr.drawLine(Math.max(x1,x2)+dx, Math.max(y1,y2)-dy,Math.max(x1,x2)+dx, Math.min(y1,y2)-dy);
	}
}
二、更多的颜色
步骤一
先在方法ShowUI中创建颜色数组,并赋予颜色,再通过循环将数组中的颜色依次添加到创建按钮的背景上,并注册动作事件监听,最后将按钮添加在流式布局中
	public void ShowUI(){
		......
		pad.setLayout(new FlowLayout());// 添加流式布局
        Color[] colors = {Color.BLACK, Color.WHITE, Color.GRAY, Color.RED, Color.GREEN, Color.BLUE};
        for (int i = 0; i < colors.length; i++) {
          JButton btn = new JButton();
          btn.setBackground(colors[i]);
          pad.add(btn);
          btn.setPreferredSize(new Dimension(25, 25));// 优先尺寸,防止按钮过小
          btn.addActionListener(dl);//注册动作事件监听
        }
		......
	}
步骤二
在类DrawListen中添加ActionListener动作事件监听器,在方法ShowUI中注册动作事件监听
public void ShowUI(){
	......
        for (int i = 0; i < colors.length; i++) {
          JButton btn = new JButton();
          btn.setBackground(colors[i]);
          pad.add(btn);
          btn.setPreferredSize(new Dimension(25, 25));
          btn.addActionListener(dl);//注册动作事件监听
        }
	......
	}
public class DrawListen implements MouseListener,ActionListener{
...
    String action = "";
	Graphics gr;
	public void actionPerformed(ActionEvent e) {
		action = e.getActionCommand();//获取按钮文本
		if (action.equals("")) {//判断点击的按钮是否为颜色按钮
            JButton btn = (JButton) e.getSource();// 获取源 发生点击事件的原组件 按钮对象
            Color background = btn.getBackground();
            gr.setColor(background);设置颜色
        }
	}
......
}
三、用按钮实现图形画笔的选择
先在方法ShowUI中创建数组,并赋予图形名称,再通过循环将数组中的名称依次添加到创建的按钮的文本上,并注册动作事件监听,最后将按钮添加在流式布局中
public void ShowUI(){
......
		String str[] = {"直线", "矩形", "圆形", "等腰三角形", "三角形", "多边形","长方体"};
		for (int i = 0; i < str.length; i++) {
            JButton btn = new JButton(str[i]);
            pad.add(btn);
            btn.addActionListener(dl);//注册动作事件监听
        }

......
	}
再通过判断按钮的文本实现对图形画笔的选择
public class DrawListen implements MouseListener,ActionListener{
	int x1,y1,x2,y2;
	int x3,x4,x5,y3,y4,y5;
	int count = 0;
	Graphics gr;
	public void actionPerformed(ActionEvent e) {
		......
	}

	public void mouseClicked(MouseEvent e) {
        int x = e.getX();
        int y = e.getY();
        gr.fillOval(x - 3, y - 3, 6, 6);//点击提示

        if (action.equals("三角形")) {
            //三角形
    		if(count==0) {
                x3 = x;
                y3 = y;
                count++;
    		}else if(count==1) {
                x4 = x;
                y4 = y;
                gr.drawLine(x3, y3, x4, y4);
                count++;
    		}else if(count==2) {
                x5 = x;
                y5 = y;
                gr.drawLine(x3, y3, x5, y5);
                gr.drawLine(x5, y5, x4, y4);
                count = 0;
    		}
        }


        if (action.equals("多边形")) {
        	//多边形
            if(count==0) {
            	x3 = x;
            	y3 = y;
            	x4 = x;
            	y4 = y;
            	count++;
            }else if(count!=0) {
        		x5 = x;
        		y5 = y;
            	if(Math.sqrt((x5-x3)\*(x5-x3)+(y5-y3)\*(y5-y3))<=20){
            		gr.drawLine(x4, y4, x3, y3);
            		count = 0;
            	}else {
            		x5 = x;
            		y5 = y;
            		gr.drawLine(x4, y4, x5, y5);
            		x4 = x5;
            		y4 = y5;
            	}
            }
        }


	}

	public void mousePressed(MouseEvent e) {
		 int x = e.getX();
		 int y = e.getY();
		 x1 = x;
		 y1 = y;
	}

	public void mouseReleased(MouseEvent e) {
		 int x = e.getX();
		 int y = e.getY();
		 x2 = x;
		 y2 = y;
		 if (action.equals("直线")) gr.drawLine(x1, y1, x2, y2);//直线

		 if (action.equals("矩形")) gr.drawRect(Math.min(x1,x2), Math.min(y1,y2),Math.abs(x2 - x1),Math.abs(y2 - y1));//矩形
		 if (action.equals("圆形")) gr.drawOval(Math.min(x1,x2), Math.min(y1,y2),Math.abs(x2 - x1),Math.abs(y2 - y1));//圆


		 if (action.equals("等腰三角形")) {
		        //等腰三角形
		        int tx = (x1 + x2)/2;
		        int ty = y1;
		        gr.drawLine(tx, ty, x1, y2);
		        gr.drawLine(tx, ty, x2, y2);
		        gr.drawLine(x2, y2, x1, y2);
		 }


		 if (action.equals("长方体")) {
				//长方体
				int dx = 40;
				int dy = 40;
				gr.drawRect(Math.min(x1,x2), Math.min(y1,y2),Math.abs(x2-x1),Math.abs(y2-y1));
				gr.drawLine(Math.min(x1,x2), Math.min(y1,y2),Math.min(x1,x2)+dx, Math.min(y1,y2)-dy);
				gr.drawLine(Math.max(x1,x2), Math.max(y1,y2),Math.max(x1,x2)+dx, Math.max(y1,y2)-dy);
				gr.drawLine(Math.max(x1,x2), Math.min(y1,y2),Math.max(x1,x2)+dx, Math.min(y1,y2)-dy);

				gr.drawLine(Math.min(x1,x2)+dx, Math.min(y1,y2)-dy,Math.max(x1,x2)+dx, Math.min(y1,y2)-dy);
				gr.drawLine(Math.max(x1,x2)+dx, Math.max(y1,y2)-dy,Math.max(x1,x2)+dx, Math.min(y1,y2)-dy);
		 }
	}
...
}
四、完整代码
DrawPad.java
**自我介绍一下,小编13年上海交大毕业,曾经在小公司待过,也去过华为、OPPO等大厂,18年进入阿里一直到现在。**
**深知大多数Python工程师,想要提升技能,往往是自己摸索成长或者是报班学习,但对于培训机构动则几千的学费,着实压力不小。自己不成体系的自学效果低效又漫长,而且极易碰到天花板技术停滞不前!**
**因此收集整理了一份《2024年Python开发全套学习资料》,初衷也很简单,就是希望能够帮助到想自学提升又不知道该从何学起的朋友,同时减轻大家的负担。**
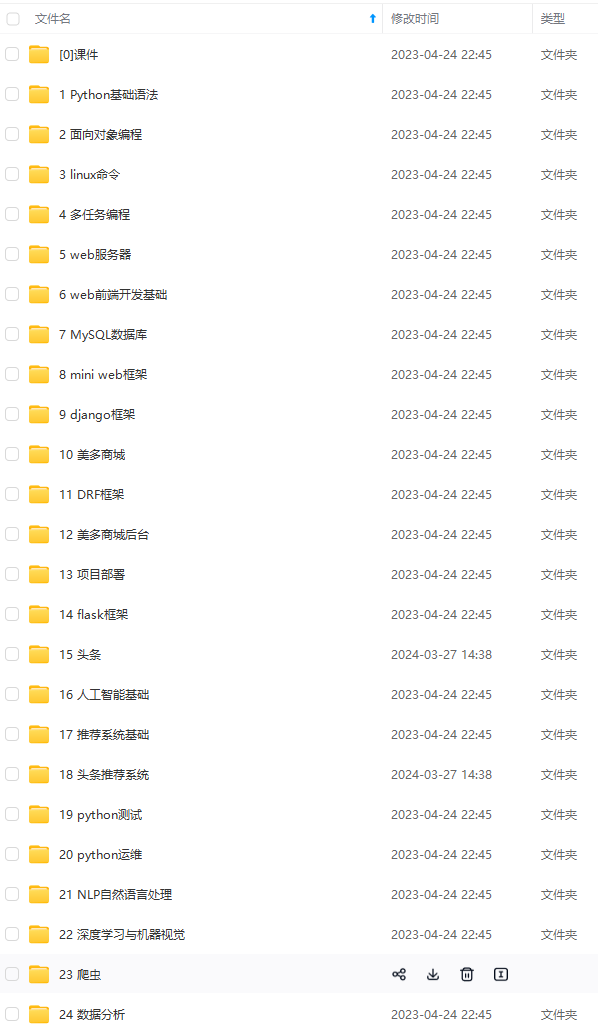
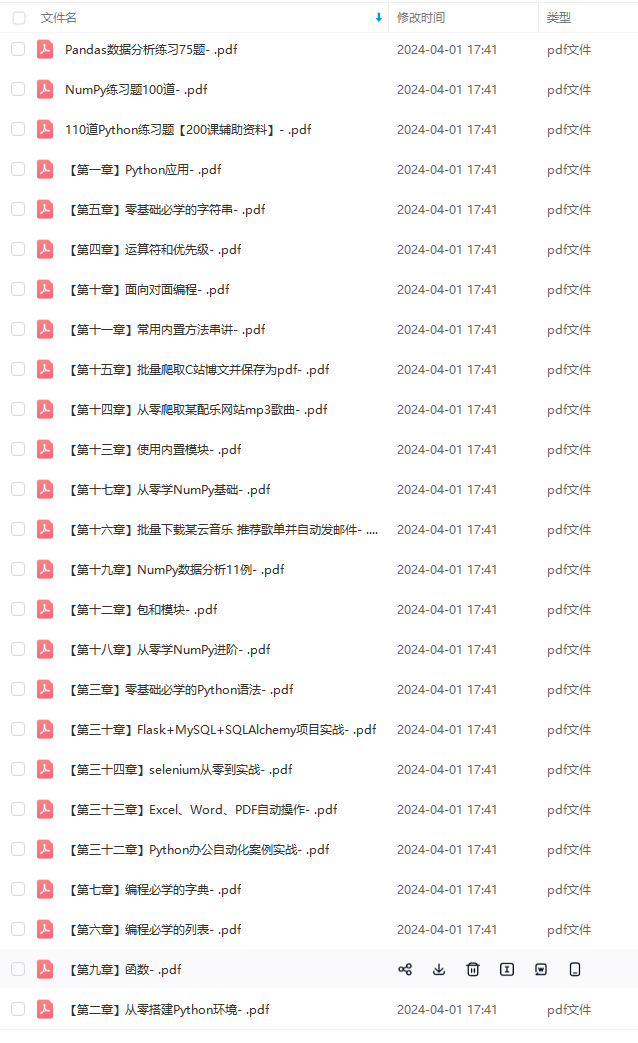
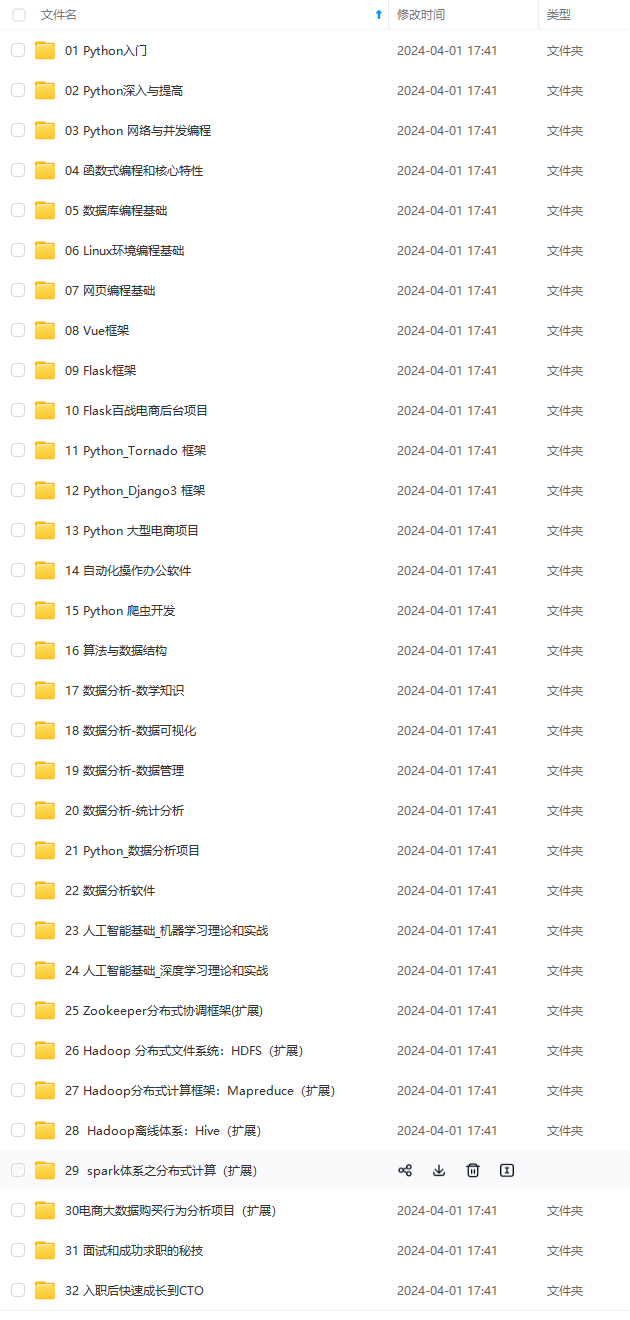

**既有适合小白学习的零基础资料,也有适合3年以上经验的小伙伴深入学习提升的进阶课程,基本涵盖了95%以上前端开发知识点,真正体系化!**
**由于文件比较大,这里只是将部分目录大纲截图出来,每个节点里面都包含大厂面经、学习笔记、源码讲义、实战项目、讲解视频,并且后续会持续更新**
**如果你觉得这些内容对你有帮助,可以扫码获取!!!(备注Python)**
中...(img-aBpQVlMg-1712873352853)]


**既有适合小白学习的零基础资料,也有适合3年以上经验的小伙伴深入学习提升的进阶课程,基本涵盖了95%以上前端开发知识点,真正体系化!**
**由于文件比较大,这里只是将部分目录大纲截图出来,每个节点里面都包含大厂面经、学习笔记、源码讲义、实战项目、讲解视频,并且后续会持续更新**
**如果你觉得这些内容对你有帮助,可以扫码获取!!!(备注Python)**
<img src="https://img-community.csdnimg.cn/images/fd6ebf0d450a4dbea7428752dc7ffd34.jpg" alt="img" style="zoom:50%;" />


 1万+
1万+

 被折叠的 条评论
为什么被折叠?


