


提示:以下是本篇文章正文内容,下面案例可供参考
一、开启QQ邮箱里的POP3/SMTP服务
①:开启步骤
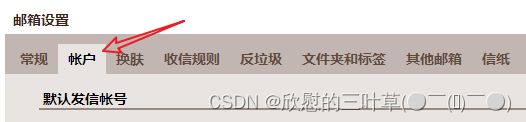
1.邮箱设置 -->账号
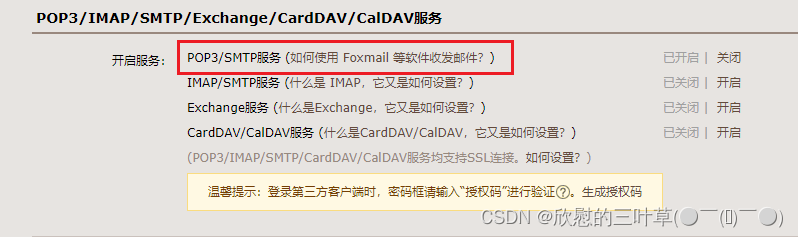
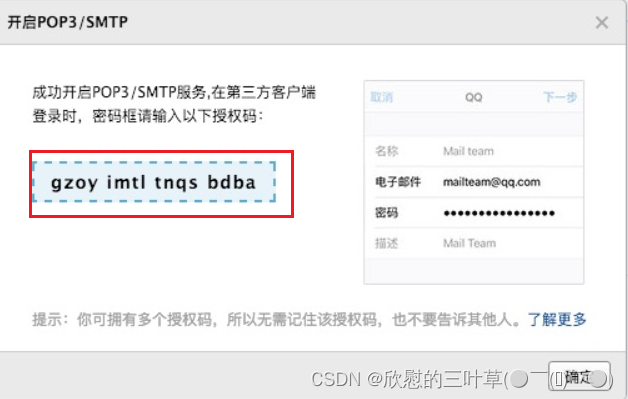
2.开启服务(并复制
授权码)
二、简单配置
①:引入依赖
  <!-- 邮件发送-->
  <dependency>
      <groupId>org.springframework.boot</groupId>
      <artifactId>spring-boot-starter-mail</artifactId>
  </dependency>
②:yml配置
  mail:
    username: xxxx@foxmail.com
    # QQ邮箱应该使用授权码
    password: \*\*\*\*\*ek\*\*\*
    ## 邮箱服务器地址 smtp.qq.com
    host: smtp.qq.com
    #使用SMTPS协议465端口
    port: 465
    # ssl 配置
    properties:
      mail.smtp.starttls.required: true
      encoding: UTF-8
      mail.smtp.ssl.enable: true
      mail.smtp.auth: true
      mail.smtp.socketFactory.port: 465
      mail.smtp.socketFactory.class: javax.net.ssl.SSLSocketFactory
      mail.smtp.socketFactory.fallback: false
三、发送纯文本文件
①:写个工具类
@Component
@Slf4j
public class UtilsSendCode {
    @Value("${spring.mail.username}")
    private String sender;

    @Resource
    private JavaMailSenderImpl mailSender;

    /\*\*
 \* 发送纯文字邮件
 \* @param to 收件人
 \* @param subject 主题
 \* @param content 内容
 \*/
    public void sendSimpleMail(String to, String subject, String content) {
        //创建SimpleMailMessage对象
        SimpleMailMessage message = new SimpleMailMessage();
        //邮件发送人
        message.setFrom(sender);
        //邮件接收人
        message.setTo(to);
        //邮件主题
        message.setSubject(subject);
        //邮件内容
        message.setText(content);
        //发送邮件
        try {
            mailSender.send(message);
            log.info("邮件接收人"+to+"主题"+subject+"内容"+content+"邮件发送成功");
        }catch (Exception e){
            log.error("邮件接收人"+to+"主题"+subject+"内容"+content+"邮件发送出现异常");
            log.error("异常信息为"+e.getMessage());
        }
    }
}
②:在业务层调用方法发送即可
  // 开始发送邮件
  utilsSendCode.sendSimpleMail("xxxxxx@gmail.com", "验证码", "123456");

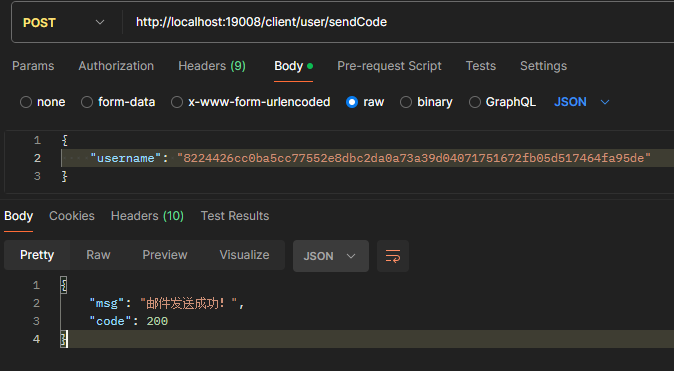
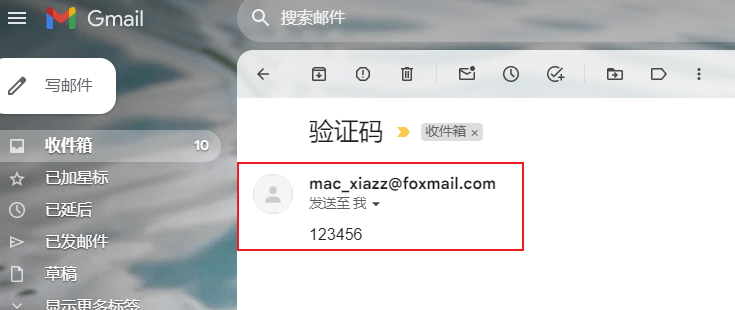
③:发送成功
1.发送测试
2.收到验证码
四、发送Html模板邮件
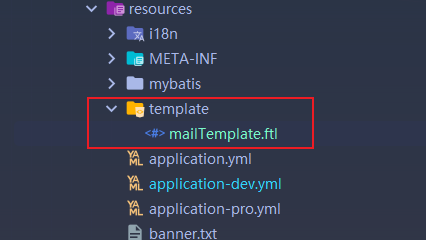
①:定义一个Html模板
1.
template/mailTemplate.ftl
<!DOCTYPE html>
<html xmlns:th="http://www.thymeleaf.org">
<head>
    <meta charset="utf-8">
    <meta http-equiv="X-UA-Compatible" content="IE=edge">
    <meta name="description" content="email code">
    <meta name="viewport" content="width=device-width, initial-scale=1">
</head>
<!--邮箱验证码模板-->
<body>
<div style="background-color:#ECECEC; padding: 35px;">
    <table cellpadding="0" align="center"
 style="width: 800px;height: 100%; margin: 0px auto; text-align: left; position: relative; border-top-left-radius: 5px; border-top-right-radius: 5px; border-bottom-right-radius: 5px; border-bottom-left-radius: 5px; font-size: 14px; font-family:微软雅黑, 黑体; line-height: 1.5; box-shadow: rgb(153, 153, 153) 0px 0px 5px; border-collapse: collapse; background-position: initial initial; background-repeat: initial initial;background:#fff;">
        <tbody>
        <tr>
            <th valign="middle"
 style="height: 25px; line-height: 25px; padding: 15px 35px; border-bottom-width: 1px; border-bottom-style: solid; border-bottom-color: RGB(148,0,211); background-color: RGB(148,0,211); border-top-left-radius: 5px; border-top-right-radius: 5px; border-bottom-right-radius: 0px; border-bottom-left-radius: 0px;">
                <font face="微软雅黑" size="5" style="color: rgb(255, 255, 255); ">这里输入name</font>
            </th>
        </tr>
        <tr>
            <td style="word-break:break-all">
                <div style="padding:25px 35px 40px; background-color:#fff;opacity:0.8;">

                    <h2 style="margin: 5px 0px; ">
                        <font color="#333333" style="line-height: 20px; ">
                            <font style="line-height: 22px; " size="4">
                                尊敬的用户:</font>
                        </font>
                    </h2>
                    <!-- 中文 -->
                    <p>您好!感谢您使用****,您的账号正在进行邮箱验证,验证码为:<font color="#ff8c00">{0}</font>,有效期30分钟,请尽快填写验证码完成验证!</p><br>
                    <!-- 英文 -->
                    <h2 style="margin: 5px 0px; ">
                        <font color="#333333" style="line-height: 20px; ">
                            <font style="line-height: 22px; " size="4">
                                Dear user:</font>
                        </font>
                    </h2>
                    <p>Hello! Thanks for using *****, your account is being authenticated by email, the
                        verification code is:<font color="#ff8c00">{0}</font>, valid for 30 minutes. Please fill in the verification code as soon as
                        possible!</p>
                    <div style="width:100%;margin:0 auto;">
                        <div style="padding:10px 10px 0;border-top:1px solid #ccc;color:#747474;margin-bottom:20px;line-height:1.3em;font-size:12px;">
                            <p>****团队</p>
                            <p>联系我们:********</p>
                            <br>
                            <p>此为系统邮件,请勿回复<br>
                                Please do not reply to this system email
                            </p>
                            <!--<p>©\*\*\*</p>-->
                        </div>
                    </div>
                </div>
            </td>
        </tr>
        </tbody>
    </table>
</div>
</body>
</html>
②:在工具类中新增两个方法
- 根据模板生成邮件内容
/\*\*
\* 根据模板生成邮件内容
\* @param code 验证码
\* @return
\*/
**自我介绍一下,小编13年上海交大毕业,曾经在小公司待过,也去过华为、OPPO等大厂,18年进入阿里一直到现在。**
**深知大多数Python工程师,想要提升技能,往往是自己摸索成长或者是报班学习,但对于培训机构动则几千的学费,着实压力不小。自己不成体系的自学效果低效又漫长,而且极易碰到天花板技术停滞不前!**
**因此收集整理了一份《2024年Python开发全套学习资料》,初衷也很简单,就是希望能够帮助到想自学提升又不知道该从何学起的朋友,同时减轻大家的负担。**

**既有适合小白学习的零基础资料,也有适合3年以上经验的小伙伴深入学习提升的进阶课程,基本涵盖了95%以上前端开发知识点,真正体系化!**
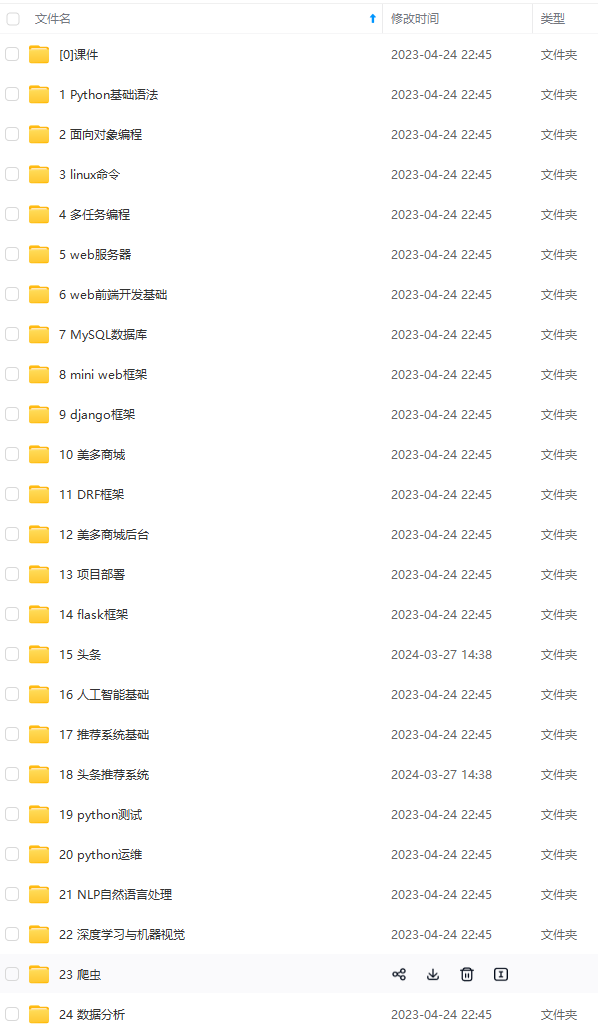
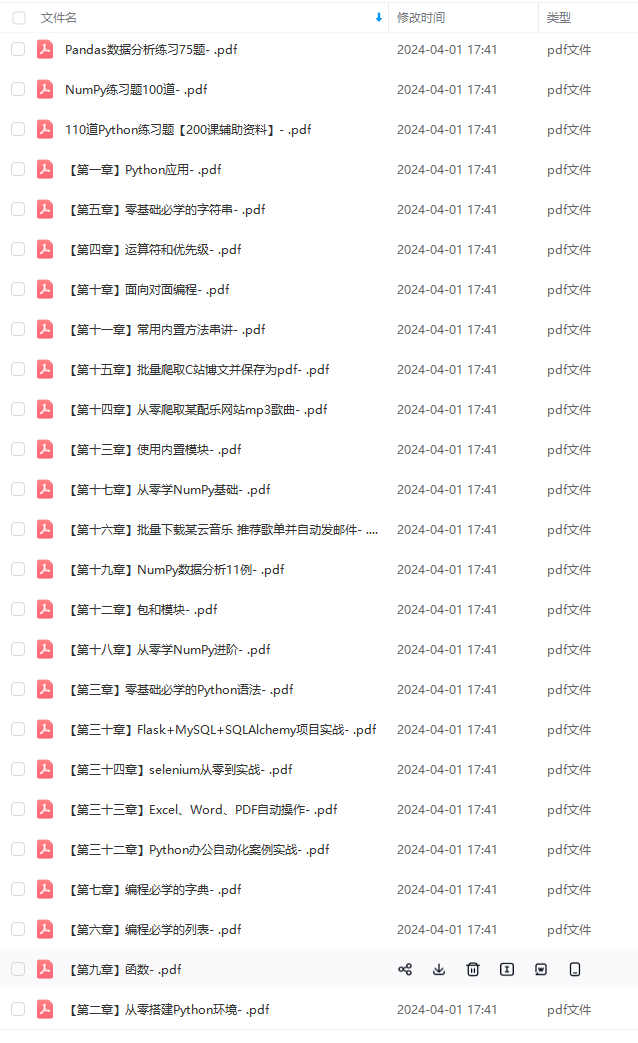
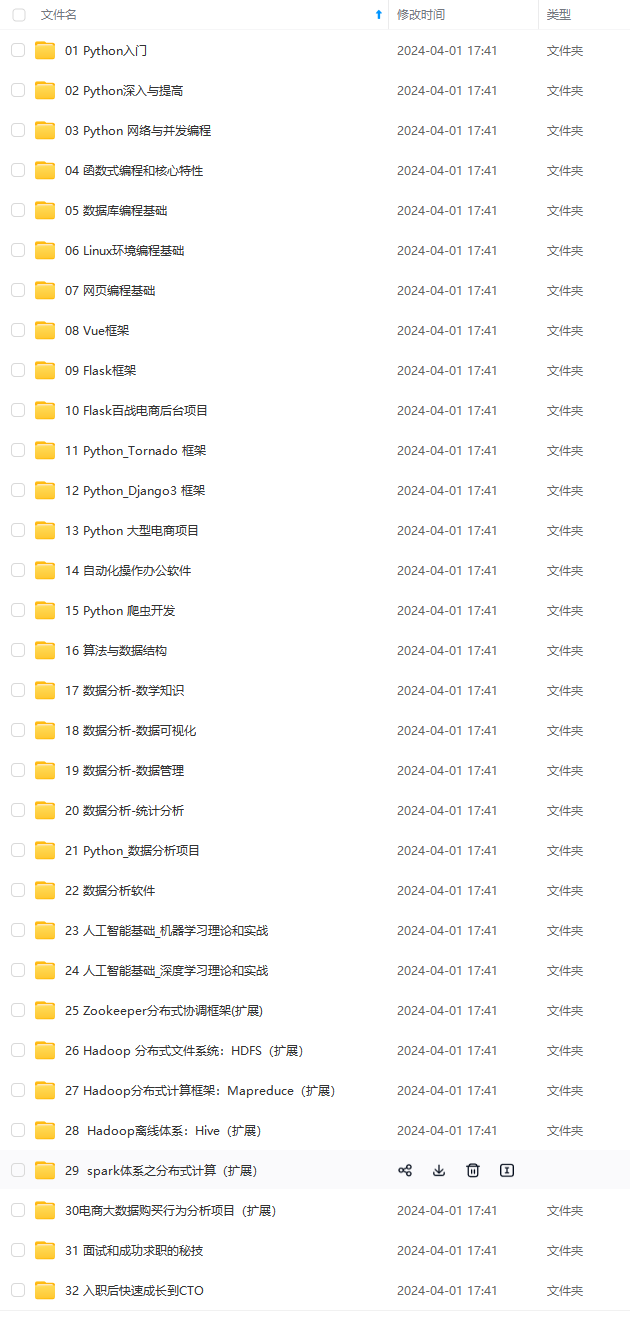
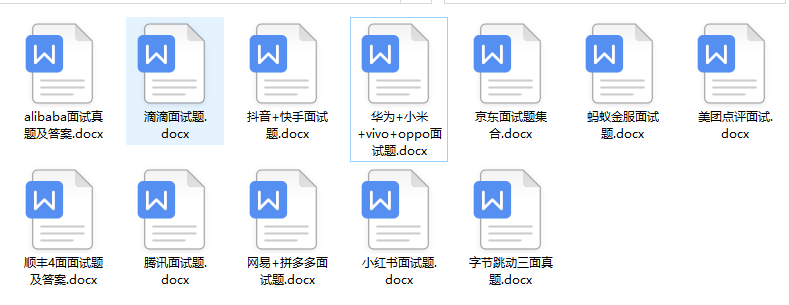
**由于文件比较大,这里只是将部分目录大纲截图出来,每个节点里面都包含大厂面经、学习笔记、源码讲义、实战项目、讲解视频,并且后续会持续更新**
**如果你觉得这些内容对你有帮助,可以扫码获取!!!(备注Python)**
5e862fe4e9.png)

**既有适合小白学习的零基础资料,也有适合3年以上经验的小伙伴深入学习提升的进阶课程,基本涵盖了95%以上前端开发知识点,真正体系化!**
**由于文件比较大,这里只是将部分目录大纲截图出来,每个节点里面都包含大厂面经、学习笔记、源码讲义、实战项目、讲解视频,并且后续会持续更新**
**如果你觉得这些内容对你有帮助,可以扫码获取!!!(备注Python)**
<img src="https://img-community.csdnimg.cn/images/fd6ebf0d450a4dbea7428752dc7ffd34.jpg" alt="img" style="zoom:50%;" />


 394
394

 被折叠的 条评论
为什么被折叠?
被折叠的 条评论
为什么被折叠?
 到【灌水乐园】发言


