


正如你在上面的演示中看到的,我在这个手表周围使用了一个边框来制作代码边框:7px solid #282828。我使用 box-shadow 使其更清晰。border-radius 50%使这款手表呈圆形。我还使用了高度和宽度 30 rem。如果你想让这款手表更大,你可以增加它的尺寸。
<div class="clock">


</div>
 html {

  background: #282828;

  text-align: center;

  font-size: 10px;

}


body {

  margin: 0;

  font-size: 2rem;

  display: flex;

  flex: 1;

  min-height: 100vh;

  align-items: center;

}


.clock {

  width: 30rem;

  height: 30rem;

  border: 7px solid #282828;

  box-shadow: -4px -4px 10px rgba(67,67,67,0.5),

                inset 4px 4px 10px rgba(0,0,0,0.5),

                inset -4px -4px 10px rgba(67,67,67,0.5),

                4px 4px 10px rgba(0,0,0,0.3);

  border-radius: 50%;

  margin: 50px auto;

  position: relative;

  padding: 2rem;


}
演示效果:

<div class="outer-clock-face">

	<div class="marking marking-one"></div>

	<div class="marking marking-two"></div>

	<div class="marking marking-three"></div>

	<div class="marking marking-four"></div>

</div>
.outer-clock-face {

  position: relative;

  width: 100%;

  height: 100%;

  border-radius: 100%;

  background: #282828;


  overflow: hidden;

}


.outer-clock-face::after {

  -webkit-transform: rotate(90deg);

  -moz-transform: rotate(90deg);

  transform: rotate(90deg)

}


.outer-clock-face::before,

.outer-clock-face::after,

.outer-clock-face .marking{

  content: '';

  position: absolute;

  width: 5px;

  height: 100%;

  background: #1df52f;

  z-index: 0;

  left: 49%;

}
演示效果:

.outer-clock-face .marking {

  background: #bdbdcb;

  width: 3px;

}


.outer-clock-face .marking.marking-one {

  transform: rotate(30deg)

}


.outer-clock-face .marking.marking-two {

  transform: rotate(60deg)

}


.outer-clock-face .marking.marking-three {

  transform: rotate(120deg)

}


.outer-clock-face .marking.marking-four {

  transform: rotate(150deg)

}
演示效果:

我使用下面的 HTML 和 CSS 代码制作了一个圆圈。结果,长线的中间被覆盖,并且它具有完整的 1 到 12 个标记大小。
HTML:
<div class="inner-clock-face">


 </div>
CSS
.inner-clock-face {

  position: absolute;

  top: 10%;

  left: 10%;

  width: 80%;

  height: 80%;

  background: #282828;

  -webkit-border-radius: 100%;

  -moz-border-radius: 100%;

  border-radius: 100%;

  z-index: 1;

}


.inner-clock-face::before {

  content: '';

  position: absolute;

  top: 50%;

  border-radius: 18px;

  margin-left: -9px;

  margin-top: -6px;

  left: 50%;

  width: 16px;

  height: 16px;

  background: #4d4b63;

  z-index: 11;

}
演示效果:
在这个单元格中,我使用了三只手,它们是使用下面的 HTML 和 CSS 代码制作的。
HTML:
<div class="hand hour-hand"></div>

<div class="hand min-hand"></div>

<div class="hand second-hand"></div>
CSS:
.hand {

  width: 50%;

  right: 50%;

  height: 6px;

  background: #61afff;

  position: absolute;

  top: 50%;

  border-radius: 6px;

  transform-origin: 100%;

  transform: rotate(90deg);

  transition-timing-function: cubic-bezier(0.1, 2.7, 0.58, 1);

}


.hand.hour-hand {

  width: 30%;

  z-index: 3;

}


.hand.min-hand {

  height: 3px;

  z-index: 10;

  width: 40%;

}


.hand.second-hand {

  background: #ee791a;

  width: 45%;

  height: 2px;

}
演示效果:

上面我们设计了整只手表,但这款手表还没有功能。这意味着这款手表的指针没有任何功能,也没有显示准确的时间。为此,我们需要使用 JavaScript 代码。
使用下面的 JavaScript,我已经给出了如何旋转这些手的说明。如果你了解基本的 JavaScript,你肯定会理解它。
我已经在下面充分解释了这段 JavaScript 代码是如何工作的。
const secondHand = document.querySelector('.second-hand');

const minsHand = document.querySelector('.min-hand');

const hourHand = document.querySelector('.hour-hand');
function setDate() {
const now = new Date();
const seconds = now.getSeconds(); // second hand rotation
const secondsDegrees = ((seconds / 60) * 360) + 90;
**自我介绍一下,小编13年上海交大毕业,曾经在小公司待过,也去过华为、OPPO等大厂,18年进入阿里一直到现在。**
**深知大多数Python工程师,想要提升技能,往往是自己摸索成长或者是报班学习,但对于培训机构动则几千的学费,着实压力不小。自己不成体系的自学效果低效又漫长,而且极易碰到天花板技术停滞不前!**
**因此收集整理了一份《2024年Python开发全套学习资料》,初衷也很简单,就是希望能够帮助到想自学提升又不知道该从何学起的朋友,同时减轻大家的负担。**


**既有适合小白学习的零基础资料,也有适合3年以上经验的小伙伴深入学习提升的进阶课程,基本涵盖了95%以上前端开发知识点,真正体系化!**
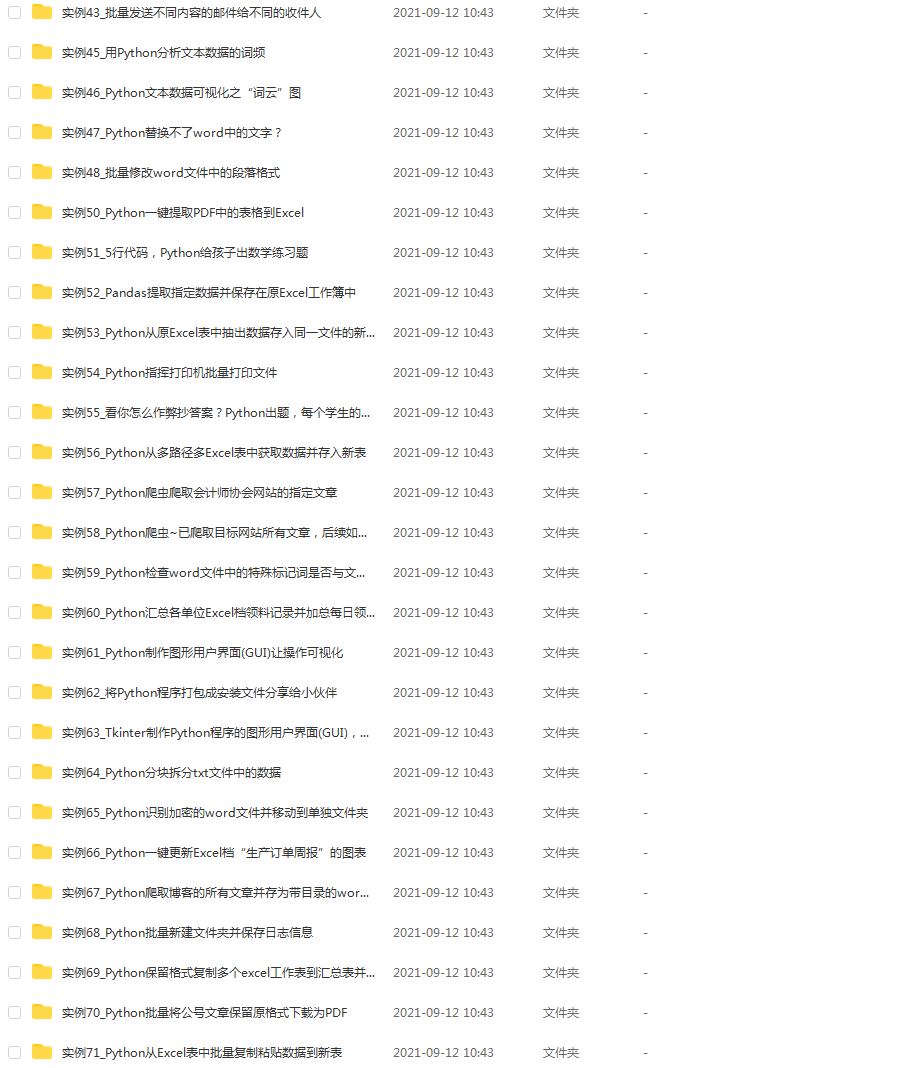
**由于文件比较大,这里只是将部分目录大纲截图出来,每个节点里面都包含大厂面经、学习笔记、源码讲义、实战项目、讲解视频,并且后续会持续更新**
**如果你觉得这些内容对你有帮助,可以扫码获取!!!(备注Python)**
/46506ae54be168b93cf63939786134ca.png)


**既有适合小白学习的零基础资料,也有适合3年以上经验的小伙伴深入学习提升的进阶课程,基本涵盖了95%以上前端开发知识点,真正体系化!**
**由于文件比较大,这里只是将部分目录大纲截图出来,每个节点里面都包含大厂面经、学习笔记、源码讲义、实战项目、讲解视频,并且后续会持续更新**
**如果你觉得这些内容对你有帮助,可以扫码获取!!!(备注Python)**
<img src="https://img-community.csdnimg.cn/images/fd6ebf0d450a4dbea7428752dc7ffd34.jpg" alt="img" style="zoom:50%;" />


 540
540

 被折叠的 条评论
为什么被折叠?
被折叠的 条评论
为什么被折叠?
 到【灌水乐园】发言


