


基于android11走读存储系统部分代码 frameworks/base/services/core/java/com/android/server/StorageManagerService.java frameworks/base/services/java/com/android/server/SystemServer.java
StorageManagerService
startService
StorageManagerService同其他系统服务一样,也是从SystemServer启动
private void startOtherServices(@NonNull TimingsTraceAndSlog t) {
…
if (mFactoryTestMode != FactoryTest.FACTORY_TEST_LOW_LEVEL) {
if (!“0”.equals(SystemProperties.get(“system_init.startmountservice”))) {
t.traceBegin(“StartStorageManagerService”);
try {
/*
- NotificationManagerService is dependant on StorageManagerService,
- (for media / usb notifications) so we must start StorageManagerService first.
*/
mSystemServiceManager.startService(STORAGE_MANAGER_SERVICE_CLASS);
storageManager = IStorageManager.Stub.asInterface(
ServiceManager.getService(“mount”));
} catch (Throwable e) {
reportWtf(“starting StorageManagerService”, e);
}
t.traceEnd();
t.traceBegin(“StartStorageStatsService”);
try {
mSystemServiceManager.startService(STORAGE_STATS_SERVICE_CLASS);
} catch (Throwable e) {
reportWtf(“starting StorageStatsService”, e);
}
t.traceEnd();
}
}
…
}
NotificationManagerService依赖于StorageManagerService,所以必需先启动StroageManagerService。 private static final String STORAGE_MANAGER_SERVICE_CLASS = "com.android.server.StorageManagerService$Lifecycle";
SystemManagerService通过反射构建LifeCycle并调用onStart()方法
@Override
public void onStart() {
mStorageManagerService = new StorageManagerService(getContext());
publishBinderService(“mount”, mStorageManagerService);
mStorageManagerService.start();
}
StorageManagerService
public StorageManagerService(Context context) {
sSelf = this;
// 前面先是读取一些属性状态,其中关于FUSE下面会稍微介绍一下
// Snapshot feature flag used for this boot
SystemProperties.set(StorageManager.PROP_ISOLATED_STORAGE_SNAPSHOT, Boolean.toString(
SystemProperties.getBoolean(StorageManager.PROP_ISOLATED_STORAGE, true)));
// If there is no value in the property yet (first boot after data wipe), this value may be
// incorrect until #updateFusePropFromSettings where we set the correct value and reboot if
// different
mIsFuseEnabled = SystemProperties.getBoolean(PROP_FUSE, DEFAULT_FUSE_ENABLED);
mVoldAppDataIsolationEnabled = mIsFuseEnabled && SystemProperties.getBoolean(
ANDROID_VOLD_APP_DATA_ISOLATION_ENABLED_PROPERTY, false);
mContext = context;
mResolver = mContext.getContentResolver();
mCallbacks = new Callbacks(FgThread.get().getLooper());
mLockPatternUtils = new LockPatternUtils(mContext);
// 创建名为“StorageManagerService”的线程,并创建对应的Handler
HandlerThread hthread = new HandlerThread(TAG);
hthread.start();
mHandler = new StorageManagerServiceHandler(hthread.getLooper());
// mObbActionHandler对应“android.io”线程
// Add OBB Action Handler to StorageManagerService thread.
mObbActionHandler = new ObbActionHandler(IoThread.get().getLooper());
mStorageSessionController = new StorageSessionController(mContext, mIsFuseEnabled);
// 启动installd服务
mInstaller = new Installer(mContext);
mInstaller.onStart();
// Initialize the last-fstrim tracking if necessary
File dataDir = Environment.getDataDirectory();
File systemDir = new File(dataDir, “system”);
mLastMaintenanceFile = new File(systemDir, LAST_FSTRIM_FILE);
//判断/data/system/last-fstrim文件,不存在则创建,存在则更新最后修改时间
if (!mLastMaintenanceFile.exists()) {
// Not setting mLastMaintenance here means that we will force an
// fstrim during reboot following the OTA that installs this code.
try {
(new FileOutputStream(mLastMaintenanceFile)).close();
} catch (IOException e) {
Slog.e(TAG, "Unable to create fstrim record " + mLastMaintenanceFile.getPath());
}
} else {
mLastMaintenance = mLastMaintenanceFile.lastModified();
}
// 读取data/system/storage.xml配置
mSettingsFile = new AtomicFile(
new File(Environment.getDataSystemDirectory(), “storage.xml”), “storage-settings”);
synchronized (mLock) {
readSettingsLocked();
}
LocalServices.addService(StorageManagerInternal.class, mStorageManagerInternal);
// 监听ACTION_USER_ADDED、ACTION_USER_REMOVED广播
final IntentFilter userFilter = new IntentFilter();
userFilter.addAction(Intent.ACTION_USER_ADDED);
userFilter.addAction(Intent.ACTION_USER_REMOVED);
mContext.registerReceiver(mUserReceiver, userFilter, null, mHandler);
// 内部私有volume的路径为/data,该volume通过dumpsys mount是不会显示的
synchronized (mLock) {
addInternalVolumeLocked();
}
// Add ourself to the Watchdog monitors if enabled.
if (WATCHDOG_ENABLE) {
Watchdog.getInstance().addMonitor(this);
}
// 汽车应用支持
mIsAutomotive = context.getPackageManager().hasSystemFeature(
PackageManager.FEATURE_AUTOMOTIVE);
}
FUSE
为了实现更灵活的权限管理能力,Android引入了fuse文件系统。
Filesystem in Userspace顾名思义,即在用户空间的文件系统。 为什么要强调用户空间呢?接触过Linux内核的同学大概会知道,文件系统一般是实现在内核里面的,比如,Ext4、Fat32、NTFS(Kernel原生版)等常见的文件系统,其代码都在内核中,而FUSE特殊之处就是,其文件系统的核心逻辑是在用户空间实现的。
FUSE实现原理

图中体现了FUSE的2个关键部分(绿色方框),分别是Kernel中的那个FUSE(这里简称kernel FUSE)和user space中的那个fuse_user程序。其中kernel FUSE是负责把从用户层过来的文件系统操作请求传递给fuse_user程序的,而这个fuse_user程序实现了前面所说的文件系统的核心逻辑。
onStart
private void start() {
connectStoraged();
connectVold();
}
private void connectStoraged() {
IBinder binder = ServiceManager.getService(“storaged”);
if (binder != null) {
try {
// 设置死亡代理以重新建立连接
binder.linkToDeath(new DeathRecipient() {
@Override
public void binderDied() {
Slog.w(TAG, “storaged died; reconnecting”);
mStoraged = null;
connectStoraged();
}
}, 0);
} catch (RemoteException e) {
binder = null;
}
}
if (binder != null) {
// 获取storaged的bp端用于通信
mStoraged = IStoraged.Stub.asInterface(binder);
} else {
Slog.w(TAG, “storaged not found; trying again”);
}
if (mStoraged == null) {
BackgroundThread.getHandler().postDelayed(() -> {
connectStoraged();
}, DateUtils.SECOND_IN_MILLIS);
} else {
onDaemonConnected();
}
}
private void connectVold() {
IBinder binder = ServiceManager.getService(“vold”);
if (binder != null) {
try {
// 设置死亡代理以重新建立连接
binder.linkToDeath(new DeathRecipient() {
@Override
public void binderDied() {
Slog.w(TAG, “vold died; reconnecting”);
mVold = null;
connectVold();
}
}, 0);
} catch (RemoteException e) {
binder = null;
}
}
if (binder != null) {
// 获取Vold的bp端用于通信
mVold = IVold.Stub.asInterface(binder);
try {
// 关键代码:设置Vold的Listener
mVold.setListener(mListener);
} catch (RemoteException e) {
mVold = null;
Slog.w(TAG, “vold listener rejected; trying again”, e);
}
} else {
Slog.w(TAG, “vold not found; trying again”);
}
if (mVold == null) {
BackgroundThread.getHandler().postDelayed(() -> {
connectVold();
}, DateUtils.SECOND_IN_MILLIS);
} else {
onDaemonConnected();
}
}
connectStoraged和connectVold分别是获取Vold和Storaged服务的bp端,设置死亡代理, 为Vold设置Listener监听,然后调用onDaemonConnected
自我介绍一下,小编13年上海交大毕业,曾经在小公司待过,也去过华为、OPPO等大厂,18年进入阿里一直到现在。
深知大多数Android工程师,想要提升技能,往往是自己摸索成长或者是报班学习,但对于培训机构动则几千的学费,着实压力不小。自己不成体系的自学效果低效又漫长,而且极易碰到天花板技术停滞不前!
因此收集整理了一份《2024年Android移动开发全套学习资料》,初衷也很简单,就是希望能够帮助到想自学提升又不知道该从何学起的朋友,同时减轻大家的负担。
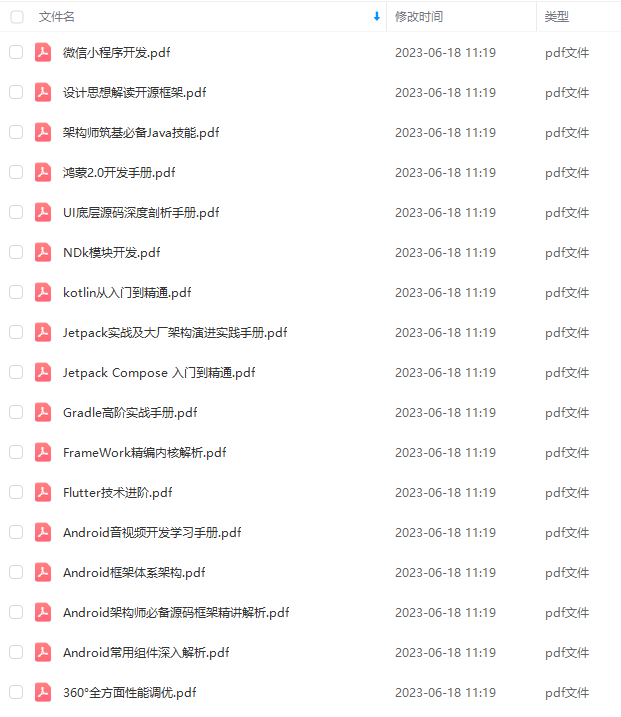
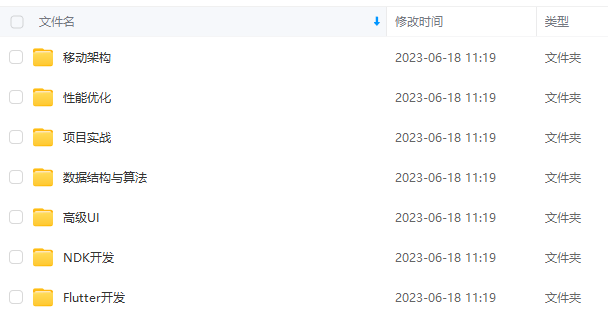
既有适合小白学习的零基础资料,也有适合3年以上经验的小伙伴深入学习提升的进阶课程,基本涵盖了95%以上Android开发知识点,真正体系化!
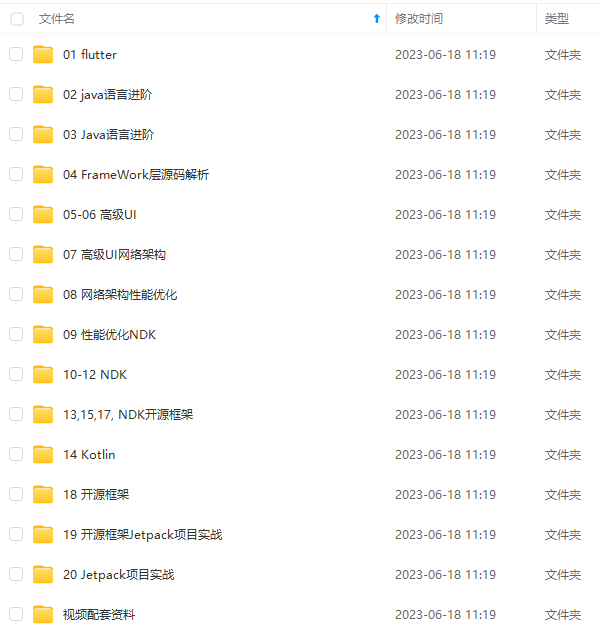
由于文件比较大,这里只是将部分目录大纲截图出来,每个节点里面都包含大厂面经、学习笔记、源码讲义、实战项目、讲解视频,并且后续会持续更新
如果你觉得这些内容对你有帮助,可以添加V获取:vip204888 (备注Android)

最后
针对于上面的问题,我总结出了互联网公司Android程序员面试涉及到的绝大部分面试题及答案,并整理做成了文档,以及系统的进阶学习视频资料。
(包括Java在Android开发中应用、APP框架知识体系、高级UI、全方位性能调优,NDK开发,音视频技术,人工智能技术,跨平台技术等技术资料),希望能帮助到你面试前的复习,且找到一个好的工作,也节省大家在网上搜索资料的时间来学习。

一个人可以走的很快,但一群人才能走的更远。不论你是正从事IT行业的老鸟或是对IT行业感兴趣的新人,都欢迎扫码加入我们的的圈子(技术交流、学习资源、职场吐槽、大厂内推、面试辅导),让我们一起学习成长!

NDK开发,音视频技术,人工智能技术,跨平台技术等技术资料),希望能帮助到你面试前的复习,且找到一个好的工作,也节省大家在网上搜索资料的时间来学习。
[外链图片转存中…(img-3UDUJ8nY-1712614159484)]
一个人可以走的很快,但一群人才能走的更远。不论你是正从事IT行业的老鸟或是对IT行业感兴趣的新人,都欢迎扫码加入我们的的圈子(技术交流、学习资源、职场吐槽、大厂内推、面试辅导),让我们一起学习成长!
[外链图片转存中…(img-WdxWMN2W-1712614159484)]


 2525
2525


 被折叠的 条评论
为什么被折叠?
被折叠的 条评论
为什么被折叠?
 到【灌水乐园】发言


