


comments: false, // 去掉注释
},
warnings: false,
compress: {
drop_console: true,
drop_debugger: false,
pure_funcs: ['console.log'] //移除console
}
}
}),
// 14 对资源文件进行压缩引入进行配置:
new CompressionWebpackPlugin({
filename: '[path].gz[query]',
algorithm: 'gzip',
// test: /\.js$|\.html$|\.json$|\.css/,
test: /\.js$|\.json$|\.css/,
threshold: 10240, // 只有大小大于该值的资源会被处理
minRatio: 0.8, // 只有压缩率小于这个值的资源才会被处理
// deleteOriginalAssets: true // 删除原文件
})
// 15 安装图片压缩 cnpm install image-webpack-loader --save-dev 容易安装不上
// 若安装过 image-webpack-loader 先卸载 !!!
// npm 安装的npm 则npm 移除
// npm uninstall image - webpack - loader
//如果yarn安装的,则yarn 移除
// yarn remove image - webpack - loader
),
// 17公共代码抽离
config.optimization = {
splitChunks: { // 分割代码块
cacheGroups: {
vendor: { //第三方库抽离
chunks: 'all',
test: /node_modules/,
name: 'vendor',
minChunks: 1, //在分割之前,这个代码块最小应该被引用的次数
maxInitialRequests: 5,
minSize: 0, //大于0个字节
priority: 100 //权重
},
common: { //公用模块抽离
chunks: 'all',
test: /[\\/]src[\\/]js[\\/]/,
name: 'common',
minChunks: 2, // 在分割之前, 这个代码块最小应该被引用的次数
maxInitialRequests: 5,
minSize: 0, //大于0个字节
priority: 60
},
styles: { //样式抽离
name: 'styles',
test: /\.(sa|sc|c)ss$/,
chunks: 'all',
enforce: true
},
runtimeChunk: {
name: 'manifest'
}
}
}
}
}
},
}
配置别名,静态图片不显示解决

在html中 需要在别名前面加上 ~ 符号
在js中,需要使用require(‘url’)
list: [
{
“type”: “image”,
“imgUrl”: require(‘assets/logo.png’),
“desc”: “动物园”
}
]
这样图片就可以成功引入了
-
以上是配置修改webpack默认配置源码,可以直接赋值,也可以按需求使用,重点都写
-
在代码段内,再次还要重申一遍,下载压缩图片,可能不会那么容易成功,多试几次,切记
-
下载不成功要使用代码命令卸载后,再次重新下载,可参考package.json /devDependencies:{}
打包
-
运行npm run build稍等会生成一个dist文件,打开后有index.html使用Open with Live Server打开,
-
alt+b不可以,因为Open with Live Server打开的是本地服务器,Alt+B是相对电脑盘符的,Open with Live Server可以在VSC编辑器下载
上线nginx服务器
- 下载nginx包 下载地址:nginx: download
http://nginx.org/en/download.html (Nginx官网)
- 2、下载之后,解压到指定的目录,就可以看到以下的目录

- 在地址栏运行cmd,不要直接双击ngnix.exe ,
盘符或目录不能有中文路径,不能直接双击打开(慎用),不主动停止nginx就要等到缓存过期才会关闭,
- 可以使用命令关闭,和在任务管理器杀死进程
- cmd后出现黑窗口,输入命令 start ngnix 启动(一闪黑窗口,没任何提示,此时已经启动成功)
- 然后在浏览器页面输入localhost,默认80端口,


- 从vsc打开可以修改配置,root可以改为dist,不修改就是打包的文件的根目录是html,
- 修改为dist,就需要将打包文件dist复制到html下,而不是dist文件夹里的文件复制过来

nginx代码
#user nobody;
worker_processes 1;
#error_log logs/error.log;
#error_log logs/error.log notice;
#error_log logs/error.log info;
#pid logs/nginx.pid;
events {
worker_connections 1024;
}
http {
include mime.types;
default_type application/octet-stream;
#log_format main '$remote_addr - r e m o t e u s e r [ remote_user [ remoteuser[time_local] “$request” ’
'$status b o d y b y t e s s e n t " body_bytes_sent " bodybytessent"http_referer" ’
‘“ h t t p u s e r a g e n t " " http_user_agent" " httpuseragent""http_x_forwarded_for”’;
#access_log logs/access.log main;
sendfile on;
#tcp_nopush on;
#keepalive_timeout 0;
keepalive_timeout 65;
#gzip on;
server {
listen 33324;
server_name localhost;
#charset koi8-r;
#access_log logs/host.access.log main;
location / {
root html;
try_files $uri $uri/ /index.html last;
index index.html index.htm;
}
#error_page 404 /404.html;
redirect server error pages to the static page /50x.html
error_page 500 502 503 504 /50x.html;
location = /50x.html {
root html;
}
proxy the PHP scripts to Apache listening on 127.0.0.1:80
#location ~ .php$ {
proxy_pass http://127.0.0.1;
#}
pass the PHP scripts to FastCGI server listening on 127.0.0.1:9000
#location ~ .php$ {
root html;
fastcgi_pass 127.0.0.1:9000;
fastcgi_index index.php;
fastcgi_param SCRIPT_FILENAME /scripts$fastcgi_script_name;
include fastcgi_params;
#}
deny access to .htaccess files, if Apache’s document root
concurs with nginx’s one
#location ~ /.ht {
deny all;
#}
}
another virtual host using mix of IP-, name-, and port-based configuration
#server {
listen 8000;
listen somename:8080;
server_name somename alias another.alias;
location / {
root html;
index index.html index.htm;
}
#}
HTTPS server
#server {
listen 443 ssl;
server_name localhost;
ssl_certificate cert.pem;
ssl_certificate_key cert.key;
ssl_session_cache shared:SSL:1m;
ssl_session_timeout 5m;
ssl_ciphers HIGH:!aNULL:!MD5;
ssl_prefer_server_ciphers on;
location / {
root html;
index index.html index.htm;
}
#}
}
-
复制dist文件夹中所有文件,到nginx的html页(上面我没有修改root)
-


然后在浏览器页面输入localhost:33324就部署到ngnix服务器上了(端口号写自己设置的)
打包成为手机App

1.Hbx 编辑器建文件

2.将dist文件复制在 HbuilderX编辑器建立的文件中

- 配置app

4.发行
最后
自我介绍一下,小编13年上海交大毕业,曾经在小公司待过,也去过华为、OPPO等大厂,18年进入阿里一直到现在。
深知大多数初中级Android工程师,想要提升技能,往往是自己摸索成长,自己不成体系的自学效果低效漫长且无助。
因此收集整理了一份《2024年Web前端开发全套学习资料》,初衷也很简单,就是希望能够帮助到想自学提升又不知道该从何学起的朋友,同时减轻大家的负担。

既有适合小白学习的零基础资料,也有适合3年以上经验的小伙伴深入学习提升的进阶课程,基本涵盖了95%以上Android开发知识点!不论你是刚入门Android开发的新手,还是希望在技术上不断提升的资深开发者,这些资料都将为你打开新的学习之门!
如果你觉得这些内容对你有帮助,需要这份全套学习资料的朋友可以戳我获取!!
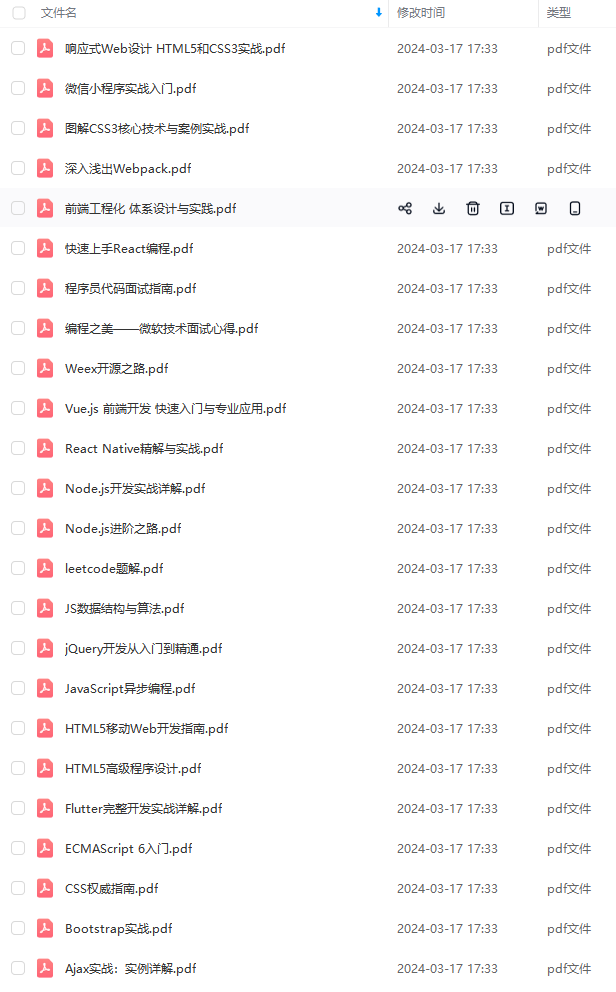
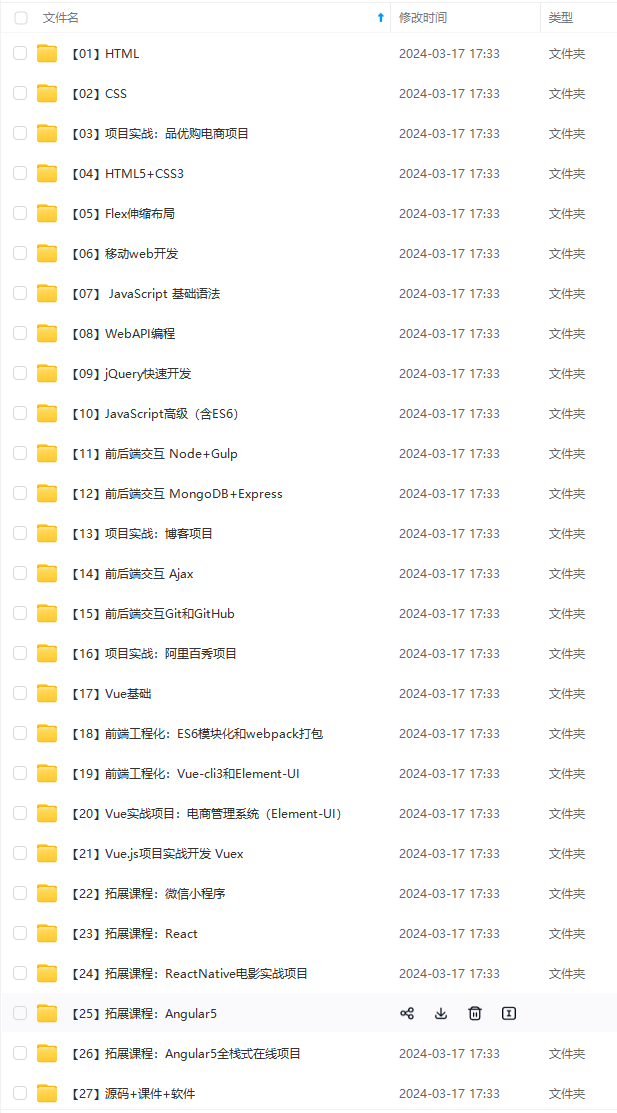
由于文件比较大,这里只是将部分目录截图出来,每个节点里面都包含大厂面经、学习笔记、源码讲义、实战项目、讲解视频,并且会持续更新!
初中级Android工程师,想要提升技能,往往是自己摸索成长,自己不成体系的自学效果低效漫长且无助。**
因此收集整理了一份《2024年Web前端开发全套学习资料》,初衷也很简单,就是希望能够帮助到想自学提升又不知道该从何学起的朋友,同时减轻大家的负担。
[外链图片转存中…(img-rpPKJzo8-1715802760293)]
[外链图片转存中…(img-HXqpfKQR-1715802760293)]
[外链图片转存中…(img-gmviKGpL-1715802760293)]
既有适合小白学习的零基础资料,也有适合3年以上经验的小伙伴深入学习提升的进阶课程,基本涵盖了95%以上Android开发知识点!不论你是刚入门Android开发的新手,还是希望在技术上不断提升的资深开发者,这些资料都将为你打开新的学习之门!
如果你觉得这些内容对你有帮助,需要这份全套学习资料的朋友可以戳我获取!!
由于文件比较大,这里只是将部分目录截图出来,每个节点里面都包含大厂面经、学习笔记、源码讲义、实战项目、讲解视频,并且会持续更新!


 346
346


 被折叠的 条评论
为什么被折叠?
被折叠的 条评论
为什么被折叠?
 到【灌水乐园】发言


