


先自我介绍一下,小编浙江大学毕业,去过华为、字节跳动等大厂,目前阿里P7
深知大多数程序员,想要提升技能,往往是自己摸索成长,但自己不成体系的自学效果低效又漫长,而且极易碰到天花板技术停滞不前!
因此收集整理了一份《2024年最新Android移动开发全套学习资料》,初衷也很简单,就是希望能够帮助到想自学提升又不知道该从何学起的朋友。
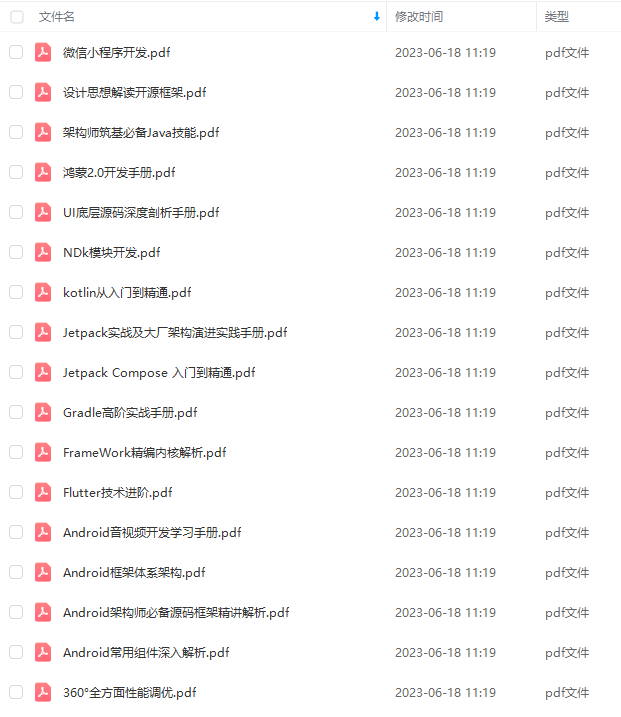

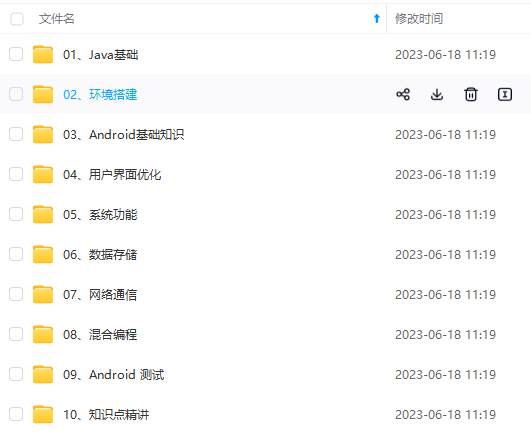
既有适合小白学习的零基础资料,也有适合3年以上经验的小伙伴深入学习提升的进阶课程,涵盖了95%以上Android开发知识点,真正体系化!
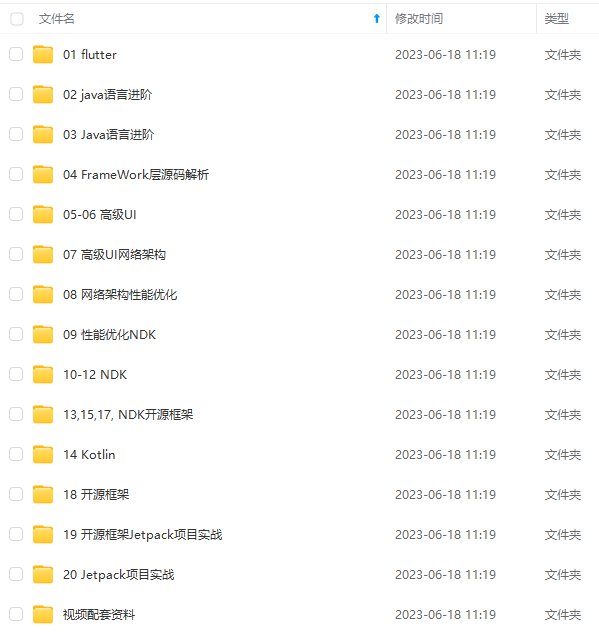
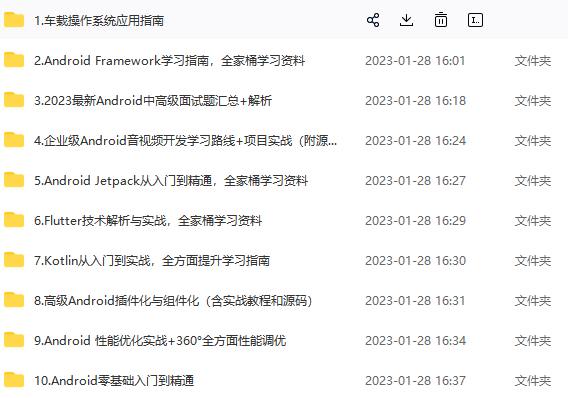
由于文件比较多,这里只是将部分目录截图出来,全套包含大厂面经、学习笔记、源码讲义、实战项目、大纲路线、讲解视频,并且后续会持续更新
如果你需要这些资料,可以添加V获取:vip204888 (备注Android)

正文
在上面OKHttpClient和Request创建好之后,就开始发起HTTP请求了。OkHttp中请求方式分为同步请求(client.newCall(request).execute() )和异步请求(client.newCall(request).enqueue())两种,其中同步请求和一部请求的区别就是同步请求会阻塞当前线程,一部请求会放到线程池中执行。
public Call newCall(Request request) {
return RealCall.newRealCall(this, request, false /* for web socket */);
}
static RealCall newRealCall(OkHttpClient client, Request originalRequest, boolean forWebSocket) {
// Safely publish the Call instance to the EventListener.
RealCall call = new RealCall(client, originalRequest, forWebSocket);
call.eventListener = client.eventListenerFactory().create(call);
return call;
}
可以看到通过newCall()方法创建了RealCall实例,然后通过RealCall发起请求。接下来我们同步OkHttp的异步请求分析。异步请求调用了RealCall的enqueue()方法。
public void enqueue(Callback responseCallback) {
synchronized (this) {
if (executed) throw new IllegalStateException(“Already Executed”);
executed = true;
}
captureCallStackTrace();
eventListener.callStart(this);
client.dispatcher().enqueue(new AsyncCall(responseCallback));
}
在这里,OkHttp通过调度器Dispatcher执行请求。
/Dispatcher/
synchronized void enqueue(AsyncCall call) {
//这里判断队列是否已满,队列不满怎将请求放到线程池中执行,否则加入到队列中
if (runningAsyncCalls.size() < maxRequests && runningCallsForHost(call) < maxRequestsPerHost) {
runningAsyncCalls.add(call);
executorService().execute(call);
} else {
readyAsyncCalls.add(call);
}
}
可以看到enqueue()方法是一个同步方法,在这里首先判断了请求队列是否已满,如果不满,则开始在线程池中执行请求AsyncCall。AsyncCall继承了NamedRunnable抽象类,而NamedRunnable继承了Runnable接口,在run方法中调用了execute()方法。
protected void execute() {
boolean signalledCallback = false;
try {
//通过责任链模式执行接下来请求任务
Response response = getResponseWithInterceptorChain();
if (retryAndFollowUpInterceptor.isCanceled()) {
signalledCallback = true;
//执行失败回调
responseCallback.onFailure(RealCall.this, new IOException(“Canceled”));
} else {
signalledCallback = true;
//执行成功回调
responseCallback.onResponse(RealCall.this, response);
}
}
//…
finally {
client.dispatcher().finished(this);
}
}
在这里开始了OkHttp核心的请求部分。在OkHttp中使用了责任链模式处理这一部分的请求。getResponseWithInterceptorChain()开始请求。
Response getResponseWithInterceptorChain() throws IOException {
// Build a full stack of interceptors.
List interceptors = new ArrayList<>();
interceptors.addAll(client.interceptors()); //自定义的拦截器
interceptors.add(retryAndFollowUpInterceptor); //重试拦截器,请求失败后重试
interceptors.add(new BridgeInterceptor(client.cookieJar())); //桥接拦截器,处理请求
interceptors.add(new CacheInterceptor(client.internalCache())); //缓存拦截器,处理请求缓存
interceptors.add(new ConnectInterceptor(client)); //连接拦截器,创建HTTP连接
if (!forWebSocket) {
interceptors.addAll(client.networkInterceptors());
}
interceptors.add(new CallServerInterceptor(forWebSocket)); //网络请求拦截器,开始网络请求
Interceptor.Chain chain = new RealInterceptorChain(interceptors, null, null, null, 0,
originalRequest, this, eventListener, client.connectTimeoutMillis(),
client.readTimeoutMillis(), client.writeTimeoutMillis());
return chain.proceed(originalRequest);
}
OkHttp的拦截器
在上面的代码中OkHttp通过各种拦截器处理请求。这里简单介绍下OkHttp的拦截器:
- 自定义拦截器:提供给用户的定制的拦截器。
- 失败和重定向拦截器(RetryAndFollowUpInterceptor):请求在失败的时候重新开始已经请求重定向的拦截器。
- 桥接拦截器(BridgeInterceptor):主要用来构造请求。
- 缓存拦截器(CacheInterceptor):主要处理HTTP缓存。
- 连接拦截器(ConnectInterceptor):主要处理HTTP链接。
- 网络请求拦截器(CallServerInterceptor):负责发起网络请求。
拦截器是OkHttp发起请求的核心部分,接下来我们针对各种拦截器进行分析。上面的代码中,通过RealInterceptorChain的proceed()方法开始执行拦截器。
public Response proceed(Request request, StreamAllocation streamAllocation, HttpCodec httpCodec,
RealConnection connection) throws IOException {
calls++;
RealInterceptorChain next = new RealInterceptorChain(interceptors, streamAllocation, httpCodec,
connection, index + 1, request, call, eventListener, connectTimeout, readTimeout,
writeTimeout);
Interceptor interceptor = interceptors.get(index);
Response response = interceptor.intercept(next); //执行拦截器
//…
return response;
}
重试拦截器—RetryAndFollowUpInterceptor
这里我们直接分析RetryAndFollowUpInterceptor的intercept()方法。
public Response intercept(Chain chain) throws IOException {
//…
int followUpCount = 0;
Response priorResponse = null;
//通过一个循环来重新尝试请求
while (true) {
if (canceled) {
streamAllocation.release();
throw new IOException(“Canceled”);
}
Response response;
boolean releaseConnection = true;
try {
//1.调用下一个拦截器
response = realChain.proceed(request, streamAllocation, null, null);
releaseConnection = false;
} catch (RouteException e) {
// 失败后尝试重新发送请求
if (!recover(e.getLastConnectException(), transmitter, false, request)) {
throw e.getFirstConnectException();
}
continue;
} catch (IOException e) {
// 失败后尝试重新发送请求
boolean requestSendStarted = !(e instanceof ConnectionShutdownException);
if (!recover(e, transmitter, requestSendStarted, request)) throw e;
continue;
}
//…
//2.检测response是否合法
Request followUp = followUpRequest(response);
if (followUp == null) {
if (!forWebSocket) {
streamAllocation.release();
}
//3.返回response,请求完成
return response;
}
//最多尝试20次
if (++followUpCount > MAX_FOLLOW_UPS) {
streamAllocation.release();
throw new ProtocolException("Too many follow-up requests: " + followUpCount);
}
//4.重新设置请求
request = followUp;
priorResponse = response;
}
}
在RetryAndFollowUpInterceptor中我们可以看到请求的重试是由一个无限循环保持的,同时在代码里还限制了请求的次数,最多尝试20次。RetryAndFollowUpInterceptor的具体逻辑是:
- 开启循环,继续调用下一个拦截器直到返回结果;
- 当请求内部抛出异常时,判定是否需要重试;如果符合重试条件,则重新发送请求;
- 通过followUpRequest()方法检查response是否合法,检查逻辑是根据HTTP返回码检测(具体逻辑可以查看通过followUpRequest()方法)。如果合法followUp为null,则返回结果,否则进行下一步;
- 重新设置request,设置response(用于接下来重新构造response),执行第1步。
BridgeInterceptor
我们看看BridgeInterceptor做了哪些事。
public Response intercept(Chain chain) throws IOException {
Request userRequest = chain.request();
Request.Builder requestBuilder = userRequest.newBuilder();
RequestBody body = userRequest.body();
if (body != null) {
MediaType contentType = body.contentType();
if (contentType != null) {
requestBuilder.header(“Content-Type”, contentType.toString());
}
long contentLength = body.contentLength();
if (contentLength != -1) {
requestBuilder.header(“Content-Length”, Long.toString(contentLength));
requestBuilder.removeHeader(“Transfer-Encoding”);
} else {
requestBuilder.header(“Transfer-Encoding”, “chunked”);
requestBuilder.removeHeader(“Content-Length”);
}
}
if (userRequest.header(“Host”) == null) {
requestBuilder.header(“Host”, hostHeader(userRequest.url(), false));
}
if (userRequest.header(“Connection”) == null) {
requestBuilder.header(“Connection”, “Keep-Alive”);
}
boolean transparentGzip = false;
if (userRequest.header(“Accept-Encoding”) == null && userRequest.header(“Range”) == null) {
transparentGzip = true;
requestBuilder.header(“Accept-Encoding”, “gzip”);
}
List cookies = cookieJar.loadForRequest(userRequest.url());
if (!cookies.isEmpty()) {
requestBuilder.header(“Cookie”, cookieHeader(cookies));
}
if (userRequest.header(“User-Agent”) == null) {
requestBuilder.header(“User-Agent”, Version.userAgent());
}
Response networkResponse = chain.proceed(requestBuilder.build());
HttpHeaders.receiveHeaders(cookieJar, userRequest.url(), networkResponse.headers());
Response.Builder responseBuilder = networkResponse.newBuilder()
.request(userRequest);
if (transparentGzip
&& “gzip”.equalsIgnoreCase(networkResponse.header(“Content-Encoding”))
&& HttpHeaders.hasBody(networkResponse)) {
GzipSource responseBody = new GzipSource(networkResponse.body().source());
Headers strippedHeaders = networkResponse.headers().newBuilder()
.removeAll(“Content-Encoding”)
.removeAll(“Content-Length”)
.build();
responseBuilder.headers(strippedHeaders);
String contentType = networkResponse.header(“Content-Type”);
responseBuilder.body(new RealResponseBody(contentType, -1L, Okio.buffer(responseBody)));
}
return responseBuilder.build();
}
从代码里可以看到,在BridgeInterceptor中出了HTTP的请求头,设置了请求头的各种参数,比如:Content-Type、Connection、User-Agent、GZIP等。
CacheInterceptor
缓存拦截器主要是处理HTTP请求缓存的,通过缓存拦截器可以有效的使用缓存减少网络请求。
public Response intercept(Chain chain) throws IOException {
Response cacheCandidate = cache != null? cache.get(chain.request()): null;//1.取缓存
long now = System.currentTimeMillis();
CacheStrategy strategy = new CacheStrategy.Factory(now, chain.request(), cacheCandidate).get(); //2.验证缓存
Request networkRequest = strategy.networkRequest;
Response cacheResponse = strategy.cacheResponse; //获取缓存
if (cache != null) {
cache.trackResponse(strategy);
}
// If we’re forbidden from using the network and the cache is insufficient, fail.
//这里表示禁止使用缓存
if (networkRequest == null && cacheResponse == null) {
return new Response.Builder()
.request(chain.request())
.protocol(Protocol.HTTP_1_1)
.code(504)
.message(“Unsatisfiable Request (only-if-cached)”)
.body(Util.EMPTY_RESPONSE)
.sentRequestAtMillis(-1L)
.receivedResponseAtMillis(System.currentTimeMillis())
.build();
}
// If we don’t need the network, we’re done.
//3.直接返回缓存
if (networkRequest == null) {
return cacheResponse.newBuilder()
.cacheResponse(stripBody(cacheResponse))
.build();
}
Response networkResponse = null;
try {
//4.没有缓存,执行下一个拦截器
networkResponse = chain.proceed(networkRequest);
}
// If we have a cache response too, then we’re doing a conditional get.
if (cacheResponse != null) {
if (networkResponse.code() == HTTP_NOT_MODIFIED) {
Response response = cacheResponse.newBuilder()
.headers(combine(cacheResponse.headers(), networkResponse.headers()))
.sentRequestAtMillis(networkResponse.sentRequestAtMillis())
.receivedResponseAtMillis(networkResponse.receivedResponseAtMillis())
.cacheResponse(stripBody(cacheResponse))
.networkResponse(stripBody(networkResponse))
.build();
networkResponse.body().close();
// Update the cache after combining headers but before stripping the
// Content-Encoding header (as performed by initContentStream()).
cache.trackConditionalCacheHit();
//5.更新缓存
cache.update(cacheResponse, response);
return response;
} else {
closeQuietly(cacheResponse.body());
}
}
//…
if (cache != null) {
if (HttpHeaders.hasBody(response) && CacheStrategy.isCacheable(response, networkRequest)) {
// Offer this request to the cache.
//6.保存缓存
CacheRequest cacheRequest = cache.put(response);
return cacheWritingResponse(cacheRequest, response);
}
}
return response;
}
在上面的代码中可以看到,OkHttp首先会取出缓存,然后经过验证处理判断缓存是否可用。流程如下:
- 根据请求(以Request为键值)取出缓存;
- 验证缓存是否可用?可用,则直接返回缓存,否则进行下一步;
- 继续执行下一个拦截器,直到但会结果;
- 如果之前有缓存,则更新缓存,否则新增缓存。
缓存拦截器主要的工作就是处理缓存,知道了大致流程后,我们接下来分析一下OkHttp是如何管理缓存的。首先我们分析缓存如何获取,在代码中可以看到通过cache.get()得到,我们直接跟代码看。
final InternalCache internalCache = new InternalCache() {
@Override public Response get(Request request) throws IOException {
return Cache.this.get(request);
}
@Override public CacheRequest put(Response response) throws IOException {
return Cache.this.put(response);
}
@Override public void remove(Request request) throws IOException {
Cache.this.remove(request);
}
@Override public void update(Response cached, Response network) {
Cache.this.update(cached, network);
}
@Override public void trackConditionalCacheHit() {
Cache.this.trackConditionalCacheHit();
}
@Override public void trackResponse(CacheStrategy cacheStrategy) {
Cache.this.trackResponse(cacheStrategy);
}
};
可以看到,缓存是通过InternalCache管理的,而InternalCache是Cache的内部了类,InternalCache又调用了Cache的方法。我们这里只分析一个get()方法。
@Nullable Response get(Request request) {
String key = key(request.url());
DiskLruCache.Snapshot snapshot;
Entry entry;
try {
snapshot = cache.get(key);
if (snapshot == null) {
return null;
}
} catch (IOException e) {
return null;
}
try {
entry = new Entry(snapshot.getSource(ENTRY_METADATA));
} catch (IOException e) {
Util.closeQuietly(snapshot);
return null;
}
Response response = entry.response(snapshot);
//…
return response;
}
可以看到,缓存是通过DiskLruCache管理,那么不难看出OkHttp的缓存使用了LRU算法管理缓存。接下来,我们分析下OkHttp如何验证缓存。
在上面的代码中,缓存最终来自于CacheStrategy。我们直接分析下那里的代码。
private CacheStrategy getCandidate() {
// No cached response.
if (cacheResponse == null) {
//1.没有缓存,直接返回没有缓存
return new CacheStrategy(request, null);
}
if (request.isHttps() && cacheResponse.handshake() == null) {
//2.没有进行TLS握手,直接返回没有缓存
return new CacheStrategy(request, null);
}
if (!isCacheable(cacheResponse, request)) {
//3.判断是否是可用缓存。这里是根据cache-control的属性配置来判断的
return new CacheStrategy(request, null);
}
CacheControl requestCaching = request.cacheControl();
if (requestCaching.noCache() || hasConditions(request)) {
//4.cache-control:no-cache不接受缓存的资源;根据请求头的"If-Modified-Since"或者"If-None-Match"判断,这两个属性需要到服务端验证后才能判断是否使用缓存,所以这里先不使用缓存
return new CacheStrategy(request, null);
}
CacheControl responseCaching = cacheResponse.cacheControl();
if (responseCaching.immutable()) {
//5.cache-control:imutable 表示响应正文不会随时间而改变,这里直接使用缓存
return new CacheStrategy(null, cacheResponse);
}
long ageMillis = cacheResponseAge();
long freshMillis = computeFreshnessLifetime();
if (requestCaching.maxAgeSeconds() != -1) {
freshMillis = Math.min(freshMillis, SECONDS.toMillis(requestCaching.maxAgeSeconds()));
}
long minFreshMillis = 0;
if (requestCaching.minFreshSeconds() != -1) {
minFreshMillis = SECONDS.toMillis(requestCaching.minFreshSeconds());
}
long maxStaleMillis = 0;
if (!responseCaching.mustRevalidate() && requestCaching.maxStaleSeconds() != -1) {
maxStaleMillis = SECONDS.toMillis(requestCaching.maxStaleSeconds());
}
if (!responseCaching.noCache() && ageMillis + minFreshMillis < freshMillis + maxStaleMillis) {
Response.Builder builder = cacheResponse.newBuilder();
if (ageMillis + minFreshMillis >= freshMillis) {
builder.addHeader(“Warning”, “110 HttpURLConnection “Response is stale””);
}
long oneDayMillis = 24 * 60 * 60 * 1000L;
if (ageMillis > oneDayMillis && isFreshnessLifetimeHeuristic()) {
builder.addHeader(“Warning”, “113 HttpURLConnection “Heuristic expiration””);
}
//6.这里根据时间计算缓存是否过期,如果不过期就使用缓存
return new CacheStrategy(null, builder.build());
}
String conditionName;
String conditionValue;
if (etag != null) {
conditionName = “If-None-Match”;
conditionValue = etag;
} else if (lastModified != null) {
conditionName = “If-Modified-Since”;
conditionValue = lastModifiedString;
} else if (servedDate != null) {
conditionName = “If-Modified-Since”;
conditionValue = servedDateString;
} else {
//7.没有缓存验证条件,需要请求服务端
return new CacheStrategy(request, null); // No condition! Make a regular request.
}
Headers.Builder conditionalRequestHeaders = request.headers().newBuilder();
Internal.instance.addLenient(conditionalRequestHeaders, conditionName, conditionValue);
Request conditionalRequest = request.newBuilder()
.headers(conditionalRequestHeaders.build())
.build();
//8.这里将上面的验证条件加入请求头,继续向服务端发起请求
return new CacheStrategy(conditionalRequest, cacheResponse);
}
从上面的代码可以看到,OkHttp经过很多判断才能确定是否使用缓存。判断过程可以总结为:
- 没有缓存,直接返回没有缓存.
最后
只要是程序员,不管是Java还是Android,如果不去阅读源码,只看API文档,那就只是停留于皮毛,这对我们知识体系的建立和完备以及实战技术的提升都是不利的。
真正最能锻炼能力的便是直接去阅读源码,不仅限于阅读各大系统源码,还包括各种优秀的开源库。

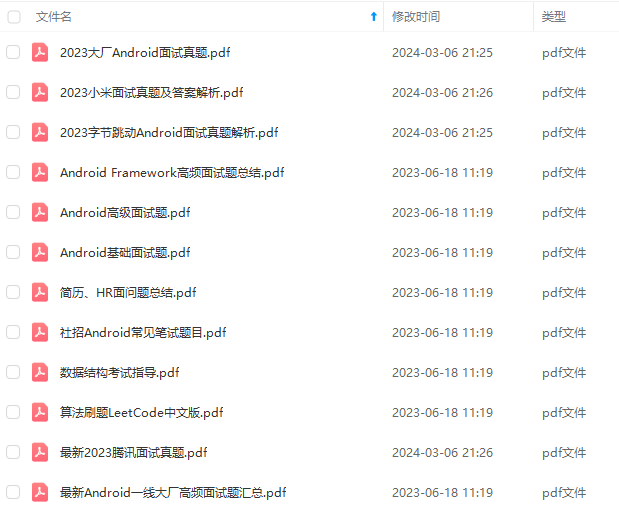
腾讯、字节跳动、阿里、百度等BAT大厂 2019-2021面试真题解析

资料太多,全部展示会影响篇幅,暂时就先列举这些部分截图
网上学习资料一大堆,但如果学到的知识不成体系,遇到问题时只是浅尝辄止,不再深入研究,那么很难做到真正的技术提升。
需要这份系统化的资料的朋友,可以添加V获取:vip204888 (备注Android)

一个人可以走的很快,但一群人才能走的更远!不论你是正从事IT行业的老鸟或是对IT行业感兴趣的新人,都欢迎加入我们的的圈子(技术交流、学习资源、职场吐槽、大厂内推、面试辅导),让我们一起学习成长!
,只看API文档,那就只是停留于皮毛,这对我们知识体系的建立和完备以及实战技术的提升都是不利的。
真正最能锻炼能力的便是直接去阅读源码,不仅限于阅读各大系统源码,还包括各种优秀的开源库。
[外链图片转存中…(img-14izOEgd-1713568004230)]
腾讯、字节跳动、阿里、百度等BAT大厂 2019-2021面试真题解析
[外链图片转存中…(img-xEOUa8TS-1713568004230)]
资料太多,全部展示会影响篇幅,暂时就先列举这些部分截图
网上学习资料一大堆,但如果学到的知识不成体系,遇到问题时只是浅尝辄止,不再深入研究,那么很难做到真正的技术提升。
需要这份系统化的资料的朋友,可以添加V获取:vip204888 (备注Android)
[外链图片转存中…(img-9hsaPTf7-1713568004230)]
一个人可以走的很快,但一群人才能走的更远!不论你是正从事IT行业的老鸟或是对IT行业感兴趣的新人,都欢迎加入我们的的圈子(技术交流、学习资源、职场吐槽、大厂内推、面试辅导),让我们一起学习成长!


 1048
1048


 被折叠的 条评论
为什么被折叠?
被折叠的 条评论
为什么被折叠?
 到【灌水乐园】发言


