


 本文详细解释了Android系统中ActivityRecord的Token生成机制,从ActivityManagerService的startActivity流程到WindowManagerService的校验过程,强调了Android的安全策略。阅读者将理解Token如何在Activity生命周期中扮演关键角色以及为何它受到严格控制。
}
SystemServiceRegistry.getSystemService(this, name) 拿到的是已经提前初始化完成并缓存下来的系统服务,并没有携带任何的 Token。
registerService(Context.WINDOW_SERVICE, WindowManager.class,
new CachedServiceFetcher() {
@Override
public WindowManager createService(ContextImpl ctx) {
return new WindowManagerImpl(ctx);
}});
所以,Android 不允许 Activity 以外的 Context 来创建和显示普通的 Dialog 。 这里的 普通 指的是文章开头示例代码中的普通 Dialog,并非 Toast,System Dialog 等等。Android 系统为了安全考虑,不想在 App 进入后台之后仍然可以弹出 Dialog,这样就会产生可以在其他 App 中弹窗的场景,造成一定的安全隐患。虽然通过 Dialog Theme 的 Activity 仍然可以实现这一需求,但是 Google 也在加强 对后台启动 Activity 的限制。
写到这里,问题似乎已经得到了解答。但是其实我们对于整个 Token 流程还是一片雾水的。试着想一下下面几个问题。
- mToken 是在什么时机,什么地方创建的?
- WMS 是如何拿到 mToken 的?
- WMS 是如何校验 token 的?
- …
真正掌握了这些问题之后,才能形成一个完整的知识闭环,但伴随而来的,是逃避不了的,枯燥乏味的 Read the fucking AOSP 。
谁创建了 Token?
先来看看 Token 到底是个什么样的类。
ActivityRecord.java
static class Token extends IApplicationToken.Stub {
private final WeakReference weakActivity;
private final String name;
Token(ActivityRecord activity, Intent intent) {
weakActivity = new WeakReference<>(activity);
name = intent.getComponent().flattenToShortString();
}
…
}
Token 是 ActivityRecord 的静态内部类,它持有外部 ActivityRecord 的弱引用。继承自 IApplicationToken.Stub ,是一个 Binder 对象。它在 ActivityRecord 的构造函数中初始化。
ActivityRecord.java
ActivityRecord(ActivityManagerService _service, ProcessRecord _caller, int _launchedFromPid,
int _launchedFromUid, String _launchedFromPackage, Intent _intent, String _resolvedType,
ActivityInfo aInfo, Configuration _configuration,
ActivityRecord _resultTo, String _resultWho, int _reqCode,
boolean _componentSpecified, boolean _rootVoiceInteraction,
ActivityStackSupervisor supervisor, ActivityOptions options,
ActivityRecord sourceRecord) {
service = _service;
// 初始化 appToken
appToken = new Token(this, _intent);
…
}
一个 ActivtyRecord 代表一个 Activity 实例, 它包含了 Activity 的所有信息。在 Activity 的启动过程中,当执行到 ActivityStarter.startActivity() 时,会创建待启动的 ActivityRecord 对象,也间接创建了 Token 对象。
ActivityStarter.java
private int startActivity(IApplicationThread caller, Intent intent, Intent ephemeralIntent,
String resolvedType, ActivityInfo aInfo, ResolveInfo rInfo,
IVoiceInteractionSession voiceSession, IVoiceInteractor voiceInteractor,
IBinder resultTo, String resultWho, int requestCode, int callingPid, int callingUid,
String callingPackage, int realCallingPid, int realCallingUid, int startFlags,
SafeActivityOptions options,
boolean ignoreTargetSecurity, boolean componentSpecified, ActivityRecord[] outActivity,
TaskRecord inTask, boolean allowPendingRemoteAnimationRegistryLookup,
PendingIntentRecord originatingPendingIntent) {
…
// 构建 ActivityRecord,其中会初始化 token
ActivityRecord r = new ActivityRecord(mService, callerApp, callingPid, callingUid,
callingPackage, intent, resolvedType, aInfo, mService.getGlobalConfiguration(),
resultRecord, resultWho, requestCode, componentSpecified, voiceSession != null,
mSupervisor, checkedOptions, sourceRecord);
…
return startActivity(r, sourceRecord, voiceSession, voiceInteractor, startFlags,
true /* doResume */, checkedOptions, inTask, outActivity);
}
到这里, ActivityRecord.appToken 已经被赋值。所以 Token 是在 AMS 的 startActivity 流程中创建的。但是 Token 的校验显然是发生在 WMS 中的,所以 AMS 还得把 Token 交到 WMS 。
WMS 是如何拿到 Token 的?
继续跟下去,startActivity() 最后会调用到 ActivityStack.startActivityLocked(),这个方法就是把 Token 给到 WMS 的关键。
ActivityStack.java
void startActivityLocked(ActivityRecord r, ActivityRecord focusedTopActivity,
boolean newTask, boolean keepCurTransition, ActivityOptions options) {
…
if (r.getWindowContainerController() == null) {
// 创建 AppWindowContainerController 对象,其中包含 token 对象
r.createWindowContainer();
…
}
其他代码都省略了,重点关注 r.createWindowContainer(),这里的 r 就是一开始创建的 ActivityRecord 对象。
ActivityRecord.java
void createWindowContainer() {
if (mWindowContainerController != null) {
throw new IllegalArgumentException(“Window container=” + mWindowContainerController
- " already created for r=" + this);
}
inHistory = true;
final TaskWindowContainerController taskController = task.getWindowContainerController();
…
// 构造函数中会调用 createAppWindow() 创建 AppWindowToken 对象
mWindowContainerController = new AppWindowContainerController(taskController, appToken,
this, Integer.MAX_VALUE /* add on top */, info.screenOrientation, fullscreen,
(info.flags & FLAG_SHOW_FOR_ALL_USERS) != 0, info.configChanges,
task.voiceSession != null, mLaunchTaskBehind, isAlwaysFocusable(),
appInfo.targetSdkVersion, mRotationAnimationHint,
ActivityManagerService.getInputDispatchingTimeoutLocked(this) * 1000000L);
task.addActivityToTop(this);
…
}
在 AppWindowContainerController 的构造函数中传入了之前已经初始化过的 appToken 。
AppWindowContainerController.java
public AppWindowContainerController(TaskWindowContainerController taskController,
IApplicationToken token, AppWindowContainerListener listener, int index,
int requestedOrientation, boolean fullscreen, boolean showForAllUsers, int configChanges,
boolean voiceInteraction, boolean launchTaskBehind, boolean alwaysFocusable,
int targetSdkVersion, int rotationAnimationHint, long inputDispatchingTimeoutNanos,
WindowManagerService service) {
super(listener, service);
mHandler = new H(service.mH.getLooper());
mToken = token;
synchronized(mWindowMap) {
…
atoken = createAppWindow(mService, token, voiceInteraction, task.getDisplayContent(),
inputDispatchingTimeoutNanos, fullscreen, showForAllUsers, targetSdkVersion,
requestedOrientation, rotationAnimationHint, configChanges, launchTaskBehind,
alwaysFocusable, this);
…
}
}
createAppWindow() 方法中会创建 AppWindowToken 对象,注意传入的 token 参数。
AppWindowContainerController.java
AppWindowToken createAppWindow(WindowManagerService service, IApplicationToken token,
boolean voiceInteraction, DisplayContent dc, long inputDispatchingTimeoutNanos,
boolean fullscreen, boolean showForAllUsers, int targetSdk, int orientation,
int rotationAnimationHint, int configChanges, boolean launchTaskBehind,
boolean alwaysFocusable, AppWindowContainerController controller) {
return new AppWindowToken(service, token, voiceInteraction, dc,
inputDispatchingTimeoutNanos, fullscreen, showForAllUsers, targetSdk, orientation,
rotationAnimationHint, configChanges, launchTaskBehind, alwaysFocusable,
controller);
}
AppWindowToken.java
AppWindowToken(WindowManagerService service, IApplicationToken token, boolean voiceInteraction,
DisplayContent dc, boolean fillsParent) {
// 父类是 WindowToken
super(service, token != null ? token.asBinder() : null, TYPE_APPLICATION, true, dc,
false /* ownerCanManageAppTokens */);
appToken = token;
mVoiceInteraction = voiceInteraction;
mFillsParent = fillsParent;
mInputApplicationHandle = new InputApplicationHandle(this);
}
这里调用了父类的构造函数,AppWindowToken 的父类是 WindowToken 。
WindowToken.java
WindowToken(WindowManagerService service, IBinder _token, int type, boolean persistOnEmpty,
DisplayContent dc, boolean ownerCanManageAppTokens, boolean roundedCornerOverlay) {
super(service);
token = _token;
windowType = type;
mPersistOnEmpty = persistOnEmpty;
mOwnerCanManageAppTokens = ownerCanManageAppTokens;
mRoundedCornerOverlay = roundedCornerOverlay;
// 接着跟进去
onDisplayChanged(dc);
}
WindowToken.java
void onDisplayChanged(DisplayContent dc) {
// 调用 DisplayContent.reParentWindowToken()
dc.reParentWindowToken(this);
mDisplayContent = dc;
…
}
DisplayContent.java
void reParentWindowToken(WindowToken token) {
…
addWindowToken(token.token, token);
}
private void addWindowToken(IBinder binder, WindowToken token) {
…
// mTokenMap 是一个 HashMap<IBinder, WindowToken>,
mTokenMap.put(binder, token);
…
}
mTokenMap 是一个 HashMap<IBinder, WindowToken> 对象,保存了 WindowToken 以及其 Token 信息。我们从 AMS 启动 Activity 一路追到这里,其实已经走到了 WMS 的逻辑。AMS 和 WMS 都是运行在 system_server 进程的,并不存在 binder 调用。AMS 就是按照上面的调用链把 Token 传递给了 WMS 。
再来一张清晰的流程图总结一下 Token 从 AMS 传递到 WMS 的整个流程:

WMS 是如何校验 Token 的?
其实一直很纠结源码解析类的文章应该怎么写。单纯说思想,但对很多人来说并不够;源码说多了,文章又显得枯燥乏味。大家有好的建议可以在评论区聊一聊。
这一块的源码我就不在文章里一点一点追了。大家可以对着下面的流程图自己啃一下源码。从 Dialog.show() 开始,最后走到 WindowManagerService.addwWindow() 。

在 WMS.addWindow() 方法中就会对 Token 进行校验,这一块来看一下源码。
public int addWindow(Session session, IWindow client, int seq,
LayoutParams attrs, int viewVisibility, int displayId, Rect outFrame,
Rect outContentInsets, Rect outStableInsets, Rect outOutsets,
DisplayCutout.ParcelableWrapper outDisplayCutout, InputChannel outInputChannel) {
…
AppWindowToken atoken = null;
final boolean hasParent = parentWindow != null;
// 获取 WindowToken
WindowToken token = displayContent.getWindowToken(
hasParent ? parentWindow.mAttrs.token : attrs.token);
if (token == null) {
if (rootType >= FIRST_APPLICATION_WINDOW && rootType <= LAST_APPLICATION_WINDOW) {
Slog.w(TAG_WM, "Attempted to add application window with unknown token "
- attrs.token + “. Aborting.”);
return WindowManagerGlobal.ADD_BAD_APP_TOKEN;
}
…
} else {
…
}
…
}
通过 DisplayContent.getWindowToken() 方法获取 WindowToken 对象之后,会对其进行一系列校验工作。看到 DisplayContent ,你应该能想到就是从上面提到过的 mTokenMap 集合中取值了。我们来看一看源码实现。
DisplayContent.java
自我介绍一下,小编13年上海交大毕业,曾经在小公司待过,也去过华为、OPPO等大厂,18年进入阿里一直到现在。
深知大多数初中级Android工程师,想要提升技能,往往是自己摸索成长或者是报班学习,但对于培训机构动则近万的学费,着实压力不小。自己不成体系的自学效果低效又漫长,而且极易碰到天花板技术停滞不前!
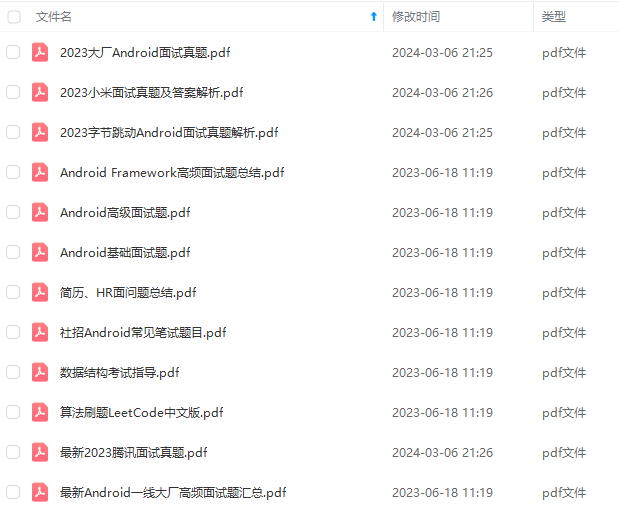
因此收集整理了一份《2024年Android移动开发全套学习资料》,初衷也很简单,就是希望能够帮助到想自学提升又不知道该从何学起的朋友,同时减轻大家的负担。

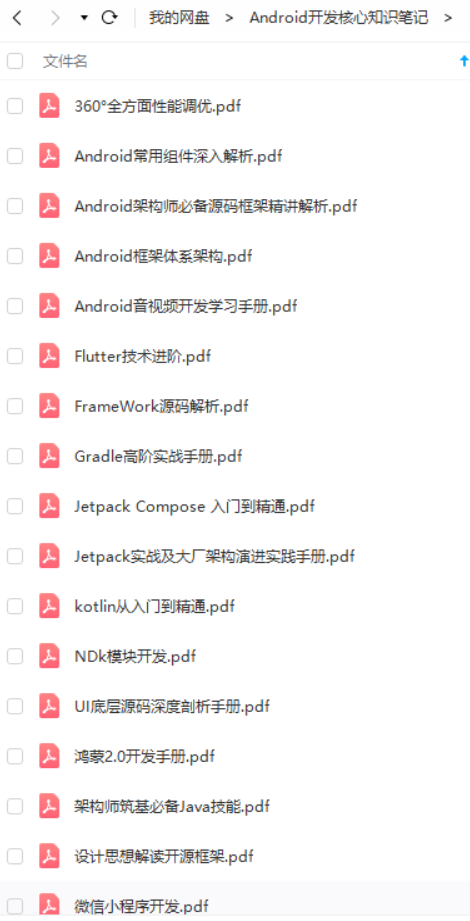
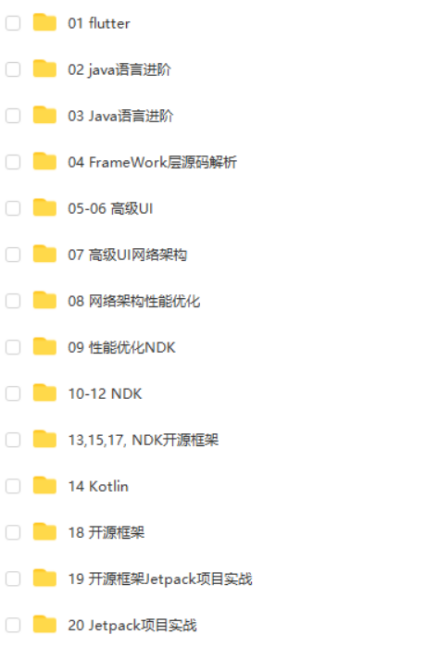
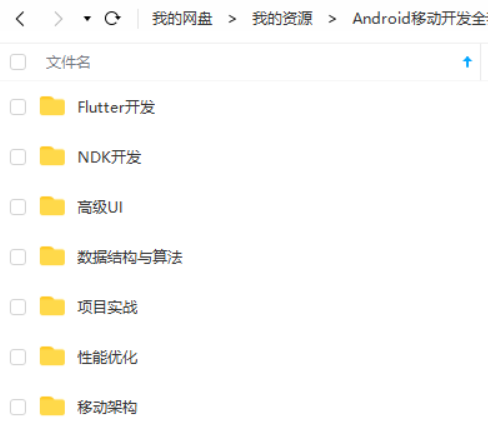
既有适合小白学习的零基础资料,也有适合3年以上经验的小伙伴深入学习提升的进阶课程,基本涵盖了95%以上Android开发知识点,真正体系化!
由于文件比较大,这里只是将部分目录截图出来,每个节点里面都包含大厂面经、学习笔记、源码讲义、实战项目、讲解视频,并且会持续更新!
如果你觉得这些内容对你有帮助,可以扫码获取!!(备注:Android)

如果你进阶的路上缺乏方向,可以加入我们的圈子和安卓开发者们一起学习交流!
-
Android进阶学习全套手册

-
Android对标阿里P7学习视频

-
BATJ大厂Android高频面试题

最后,借用我最喜欢的乔布斯语录,作为本文的结尾:
人这一辈子没法做太多的事情,所以每一件都要做得精彩绝伦。
你的时间有限,所以不要为别人而活。不要被教条所限,不要活在别人的观念里。不要让别人的意见左右自己内心的声音。
最重要的是,勇敢的去追随自己的心灵和直觉,只有自己的心灵和直觉才知道你自己的真实想法,其他一切都是次要。
《互联网大厂面试真题解析、进阶开发核心学习笔记、全套讲解视频、实战项目源码讲义》点击传送门即可获取!
题
[外链图片转存中…(img-ak6eBB7h-1713290479860)]
最后,借用我最喜欢的乔布斯语录,作为本文的结尾:
人这一辈子没法做太多的事情,所以每一件都要做得精彩绝伦。
你的时间有限,所以不要为别人而活。不要被教条所限,不要活在别人的观念里。不要让别人的意见左右自己内心的声音。
最重要的是,勇敢的去追随自己的心灵和直觉,只有自己的心灵和直觉才知道你自己的真实想法,其他一切都是次要。
《互联网大厂面试真题解析、进阶开发核心学习笔记、全套讲解视频、实战项目源码讲义》点击传送门即可获取!


 490
490

 被折叠的 条评论
为什么被折叠?
被折叠的 条评论
为什么被折叠?
 到【灌水乐园】发言


