


 本文详细介绍了如何在RecyclerView中实现自定义ItemDecoration以支持分组功能和粘性头部效果,包括重写getItemOffsets和onDraw方法,以及处理分组逻辑和测量View尺寸。
@Override
public void buildGroupView(View groupView, GroupItem groupItem) {
//构建groupView,通过groupView.findViewById找到内部控件(暂不支持点击事件等),例如
TextView textName = (TextView) groupView.findViewById(R.id.text_name);
textName.setText(groupItem.getData(“name”).toString());
}
}));
如果还是不清楚可以去看下demo
实现思路
在我们自定义ItemDecoration之前首先得了解ItemDecoration有什么用,不清楚的可以看下这两篇博客
简单来说,我们实现分组及粘性头部效果分三步
- 重写ItemDecoration.getItemOffsets在RecyclerView中为GroupView预留位置
- 重写ItemDecoration.onDraw在上一步预留的位置中绘制GroupView
- 重写ItemDecoration.onDrawOver绘制顶部悬停的GroupView(粘性头部)
我们按顺序一步步讲,首先,创建GroupItemDecoration继承自ItemDecoration,在初始化方法中获取用户设置的GroupView,并提供接口给用户设置分组相关
public class GroupItemDecoration extends RecyclerView.ItemDecoration {
private Context context;
private View groupView;
private DecorationCallback decorationCallback;
public GroupItemDecoration(Context context,View groupView,DecorationCallback decorationCallback) {
this.context = context;
this.groupView = groupView;
this.decorationCallback = decorationCallback;
}
public interface DecorationCallback {
/**
- 设置分组
- @param groupList
*/
void setGroup(List groupList);
/**
- 构建GroupView
- @param groupView
- @param groupItem
*/
void buildGroupView(View groupView, GroupItem groupItem);
}
}
然后重写getItemOffsets方法,根据用户设置的分组为GroupView预留位置,其中最主要的是测量出GroupView的宽高和位置。measureView方法中按着View的绘制顺序调用View.measure和View.layout,只有先完成了这两步,才能将View绘制到屏幕上,关于如何测量View大家可以看下这篇博客Android如何在初始化的时候获取加载的布局的宽高。接下来是具体的实现代码
public class GroupItemDecoration extends RecyclerView.ItemDecoration {
//省略部分代码…
private List groupList = new ArrayList<>();//用户设置的分组列表
private Map<Object,GroupItem> groups = new HashMap<>();//保存startPosition与分组对象的对应关系
private int[] groupPositions;//保存分组startPosition的数组
private int positionIndex;//分组对应的startPosition在groupPositions中的索引
@Override
public void getItemOffsets(Rect outRect, View view, RecyclerView parent, RecyclerView.State state) {
super.getItemOffsets(outRect, view, parent, state);
if(!isLinearAndVertical(parent)){//若RecyclerView类型不是LinearLayoutManager.VERTICAL,跳出(下同)
return;
}
if(isFirst){
measureView(groupView,parent);//绘制View需要先测量View的大小及相应的位置
decorationCallback.setGroup(groupList);//获取用户设置的分组列表
if(groupList.size()==0){//若用户没有设置分组,跳出(下同)
return;
}
groupPositions = new int[groupList.size()];
positionIndex = 0;
int a = 0;
for(int i=0;i<groupList.size();i++){//保存groupItem与其startPosition的对应关系
int p = groupList.get(i).getStartPosition();
if(groups.get§==null){
groups.put(p,groupList.get(i));
groupPositions[a] = p;
a++;
}
}
isFirst = false;
}
int position = parent.getChildAdapterPosition(view);
if(groups.get(position)!=null){
//若RecyclerView中该position对应的childView之前需要绘制groupView,则为其预留相应的高度空间
outRect.top = groupViewHeight;
}
}
/**
- 测量View的大小和位置
- @param view
- @param parent
*/
private void measureView(View view,View parent){
if (view.getLayoutParams() == null) {
view.setLayoutParams(new ViewGroup.LayoutParams(
ViewGroup.LayoutParams.WRAP_CONTENT, ViewGroup.LayoutParams.WRAP_CONTENT));
}
int widthSpec = View.MeasureSpec.makeMeasureSpec(parent.getWidth(), View.MeasureSpec.EXACTLY);
int childWidth = ViewGroup.getChildMeasureSpec(widthSpec,
parent.getPaddingLeft() + parent.getPaddingRight(), view.getLayoutParams().width);
int childHeight;
if(view.getLayoutParams().height > 0){
childHeight = View.MeasureSpec.makeMeasureSpec(view.getLayoutParams().height, View.MeasureSpec.EXACTLY);
} else {
childHeight = View.MeasureSpec.makeMeasureSpec(0, View.MeasureSpec.UNSPECIFIED);//未指定
}
view.measure(childWidth, childHeight);
view.layout(0,0,view.getMeasuredWidth(),view.getMeasuredHeight());
groupViewHeight = view.getMeasuredHeight();
}
/**
- 判断LayoutManager类型,目前GroupItemDecoration仅支持LinearLayoutManager.VERTICAL
- @param parent
- @return
*/
private boolean isLinearAndVertical(RecyclerView parent){
RecyclerView.LayoutManager layoutManager = parent.getLayoutManager();
if (!(layoutManager instanceof LinearLayoutManager)) {
return false;
}else {
if(((LinearLayoutManager) layoutManager).getOrientation()
!= LinearLayoutManager.VERTICAL){
return false;
}
}
return true;
}
}
在RecyclerView为GroupView预留了空间后,我们需要重写onDraw方法将其绘制出来。为了保证将所有用户设置的分组都绘制出来,我们要遍历RecyclerView所有的childView,当循环到该childView的position能找到对应的GroupItem时,便在该childView的上方绘制出GroupView(该位置正是之前预留的空间),具体代码如下
@Override
public void onDraw(Canvas c, RecyclerView parent, RecyclerView.State state) {
super.onDraw(c, parent, state);
if(groupList.size()==0 || !isLinearAndVertical(parent)){
return;
}
int childCount = parent.getChildCount();
for (int i = 0; i < childCount; i++) {
View child = parent.getChildAt(i);
float left = child.getLeft();
float top = child.getTop();
int position = parent.getChildAdapterPosition(child);
if(groups.get(position)!=null){
c.save();
c.translate(left,top - groupViewHeight);//将画布起点移动到之前预留空间的左上角
decorationCallback.buildGroupView(groupView,groups.get(position));//通过接口回调得知GroupView内部控件的数据
measureView(groupView,parent);//因为内部控件设置了数据,所以需要重新测量View
groupView.draw©;
c.restore();
}
}
}
接下来是绘制粘性头部,由两部分特效构成
- 保持当前childView对应的分组GroupView始终保持在RecyclerView顶部
- 当用户滑动RecyclerView使得上一组或下一组的GroupView“碰撞”到顶部的GroupView时,将会朝用户滑动的方向将其推开
推动特效主要是通过相邻组GroupView的top位置关系来实现,为了更好地理解相邻组的关系及接下来的代码逻辑,博主简单介绍一下分组逻辑:
RecyclerView可视范围(当前屏幕中显示的)内的分组划分为“上一组(pre)”、“当前组(cur)”和“下一组(next)”,这三组的划分依据如下
- next组由cur组决定,跟在cur组后的那一组就是next组
- RecyclerView最上方的childView如果是某组的第一个child,则该组为cur组,若该childView完全离开屏幕,则该组为pre组,按顺序其后面的组就为cur组
具体代码如下(表达能力有限,实在没搞明白的童鞋可以调试一下代码看看各个判断分支的跳入时机):
@Override
public void onDrawOver(Canvas c, RecyclerView parent, RecyclerView.State state) {
super.onDrawOver(c, parent, state);
if(groupList.size()==0 || !isStickyHeader || !isLinearAndVertical(parent)){
return;
}
int childCount = parent.getChildCount();
Map<Object,Object> map = new HashMap<>();
//遍历当前可见的childView,找到当前组和下一组并保存其position索引和GroupView的top位置
for (int i = 0; i < childCount; i++) {
View child = parent.getChildAt(i);
float top = child.getTop();
int position = parent.getChildAdapterPosition(child);
if(groups.get(position)!=null){
positionIndex = searchGroupIndex(groupPositions,position);
if(map.get(“cur”)==null){
map.put(“cur”, positionIndex);
map.put(“curTop”,top);
}else {
if(map.get(“next”)==null){
map.put(“next”, positionIndex);
map.put(“nextTop”,top);
}
}
}
}
c.save();
if(map.get(“cur”)!=null){//如果当前组不为空,说明RecyclerView可见部分至少有一个GroupView
indexCache = (int)map.get(“cur”);
float curTop = (float)map.get(“curTop”);
if(curTop-groupViewHeight<=0){//保持当前组GroupView一直在顶部
curTop = 0;
}else {
map.put(“pre”,(int)map.get(“cur”)-1);
if(curTop - groupViewHeight < groupViewHeight){//判断与上一组的碰撞,推动当前的顶部GroupView
curTop = curTop - groupViewHeight*2;
}else {
curTop = 0;
}
indexCache = (int)map.get(“pre”);
}
if(map.get(“next”)!=null){
float nextTop = (float)map.get(“nextTop”);
if(nextTop - groupViewHeight < groupViewHeight){//判断与下一组的碰撞,推动当前的顶部GroupView
curTop = nextTop - groupViewHeight*2;
}
}
c.translate(0,curTop);
自我介绍一下,小编13年上海交大毕业,曾经在小公司待过,也去过华为、OPPO等大厂,18年进入阿里一直到现在。
深知大多数初中级Android工程师,想要提升技能,往往是自己摸索成长或者是报班学习,但对于培训机构动则近万的学费,着实压力不小。自己不成体系的自学效果低效又漫长,而且极易碰到天花板技术停滞不前!
因此收集整理了一份《2024年Android移动开发全套学习资料》,初衷也很简单,就是希望能够帮助到想自学提升又不知道该从何学起的朋友,同时减轻大家的负担。
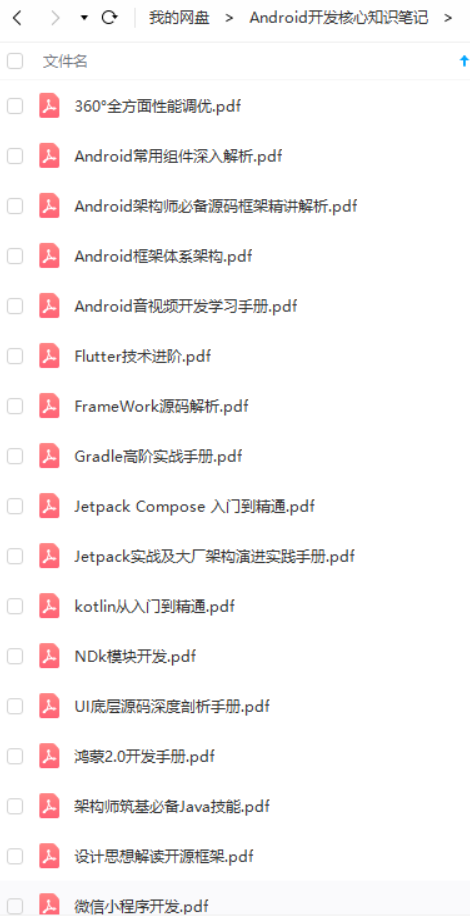
既有适合小白学习的零基础资料,也有适合3年以上经验的小伙伴深入学习提升的进阶课程,基本涵盖了95%以上Android开发知识点,真正体系化!
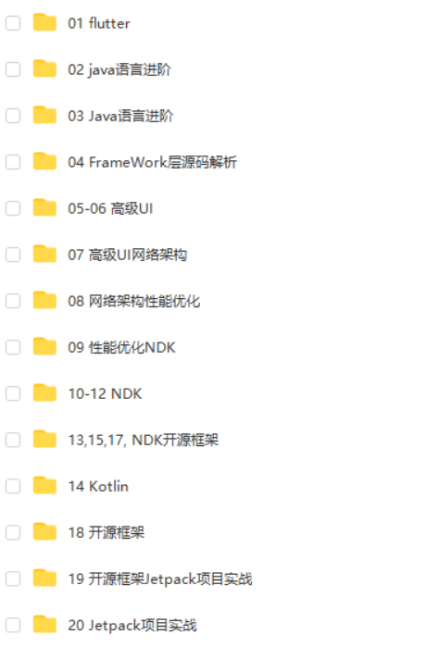
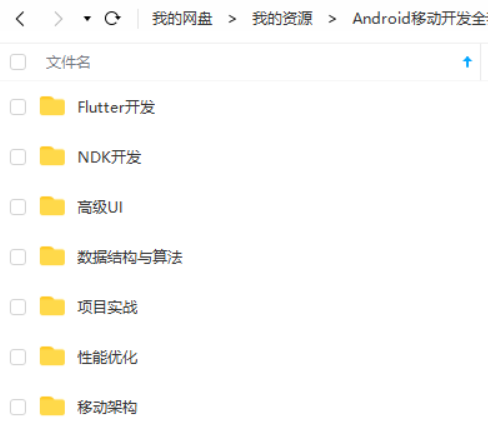
由于文件比较大,这里只是将部分目录截图出来,每个节点里面都包含大厂面经、学习笔记、源码讲义、实战项目、讲解视频,并且会持续更新!
如果你觉得这些内容对你有帮助,可以扫码获取!!(备注:Android)

总结
笔者之前工作是在金融公司可能并不是特别追求技术,而笔者又是喜欢追求技术的人,所以格格不入,只能把目标放在互联网大厂了。也希望大家都去敢于尝试和追逐自己的梦想!
BATJ大厂Android高频面试题


觉得有收获的记得点赞,关注+收藏哦!你们的点赞就是我的动力!
《互联网大厂面试真题解析、进阶开发核心学习笔记、全套讲解视频、实战项目源码讲义》点击传送门即可获取!
图片转存中…(img-6iEC7MIZ-1713731946066)]
[外链图片转存中…(img-rSuGLXhi-1713731946067)]
[外链图片转存中…(img-3hGc6WUl-1713731946068)]
觉得有收获的记得点赞,关注+收藏哦!你们的点赞就是我的动力!
《互联网大厂面试真题解析、进阶开发核心学习笔记、全套讲解视频、实战项目源码讲义》点击传送门即可获取!


 741
741

 被折叠的 条评论
为什么被折叠?
被折叠的 条评论
为什么被折叠?
 到【灌水乐园】发言


