


收集整理了一份《2024年最新Python全套学习资料》免费送给大家,初衷也很简单,就是希望能够帮助到想自学提升又不知道该从何学起的朋友。


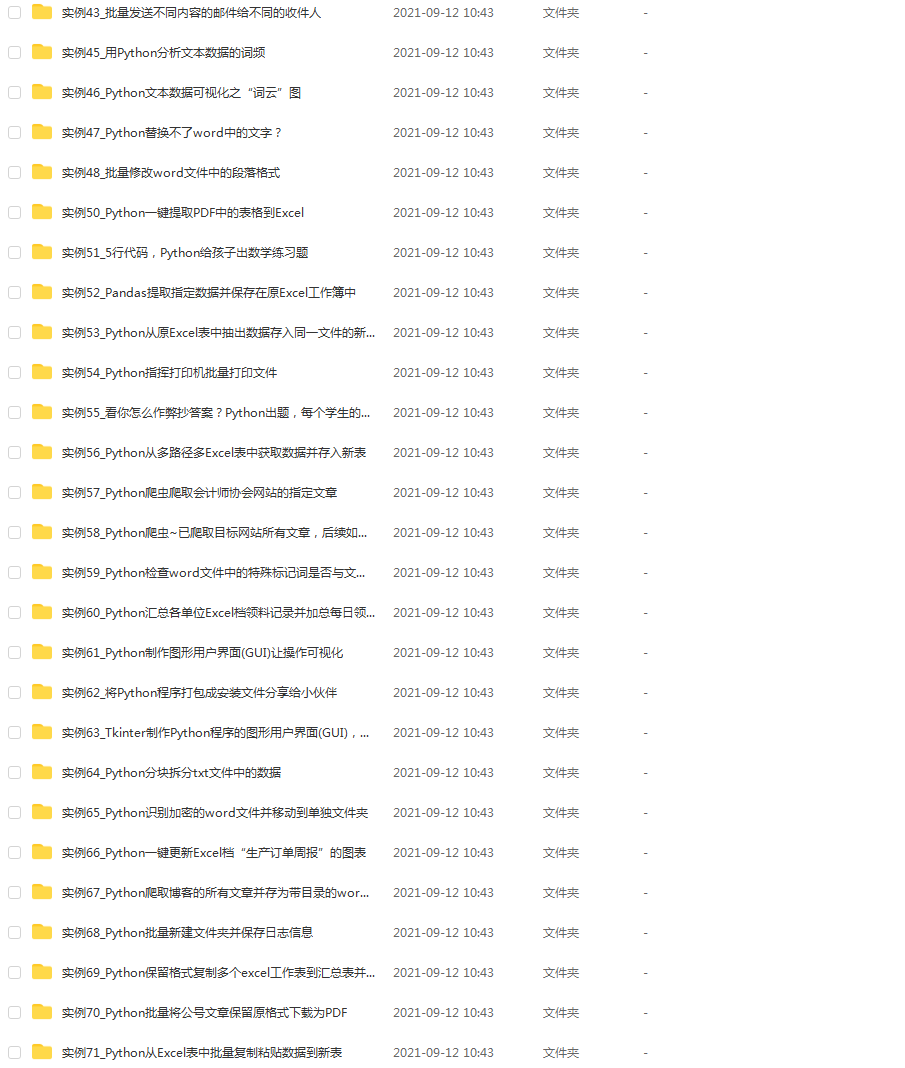
既有适合小白学习的零基础资料,也有适合3年以上经验的小伙伴深入学习提升的进阶课程,涵盖了95%以上Python知识点,真正体系化!
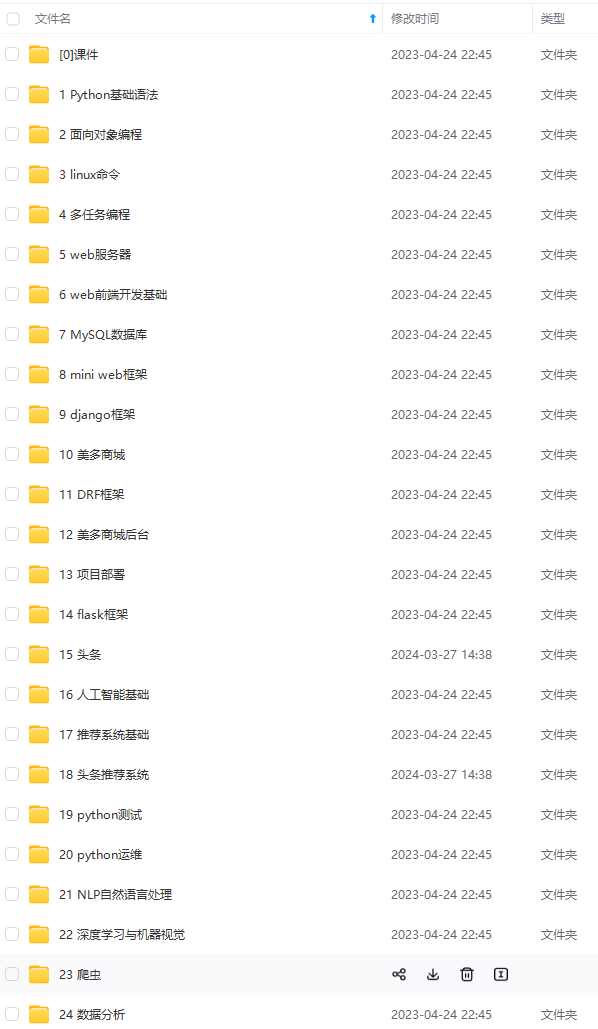
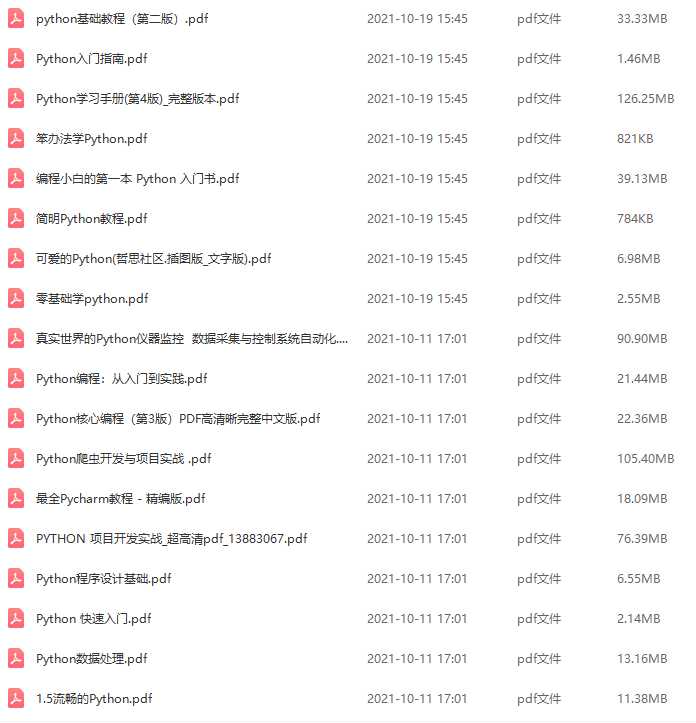
由于文件比较多,这里只是将部分目录截图出来
如果你需要这些资料,可以添加V无偿获取:hxbc188 (备注666)

正文
2.在items.py文件中创建相应的字段:
-- coding: utf-8 --
Define here the models for your scraped items
See documentation in:
https://docs.scrapy.org/en/latest/topics/items.html
import scrapy
class BaiduimgsItem(scrapy.Item):
define the fields for your item here like:
name = scrapy.Field()
img_data=scrapy.Field()
3.编写管道文件pipelines.py:
-- coding: utf-8 --
Define your item pipelines here
Don’t forget to add your pipeline to the ITEM_PIPELINES setting
See: https://docs.scrapy.org/en/latest/topics/item-pipeline.html
import os
class BaiduimgsPipeline(object):
num=0
def process_item(self, item, spider):
if not os.path.exists(“dir_pipe”):
os.mkdir(“dir_pipe”)
filename=“dir_pipe/%s.jpg”%self.num
self.num+=1
img_data=item[“img_data”]
with open(filename,“wb”) as f:
f.write(img_data)
return item
注意:要在settings.py文件中开启管道!!!
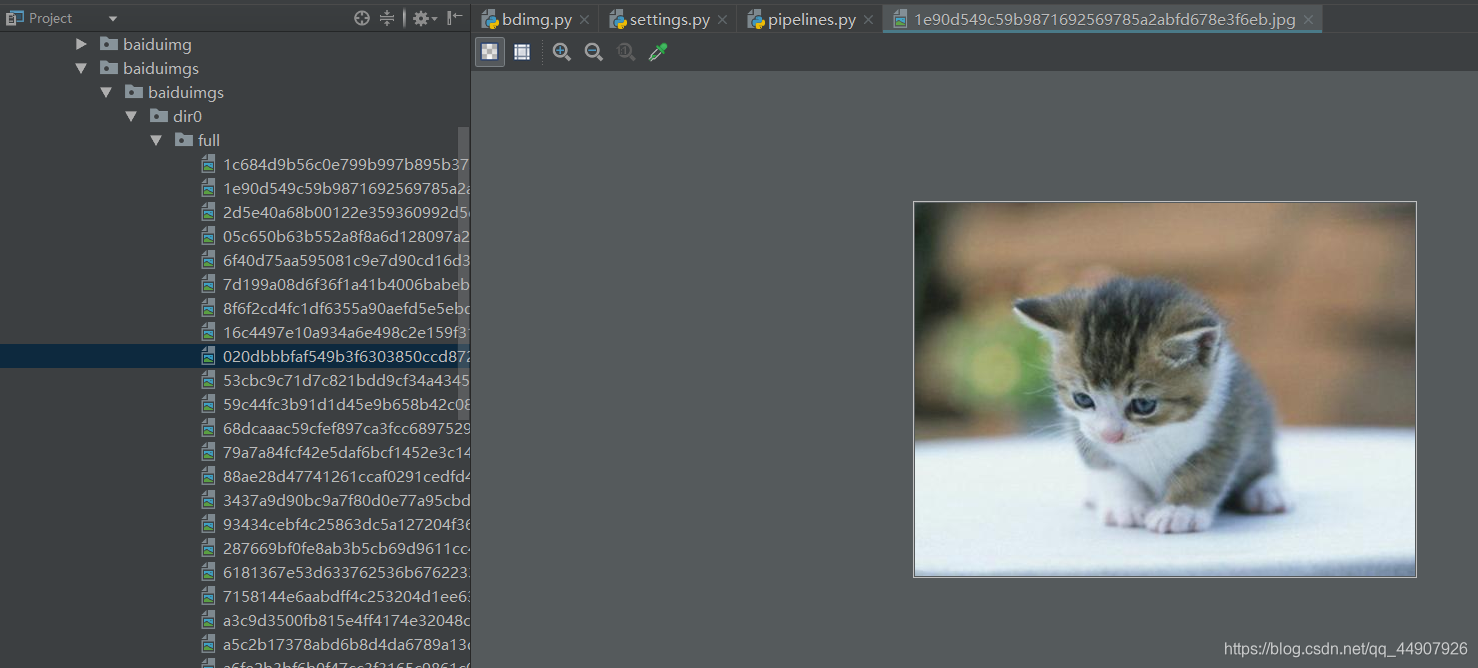
4.效果:
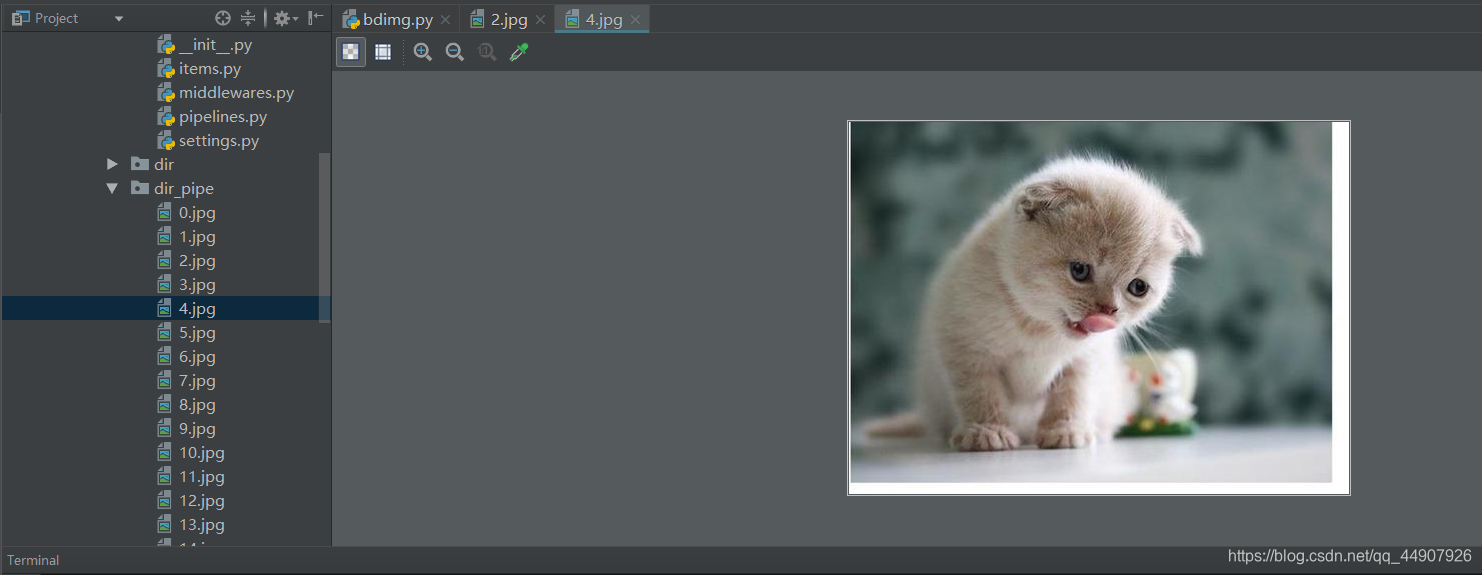
其中:有个get_img()回调函数,前面学习可知回调函数必须有,但是我们仔细观察这两个爬虫文件,会发现里面的这个回调函数作用不大,我们的目标就直接是图片数据,而不需要再进行额外的一系列的提取,所以:这个回调函数明显累赘了,那么:有么有方法可以简化嘞!!!
1.爬虫文件改为:
-- coding: utf-8 --
import scrapy
import re
import os
from …items import BaiduimgsPipeItem
class BdimgSpider(scrapy.Spider):
name = ‘bdimgs’
allowed_domains = [‘image.baidu.com’]
start_urls = [‘https://image.baidu.com/search/index?tn=baiduimage&ipn=r&ct=201326592&cl=2&lm=-1&st=-1&sf=1&fmq=&pv=&ic=0&nc=1&z=&se=1&showtab=0&fb=0&width=&height=&face=0&istype=2&ie=utf-8&fm=index&pos=history&word=%E7%8C%AB%E5%92%AA’]
def parse(self, response):
text=response.text
image_urls=re.findall(‘“thumbURL”:“(.*?)”’,text)
注意:此处给字段的值是图片的URL!!!
item=BaiduimgsPipeItem()
item[“image_urls”]=image_urls
yield item
2.编写items.py文件:(注意:使用媒体管道类的话,这个字段名必须是image_urls,因为源码中默认的字段名就是这个!!!)
-- coding: utf-8 --
Define here the models for your scraped items
See documentation in:
https://docs.scrapy.org/en/latest/topics/items.html
import scrapy
class BaiduimgsPipeItem(scrapy.Item):
define the fields for your item here like:
name = scrapy.Field()
image_urls=scrapy.Field()
3.注意:这样做的话,pipelines.py文件里就不再需要进行编写,直接在settings.py进行以下两步操作即可:(重点:表面上没有使用管道,因为咱pipelines.py文件没有进行任何操作,但是实际上由于咱使用了特定的字段名,在暗地里咱使用了媒体管道类!!!)
Configure item pipelines
See https://docs.scrapy.org/en/latest/topics/item-pipeline.html
ITEM_PIPELINES = {
‘baiduimgs.pipelines.BaiduimgsPipeline’: 300,
‘scrapy.pipelines.images.ImagesPipeline’: 300, # 注意:一定要开启此pipeline管道!
}
注意:一定要指定媒体管道存储的路径!
IMAGES_STORE = r’C:/my/pycharm_work/爬虫/baiduimgs/baiduimgs/dir0’
4.效果:
======================================================================
(源码的说明:
Abstract pipeline that implement the image thumbnail generation logic
实现图像缩略图生成逻辑的抽象管道
简言之:专门处理媒体文件图片生成的一套方法)
媒体管道都实现了以下特性:
1.避免重新下载最近下载的媒体
2.指定存储位置(文件系统目录,Amazon S3 bucket,谷歌云存储bucket)
3.图像管道具有一些额外的图像处理功能:
(1)将所有下载的图片转换为通用格式(JPG)和模式(RGB)
(2)生成缩略图
(3)检查图像的宽度/高度,进行最小尺寸过滤
(from scrapy.pipelines.images import ImagesPipeline这样子查看源码!!!)
“”"
Images Pipeline
See documentation in topics/media-pipeline.rst
“”"
import functools
import hashlib
from io import BytesIO
from PIL import Image
from scrapy.utils.misc import md5sum
from scrapy.utils.python import to_bytes
from scrapy.http import Request
from scrapy.settings import Settings
from scrapy.exceptions import DropItem
#TODO: from scrapy.pipelines.media import MediaPipeline
from scrapy.pipelines.files import FileException, FilesPipeline
class NoimagesDrop(DropItem):
“”“Product with no images exception”“”
class ImageException(FileException):
“”“General image error exception”“”
class ImagesPipeline(FilesPipeline):
“”"Abstract pipeline that implement the image thumbnail generation logic
实现图像缩略图生成逻辑的抽象管道
“”"
MEDIA_NAME = ‘image’
Uppercase attributes kept for backward compatibility with code that subclasses
ImagesPipeline. They may be overridden by settings.
MIN_WIDTH = 0
MIN_HEIGHT = 0
EXPIRES = 90
THUMBS = {}
DEFAULT_IMAGES_URLS_FIELD = ‘image_urls’
DEFAULT_IMAGES_RESULT_FIELD = ‘images’
def init(self, store_uri, download_func=None, settings=None):
super(ImagesPipeline, self).init(store_uri, settings=settings,
download_func=download_func)
解析settings.py里的配置字段
if isinstance(settings, dict) or settings is None:
settings = Settings(settings)
resolve = functools.partial(self._key_for_pipe,
base_class_name=“ImagesPipeline”,
settings=settings)
self.expires = settings.getint(
resolve(“IMAGES_EXPIRES”), self.EXPIRES
)
if not hasattr(self, “IMAGES_RESULT_FIELD”):
self.IMAGES_RESULT_FIELD = self.DEFAULT_IMAGES_RESULT_FIELD
if not hasattr(self, “IMAGES_URLS_FIELD”):
self.IMAGES_URLS_FIELD = self.DEFAULT_IMAGES_URLS_FIELD
self.images_urls_field = settings.get(
resolve(‘IMAGES_URLS_FIELD’),
self.IMAGES_URLS_FIELD
)
self.images_result_field = settings.get(
resolve(‘IMAGES_RESULT_FIELD’),
self.IMAGES_RESULT_FIELD
)
self.min_width = settings.getint(
resolve(‘IMAGES_MIN_WIDTH’), self.MIN_WIDTH
)
self.min_height = settings.getint(
resolve(‘IMAGES_MIN_HEIGHT’), self.MIN_HEIGHT
)
self.thumbs = settings.get(
resolve(‘IMAGES_THUMBS’), self.THUMBS
)
@classmethod
def from_settings(cls, settings):
s3store = cls.STORE_SCHEMES[‘s3’]
s3store.AWS_ACCESS_KEY_ID = settings[‘AWS_ACCESS_KEY_ID’]
s3store.AWS_SECRET_ACCESS_KEY = settings[‘AWS_SECRET_ACCESS_KEY’]
s3store.AWS_ENDPOINT_URL = settings[‘AWS_ENDPOINT_URL’]
s3store.AWS_REGION_NAME = settings[‘AWS_REGION_NAME’]
s3store.AWS_USE_SSL = settings[‘AWS_USE_SSL’]
s3store.AWS_VERIFY = settings[‘AWS_VERIFY’]
s3store.POLICY = settings[‘IMAGES_STORE_S3_ACL’]
gcs_store = cls.STORE_SCHEMES[‘gs’]
gcs_store.GCS_PROJECT_ID = settings[‘GCS_PROJECT_ID’]
gcs_store.POLICY = settings[‘IMAGES_STORE_GCS_ACL’] or None
ftp_store = cls.STORE_SCHEMES[‘ftp’]
ftp_store.FTP_USERNAME = settings[‘FTP_USER’]
ftp_store.FTP_PASSWORD = settings[‘FTP_PASSWORD’]
ftp_store.USE_ACTIVE_MODE = settings.getbool(‘FEED_STORAGE_FTP_ACTIVE’)
store_uri = settings[‘IMAGES_STORE’]
return cls(store_uri, settings=settings)
图片下载
def file_downloaded(self, response, request, info):
return self.image_downloaded(response, request, info)
def image_downloaded(self, response, request, info):
checksum = None
for path, image, buf in self.get_images(response, request, info):
if checksum is None:
buf.seek(0)
checksum = md5sum(buf)
width, height = image.size
self.store.persist_file(
path, buf, info,
meta={‘width’: width, ‘height’: height},
headers={‘Content-Type’: ‘image/jpeg’})
return checksum
图片获取 包含了图片大小的过滤,缩略图的生成!
def get_images(self, response, request, info):
path = self.file_path(request, response=response, info=info)
orig_image = Image.open(BytesIO(response.body))
width, height = orig_image.size
if width < self.min_width or height < self.min_height: #图片大小的过滤
raise ImageException(“Image too small (%dx%d < %dx%d)” %
(width, height, self.min_width, self.min_height))
image, buf = self.convert_image(orig_image)
yield path, image, buf
for thumb_id, size in self.thumbs.items(): #缩略图
thumb_path = self.thumb_path(request, thumb_id, response=response, info=info)
thumb_image, thumb_buf = self.convert_image(image, size)
yield thumb_path, thumb_image, thumb_buf
def convert_image(self, image, size=None): #转换成通用格式
if image.format == ‘PNG’ and image.mode == ‘RGBA’:
background = Image.new(‘RGBA’, image.size, (255, 255, 255))
background.paste(image, image)
image = background.convert(‘RGB’)
elif image.mode == ‘P’:
image = image.convert(“RGBA”)
background = Image.new(‘RGBA’, image.size, (255, 255, 255))
background.paste(image, image)
image = background.convert(‘RGB’)
elif image.mode != ‘RGB’:
image = image.convert(‘RGB’)
if size:
image = image.copy()
image.thumbnail(size, Image.ANTIALIAS)
buf = BytesIO()
image.save(buf, ‘JPEG’)
return image, buf
def get_media_requests(self, item, info): #可以用来重写
#将图片的URL变成请求发给引擎
‘’’
req_list=[]
for x in item.get(self.images_urls_field, []): #本句相当于:item[“images_urls”]得到图片URL列表
req_list.append(Request(x))
return req_list
‘’’
return [Request(x) for x in item.get(self.images_urls_field, [])]
def item_completed(self, results, item, info): #此方法获取到了返回的结果(即上面get_media_requests方法的返回值),同时可以获取文件名 也可以重写
if isinstance(item, dict) or self.images_result_field in item.fields:
item[self.images_result_field] = [x for ok, x in results if ok]
return item
def file_path(self, request, response=None, info=None):
image_guid = hashlib.sha1(to_bytes(request.url)).hexdigest()
#将url进行hash加密 url是唯一的。所以图片名字是唯一的
return ‘full/%s.jpg’ % (image_guid)
def thumb_path(self, request, thumb_id, response=None, info=None):
#缩略图的存储路径
thumb_guid = hashlib.sha1(to_bytes(request.url)).hexdigest()
return ‘thumbs/%s/%s.jpg’ % (thumb_id, thumb_guid)
(2)咱自己搞个媒体管道进行图片存储(重写框架自带媒体管道类的部分方法实现图片保存名字的自定义!):
1.spider文件中要拿到图片列表并yield item
2.item里需要定义特殊的字段名:image_urls=scrapy.Field()
3.settings里设置IMAGES_STORE存储路径,如果路径不存在,系统会帮助我们创建
4.使用默认管道则在settings.py文件中开启:scrapy.pipelines.images.ImagesPipeline: 60,
自建管道需要继承ImagesPipeline并在settings.py中开启相应的管道
5.可根据官方文档进行重写:
get_media_requests
item_completed
1.爬虫文件:
-- coding: utf-8 --
import scrapy
import re
from …items import BaiduimgPipeItem
import os
class BdimgSpider(scrapy.Spider):
name = ‘bdimgpipe’
allowed_domains = [‘image.baidu.com’]
start_urls = [‘https://image.baidu.com/search/index?tn=baiduimage&ipn=r&ct=201326592&cl=2&lm=-1&st=-1&sf=1&fmq=&pv=&ic=0&nc=1&z=&se=1&showtab=0&fb=0&width=&height=&face=0&istype=2&ie=utf-8&fm=index&pos=history&word=%E7%8C%AB%E5%92%AA’]
def parse(self, response):
text=response.text
image_urls=re.findall(‘“thumbURL”:“(.*?)”’,text)
item=BaiduimgPipeItem()
item[“image_urls”]=image_urls
yield item
2.items.py文件中设置特殊的字段名:
-- coding: utf-8 --
Define here the models for your scraped items
最后
Python崛起并且风靡,因为优点多、应用领域广、被大牛们认可。学习 Python 门槛很低,但它的晋级路线很多,通过它你能进入机器学习、数据挖掘、大数据,CS等更加高级的领域。Python可以做网络应用,可以做科学计算,数据分析,可以做网络爬虫,可以做机器学习、自然语言处理、可以写游戏、可以做桌面应用…Python可以做的很多,你需要学好基础,再选择明确的方向。这里给大家分享一份全套的 Python 学习资料,给那些想学习 Python 的小伙伴们一点帮助!
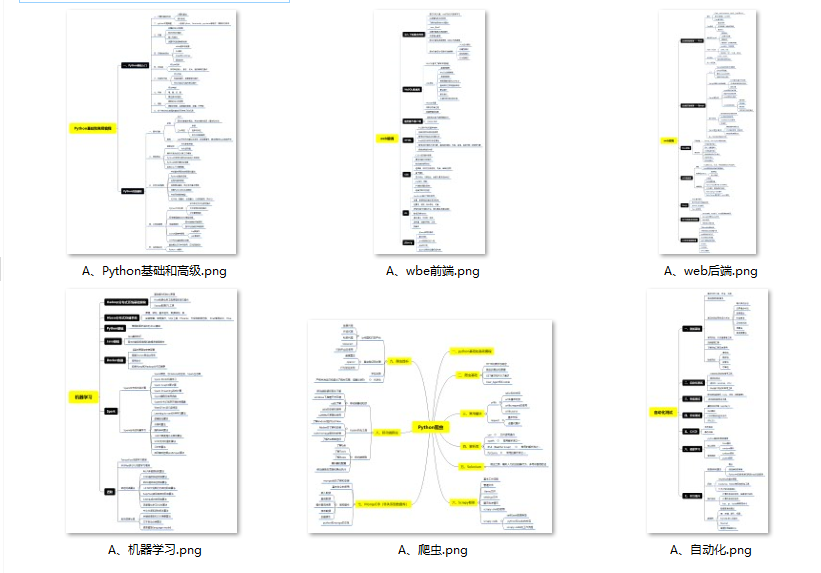
👉Python所有方向的学习路线👈
Python所有方向的技术点做的整理,形成各个领域的知识点汇总,它的用处就在于,你可以按照上面的知识点去找对应的学习资源,保证自己学得较为全面。
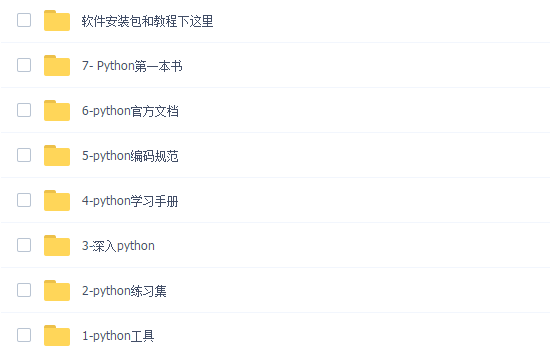
👉Python必备开发工具👈
工欲善其事必先利其器。学习Python常用的开发软件都在这里了,给大家节省了很多时间。
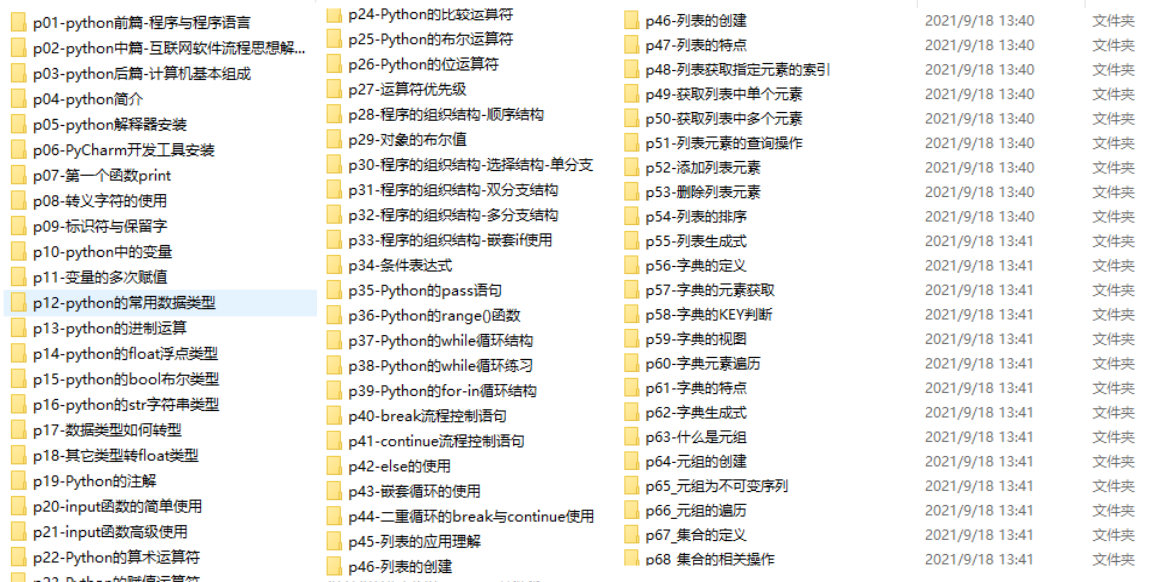
👉Python全套学习视频👈
我们在看视频学习的时候,不能光动眼动脑不动手,比较科学的学习方法是在理解之后运用它们,这时候练手项目就很适合了。
👉实战案例👈
学python就与学数学一样,是不能只看书不做题的,直接看步骤和答案会让人误以为自己全都掌握了,但是碰到生题的时候还是会一筹莫展。
因此在学习python的过程中一定要记得多动手写代码,教程只需要看一两遍即可。
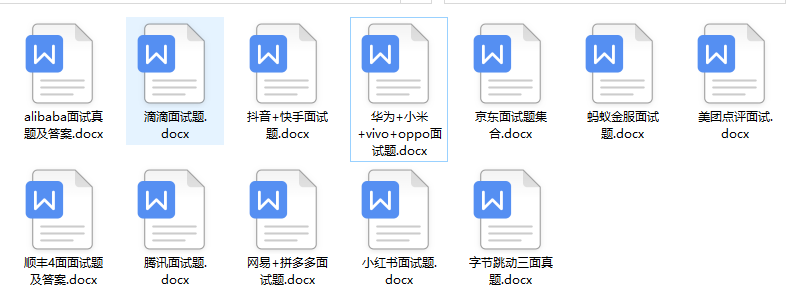
👉大厂面试真题👈
我们学习Python必然是为了找到高薪的工作,下面这些面试题是来自阿里、腾讯、字节等一线互联网大厂最新的面试资料,并且有阿里大佬给出了权威的解答,刷完这一套面试资料相信大家都能找到满意的工作。
如果你需要这些资料,可以添加V无偿获取:hxbc188 (备注666)

一个人可以走的很快,但一群人才能走的更远!不论你是正从事IT行业的老鸟或是对IT行业感兴趣的新人,都欢迎加入我们的的圈子(技术交流、学习资源、职场吐槽、大厂内推、面试辅导),让我们一起学习成长!
8f79437bd30465479.png)
👉Python全套学习视频👈
我们在看视频学习的时候,不能光动眼动脑不动手,比较科学的学习方法是在理解之后运用它们,这时候练手项目就很适合了。
👉实战案例👈
学python就与学数学一样,是不能只看书不做题的,直接看步骤和答案会让人误以为自己全都掌握了,但是碰到生题的时候还是会一筹莫展。
因此在学习python的过程中一定要记得多动手写代码,教程只需要看一两遍即可。
👉大厂面试真题👈
我们学习Python必然是为了找到高薪的工作,下面这些面试题是来自阿里、腾讯、字节等一线互联网大厂最新的面试资料,并且有阿里大佬给出了权威的解答,刷完这一套面试资料相信大家都能找到满意的工作。
如果你需要这些资料,可以添加V无偿获取:hxbc188 (备注666)
[外链图片转存中…(img-SaUHNZNI-1713820093943)]
一个人可以走的很快,但一群人才能走的更远!不论你是正从事IT行业的老鸟或是对IT行业感兴趣的新人,都欢迎加入我们的的圈子(技术交流、学习资源、职场吐槽、大厂内推、面试辅导),让我们一起学习成长!


 1256
1256


 被折叠的 条评论
为什么被折叠?
被折叠的 条评论
为什么被折叠?
 到【灌水乐园】发言


