


// 同步aliyun时间
apt install ntpdate
crontab -e
0 */1 * * * /usr/sbin/ntpdate time1.aliyun.com
// 设置时区
timedatectl set-timezone Asia/Shanghai
###### 1.2.3、配置内核转发和网桥过滤
// 配置
cat > /etc/sysctl.d/k8s.conf << EOF
net.bridge.bridge-nf-call-ip6tables = 1
net.bridge.bridge-nf-call-iptables = 1
net.ipv4.ip_forward = 1
vm.swappiness = 0
EOF
// 启动
modprobe br_netfilter
// 检查
lsmod | grep br_netfilter
br_netfilter 32768 0
bridge 307200 1 br_netfilter
// 开机启动
cat > /etc/modules-load.d/k8s.conf << EOF
overlay
br_netfilter
EOF
###### 1.2.4、安装ipset和ipvsadm
apt install ipset ipvsadm
cat > /etc/modules-load.d/ipvs.conf << EOF
ip_vs
ip_vs_rr
ip_vs_wrr
ip_vs_sh
nf_conntrack
EOF
###### 1.2.5、关闭交换区
cat /etc/fstab
/ was on /dev/ubuntu-vg/ubuntu-lv during curtin installation
/dev/disk/by-id/dm-uuid-LVM-aMgPZgZ6o3cHyNRGU08LFhzfZuvDoqjTrxFfUt6c3Zu3FwpXO7xWyoRZSNRaLZq1 / ext4 defaults 0 1
/boot was on /dev/sda2 during curtin installation
/dev/disk/by-uuid/9314b4f8-368c-4f1b-ba74-9fb759ad9270 /boot ext4 defaults 0 1
#/swap.img none swap sw 0 0
注释掉最后关于交换区的一行。


###### 1.2.6、配置/etc/hosts
// 在/etc/hosts文件后面加上以下内容
10.0.1.11 master1
10.0.1.21 worker1
10.0.1.22 worker2
10.0.1.23 worker3
#### 2、安装容器


##### 2.1、安装containerd
apt install containerd
apt remove containerd
// 在安装containerd的时候,系统附带重新安装了新的runc
// 然后到github上下载cri-containerd,才能支持crictl命令,可以在win下用迅雷下载比较快,然后复制到虚拟机上。
wget https://github.com/containerd/containerd/releases/download/v1.7.14/cri-containerd-1.7.14-linux-amd64.tar.gz
// 解压
tar xvf cri-containerd-1.7.14-linux-amd64.tar.gz -C /
// 修改配置
mkdir /etc/containerd
containerd config default > /etc/containerd/config.toml
// 将该文件里面65行的版本号改为3.9
sandbox_image = “registry.k8s.io/pause:3.8”
sandbox_image = "registry.aliyuncs.com/google_containers/pause:3.9"
// 将该文件里面137行改为true
SystemdCgroup = false
SystemdCgroup = true
// 最后将containerd设为开机自启动
systemctl enable containerd
#### 3、构建k8s


##### 3.1、下载k8s软件


###### 3.1.1、snap下载
// snap下载
snap install kubeadm --classic
snap install kubectl --classic
snap install kubelet --classic
// 查看kubelet服务状态
systemctl status snap.kubelet.daemon.service
cd /etc/systemd/system
mv snap.kubelet.daemon.service kubelet.service
systemctl disable snap.kubelet.daemon.service
systemctl enable kubelet.service
reboot
apt install conntrack
apt install socat
// 关机
shutdown -h 0
###### 3.1.2、apt下载
// apt下载
// 从社区获取apt下载源包含k8s1.29版本,用aliyun也可以,但版本号最高为k8s1.28
curl -fsSL https://pkgs.k8s.io/core:/stable:/v1.29/deb/Release.key | gpg --dearmor -o /etc/apt/keyrings/kubernetes-apt-keyring.gpg
echo ‘deb [signed-by=/etc/apt/keyrings/kubernetes-apt-keyring.gpg] https://pkgs.k8s.io/core:/stable:/v1.29/deb/ /’ | tee /etc/apt/sources.list.d/kubernetes.list
// 更新apt源
apt update
// 查看新源里面有什么版本的kubeadm
apt-cache policy kubeadm
kubeadm:
Installed: (none)
Candidate: 1.28.2-00
Version table:
1.28.2-00 500
500 https://pkgs.k8s.io/core:/stable:/v1.28/deb Packages
1.28.2-00 500
500 https://pkgs.k8s.io/core:/stable:/v1.28/deb Packages
1.28.2-00 500
500 https://pkgs.k8s.io/core:/stable:/v1.28/deb Packages
1.28.2-00 500
500 https://pkgs.k8s.io/core:/stable:/v1.28/deb Packages
// 发现最新版是1.28.2-00
// 进行安装
apt install kubeadm kubectl kubelet
// 保持版本不被自动升级
apt-mark hold kubeadm kubectl kubelet
// 关机
shutdown -h 0
##### 3.2、复制虚拟机master1


在virtualbox里面复制一个虚拟机,取名k8s\_master1,修改IP地址


在virtualbox里面复制一个虚拟机,取名k8s\_worker1,修改IP地址
hostnamectl hostname master1
// 各个worker虚拟机还需要修改IP地址,并将各自的IP和机器名称加入/etc/hosts
// 在master1上做初始化
kubeadm init --kubernetes-version=v1.29.3 --image-repository registry.aliyuncs.com/google_containers --pod-network-cidr=10.244.0.0/16 --service-cidr=10.96.0.0/16
kubeadm init --kubernetes-version=v1.29.3 --image-repository registry.aliyuncs.com/google_containers --pod-network-cidr=10.244.0.0/16 --service-cidr=10.96.0.0/16 --apiserver-advertise-address=10.0.1.11
// 一次成功!
kubeadm init --image-repository registry.aliyuncs.com/google_containers --pod-network-cidr=10.244.0.0/16 --service-cidr=10.96.0.0/16 --apiserver-advertise-address=10.0.1.11
[init] Using Kubernetes version: v1.29.3
[preflight] Running pre-flight checks
[preflight] Pulling images required for setting up a Kubernetes cluster
[preflight] This might take a minute or two, depending on the speed of your internet connection
[preflight] You can also perform this action in beforehand using ‘kubeadm config images pull’
[certs] Using certificateDir folder “/etc/kubernetes/pki”
[certs] Generating “ca” certificate and key
[certs] Generating “apiserver” certificate and key
[certs] apiserver serving cert is signed for DNS names [kubernetes kubernetes.default kubernetes.default.svc kubernetes.default.svc.cluster.local master1] and IPs [10.96.0.1 10.0.1.11]
[certs] Generating “apiserver-kubelet-client” certificate and key
[certs] Generating “front-proxy-ca” certificate and key
[certs] Generating “front-proxy-client” certificate and key
[certs] Generating “etcd/ca” certificate and key
[certs] Generating “etcd/server” certificate and key
[certs] etcd/server serving cert is signed for DNS names [localhost master1] and IPs [10.0.1.11 127.0.0.1 ::1]
[certs] Generating “etcd/peer” certificate and key
[certs] etcd/peer serving cert is signed for DNS names [localhost master1] and IPs [10.0.1.11 127.0.0.1 ::1]
[certs] Generating “etcd/healthcheck-client” certificate and key
[certs] Generating “apiserver-etcd-client” certificate and key
[certs] Generating “sa” key and public key
[kubeconfig] Using kubeconfig folder “/etc/kubernetes”
[kubeconfig] Writing “admin.conf” kubeconfig file
[kubeconfig] Writing “super-admin.conf” kubeconfig file
[kubeconfig] Writing “kubelet.conf” kubeconfig file
[kubeconfig] Writing “controller-manager.conf” kubeconfig file
[kubeconfig] Writing “scheduler.conf” kubeconfig file
[etcd] Creating static Pod manifest for local etcd in “/etc/kubernetes/manifests”
[control-plane] Using manifest folder “/etc/kubernetes/manifests”
[control-plane] Creating static Pod manifest for “kube-apiserver”
[control-plane] Creating static Pod manifest for “kube-controller-manager”
[control-plane] Creating static Pod manifest for “kube-scheduler”
[kubelet-start] Writing kubelet environment file with flags to file “/var/lib/kubelet/kubeadm-flags.env”
[kubelet-start] Writing kubelet configuration to file “/var/lib/kubelet/config.yaml”
[kubelet-start] Starting the kubelet
[wait-control-plane] Waiting for the kubelet to boot up the control plane as static Pods from directory “/etc/kubernetes/manifests”. This can take up to 4m0s
[apiclient] All control plane components are healthy after 4.503238 seconds
[upload-config] Storing the configuration used in ConfigMap “kubeadm-config” in the “kube-system” Namespace
[kubelet] Creating a ConfigMap “kubelet-config” in namespace kube-system with the configuration for the kubelets in the cluster
[upload-certs] Skipping phase. Please see --upload-certs
[mark-control-plane] Marking the node master1 as control-plane by adding the labels: [node-role.kubernetes.io/control-plane node.kubernetes.io/exclude-from-external-load-balancers]
[mark-control-plane] Marking the node master1 as control-plane by adding the taints [node-role.kubernetes.io/control-plane:NoSchedule]
[bootstrap-token] Using token: yyjh09.6he5wfuvsgpclctr
[bootstrap-token] Configuring bootstrap tokens, cluster-info ConfigMap, RBAC Roles
[bootstrap-token] Configured RBAC rules to allow Node Bootstrap tokens to get nodes
[bootstrap-token] Configured RBAC rules to allow Node Bootstrap tokens to post CSRs in order for nodes to get long term certificate credentials
[bootstrap-token] Configured RBAC rules to allow the csrapprover controller automatically approve CSRs from a Node Bootstrap Token
[bootstrap-token] Configured RBAC rules to allow certificate rotation for all node client certificates in the cluster
[bootstrap-token] Creating the “cluster-info” ConfigMap in the “kube-public” namespace
[kubelet-finalize] Updating “/etc/kubernetes/kubelet.conf” to point to a rotatable kubelet client certificate and key
[addons] Applied essential addon: CoreDNS
[addons] Applied essential addon: kube-proxy
Your Kubernetes control-plane has initialized successfully!
To start using your cluster, you need to run the following as a regular user:
mkdir -p $HOME/.kube
sudo cp -i /etc/kubernetes/admin.conf $HOME/.kube/config
sudo chown
(
i
d
−
u
)
:
(id -u):
(id−u):(id -g) $HOME/.kube/config
Alternatively, if you are the root user, you can run:
export KUBECONFIG=/etc/kubernetes/admin.conf
You should now deploy a pod network to the cluster.
Run “kubectl apply -f [podnetwork].yaml” with one of the options listed at:
https://kubernetes.io/docs/concepts/cluster-administration/addons/
Then you can join any number of worker nodes by running the following on each as root:
kubeadm join 10.0.1.11:6443 --token yyjh09.6he5wfuvsgpclctr
–discovery-token-ca-cert-hash sha256:ea410f8b9757ca344212ff3e906ec9eb44f1902b5ee7a24bdb9c3fe9d8621d5a
// 安装成功了!检查一下
kubectl get node
E0319 11:28:28.217021 8109 memcache.go:265] couldn’t get current server API group list: Get “http://localhost:8080/api?timeout=32s”: dial tcp 127.0.0.1:8080: connect: connection refused
E0319 11:28:28.217430 8109 memcache.go:265] couldn’t get current server API group list: Get “http://localhost:8080/api?timeout=32s”: dial tcp 127.0.0.1:8080: connect: connection refused
E0319 11:28:28.219640 8109 memcache.go:265] couldn’t get current server API group list: Get “http://localhost:8080/api?timeout=32s”: dial tcp 127.0.0.1:8080: connect: connection refused
E0319 11:28:28.219773 8109 memcache.go:265] couldn’t get current server API group list: Get “http://localhost:8080/api?timeout=32s”: dial tcp 127.0.0.1:8080: connect: connection refused
E0319 11:28:28.222284 8109 memcache.go:265] couldn’t get current server API group list: Get “http://localhost:8080/api?timeout=32s”: dial tcp 127.0.0.1:8080: connect: connection refused
The connection to the server localhost:8080 was refused - did you specify the right host or port?
// 按照成功提示信息执行如下命令
mkdir -p $HOME/.kube
cp -i /etc/kubernetes/admin.conf $HOME/.kube/config
chown ( i d − u ) : (id -u): (id−u):(id -g) $HOME/.kube/config
// 重新检查
kubectl get node
NAME STATUS ROLES AGE VERSION
master1 NotReady control-plane 11m v1.29.3
kubectl get pod -A
NAMESPACE NAME READY STATUS RESTARTS AGE
kube-system coredns-857d9ff4c9-sl62g 0/1 Pending 0 12m
kube-system coredns-857d9ff4c9-z6jjq 0/1 Pending 0 12m
kube-system etcd-master1 1/1 Running 0 12m
kube-system kube-apiserver-master1 1/1 Running 0 12m
kube-system kube-controller-manager-master1 1/1 Running 0 12m
kube-system kube-proxy-5l598 1/1 Running 0 12m
kube-system kube-scheduler-master1 1/1 Running 0 12m
// 在worker节点上按照master1上初始化成功之后的提示操作
kubeadm join 10.0.1.11:6443 --token yyjh09.6he5wfuvsgpclctr \
--discovery-token-ca-cert-hash sha256:ea410f8b9757ca344212ff3e906ec9eb44f1902b5ee7a24bdb9c3fe9d8621d5a
自我介绍一下,小编13年上海交大毕业,曾经在小公司待过,也去过华为、OPPO等大厂,18年进入阿里一直到现在。
深知大多数Linux运维工程师,想要提升技能,往往是自己摸索成长或者是报班学习,但对于培训机构动则几千的学费,着实压力不小。自己不成体系的自学效果低效又漫长,而且极易碰到天花板技术停滞不前!
因此收集整理了一份《2024年Linux运维全套学习资料》,初衷也很简单,就是希望能够帮助到想自学提升又不知道该从何学起的朋友,同时减轻大家的负担。
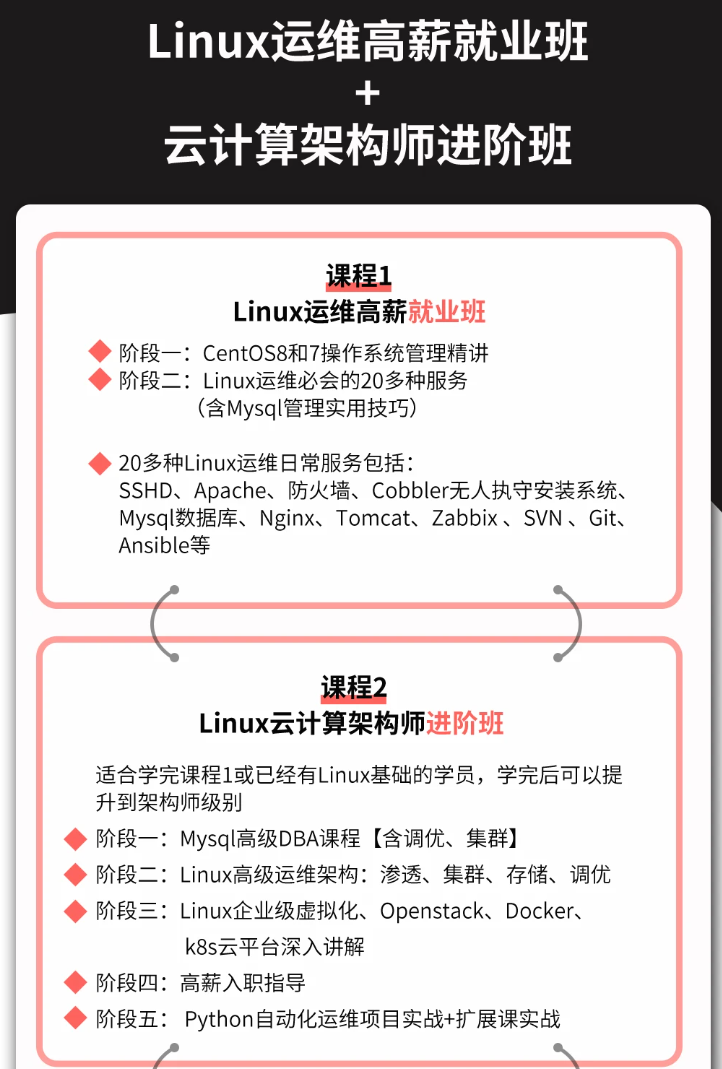
既有适合小白学习的零基础资料,也有适合3年以上经验的小伙伴深入学习提升的进阶课程,基本涵盖了95%以上Linux运维知识点,真正体系化!
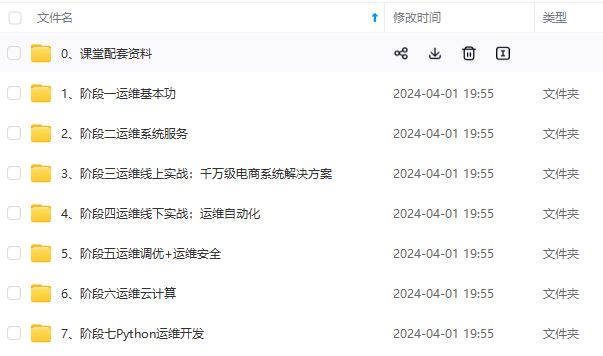
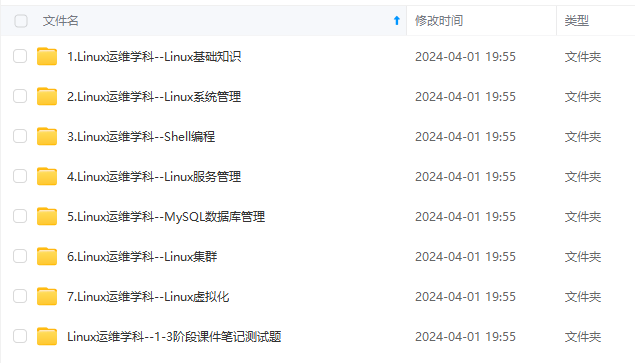
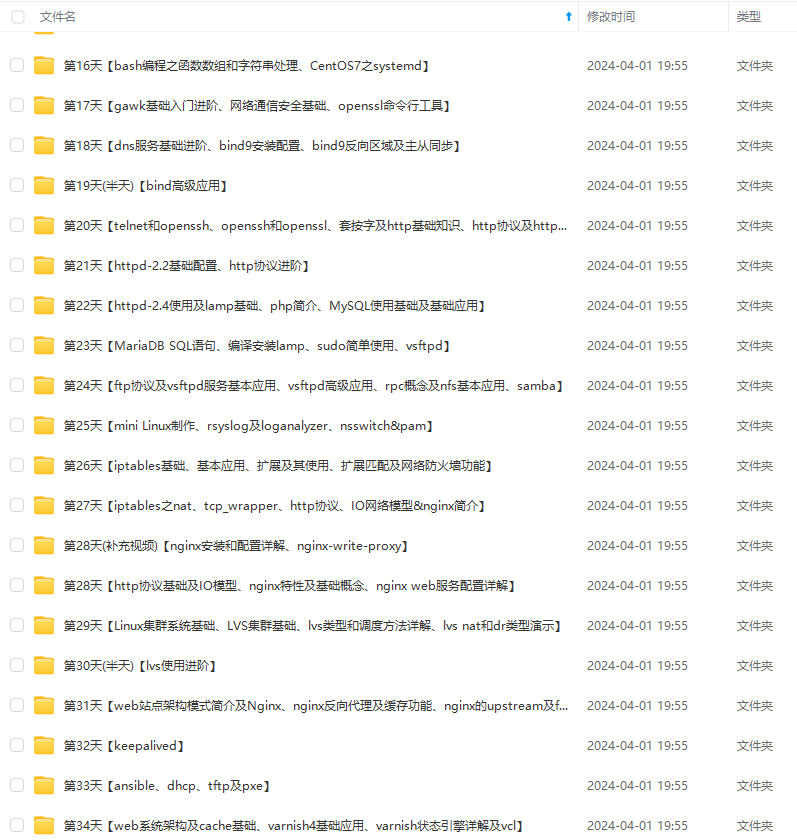
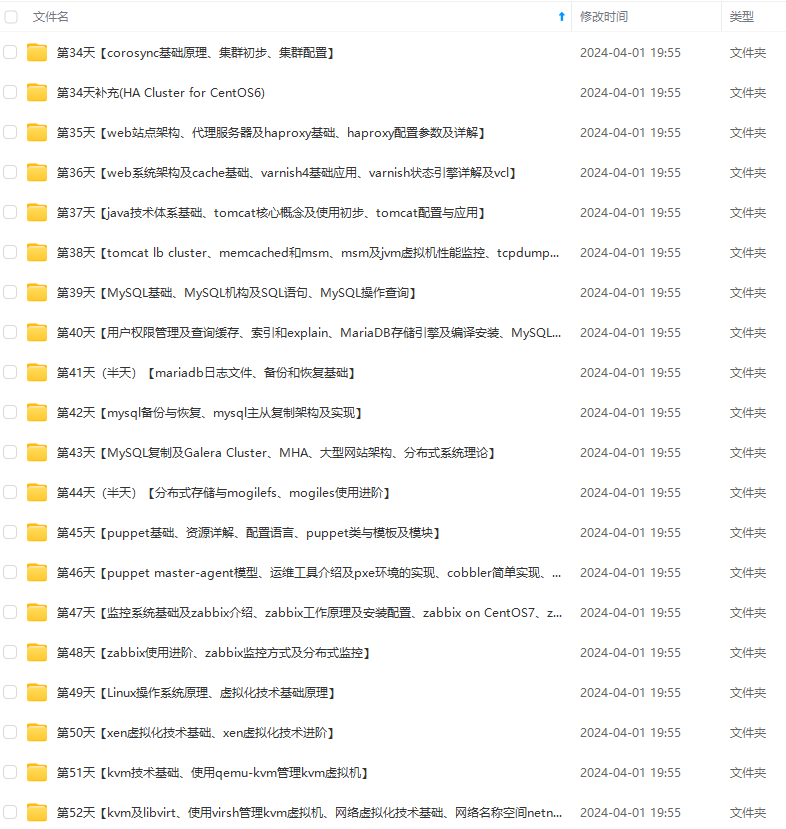
由于文件比较大,这里只是将部分目录大纲截图出来,每个节点里面都包含大厂面经、学习笔记、源码讲义、实战项目、讲解视频,并且后续会持续更新
如果你觉得这些内容对你有帮助,可以添加VX:vip1024b (备注Linux运维获取)

为了做好运维面试路上的助攻手,特整理了上百道 【运维技术栈面试题集锦】 ,让你面试不慌心不跳,高薪offer怀里抱!
这次整理的面试题,小到shell、MySQL,大到K8s等云原生技术栈,不仅适合运维新人入行面试需要,还适用于想提升进阶跳槽加薪的运维朋友。
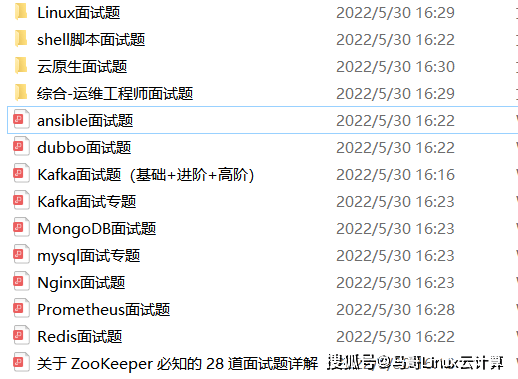
本份面试集锦涵盖了
- 174 道运维工程师面试题
- 128道k8s面试题
- 108道shell脚本面试题
- 200道Linux面试题
- 51道docker面试题
- 35道Jenkis面试题
- 78道MongoDB面试题
- 17道ansible面试题
- 60道dubbo面试题
- 53道kafka面试
- 18道mysql面试题
- 40道nginx面试题
- 77道redis面试题
- 28道zookeeper
总计 1000+ 道面试题, 内容 又全含金量又高
- 174道运维工程师面试题
1、什么是运维?
2、在工作中,运维人员经常需要跟运营人员打交道,请问运营人员是做什么工作的?
3、现在给你三百台服务器,你怎么对他们进行管理?
4、简述raid0 raid1raid5二种工作模式的工作原理及特点
5、LVS、Nginx、HAproxy有什么区别?工作中你怎么选择?
6、Squid、Varinsh和Nginx有什么区别,工作中你怎么选择?
7、Tomcat和Resin有什么区别,工作中你怎么选择?
8、什么是中间件?什么是jdk?
9、讲述一下Tomcat8005、8009、8080三个端口的含义?
10、什么叫CDN?
11、什么叫网站灰度发布?
12、简述DNS进行域名解析的过程?
13、RabbitMQ是什么东西?
14、讲一下Keepalived的工作原理?
15、讲述一下LVS三种模式的工作过程?
16、mysql的innodb如何定位锁问题,mysql如何减少主从复制延迟?
17、如何重置mysql root密码?
一个人可以走的很快,但一群人才能走的更远。如果你从事以下工作或对以下感兴趣,欢迎戳这里加入程序员的圈子,让我们一起学习成长!
AI人工智能、Android移动开发、AIGC大模型、C C#、Go语言、Java、Linux运维、云计算、MySQL、PMP、网络安全、Python爬虫、UE5、UI设计、Unity3D、Web前端开发、产品经理、车载开发、大数据、鸿蒙、计算机网络、嵌入式物联网、软件测试、数据结构与算法、音视频开发、Flutter、IOS开发、PHP开发、.NET、安卓逆向、云计算
一下LVS三种模式的工作过程?
16、mysql的innodb如何定位锁问题,mysql如何减少主从复制延迟?
17、如何重置mysql root密码?
一个人可以走的很快,但一群人才能走的更远。如果你从事以下工作或对以下感兴趣,欢迎戳这里加入程序员的圈子,让我们一起学习成长!
AI人工智能、Android移动开发、AIGC大模型、C C#、Go语言、Java、Linux运维、云计算、MySQL、PMP、网络安全、Python爬虫、UE5、UI设计、Unity3D、Web前端开发、产品经理、车载开发、大数据、鸿蒙、计算机网络、嵌入式物联网、软件测试、数据结构与算法、音视频开发、Flutter、IOS开发、PHP开发、.NET、安卓逆向、云计算


 106
106


 被折叠的 条评论
为什么被折叠?
被折叠的 条评论
为什么被折叠?
 到【灌水乐园】发言


