


网上学习资料一大堆,但如果学到的知识不成体系,遇到问题时只是浅尝辄止,不再深入研究,那么很难做到真正的技术提升。
一个人可以走的很快,但一群人才能走的更远!不论你是正从事IT行业的老鸟或是对IT行业感兴趣的新人,都欢迎加入我们的的圈子(技术交流、学习资源、职场吐槽、大厂内推、面试辅导),让我们一起学习成长!
@Test
void createIndex() {
    // 创建对象
    User user = User.builder().id(1001).name("1号用户").age(22).build();
    // 创建索引
    Index index = new Index.Builder(user).index("user").type("name").build();
    // 执行创建方法
    try {
        jestClient.execute(index);
    } catch (IOException e) {
        e.printStackTrace();
    }
}
}
创建成功:

(2)查询索引【注入等代码不再贴出 只贴出方法】
@Test
void queryIndex(){
    // 查询语句【可以在HiJson工具里编辑】
    String queryJson = "{\n" +
            " \"query\": {\n" +
            " \"match\": {\n" +
            " \"name\": \"1号\"\n" +
            " }\n" +
            " }\n" +
            "}";
    // 创建查询
    Search search = new Search.Builder(queryJson).addIndex("user").addType("name").build();
    // 执行查询方法
    try {
        SearchResult result = jestClient.execute(search);
        System.out.println(result.toString());
    } catch (IOException e) {
        e.printStackTrace();
    }
}
输出结果【这里简单换个行 避免格式化后占较大篇幅】:
Result:
{“took”:47,“timed_out”:false,
“_shards”:{“total”:5,“successful”:5,“skipped”:0,“failed”:0},
“hits”:{“total”:1,“max_score”:0.5753642,
“hits”:[
{“_index”:“user”,“_type”:“name”,“_id”:“1001”,“_score”:0.5753642,
“_source”:{“id”:1001,“name”:“1号用户”,“age”:22}
}]}},
isSucceeded: true,
response code: 200,
error message: null
(3)更新索引【特别注意:更新语句官网给出的无法使用】
@Test
void updateIndex() {
    // 更新语句【可以在HiJson工具里编辑】
    String script = "{\n" +
            " \"script\": {\n" +
            " \"inline\": \"ctx.\_source.name += params.nameInfo\",\n" +
            " \"params\": {\n" +
            " \"new\_nameInfo\": \"(懂事长)\"\n" +
            " }\n" +
            " }\n" +
            "}";
    // 创建更新
    Update update = new Update.Builder(script).index("user").type("name").id("1001").build();
    // 执行更新方法
    try {
        DocumentResult result = jestClient.execute(update);
        System.out.println(result.toString());
    } catch (IOException e) {
        e.printStackTrace();
    }
}
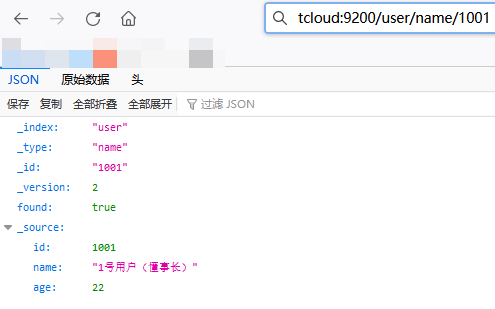
输出结果:
Result: {“_index”:“user”,“_type”:“name”,“_id”:“1001”,“_version”:3,“result”:“updated”,
“_shards”:{“total”:2,“successful”:1,“failed”:0},“_seq_no”:2,“_primary_term”:1},
isSucceeded: true,
response code: 200,
error message: null
页面查看:
(4)删除索引
@Test
void deleteIndex() {
    // 创建删除
    Delete delete = new Delete.Builder("1001").index("user").type("name").build();
    // 执行删除方法
    try {
        DocumentResult result = jestClient.execute(delete);
        System.out.println(result);
    } catch (IOException e) {
        e.printStackTrace();
    }
}
输出结果:
Result: {“_index”:“user”,“_type”:“name”,“_id”:“1001”,“_version”:4,“result”:“deleted”,
“_shards”:{“total”:2,“successful”:1,“failed”:0},“_seq_no”:3,“_primary_term”:1},
isSucceeded: true,
response code: 200,
error message: null
### 6.总结
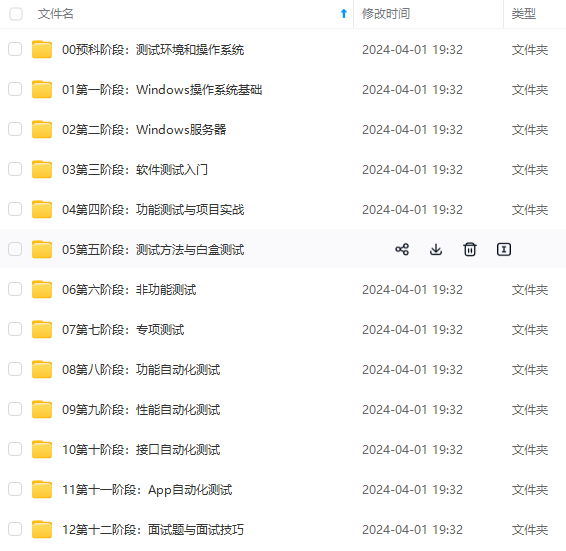

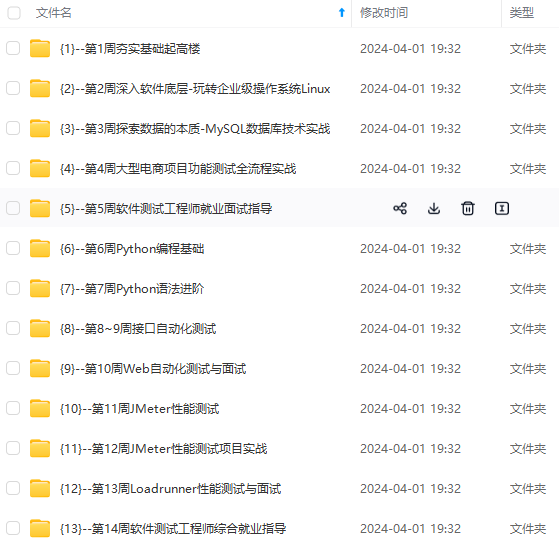
**既有适合小白学习的零基础资料,也有适合3年以上经验的小伙伴深入学习提升的进阶课程,涵盖了95%以上软件测试知识点,真正体系化!**
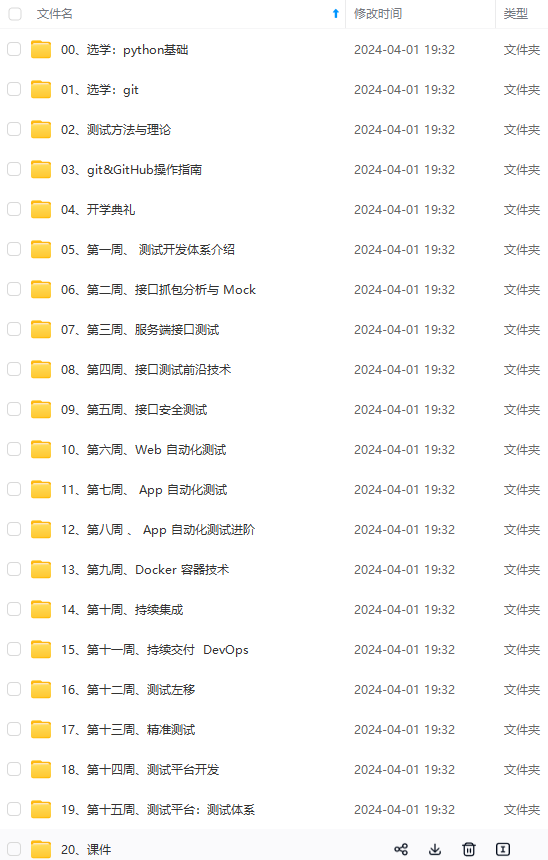
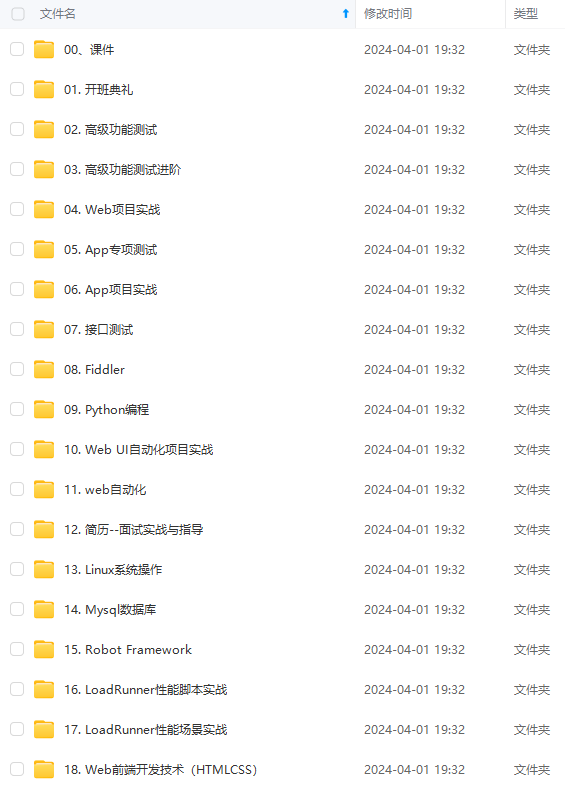
**由于文件比较多,这里只是将部分目录截图出来,全套包含大厂面经、学习笔记、源码讲义、实战项目、大纲路线、讲解视频,并且后续会持续更新**
**[需要这份系统化的资料的朋友,可以戳这里获取](https://bbs.csdn.net/forums/4f45ff00ff254613a03fab5e56a57acb)**
**由于文件比较多,这里只是将部分目录截图出来,全套包含大厂面经、学习笔记、源码讲义、实战项目、大纲路线、讲解视频,并且后续会持续更新**
**[需要这份系统化的资料的朋友,可以戳这里获取](https://bbs.csdn.net/forums/4f45ff00ff254613a03fab5e56a57acb)**


 2078
2078


 被折叠的 条评论
为什么被折叠?
被折叠的 条评论
为什么被折叠?
 到【灌水乐园】发言


