


网上学习资料一大堆,但如果学到的知识不成体系,遇到问题时只是浅尝辄止,不再深入研究,那么很难做到真正的技术提升。
一个人可以走的很快,但一群人才能走的更远!不论你是正从事IT行业的老鸟或是对IT行业感兴趣的新人,都欢迎加入我们的的圈子(技术交流、学习资源、职场吐槽、大厂内推、面试辅导),让我们一起学习成长!
request 是 pytest 的内置 fixture , "为请求对象提供对请求测试上下文的访问权,并且在fixture被间接参数化的情况下具有可选的“param”属性。"这是官方文档对request的描述,可参考的文档不多。
一、FixtureRequest
FixtureRequest 是来自 fixture 或者 测试用例的请求,它有访问测试上下文的权限, FixtureRequest_pytest.fixtures pytest documentation。
**class FixtureRequest:**请求对象提供对请求的测试上下文的访问,并且具有可选的 param 属性,以防设备被间接参数化。
**fixturename:**正在为其执行此请求的 fixture 名称。
**scope:**作用域字符串,“function”、“class”、“module”、“session”之一。
**fixturenames:**此请求中所有活动状态的 fixture 的名称。
**node:**基础集合节点(取决于当前请求范围)。
**config:**与此请求关联的 pytest 配置对象。
**function:**如果请求具有每个函数范围,则测试函数对象。
**cls:**类(可以是None),其中收集了测试函数。
**instance:**在其上收集测试函数的实例(可以是None)。
**module:**收集测试函数的Python模块对象。
**fspath:**收集此测试的测试模块的文件系统路径。
**keywords:**基础节点的关键字/标记词典。
**session:**Pytest会话对象。
**addfinalizer(finalizer:**添加finalizer/teardown函数,以便在请求的测试上下文中的最后一个测试完成执行后调用。
**applymarker(marker):**对单个测试函数调用应用标记。
如果不希望在所有函数调用上都有关键字/标记,则此方法非常有用。
参数:
- marker – A _pytest.mark.MarkDecorator 调用创建的对象 pytest.mark.NAME(…) .
- raiseerror(msg: Optional[str]) :使用给定的消息引发FixtureLookupError。
- getfixturevalue(argname: str) 动态运行命名的fixture函数。
如果可能,建议通过函数参数声明fixtures。但是,如果您只能在测试设置时决定是否使用另一个fixture,那么您可以使用此函数在fixture或测试函数体中检索它。
**引发:**pytest.FixtureLookupError – 如果找不到给定的固定装置。
折叠
二、request.param
前面讲fixture参数化的时候,有接触到 “request.param” 用于获取测试的请求参数,以下示例
| 1 2 3 4 5 6 7 8 9 10 11 12 13 14 15 16 | import pytest # 测试数据 test_data``= [``"user1"``,``"user2"``] @pytest``.fixture(params``=``test_data) def register_users(request): # 获取当前的测试数据 user``= request.param print``(``"\n拿着这个账号去注册:%s"``%``user) result``= "success" return user, result def test_register(register_users): user, result``= register_users print``(``"在测试用例里面里面获取到当前测试数据:%s"``%``user) print``(result) assert result``=``= "success" |
此案例里面我们可以在fixture参数化的时候,通过request.param获取到测试的请求参数,但是在用例里面用 request.param 却不能获取到测试的请求参数
| 1 2 | def test_register_x(register_users, request): print``(request.param) |
这样运行,会抛异常:‘FixtureRequest’ object has no attribute ‘param’
| 1 2 3 4 5 6 7 8 9 10 | #拿着这个账号去注册:user1 F register_users``= (``'user1'``,``'success'``) request``= <FixtureRequest``for <Function test_register_x[user1]>> def test_register_x(register_users, request): >``print``(request.param) E AttributeError:``'FixtureRequest' object has no attribute``'param' D:\test_x7.py:``27``: AttributeError |
三、request.config
request.config 是获取测试的配置文件参数,这个在前面讲命令行参数的时候有用到过.
在 conftest.py 写一个 hook函数, pytest_addoption 的作用是用于获取命令行参数,request.config 用于读取测试的配置数据
| 1 2 3 4 5 6 7 8 | import pytest def pytest_addoption(parser): parser.addoption( "--cmdopt"``, action``=``"store"``, default``=``"type1"``,``help``=``"my option: type1 or type2" ) @pytest``.fixture def cmdopt(request): return request.config.getoption(``"--cmdopt"``) |
于是在测试用例里面可以通过 request.config 来获取到配置参数,也可以通过自己定义的 cmdopt 来获取。
| 1 2 3 4 5 6 | import pytest def test_answer_1(request): type = request.config.getoption(``"--cmdopt"``) print``(``"获取到命令行参数:%s" % type``) def test_answer_2(cmdopt): print``(``"获取到命令行参数:%s" % cmdopt) |
四、request.module
fixture 函数可以通过接受 request 对象来反向获取请求中的测试函数、类或模块上下文,进一步扩展之前的 smtp fixture示例,让我们从fixture的测试模块读取可选的服务器URL
这是官方文档的一个示例
| 1 2 3 4 5 6 7 8 9 | # conftest.py @pytest``.fixture(scope``=``"module"``) def smtp(request): server``= getattr``(request.module,``"smtpserver"``,``"smtp.qq.com"``) print``(``"fixture 获取到的server :%s" %``server) smtp``= smtplib.SMTP(server,``587``, timeout``=``5``) yield smtp print``(``"完成 %s (%s)" % (smtp, server)) smtp.close() |
我们使用request.module属性来从测试模块中选择性地获取smtpserver属性
快速创建另一个测试模块,在其模块名称空间中实际设置服务器URL,新建一个test_anothersmtp.py文件,输入以下代码:
| 1 2 3 4 5 | # test_anothersmtp.py smtpserver``= "mail.python.org" def test_showhelo(smtp): print``(``"case showhelo"``) |
这时候运行用例,会获取到 test_anothersmtp.py 里面定义的 smtpserver
| 1 2 3 4 5 6 7 8 9 10 11 | =``=``=``=``=``=``=``=``=``=``=``=``=``=``=``=``=``=``=``=``=``=``=``=``=``=``=``=``= test session starts``=``=``=``=``=``=``=``=``=``=``=``=``=``=``=``=``=``=``=``=``=``=``=``=``=``=``=``=``= platform win32``-``- Python``3.6``.``6``, pytest``-``4.5``.``0``, py``-``1.9``.``0``, pluggy``-``0.13``.``1 Test order randomisation NOT enabled. Enable with``-``-``random``-``order``or -``-``random``-``order``-``bucket``=``<bucket_type> rootdir: D:\ rerunfailures``-``9.1``, xdist``-``2.1``.``0 collected``1 item ..\..\..\..\module2\test_anothersmtp.py fixture 获取到的server :mail.python.org case showhelo .完成 <smtplib.SMTP``object at``0x000001D00754CB00``> (mail.python.org) =``=``=``=``=``=``=``=``=``=``=``=``=``=``=``=``=``=``=``=``=``=``=``=``=``= 1 passed``in 0.64 seconds``=``=``=``=``=``=``=``=``=``=``=``=``=``=``=``=``=``=``=``=``=``=``=``=``=``=``= |
用例里面没定义 smtpserver 的话,会用默认属性 “smtp.qq.com”
五、request的相关成员对象
在conftest.py 写一个fixture 可以获取到request的一些成员对象相关信息
| 1 2 3 4 5 6 7 8 9 10 11 12 13 | # conftest.py @pytest``.fixture(autouse``=``True``) def print_request(request): print``(``"\n=======================request start================================="``) print``(request.module) print``(request.function) print``(request.``cls``) print``(request.fspath) print``(request.fixturenames) print``(request.fixturename) print``(request.scope) print``(``"\n=======================request end================================="``) |
使用命令行"pytest -s text_x.py"运行用例,会看到打印的结果:

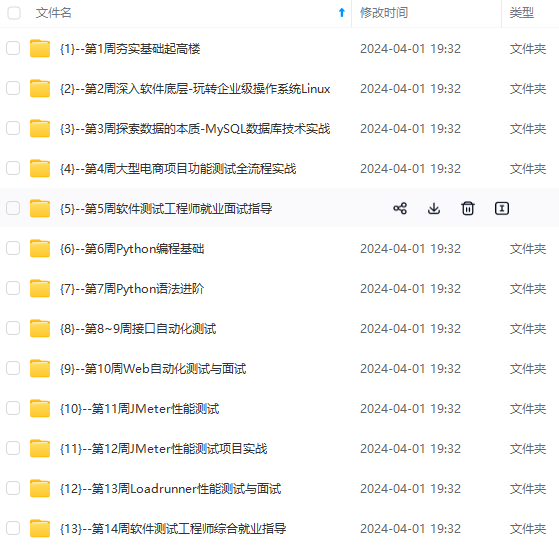
既有适合小白学习的零基础资料,也有适合3年以上经验的小伙伴深入学习提升的进阶课程,涵盖了95%以上软件测试知识点,真正体系化!
由于文件比较多,这里只是将部分目录截图出来,全套包含大厂面经、学习笔记、源码讲义、实战项目、大纲路线、讲解视频,并且后续会持续更新
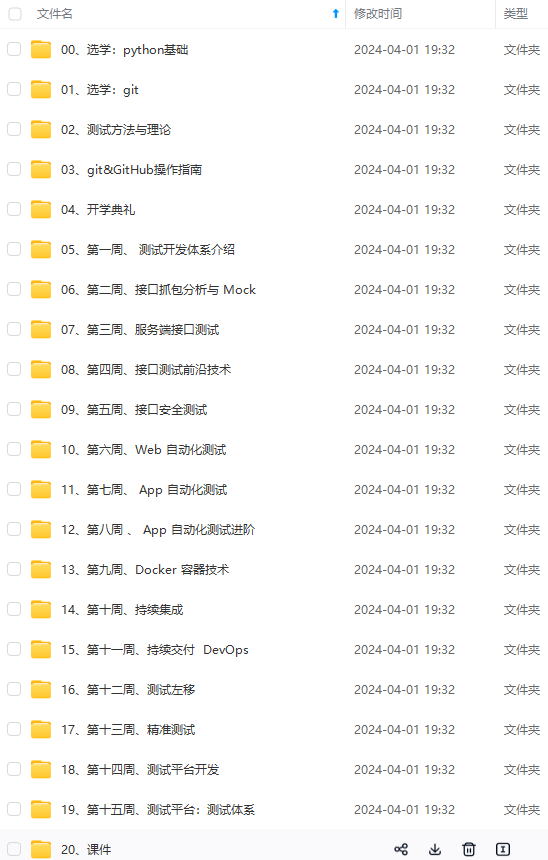
伙伴深入学习提升的进阶课程,涵盖了95%以上软件测试知识点,真正体系化!**
由于文件比较多,这里只是将部分目录截图出来,全套包含大厂面经、学习笔记、源码讲义、实战项目、大纲路线、讲解视频,并且后续会持续更新


 2706
2706

 被折叠的 条评论
为什么被折叠?
被折叠的 条评论
为什么被折叠?
 到【灌水乐园】发言


