public static final String GET_IMAGE = “/image”;
public static final String POST_JSON = “/json”;
}
···
.registerHandler(Constants.GET_FILE, new DownloadFileHandler()) //注册一个文件下载接口
.registerHandler(Constants.GET_IMAGE, new DownloadImageHandler()) //注册一个图片下载接口
.registerHandler(Constants.POST_JSON, new JsonHandler()) //注册一个Post Json接口
···
例如,假设设备的 IP 地址是:192.168.0.101 ,那么在访问 http://192.168.0.101:1995/file 接口时,请求操作就会由 DownloadFileHandler 来处理
下载文件
DownloadFileHandler 实现了 RequestHandler 接口,在 handle 方法中可以获取到请求头,表单数据这些信息,,通过注解声明支持 Get 方式调用,在此直接返回一个文本文件用于下载
/**
- 作者:leavesC
- 时间:2018/4/5 16:30
- 描述:https://github.com/leavesC/AndroidServer
- https://www.jianshu.com/u/9df45b87cfdf
*/
public class DownloadFileHandler implements RequestHandler {
@RequestMapping(method = {RequestMethod.GET})
@Override
public void handle(HttpRequest httpRequest, HttpResponse httpResponse, HttpContext httpContext) throws HttpException, IOException {
File file = createFile();
HttpEntity httpEntity = new FileEntity(file, ContentType.create(getMimeType(file.getAbsolutePath()), Charset.defaultCharset()));
httpResponse.setHeader(“Content-Disposition”, “attachment;filename=File.txt”);
httpResponse.setStatusCode(200);
httpResponse.setEntity(httpEntity);
}
private File createFile() {
File file = null;
OutputStream outputStream = null;
try {
file = File.createTempFile(“File”, “.txt”, MainApplication.get().getCacheDir());
outputStream = new FileOutputStream(file);
outputStream.write(“leavesC,这是一段测试文本”.getBytes());
} catch (IOException e) {
e.printStackTrace();
} finally {
if (outputStream != null) {
try {
outputStream.flush();
outputStream.close();
} catch (IOException e) {
e.printStackTrace();
}
}
}
return file;
}
}
这里直接在浏览器中访问接口(要和 Android Web服务器运行在同个局域网下),可以直接下载到文件 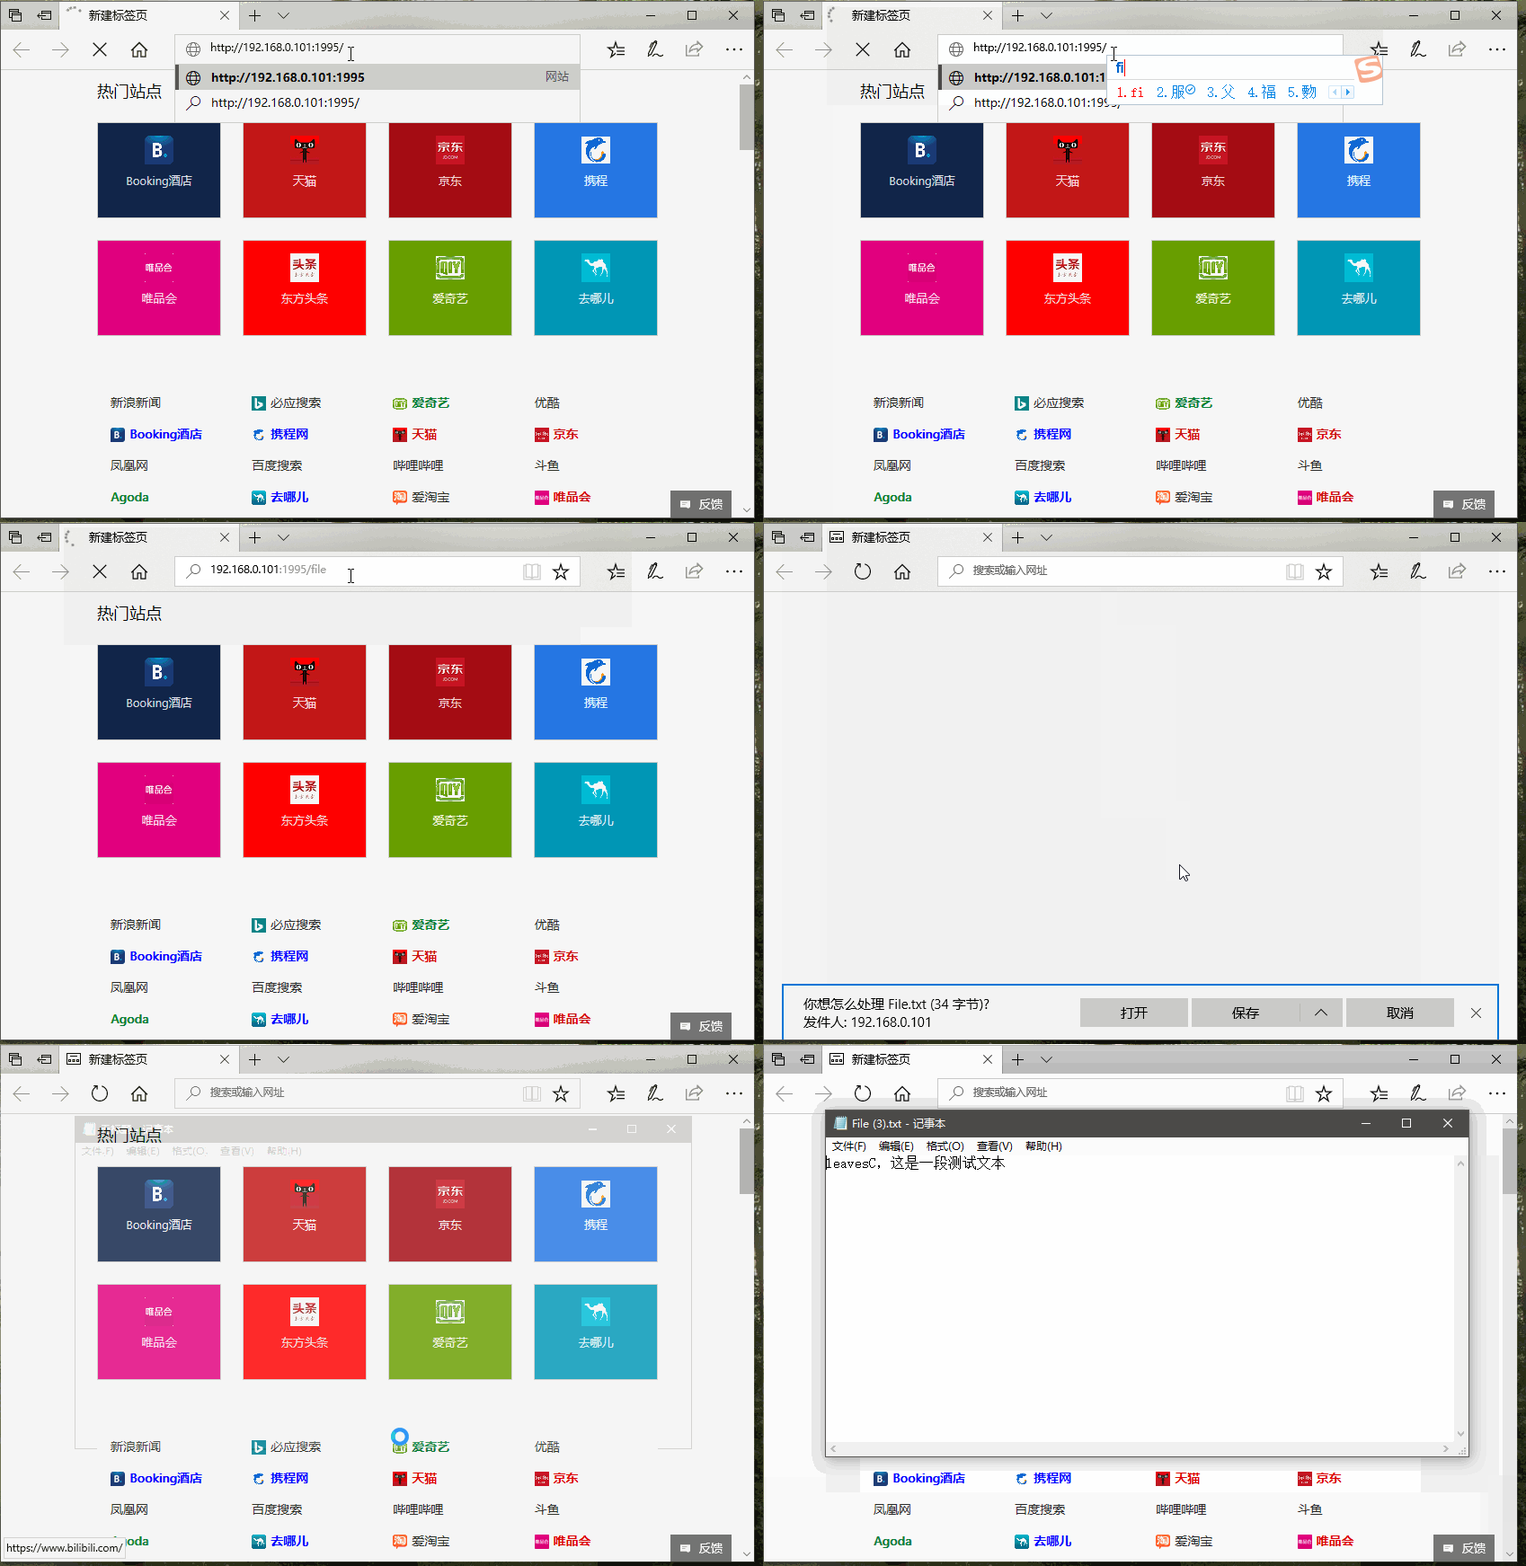
下载图片
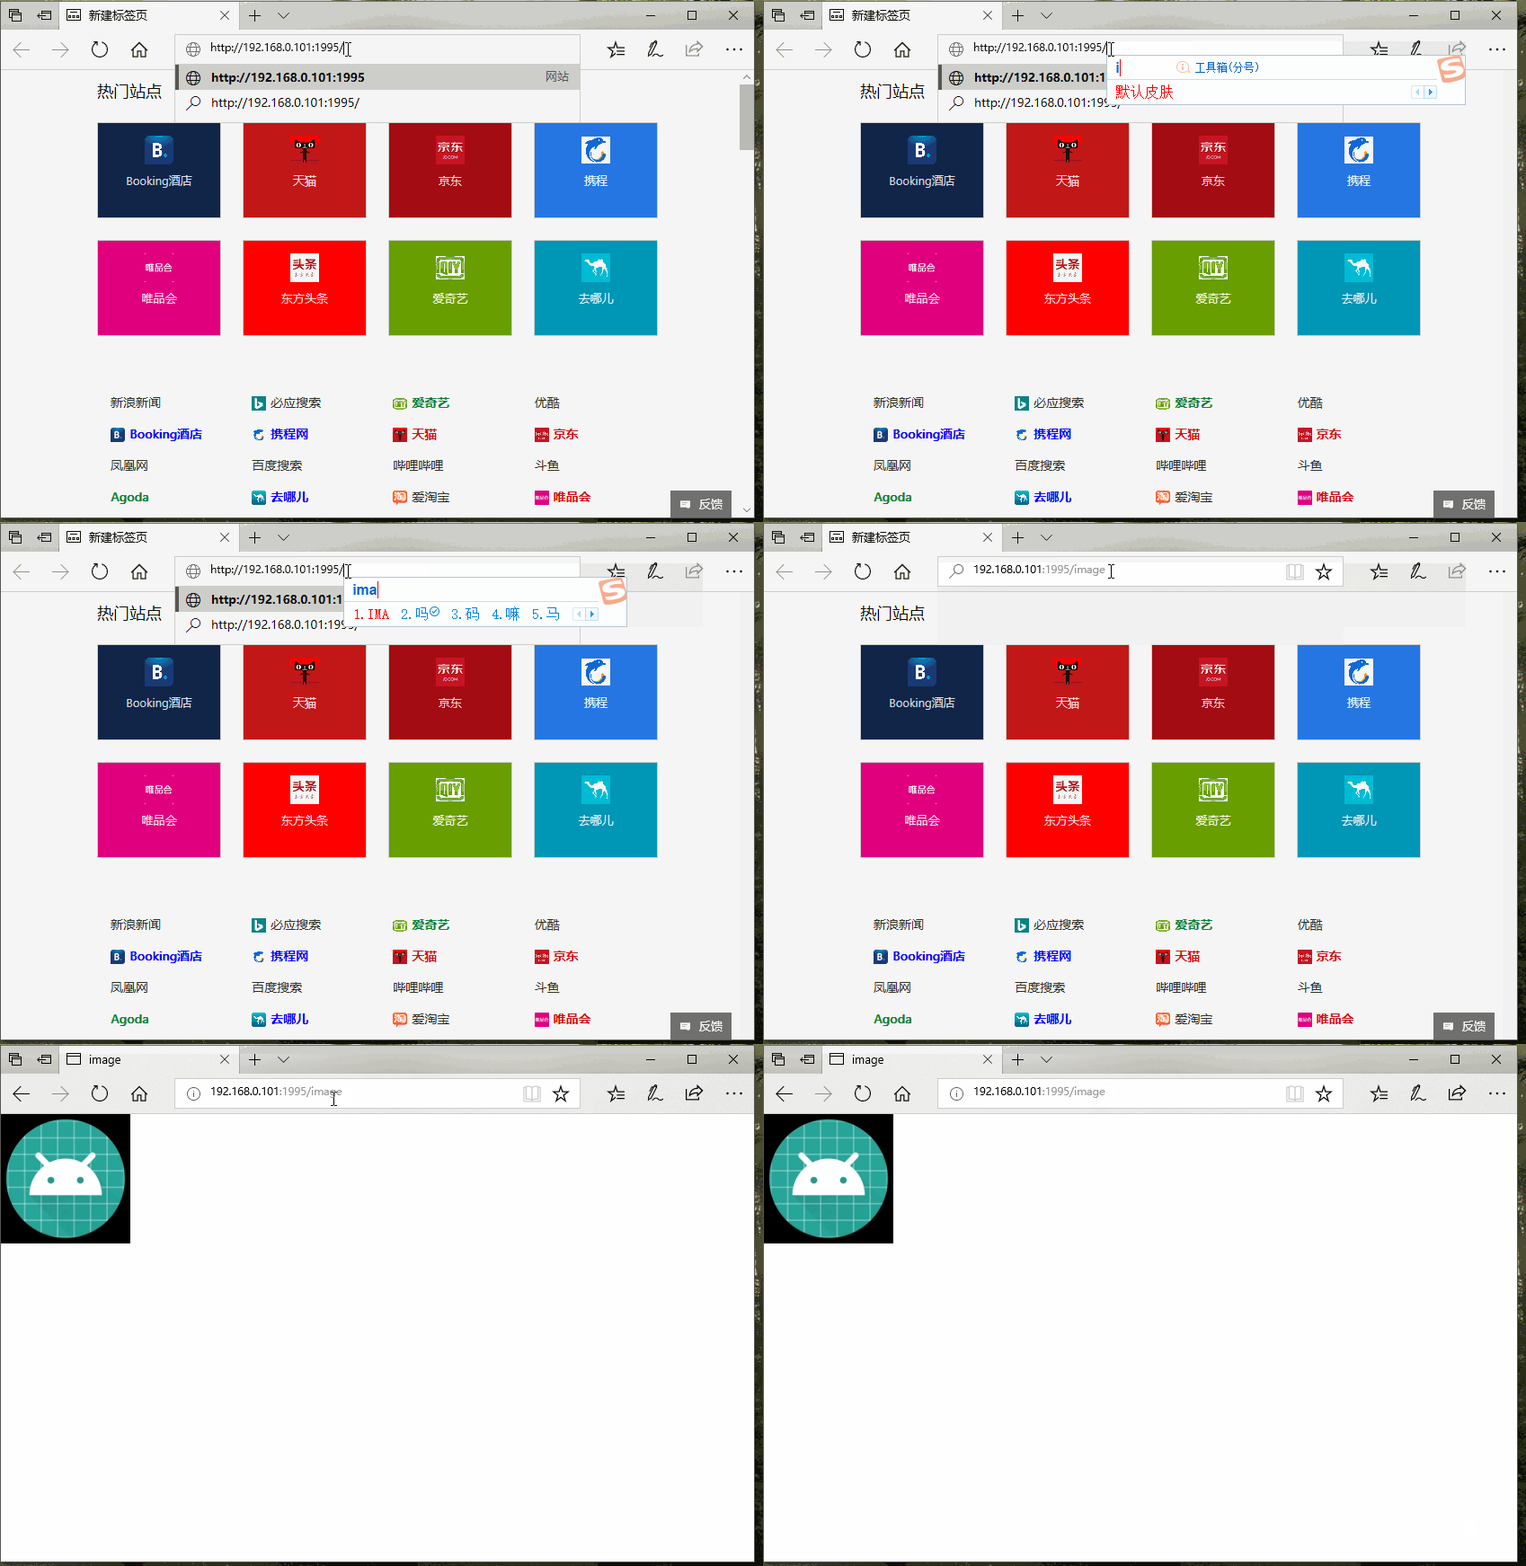
类似的,下载图片的接口处理器 DownloadImageHandler 可以如下设计,在 handle 方法中返回应用的图标
/**
- 作者:leavesC
- 时间:2018/4/5 16:30
- 描述:https://github.com/leavesC/AndroidServer
- https://www.jianshu.com/u/9df45b87cfdf
*/
public class DownloadImageHandler extends SimpleRequestHandler {
private File file = new File(Environment.getExternalStorageDirectory(), “leavesC.jpg”);
@RequestMapping(method = {RequestMethod.GET})
@Override
protected View handle(HttpRequest request) throws HttpException, IOException {
writeToSdCard();
HttpEntity httpEntity = new FileEntity(file, ContentType.create(getMimeType(file.getAbsolutePath()), Charset.defaultCharset()));
return new View(200, httpEntity);
}
private void writeToSdCard() throws IOException {
if (!file.exists()) {
synchronized (DownloadImageHandler.class) {
if (!file.exists()) {
boolean b = file.createNewFile();
if (!b) {
throw new IOException(“What broken cell phone.”);
}
Bitmap bitmap = BitmapFactory.decodeResource(MainApplication.get().getResources(), R.mipmap.ic_launcher_round);
OutputStream outputStream = null;
try {
outputStream = new FileOutputStream(file);
bitmap.compress(Bitmap.CompressFormat.JPEG, 100, outputStream);
} catch (FileNotFoundException e) {
e.printStackTrace();
} finally {
if (outputStream != null) {
outputStream.flush();
outputStream.close();
}
}
}
}
}
}
}
Post表单
这里需要将注解值改为 RequestMethod.POST,通过 HttpRequestParser.getContentFromBody(httpRequest) 函数可以获取到表单数据,这里直接检测表单数据是否为 Json 字符串,是的话则为之多添加一个属性 :“state” 作为返回值,否则返回只包含属性 “state” 的 Json 字符串
/**
- 作者:leavesC
- 时间:2018/4/5 16:30
- 描述:https://github.com/leavesC/AndroidServer
- https://www.jianshu.com/u/9df45b87cfdf
*/
public class JsonHandler implements RequestHandler {
@RequestMapping(method = {RequestMethod.POST})
@Override
public void handle(HttpRequest httpRequest, HttpResponse httpResponse, HttpContext httpContext) throws HttpException, IOException {
String content = HttpRequestParser.getContentFromBody(httpRequest);
JSONObject jsonObject = null;
try {
jsonObject = new JSONObject(content);
} catch (JSONException e) {
e.printStackTrace();
}
if (jsonObject == null) {
jsonObject = new JSONObject();
}
try {
jsonObject.put(“state”, “success”);
} catch (JSONException e) {
e.printStackTrace();
}
StringEntity stringEntity = new StringEntity(jsonObject.toString(), “utf-8”);
httpResponse.setStatusCode(200);
httpResponse.setEntity(stringEntity);
}
}
这里在 Postman 这个工具上进行 Post 操作 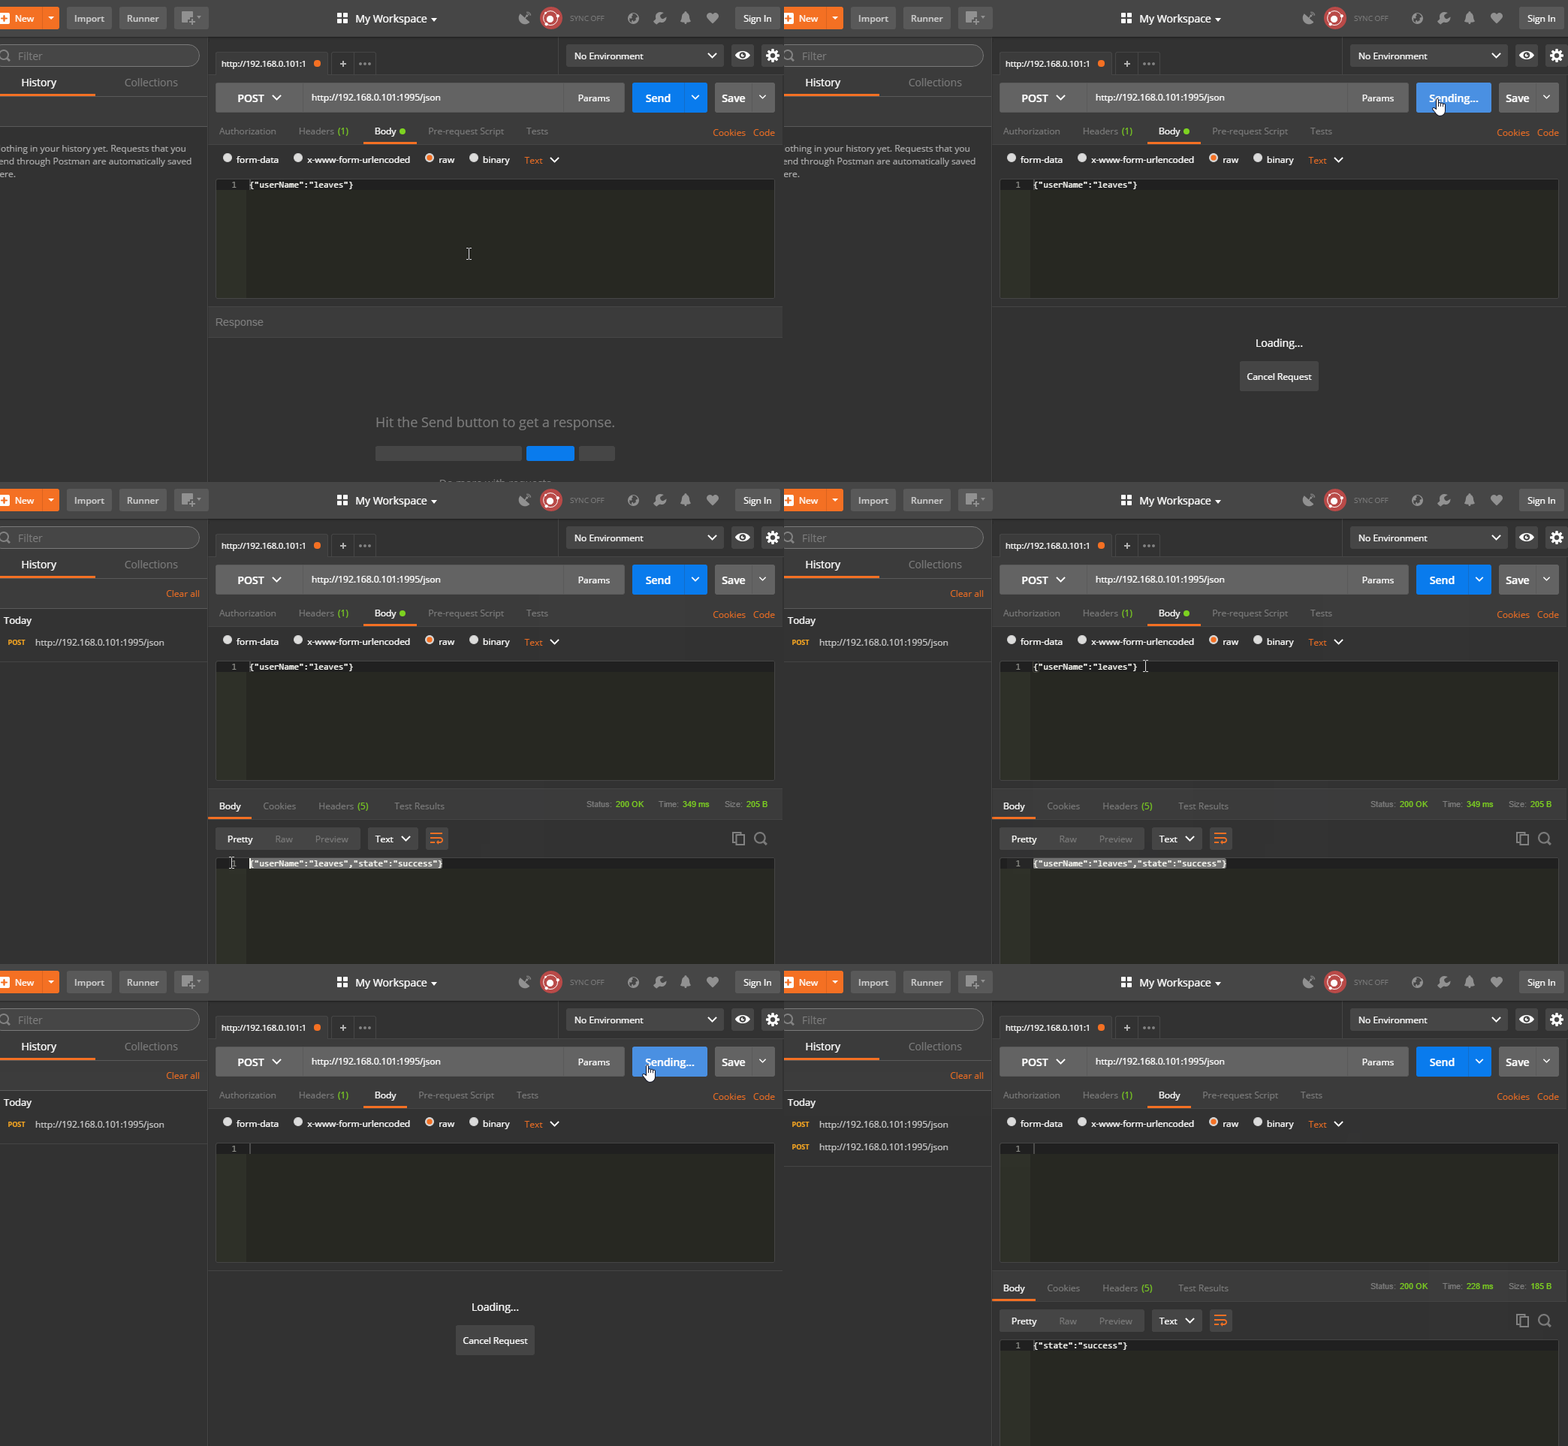
以上三个例子都是在电脑端调用的,这和在手机端调用是同个效果的
基本的操作就介绍到这里,再具体的内容可以看示例代码:AndroidServer
最后
自我介绍一下,小编13年上海交大毕业,曾经在小公司待过,也去过华为、OPPO等大厂,18年进入阿里一直到现在。
深知大多数初中级Android工程师,想要提升技能,往往是自己摸索成长,自己不成体系的自学效果低效漫长且无助。
因此收集整理了一份《2024年Web前端开发全套学习资料》,初衷也很简单,就是希望能够帮助到想自学提升又不知道该从何学起的朋友,同时减轻大家的负担。
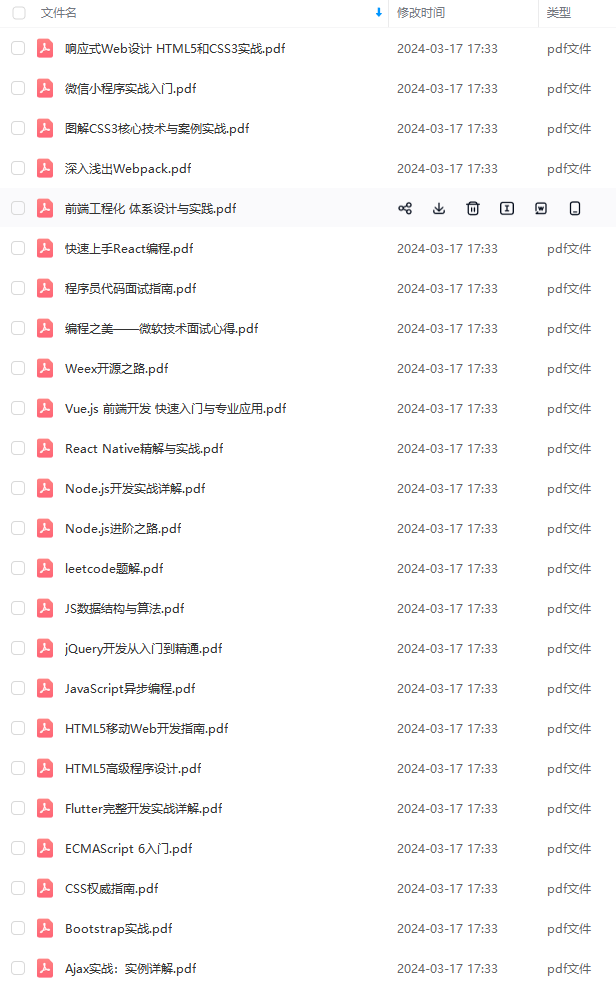
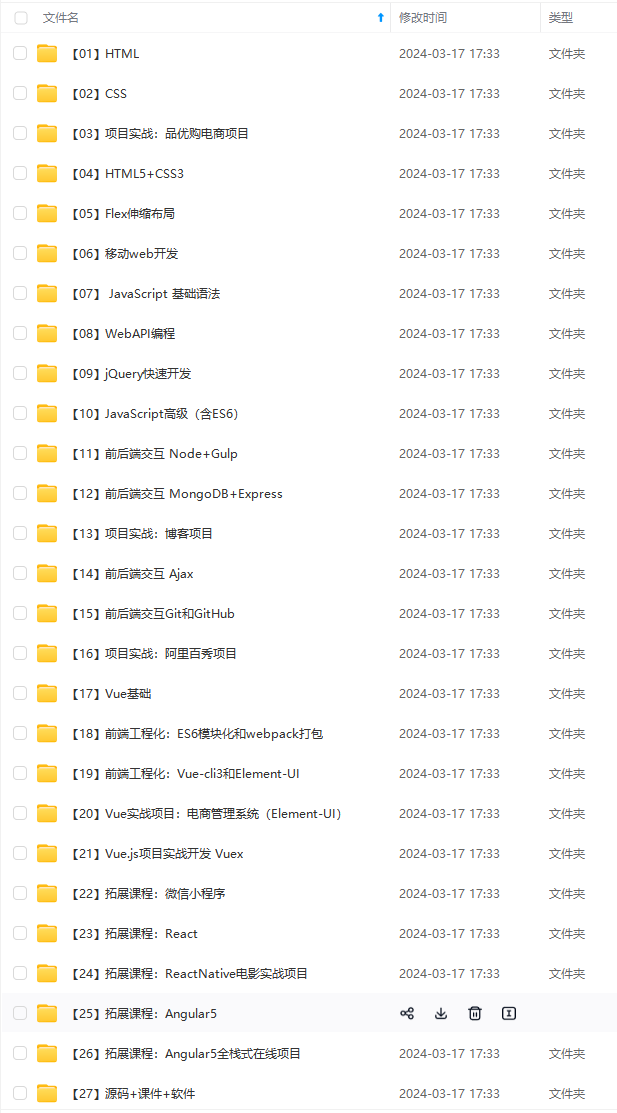
既有适合小白学习的零基础资料,也有适合3年以上经验的小伙伴深入学习提升的进阶课程,基本涵盖了95%以上Android开发知识点!不论你是刚入门Android开发的新手,还是希望在技术上不断提升的资深开发者,这些资料都将为你打开新的学习之门!
如果你觉得这些内容对你有帮助,需要这份全套学习资料的朋友可以戳我获取!!
由于文件比较大,这里只是将部分目录截图出来,每个节点里面都包含大厂面经、学习笔记、源码讲义、实战项目、讲解视频,并且会持续更新!
,这些资料都将为你打开新的学习之门!**
如果你觉得这些内容对你有帮助,需要这份全套学习资料的朋友可以戳我获取!!
由于文件比较大,这里只是将部分目录截图出来,每个节点里面都包含大厂面经、学习笔记、源码讲义、实战项目、讲解视频,并且会持续更新!


 被折叠的 条评论
为什么被折叠?


