


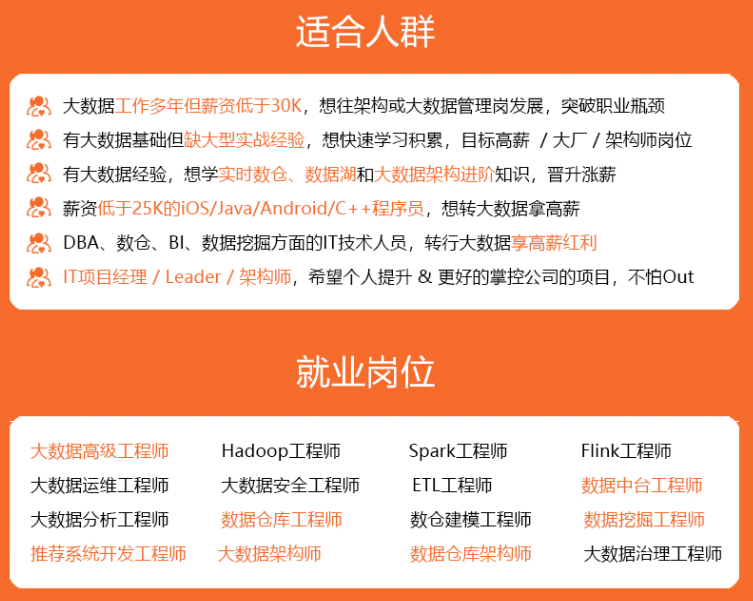
既有适合小白学习的零基础资料,也有适合3年以上经验的小伙伴深入学习提升的进阶课程,涵盖了95%以上大数据知识点,真正体系化!
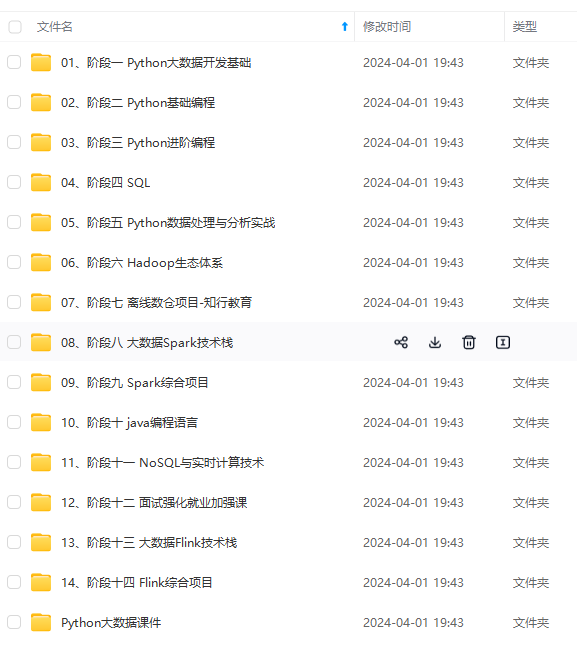
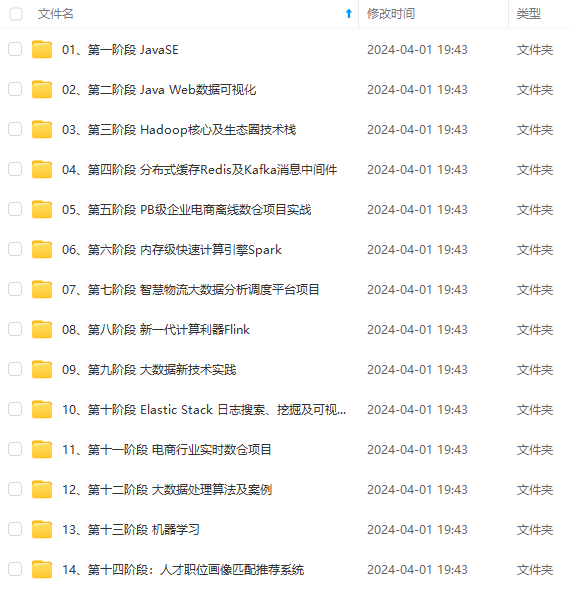
由于文件比较多,这里只是将部分目录截图出来,全套包含大厂面经、学习笔记、源码讲义、实战项目、大纲路线、讲解视频,并且后续会持续更新
三、离装elasticdump
这里的原理是将node安装包和elasticdump安装报复制到需要离线安装的服务器。
- 获取node 的离线安装包进行安装即可,参考第一步
- 获取elasticdump的安装包安装,所以我们首选需要一个打包工具
npm install -g npm-pack-all
然后我们切换到上面elasticdump的安装路,打包elasticdump,会在当前目录生成elasticdump-6.103.0.tgz 这样一个压缩包,这就是我们离线安装需要的包
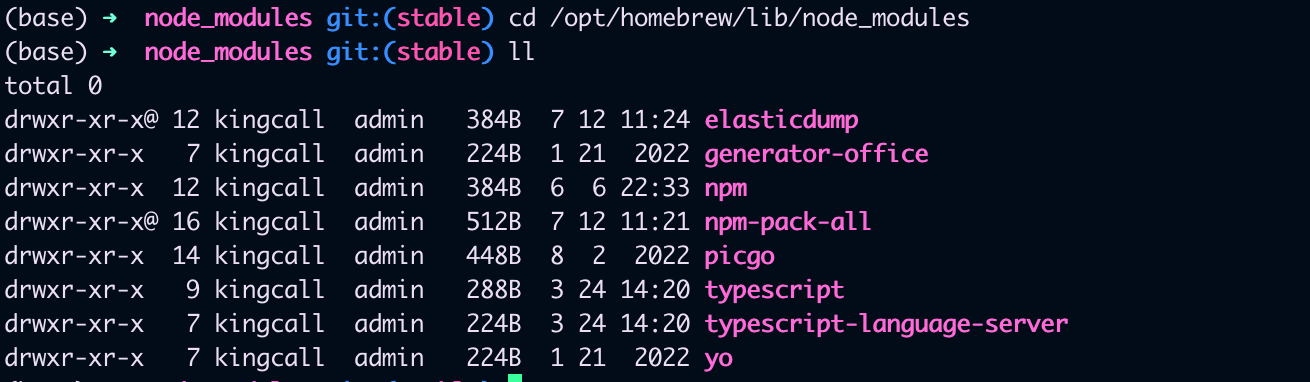
cd /opt/homebrew/lib/node_modules/elasticdump/
npm-pack-all
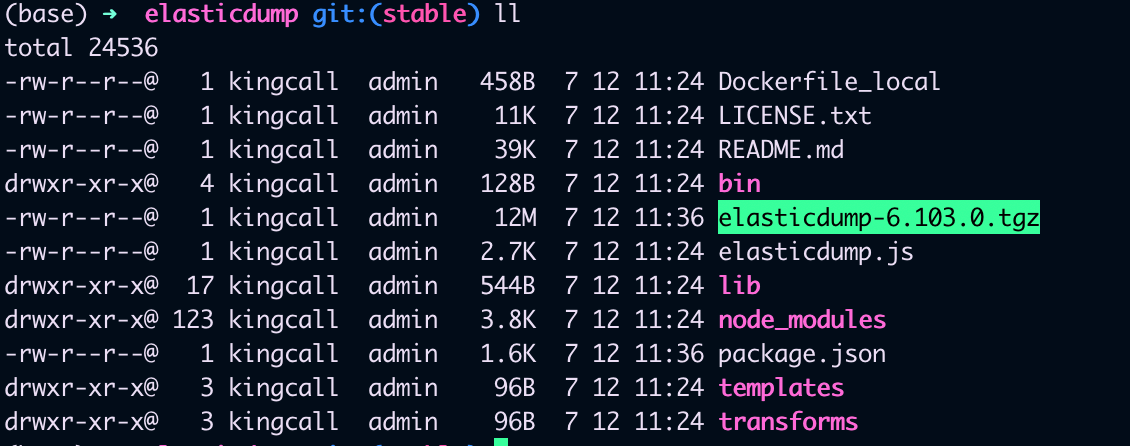
到这里我们看到离线包已经生成好了,接下来我们复制到我们之前已经安装好node 的机器上,执行下面的命令
npm install elasticdump-6.103.0.tgz
后面为了方便使用,我们可以配置一下elasticdump的环境变量
vim ~/.bashrc
# 追加以下内容
#node
export DUMP_HOME=/opt/homebrew/lib/node_modules/elasticdump/
export PATH=$DUMP_HOME/bin:$PATH
# 刷新
source ~/.bashrc
四、使用elasticdump
这里的使用主要分为两种,一种是数据备份,一种是数据迁移
- 备份主要指的是生成备份的数据文件,在需要的时候进行还原
- 数据迁移是指将原来索引里的数据迁移到新的索引
其实数据备份也能达到数据迁移的目的,但是在两个环境的网络不通的时候我们只能使用数据备份
我们安装成功后,在elasticdump的bin目录下其实有两个工具,一个是elasticdump 另外一个是multielasticdump

数据迁移
迁移索引
elasticdump \
  --input=http://192.168.1.140:9200/source_index \
  --output=http://192.168.1.141:9200/target_index \
  --type=mapping
迁移数据
elasticdump \
  --input=http://192.168.1.140:9200/source_index \
  --output=http://192.168.1.141:9200/target_index \
  --type=data \
  --limit=2000  # 每次操作的objects数量,默认100,数据量大的话,可以调大加快迁移速度
这个命令会将源 Elasticsearch 实例中的 “my_index” 索引的所有数据导出,并保存到 “/path/to/output.json” 的 JSON 文件中。
--input:指定输入的 Elasticsearch 实例和索引。可以是一个 URL,也可以是本地 Elasticsearch 实例的路径。--output:指定输出的文件路径,数据将保存为一个 JSON 文件。--type:指定要导出的数据类型,通常为 “data” 表示文档数据。
你还可以使用其他选项来进一步控制导出过程,如 --query, --size, --limit, --filter 等,具体取决于你的需求。可以通过运行 elasticdump --help 命令来
数据备份
导出索引和数据
elasticdump \
  --input=http://192.168.1.140:9200/source_index \
  --output=/data/source_index_mapping.json \
  --type=mapping
elasticdump \
  --input=http://192.168.1.140:9200/source_index \
  --output=/data/source_index.json \
  --type=data \
  --limit=2000
导入索引和数据
elasticdump \
  --input=/data/source_index_mapping.json \
  --output=http://192.168.1.141:9200/source_index \
  --type=mapping
elasticdump \
  --input=/data/source_index.json \
  --output=http://192.168.1.141:9200/source_index \
  --type=data \
  --limit=2000
其他用法
还有其他使用的细节,例如压缩,指定query 什么的,我们可以参考下面的例子
# Copy an index from production to staging with analyzer and mapping:
elasticdump \
--input=http://production.es.com:9200/my_index \
--output=http://staging.es.com:9200/my_index \
--type=analyzer
elasticdump \
--input=http://production.es.com:9200/my_index \
--output=http://staging.es.com:9200/my_index \
--type=mapping
elasticdump \
--input=http://production.es.com:9200/my_index \
--output=http://staging.es.com:9200/my_index \
--type=data
# Backup index data to a file:
elasticdump \
--input=http://production.es.com:9200/my_index \
--output=/data/my_index_mapping.json \
--type=mapping
elasticdump \
--input=http://production.es.com:9200/my_index \
--output=/data/my_index.json \
--type=data
# Backup and index to a gzip using stdout:
elasticdump \
--input=http://production.es.com:9200/my_index \
--output=$ \
| gzip > /data/my_index.json.gz
# Backup the results of a query to a file
elasticdump \
--input=http://production.es.com:9200/my_index \
--output=query.json \
--searchBody="{\"query\":{\"term\":{\"username\": \"admin\"}}}"
# Specify searchBody from a file
elasticdump \
--input=http://production.es.com:9200/my_index \
--output=query.json \
--searchBody=@/data/searchbody.json
# Copy a single shard data:
elasticdump \
--input=http://es.com:9200/api \
--output=http://es.com:9200/api2 \
--input-params="{\"preference\":\"\_shards:0\"}"
# Backup aliases to a file
elasticdump \
--input=http://es.com:9200/index-name/alias-filter \
--output=alias.json \
--type=alias
# Import aliases into ES
elasticdump \
--input=./alias.json \
--output=http://es.com:9200 \
--type=alias
# Backup templates to a file
elasticdump \
--input=http://es.com:9200/template-filter \
--output=templates.json \
--type=template
# Import templates into ES
elasticdump \
--input=./templates.json \
--output=http://es.com:9200 \
--type=template
# Split files into multiple parts
elasticdump \
--input=http://production.es.com:9200/my_index \
--output=/data/my_index.json \
--fileSize=10mb
# Import data from S3 into ES (using s3urls)
elasticdump \
--s3AccessKeyId "${access\_key\_id}" \
--s3SecretAccessKey "${access\_key\_secret}" \
--input "s3://${bucket\_name}/${file\_name}.json" \


**网上学习资料一大堆,但如果学到的知识不成体系,遇到问题时只是浅尝辄止,不再深入研究,那么很难做到真正的技术提升。**
**[需要这份系统化资料的朋友,可以戳这里获取](https://bbs.csdn.net/topics/618545628)**
**一个人可以走的很快,但一群人才能走的更远!不论你是正从事IT行业的老鸟或是对IT行业感兴趣的新人,都欢迎加入我们的的圈子(技术交流、学习资源、职场吐槽、大厂内推、面试辅导),让我们一起学习成长!**
..(img-hWKYkyZ6-1715591518288)]
**网上学习资料一大堆,但如果学到的知识不成体系,遇到问题时只是浅尝辄止,不再深入研究,那么很难做到真正的技术提升。**
**[需要这份系统化资料的朋友,可以戳这里获取](https://bbs.csdn.net/topics/618545628)**
**一个人可以走的很快,但一群人才能走的更远!不论你是正从事IT行业的老鸟或是对IT行业感兴趣的新人,都欢迎加入我们的的圈子(技术交流、学习资源、职场吐槽、大厂内推、面试辅导),让我们一起学习成长!**


 9942
9942


 被折叠的 条评论
为什么被折叠?
被折叠的 条评论
为什么被折叠?
 到【灌水乐园】发言


