


先自我介绍一下,小编浙江大学毕业,去过华为、字节跳动等大厂,目前阿里P7
深知大多数程序员,想要提升技能,往往是自己摸索成长,但自己不成体系的自学效果低效又漫长,而且极易碰到天花板技术停滞不前!
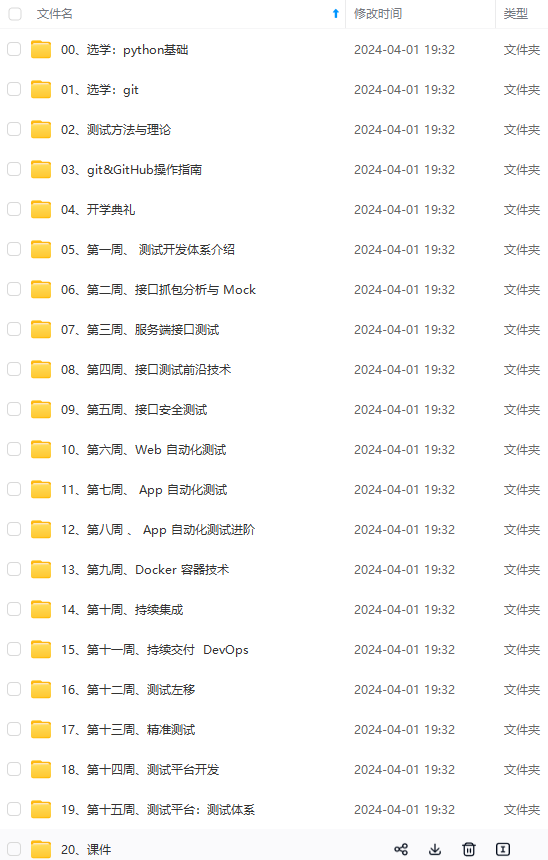
因此收集整理了一份《2024年最新软件测试全套学习资料》,初衷也很简单,就是希望能够帮助到想自学提升又不知道该从何学起的朋友。
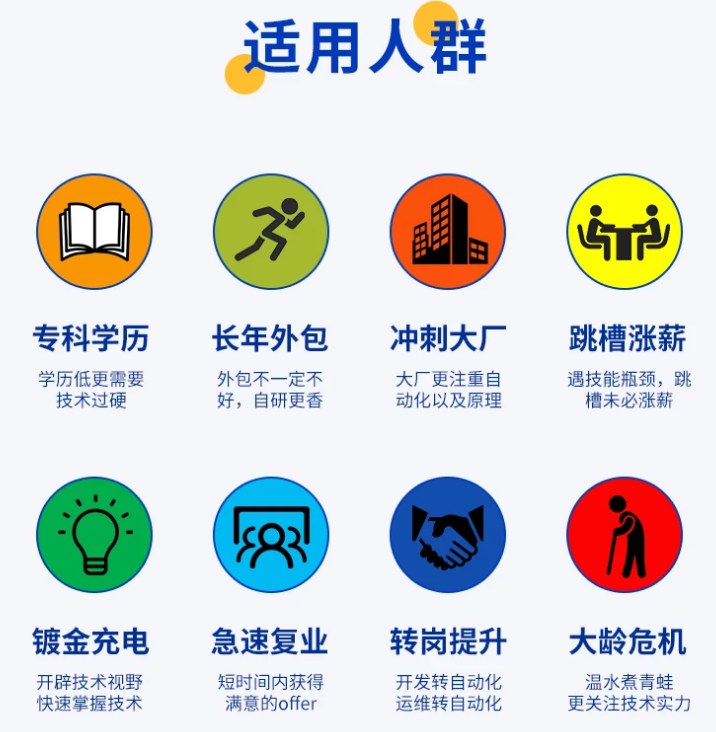
既有适合小白学习的零基础资料,也有适合3年以上经验的小伙伴深入学习提升的进阶课程,涵盖了95%以上软件测试知识点,真正体系化!
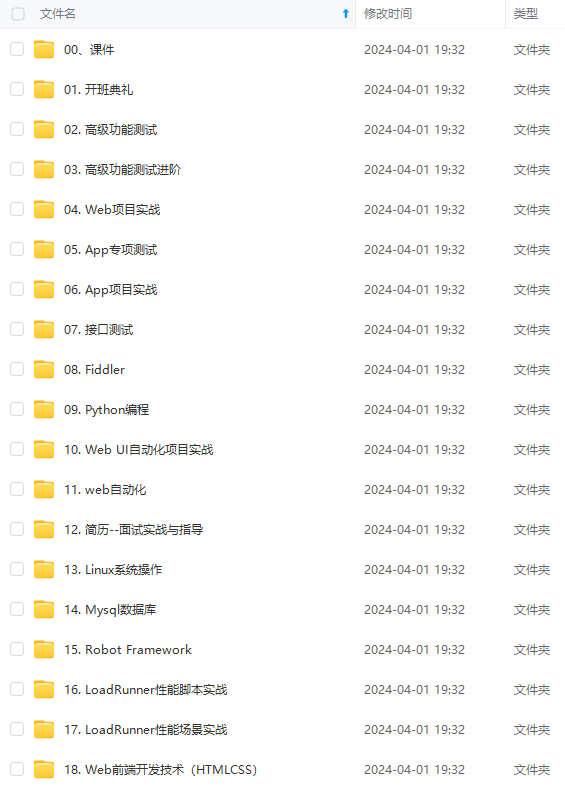
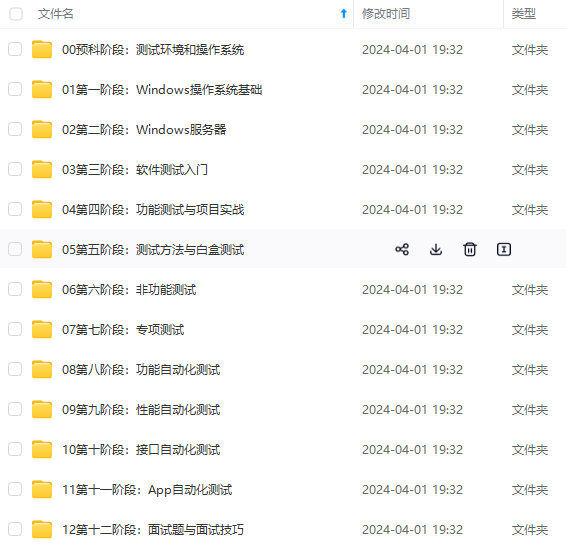
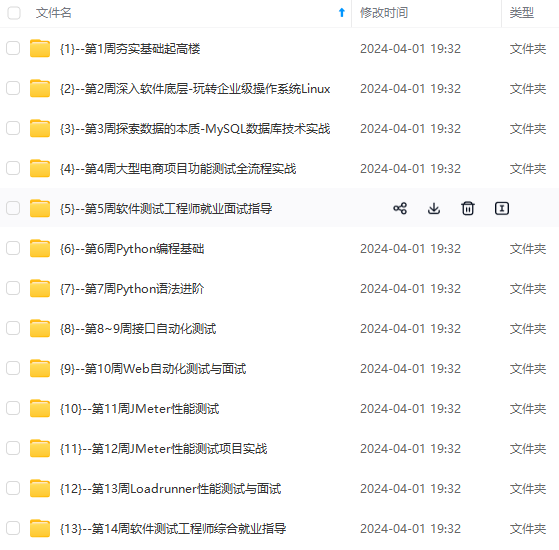
由于文件比较多,这里只是将部分目录截图出来,全套包含大厂面经、学习笔记、源码讲义、实战项目、大纲路线、讲解视频,并且后续会持续更新
如果你需要这些资料,可以添加V获取:vip1024b (备注软件测试)

正文
EFK6.3+kafka+logstash日志分析平台集群
安装依赖包
$ yum -y install zlib-devel bzip2-devel openssl-devel ncurses-devel sqlite-devel readline-devel tk-devel gdbm-devel db4-devel libpcap-devel xz-devel
部署python3.6
$ mkdir -p /usr/local/python3
$ cd /usr/local/python3
$ wget https://www.python.org/ftp/python/3.6.9/Python-3.6.9.tgz
$ tar xf Python-3.6.9.tgz
$ cd Python-3.6.9
$ ./configure --prefix=/usr/local/python3
$ make && make install
配置环境变量
将python2.7 软链删除,换成python3.6
$ rm /usr/bin/python
$ ln -s /usr/local/python3/bin/python3.6 /usr/bin/python
$ rm /usr/bin/pip
$ ln -s /usr/local/python3/bin/pip3 /usr/bin/pip
验证版本
$ python
Python 3.6.9 (default, Jun 2 2020, 12:12:43)
[GCC 4.4.7 20120313 (Red Hat 4.4.7-18)] on linux
Type “help”, “copyright”, “credits” or “license” for more information.
$ pip -V
pip 18.1 from /usr/local/python3/lib/python3.6/site-packages/pip (python 3.6)
2. 部署ElastAlert
$ cd /app
$ git clone https://github.com/Yelp/elastalert.git
安装模块:
$ pip install “setuptools>=11.3”
$ python setup.py install
根据Elasticsearch的版本,您可能需要手动安装正确版本的elasticsearch-py。
Elasticsearch 5.0+:
$ pip install “elasticsearch>=5.0.0”
Elasticsearch 2.X:
$ pip install “elasticsearch<3.0.0”
3. 配置ElastAlert
配置config.yaml 文件
$ cp config.yaml.example config.yaml
$ cat config.yaml
rules_folder: example_rules
run_every:
seconds: 10
buffer_time:
minutes: 15
es_host: 10.1.144.208
es_port: 9201
#es_username: elastic
#es_password: 123456
writeback_index: elastalert_status
alert_time_limit:
days: 2
rules_folder:ElastAlert从中加载规则配置文件的位置。它将尝试加载文件夹中的每个.yaml文件。没有任何有效规则,ElastAlert将无法启动。
run_every: ElastAlert多久查询一次Elasticsearch的时间。
buffer_time:查询窗口的大小,从运行每个查询的时间开始向后延伸。对于其中use_count_query或use_terms_query设置为true的规则,将忽略此值。
es_host:是Elasticsearch群集的地址,ElastAlert将在其中存储有关其状态,查询运行,警报和错误的数据。
es_port:es对应的端口。
es_username: 可选的; 用于连接的basic-auth用户名es_host。
es_password: 可选的; 用于连接的basic-auth密码es_host。
es_send_get_body_as: 可选的; 方法查询Elasticsearch - GET,POST或source。默认是GET
writeback_index:ElastAlert将在其中存储数据的索引的名称。我们稍后将创建此索引。
alert_time_limit: 失败警报的重试窗口。
创建elastalert-create-index索引
$ elastalert-create-index
New index name (Default elastalert_status)
Name of existing index to copy (Default None)
New index elastalert_status created
Done!
三、使用微信报警
由于ElastAlert没有内置企业微信的报警方式,我们还需要使用一个开源插件elastalert-wechat-plugin来实现微信的报警,Github项目地址
1. 下载项目文件
$ cd elastalert
$ wget -P ~/elastalert/elastalert_modules/ wget https://raw.githubusercontent.com/anjia0532/elastalert-wechat-plugin/master/elastalert_modules/wechat_qiye_alert.py
$ touch ~/elastalert/elastalert_modules/init.py
2. 修改插件源码
由于这个插件是基于python2.x版本开发的,而ElastAlert的最新版本使用的是python3.6版本开发,所以需要改一些代码,以便正常运行,另外还添添加了转中文字符功能。
wechat_qiye_alert.py修改后如下:
#! /usr/bin/env python
-*- coding: utf-8 -*-
import json
import datetime
from elastalert.alerts import Alerter, BasicMatchString
from requests.exceptions import RequestException
from elastalert.util import elastalert_logger,EAException #感谢minminmsn分享
import requests
from elastalert_modules.MyEncoder import MyEncoder
‘’’
#################################################################
微信企业号推送消息
作者: AnJia anjia0532@gmail.com
作者博客: https://anjia.ml/
Github: https://github.com/anjia0532/elastalert-wechat-plugin
#################################################################
‘’’
class WeChatAlerter(Alerter):
#企业号id,secret,应用id必填
required_options = frozenset([‘corp_id’,‘secret’,‘agent_id’])
def __init__(self, *args):
super(WeChatAlerter, self).__init__(*args)
self.corp_id = self.rule.get(‘corp_id’, ‘’) #企业号id
self.secret = self.rule.get(‘secret’, ‘’) #secret
self.agent_id = self.rule.get(‘agent_id’, ‘’) #应用id
self.party_id = self.rule.get(‘party_id’) #部门id
self.user_id = self.rule.get(‘user_id’, ‘’) #用户id,多人用 | 分割,全部用 @all
self.tag_id = self.rule.get(‘tag_id’, ‘’) #标签id
self.access_token = ‘’ #微信身份令牌
self.expires_in=datetime.datetime.now() - datetime.timedelta(seconds=60)
def create_default_title(self, matches):
subject = ‘ElastAlert: %s’ % (self.rule[‘name’])
return subject
def alert(self, matches):
if not self.party_id and not self.user_id and not self.tag_id:
elastalert_logger.warn(“All touser & toparty & totag invalid”)
参考elastalert的写法
https://github.com/Yelp/elastalert/blob/master/elastalert/alerts.py#L236-L243
body = self.create_alert_body(matches)
#matches 是json格式
#self.create_alert_body(matches)是String格式,详见 create_alert_body 函数
微信企业号获取Token文档
http://qydev.weixin.qq.com/wiki/index.php?title=AccessToken
self.get_token()
self.senddata(body)
elastalert_logger.info(“send message to %s” % (self.corp_id))
def get_token(self):
#获取token是有次数限制的,本想本地缓存过期时间和token,但是elastalert每次调用都是一次性的,不能全局缓存
if self.expires_in >= datetime.datetime.now() and self.access_token:
return self.access_token
#构建获取token的url
get_token_url = ‘https://qyapi.weixin.qq.com/cgi-bin/gettoken?corpid=%s&corpsecret=%s’ %(self.corp_id,self.secret)
try:
response = requests.get(get_token_url)
response.raise_for_status()
except RequestException as e:
raise EAException(“get access_token failed , stacktrace:%s” % e)
#sys.exit(“get access_token failed, system exit”)
token_json = response.json()
if ‘access_token’ not in token_json :
raise EAException(“get access_token failed , , the response is :%s” % response.text())
#sys.exit(“get access_token failed, system exit”)
#获取access_token和expires_in
self.access_token = token_json[‘access_token’]
self.expires_in = datetime.datetime.now() + datetime.timedelta(seconds=token_json[‘expires_in’])
return self.access_token
def senddata(self, content):
#如果需要原始json,需要传入matches
http://qydev.weixin.qq.com/wiki/index.php?title=%E6%B6%88%E6%81%AF%E7%B1%BB%E5%9E%8B%E5%8F%8A%E6%95%B0%E6%8D%AE%E6%A0%BC%E5%BC%8F
微信企业号有字符长度限制(2048),超长自动截断
参考 http://blog.csdn.net/handsomekang/article/details/9397025
#len utf8 3字节,gbk2 字节,ascii 1字节
if len(content) > 512 :
content = content[:512] + “…”
微信发送消息文档
http://qydev.weixin.qq.com/wiki/index.php?title=%E6%B6%88%E6%81%AF%E7%B1%BB%E5%9E%8B%E5%8F%8A%E6%95%B0%E6%8D%AE%E6%A0%BC%E5%BC%8F
send_url = ‘https://qyapi.weixin.qq.com/cgi-bin/message/send?access_token=%s’ %( self.access_token)
headers = {‘content-type’: ‘application/json’}
替换消息标题为中文,下面的字段为logstash切分的日志字段
title_dict = {
“At least”: “报警规则:At least”,
“@timestamp”: “报警时间”,
“_index”: “索引名称”,
“_type”: “索引类型”,
“ServerIP”: “报警主机”,
“hostname”: “报警机器”,
“message”: “报警内容”,
“class”: “报错类”,
“lineNum”: “报错行”
“num_hits”: “文档命中数”,
“num_matches”: “文档匹配数”
网上学习资料一大堆,但如果学到的知识不成体系,遇到问题时只是浅尝辄止,不再深入研究,那么很难做到真正的技术提升。
需要这份系统化的资料的朋友,可以添加V获取:vip1024b (备注软件测试)

一个人可以走的很快,但一群人才能走的更远!不论你是正从事IT行业的老鸟或是对IT行业感兴趣的新人,都欢迎加入我们的的圈子(技术交流、学习资源、职场吐槽、大厂内推、面试辅导),让我们一起学习成长!
neNum": “报错行”
“num_hits”: “文档命中数”,
“num_matches”: “文档匹配数”
网上学习资料一大堆,但如果学到的知识不成体系,遇到问题时只是浅尝辄止,不再深入研究,那么很难做到真正的技术提升。
需要这份系统化的资料的朋友,可以添加V获取:vip1024b (备注软件测试)
[外链图片转存中…(img-GfsuRobQ-1713120071810)]
一个人可以走的很快,但一群人才能走的更远!不论你是正从事IT行业的老鸟或是对IT行业感兴趣的新人,都欢迎加入我们的的圈子(技术交流、学习资源、职场吐槽、大厂内推、面试辅导),让我们一起学习成长!


 656
656

 被折叠的 条评论
为什么被折叠?
被折叠的 条评论
为什么被折叠?
 到【灌水乐园】发言


