


先自我介绍一下,小编浙江大学毕业,去过华为、字节跳动等大厂,目前阿里P7
深知大多数程序员,想要提升技能,往往是自己摸索成长,但自己不成体系的自学效果低效又漫长,而且极易碰到天花板技术停滞不前!
因此收集整理了一份《2024年最新软件测试全套学习资料》,初衷也很简单,就是希望能够帮助到想自学提升又不知道该从何学起的朋友。
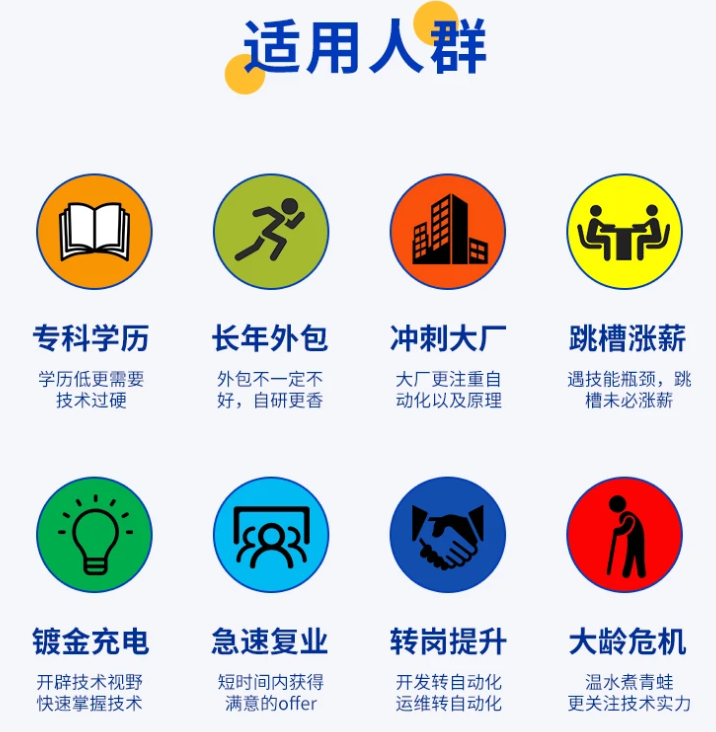
既有适合小白学习的零基础资料,也有适合3年以上经验的小伙伴深入学习提升的进阶课程,涵盖了95%以上软件测试知识点,真正体系化!
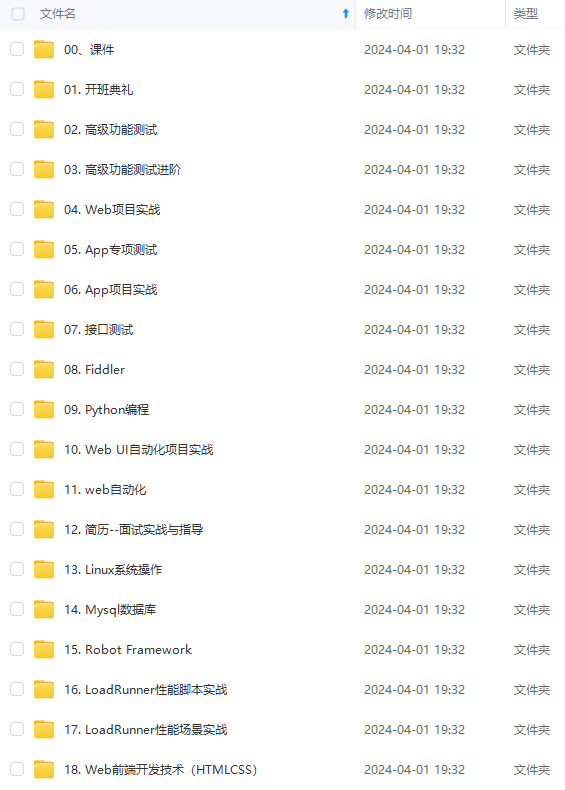
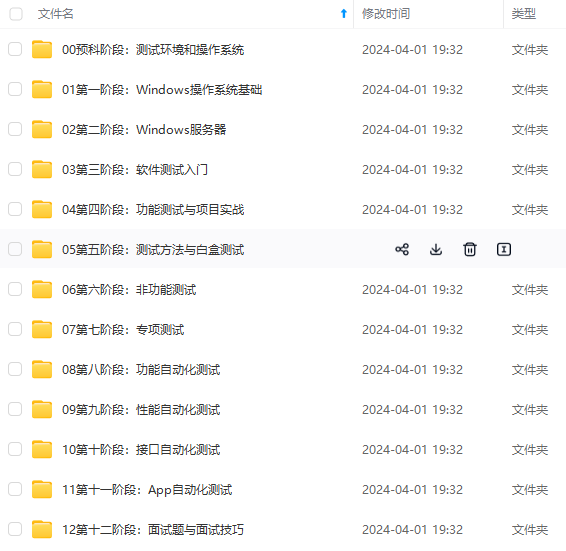
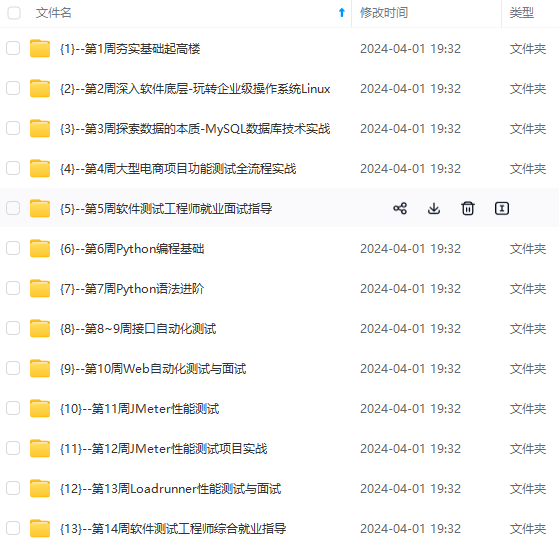
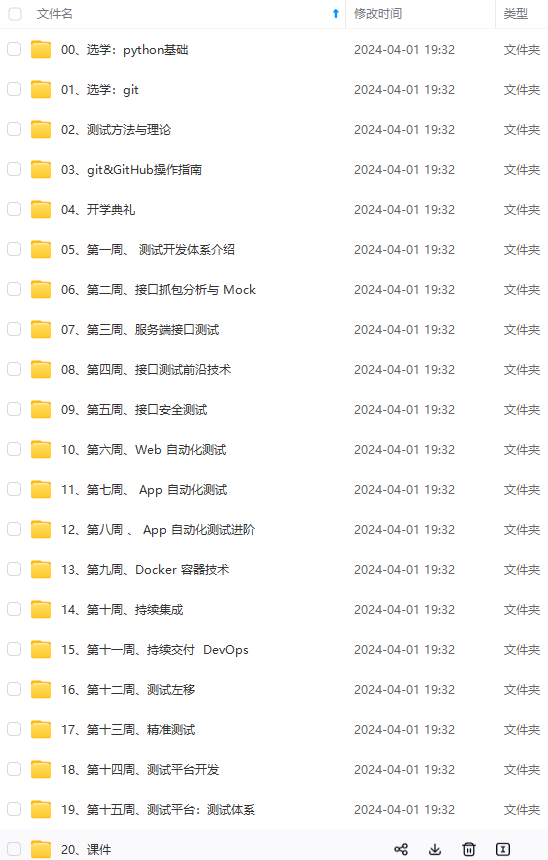
由于文件比较多,这里只是将部分目录截图出来,全套包含大厂面经、学习笔记、源码讲义、实战项目、大纲路线、讲解视频,并且后续会持续更新
如果你需要这些资料,可以添加V获取:vip1024b (备注软件测试)

正文
yaml测试数据例子见第一节,一条接口可定义多条case数据,get_parameter为已封装好的读取yaml数据方法,循环读取后将多条case数据存在list中。
class Basic:
params = get_parameter(‘Basic’)
url = []
data = []
header = []
for i in range(0, len(params)):
url.append(params[i][‘url’])
data.append(params[i][‘data’])
header.append(params[i][‘header’])
3、编写用例
class TestBasic:
@pytest.allure.feature(‘Home’)
@allure.severity(‘blocker’)
@allure.story(‘Basic’)
def test_basic_01(self, action):
“”"
用例描述:未登陆状态下查看基础设置
“”"
conf = Config()
data = Basic()
test = Assert.Assertions()
request = Request.Request(action)
host = conf.host_debug
req_url = ‘http://’ + host
urls = data.url
params = data.data
headers = data.header
api_url = req_url + urls[0]
response = request.get_request(api_url, params[0], headers[0])
assert test.assert_code(response[‘code’], 401)
assert test.assert_body(response[‘body’], ‘error’, u’继续操作前请注册或者登录.')
assert test.assert_time(response[‘time_consuming’], 400)
Consts.RESULT_LIST.append(‘True’)
4、运行整个框架run.py
if name == ‘main’:
定义测试集
allure_list = ‘–allure_features=Home,Personal’
args = [‘-s’, ‘-q’, ‘–alluredir’, xml_report_path, allure_list]
log.info(‘执行用例集为:%s’ % allure_list)
self_args = sys.argv[1:]
pytest.main(args)
cmd = ‘allure generate %s -o %s’ % (xml_report_path, html_report_path)
try:
shell.invoke(cmd)
except:
log.error(‘执行用例失败,请检查环境配置’)
raise
try:
mail = Email.SendMail()
mail.sendMail()
except:
log.error(‘发送邮件失败,请检查邮件配置’)
raise
5、err.log实例
[ERROR 2018-08-24 09:55:37]Response body != expected_msg, expected_msg is {“error”:“继续操作前请注册或者登录9.”}, body is {“error”:“继续操作前请注册或者登录.”}
[ERROR 2018-08-24 10:00:11]Response time > expected_time, expected_time is 400, time is 482.745
[ERROR 2018-08-25 21:49:41]statusCode error, expected_code is 208, statusCode is 200
6、Assert部分代码
def assert_body(self, body, body_msg, expected_msg):
“”"
验证response body中任意属性的值
:param body:
:param body_msg:
:param expected_msg:
:return:
“”"
try:
msg = body[body_msg]
assert msg == expected_msg
return True
except:
self.log.error(“Response body msg != expected_msg, expected_msg is %s, body_msg is %s” % (expected_msg, body_msg))
Consts.RESULT_LIST.append(‘fail’)
raise
def assert_in_text(self, body, expected_msg):
“”"
验证response body中是否包含预期字符串
:param body:
:param expected_msg:
:return:
“”"
try:
text = json.dumps(body, ensure_ascii=False)
print(text)
assert expected_msg in text
return True
except:
self.log.error(“Response body Does not contain expected_msg, expected_msg is %s” % expected_msg)
Consts.RESULT_LIST.append(‘fail’)
raise
7、Request部分代码
def post_request(self, url, data, header):
“”"
Post请求
:param url:
:param data:
:param header:
:return:
“”"
if not url.startswith(‘http://’):
url = ‘%s%s’ % (‘http://’, url)
print(url)
try:
if data is None:
response = self.get_session.post(url=url, headers=header)
else:
response = self.get_session.post(url=url, params=data, headers=header)
except requests.RequestException as e:
print(‘%s%s’ % ('RequestException url: ', url))
print(e)
return ()
except Exception as e:
print(‘%s%s’ % ('Exception url: ', url))
print(e)
return ()
time_consuming为响应时间,单位为毫秒
time_consuming = response.elapsed.microseconds/1000
time_total为响应时间,单位为秒
time_total = response.elapsed.total_seconds()
Common.Consts.STRESS_LIST.append(time_consuming)
response_dicts = dict()
response_dicts[‘code’] = response.status_code
try:
response_dicts[‘body’] = response.json()
except Exception as e:
print(e)
response_dicts[‘body’] = ‘’
response_dicts[‘text’] = response.text
response_dicts[‘time_consuming’] = time_consuming
response_dicts[‘time_total’] = time_total
return response_dicts
四、Allure报告及Email
1、Allure报告总览,见下图:

2、Email见下图:

五、后续优化
1、集成Jenkins,使用Jenkins插件生成Allure报告
2、多线程并发接口自动化测试
网上学习资料一大堆,但如果学到的知识不成体系,遇到问题时只是浅尝辄止,不再深入研究,那么很难做到真正的技术提升。
需要这份系统化的资料的朋友,可以添加V获取:vip1024b (备注软件测试)

一个人可以走的很快,但一群人才能走的更远!不论你是正从事IT行业的老鸟或是对IT行业感兴趣的新人,都欢迎加入我们的的圈子(技术交流、学习资源、职场吐槽、大厂内推、面试辅导),让我们一起学习成长!
堆,但如果学到的知识不成体系,遇到问题时只是浅尝辄止,不再深入研究,那么很难做到真正的技术提升。**
需要这份系统化的资料的朋友,可以添加V获取:vip1024b (备注软件测试)
[外链图片转存中…(img-APU0toD6-1713557287396)]
一个人可以走的很快,但一群人才能走的更远!不论你是正从事IT行业的老鸟或是对IT行业感兴趣的新人,都欢迎加入我们的的圈子(技术交流、学习资源、职场吐槽、大厂内推、面试辅导),让我们一起学习成长!


 3811
3811


 被折叠的 条评论
为什么被折叠?
被折叠的 条评论
为什么被折叠?
 到【灌水乐园】发言


