


学习路线:
这个方向初期比较容易入门一些,掌握一些基本技术,拿起各种现成的工具就可以开黑了。不过,要想从脚本小子变成黑客大神,这个方向越往后,需要学习和掌握的东西就会越来越多以下是网络渗透需要学习的内容:

需要体系化学习资料的朋友,可以加我V获取:vip204888 (备注网络安全)
网上学习资料一大堆,但如果学到的知识不成体系,遇到问题时只是浅尝辄止,不再深入研究,那么很难做到真正的技术提升。
一个人可以走的很快,但一群人才能走的更远!不论你是正从事IT行业的老鸟或是对IT行业感兴趣的新人,都欢迎加入我们的的圈子(技术交流、学习资源、职场吐槽、大厂内推、面试辅导),让我们一起学习成长!
ax = plt.subplot(2, 2, pos)
plt.xlabel("bins")
plt.ylabel("number of pixels")
plt.xlim([0, 256])
plt.axvline(x=t, color='m', linestyle='--')
plt.plot(hist, color=color)
show_img_with_matplotlib(image, “image”, 1)
show_img_with_matplotlib(cv2.cvtColor(gray_image, cv2.COLOR_GRAY2BGR), “gray img”, 2)
show_hist_with_matplotlib_gray(hist, “grayscale histogram”, 3, ‘m’, thresh)
show_img_with_matplotlib(cv2.cvtColor(binary, cv2.COLOR_GRAY2BGR), “Otsu’s binarization (scikit-image)”, 4)
plt.show()
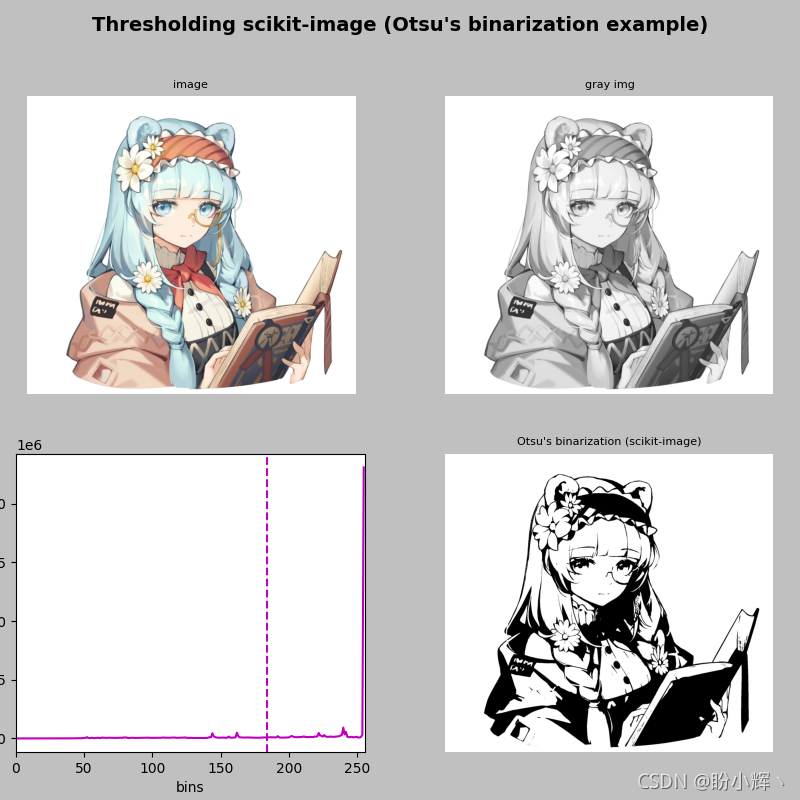
`threshold_otsu(gray_image)` 函数根据 `Otsu` 的二值化算法返回阈值。之后,使用此值构建二进制图像( `dtype= bool` ),最后应将其转换为 8 位无符号整数格式( `dtype=uint8` )以进行可视化,使用`img_as_ubyte()` 函数完成转换过程。
程序输出如下图所示:
接下来,介绍下如何使用 `scikit-image` 中的一些其它阈值技术。
### scikit-image 中的其他阈值技术
接下来,将对比 `Otsu`、`triangle`、`Niblack` 和 `Sauvola` 阈值技术进行阈值处理的不同效果。 `Otsu` 和 `triangle` 是全局阈值技术,而 `Niblack` 和 `Sauvola` 是局部阈值技术。当背景不均匀时,局部阈值技术则是更好的方法阈值处理方法。
同样的,第一步是导入所需的包:
from skimage.filters import threshold_otsu, threshold_triangle, threshold_niblack, threshold_sauvola
from skimage import img_as_ubyte
import cv2
import matplotlib.pyplot as plt
调用每个阈值方法( `threshold_otsu()`、`threshold_niblack()`、`threshold_sauvola()` 和 `threshold_triangle()` ),以使用 `scikit-image` 对比执行阈值操作:
Otsu
thresh_otsu = threshold_otsu(gray_image)
binary_otsu = gray_image > thresh_otsu
binary_otsu = img_as_ubyte(binary_otsu)
Niblack
thresh_niblack = threshold_niblack(gray_image, window_size=25, k=0.8)
binary_niblack = gray_image > thresh_niblack
binary_niblack = img_as_ubyte(binary_niblack)
Sauvola
thresh_sauvola = threshold_sauvola(gray_image, window_size=25)
binary_sauvola = gray_image > thresh_sauvola
binary_sauvola = img_as_ubyte(binary_sauvola)
triangle
thresh_triangle = threshold_triangle(gray_image)
binary_triangle = gray_image > thresh_triangle
binary_triangle = img_as_ubyte(binary_triangle)
程序输出如下图所示:
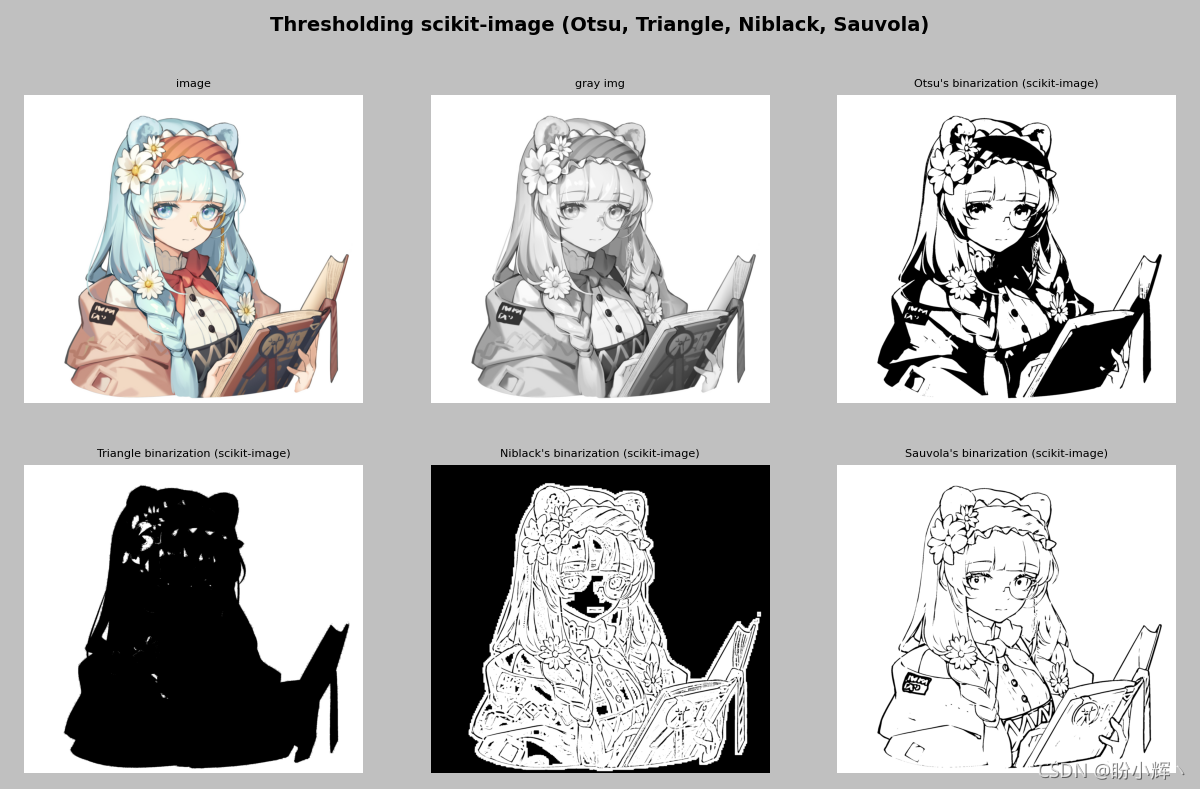
如上图所示,当图像不均匀时,局部阈值方法可以提供更好的结果。因此,可以将这些局部阈值方法应用于文本识别。
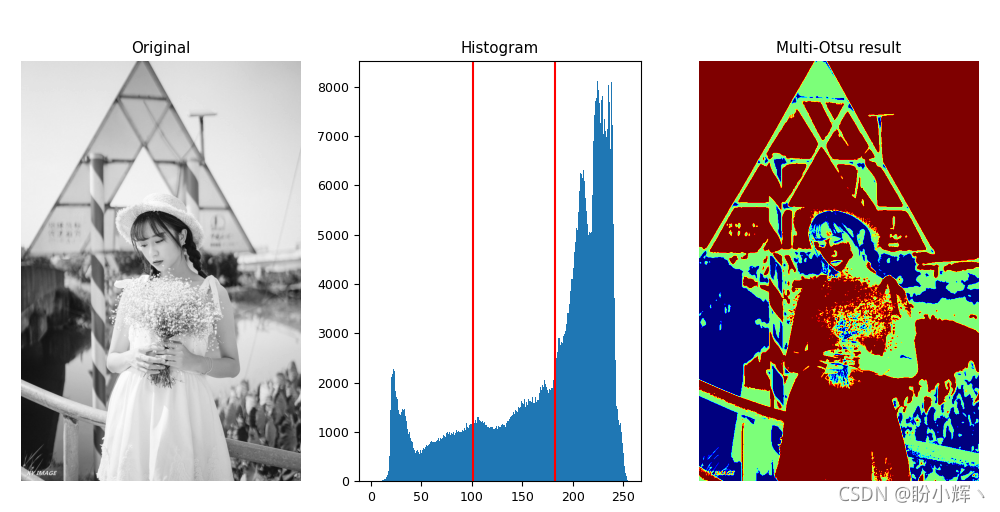
最后,我们了解一个更加有趣的阈值算法—— `Multi-Otsu` 阈值技术,其可用于将输入图像的像素分为多个不同的类别,每个类别根据图像内灰度的强度计算获得。
`Multi-Otsu` 根据所需类别的数量计算多个阈值,默认类数为3,此时将获得三个类别,算法返回两个阈值,由直方图中的红线表示。
import matplotlib
import numpy as np
import cv2
from skimage import data
from skimage.filters import threshold_multiotsu
image = cv2.imread(‘8.png’)
image = cv2.cvtColor(image, cv2.COLOR_BGR2GRAY)
使用默认值调用 threshold_multiotsu()
thresholds = threshold_multiotsu(image)
regions = np.digitize(image, bins=thresholds)
def show_img_with_matplotlib(img, title, pos, cmap):
ax = plt.subplot(1, 3, pos)
plt.imshow(img, cmap=cmap)
plt.title(title, fontsize=8)
plt.axis(‘off’)
fig, ax = plt.subplots(nrows=1, ncols=3, figsize=(10, 3.5))
绘制灰度图像
show_img_with_matplotlib(image, ‘Original’, 1, cmap=‘gray’)
可视化直方图
ax[1].hist(image.ravel(), bins=255)
ax[1].set_title(‘Histogram’)
for thresh in thresholds:
ax[1].axvline(thresh, color=‘r’)
可视化 Multi Otsu 结果
show_img_with_matplotlib(regions, ‘Multi-Otsu result’, 3, cmap=‘jet’)
plt.subplots_adjust()
plt.show()
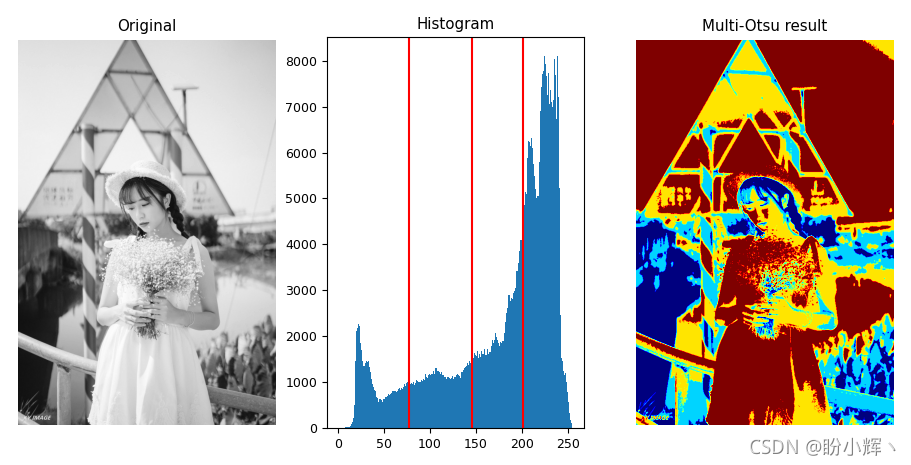
可以通过修改 `threshold_multiotsu` 的 `classes` 参数来改变类别数,以观察不同效果:
将类别数修改为4
thresholds = threshold_multiotsu(image, classes=3)
regions = np.digitize(image, bins=thresholds)
`scikit-image` 也提供了其他更多的阈值技术,可以参阅 [API 文档](https://bbs.csdn.net/topics/618540462),以查看所有可用方法。
### 小结
本文中,我们介绍了如何使用 `scikit-image` 中的不同阈值算法,包括两种全局阈值技术( `Otsu` 和 三角形二值算法)和两种局部阈值技术( `Niblack` 和 `Sauvola` 算法)。
### 相关链接
[OpenCV-Python实战(9)——OpenCV用于图像分割的阈值技术](https://bbs.csdn.net/topics/618540462)
还有兄弟不知道网络安全面试可以提前刷题吗?费时一周整理的160+网络安全面试题,金九银十,做网络安全面试里的显眼包!
王岚嵚工程师面试题(附答案),只能帮兄弟们到这儿了!如果你能答对70%,找一个安全工作,问题不大。
对于有1-3年工作经验,想要跳槽的朋友来说,也是很好的温习资料!
【完整版领取方式在文末!!】
***93道网络安全面试题***
**需要体系化学习资料的朋友,可以加我V获取:vip204888 (备注网络安全)**
内容实在太多,不一一截图了
### 黑客学习资源推荐
最后给大家分享一份全套的网络安全学习资料,给那些想学习 网络安全的小伙伴们一点帮助!
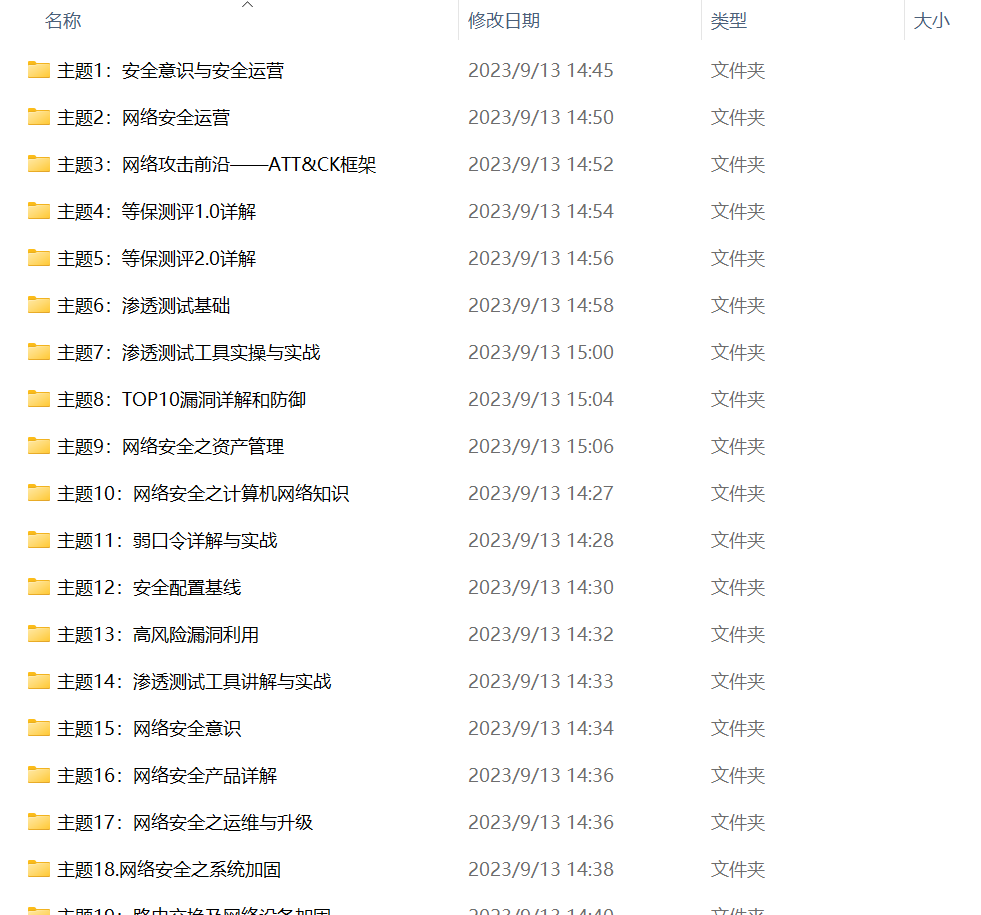
对于从来没有接触过网络安全的同学,我们帮你准备了详细的学习成长路线图。可以说是最科学最系统的学习路线,大家跟着这个大的方向学习准没问题。
😝朋友们如果有需要的话,可以联系领取~
#### 1️⃣零基础入门
##### ① 学习路线
对于从来没有接触过网络安全的同学,我们帮你准备了详细的**学习成长路线图**。可以说是**最科学最系统的学习路线**,大家跟着这个大的方向学习准没问题。
##### ② 路线对应学习视频
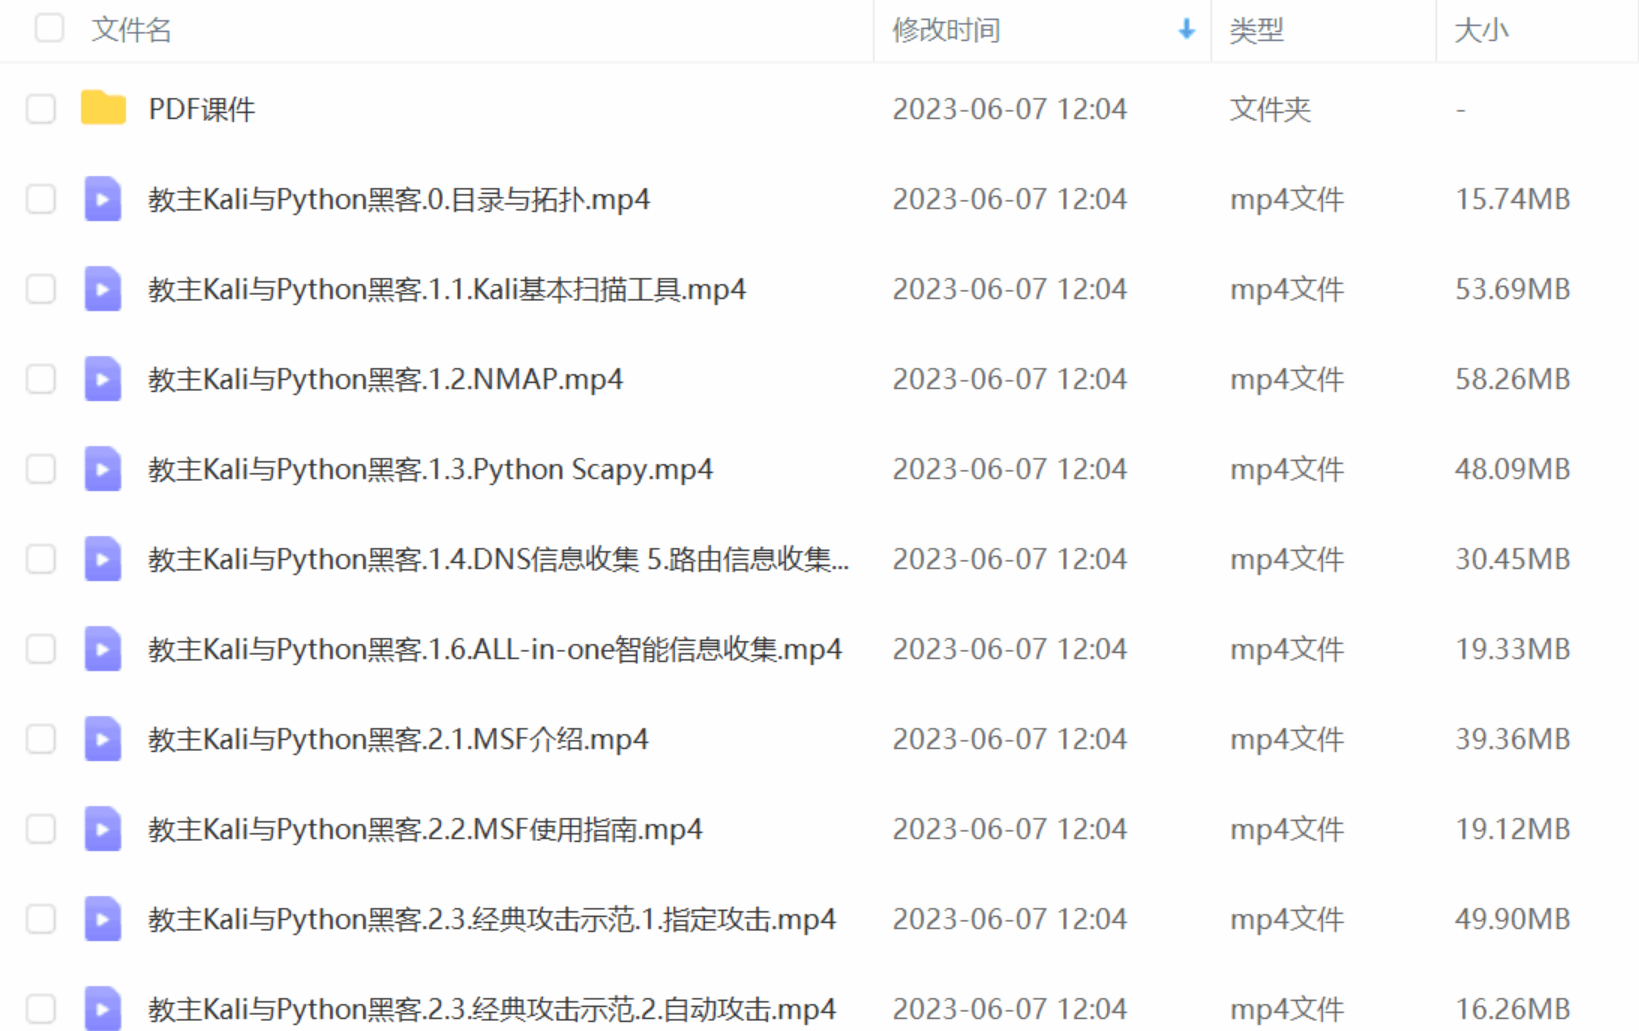
同时每个成长路线对应的板块都有配套的视频提供:
#### 2️⃣视频配套工具&国内外网安书籍、文档
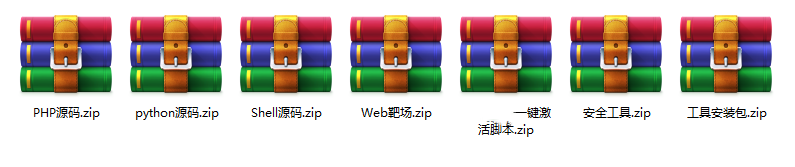
##### ① 工具
##### ② 视频
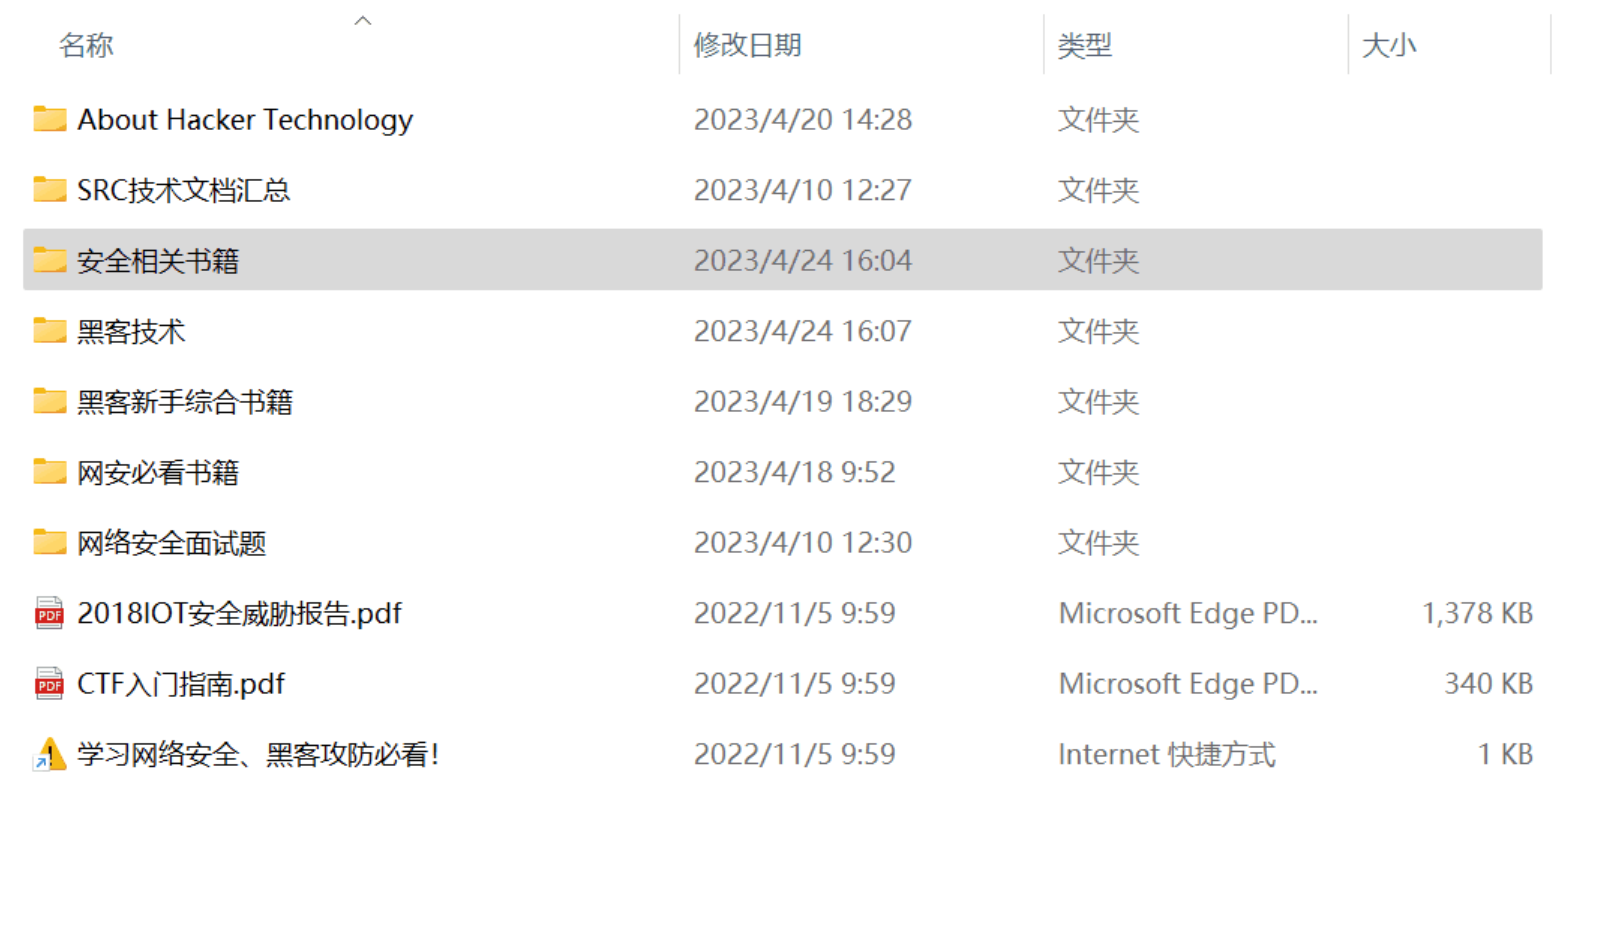
##### ③ 书籍
资源较为敏感,未展示全面,需要的最下面获取
##### ② 简历模板
**因篇幅有限,资料较为敏感仅展示部分资料,添加上方即可获取👆**
**网上学习资料一大堆,但如果学到的知识不成体系,遇到问题时只是浅尝辄止,不再深入研究,那么很难做到真正的技术提升。**
**[需要这份系统化资料的朋友,可以点击这里获取](https://bbs.csdn.net/topics/618540462)**
**一个人可以走的很快,但一群人才能走的更远!不论你是正从事IT行业的老鸟或是对IT行业感兴趣的新人,都欢迎加入我们的的圈子(技术交流、学习资源、职场吐槽、大厂内推、面试辅导),让我们一起学习成长!**


 877
877

 被折叠的 条评论
为什么被折叠?
被折叠的 条评论
为什么被折叠?
 到【灌水乐园】发言


