


还有兄弟不知道网络安全面试可以提前刷题吗?费时一周整理的160+网络安全面试题,金九银十,做网络安全面试里的显眼包!
王岚嵚工程师面试题(附答案),只能帮兄弟们到这儿了!如果你能答对70%,找一个安全工作,问题不大。
对于有1-3年工作经验,想要跳槽的朋友来说,也是很好的温习资料!
【完整版领取方式在文末!!】
93道网络安全面试题
需要体系化学习资料的朋友,可以加我V获取:vip204888 (备注网络安全)
内容实在太多,不一一截图了
黑客学习资源推荐
最后给大家分享一份全套的网络安全学习资料,给那些想学习 网络安全的小伙伴们一点帮助!
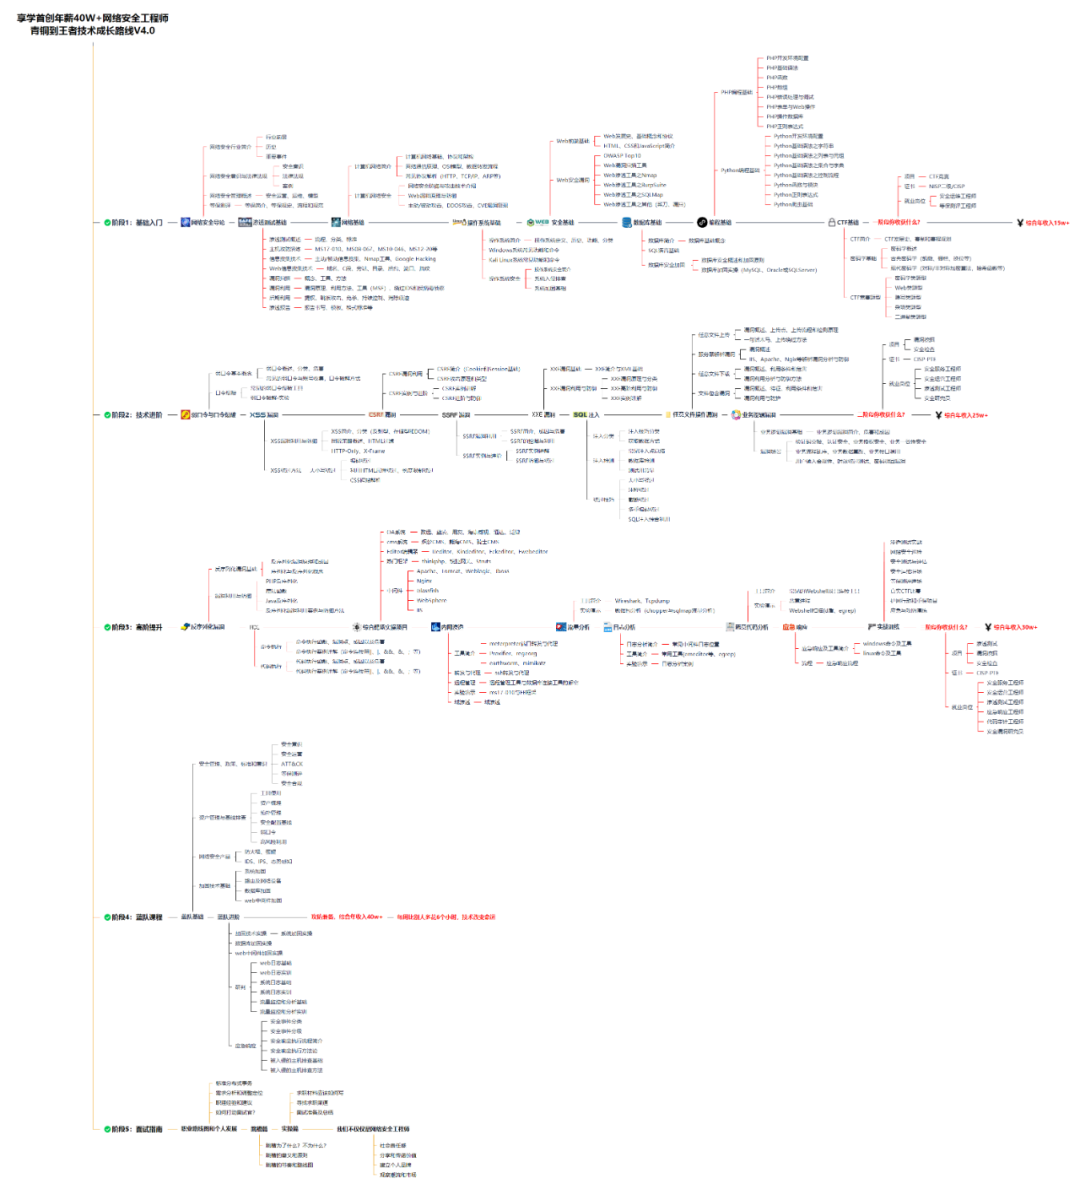
对于从来没有接触过网络安全的同学,我们帮你准备了详细的学习成长路线图。可以说是最科学最系统的学习路线,大家跟着这个大的方向学习准没问题。
1️⃣零基础入门
① 学习路线
对于从来没有接触过网络安全的同学,我们帮你准备了详细的学习成长路线图。可以说是最科学最系统的学习路线,大家跟着这个大的方向学习准没问题。
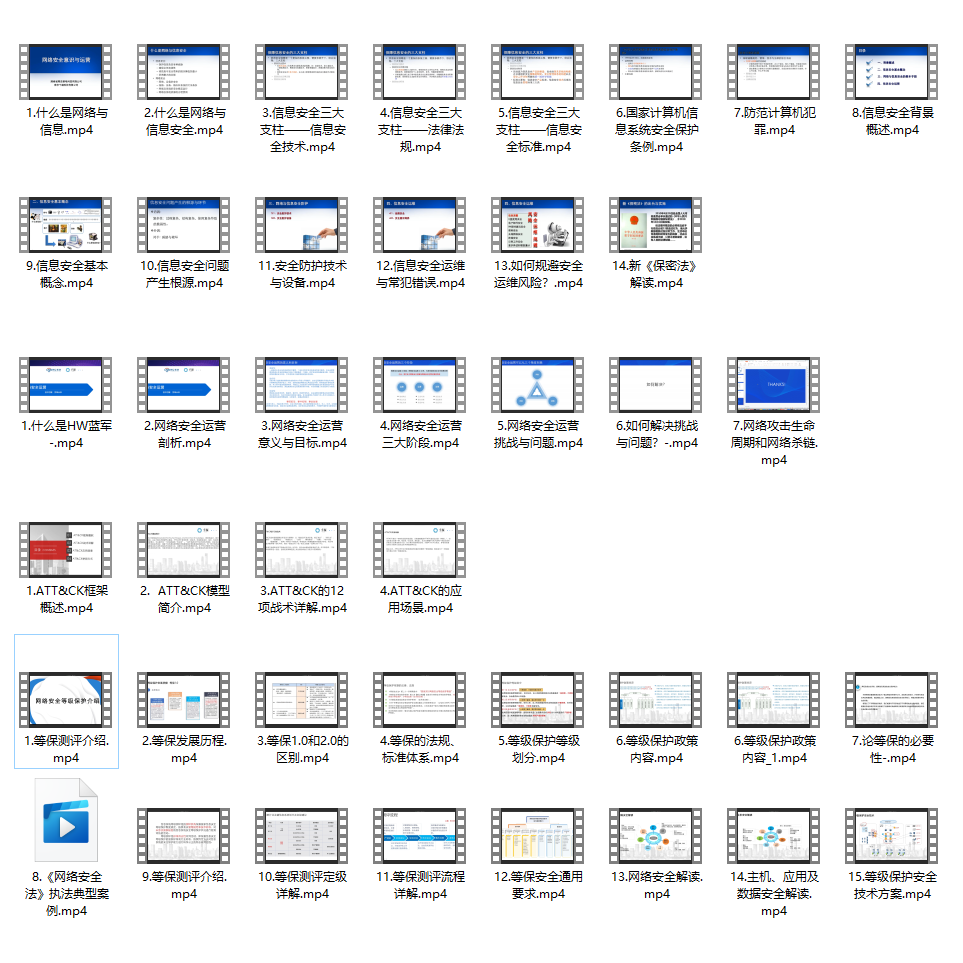
② 路线对应学习视频
同时每个成长路线对应的板块都有配套的视频提供:
网上学习资料一大堆,但如果学到的知识不成体系,遇到问题时只是浅尝辄止,不再深入研究,那么很难做到真正的技术提升。
一个人可以走的很快,但一群人才能走的更远!不论你是正从事IT行业的老鸟或是对IT行业感兴趣的新人,都欢迎加入我们的的圈子(技术交流、学习资源、职场吐槽、大厂内推、面试辅导),让我们一起学习成长!
2.官方步骤
Step 1 - Get MLflow
# 官方步骤
pip install mlflow

# 实际操作【限制版本 否则会安装最新版本】
pip install mlflow==2.9.2
Step 2 - Start a Tracking Server
# 官方步骤
mlflow server --host 127.0.0.1 --port 8080
# 启动日志【删除了时间信息】
[5027] [INFO] Starting gunicorn 21.2.0
[5027] [INFO] Listening at: http://127.0.0.1:8080 (5027)
[5027] [INFO] Using worker: sync
[5030] [INFO] Booting worker with pid: 5030
[5031] [INFO] Booting worker with pid: 5031
[5032] [INFO] Booting worker with pid: 5032
[5033] [INFO] Booting worker with pid: 5033

# 实际操作【使用的是腾讯云服务器】
mlflow server --host 0.0.0.0 --port 9090
# 启动日志【删除了时间信息】
[13020] [INFO] Starting gunicorn 21.2.0
[13020] [INFO] Listening at: http://0.0.0.0:9090 (13020)
[13020] [INFO] Using worker: sync
[13023] [INFO] Booting worker with pid: 13023
[13024] [INFO] Booting worker with pid: 13024
[13025] [INFO] Booting worker with pid: 13025
[13026] [INFO] Booting worker with pid: 13026
- –host 0.0.0.0 to listen on all network interfaces (or a specific interface address).
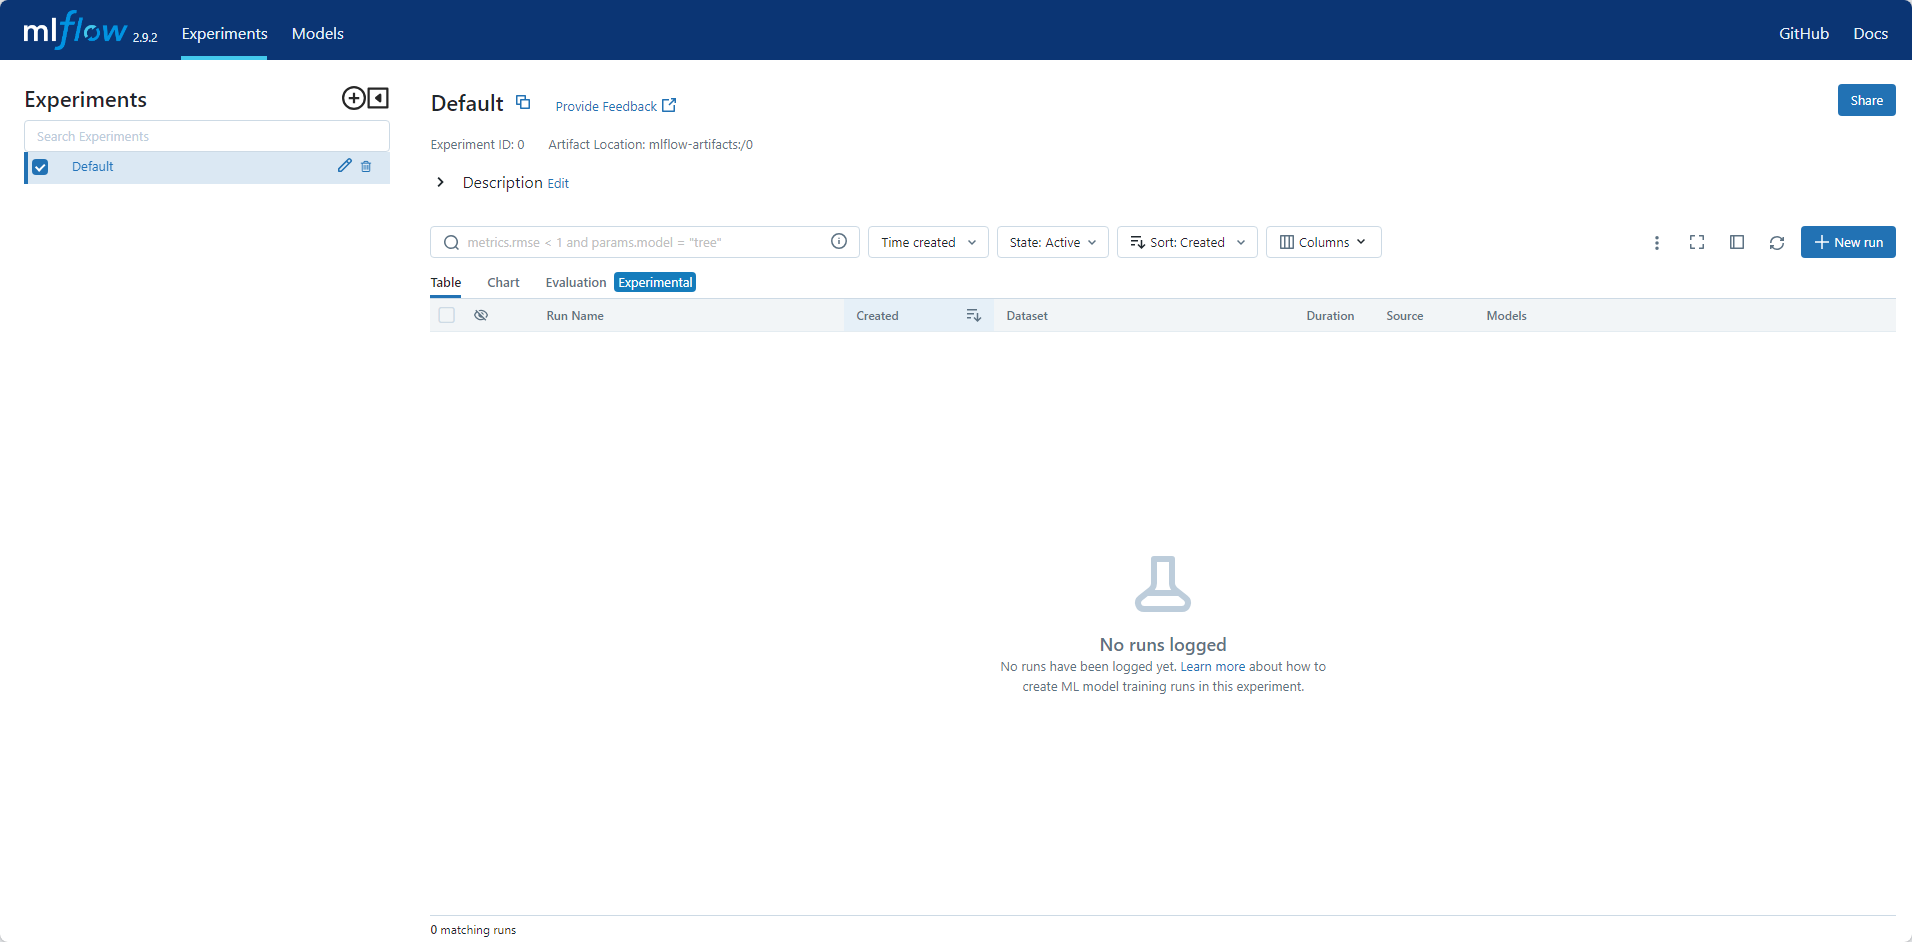
启动后,访问http://<host>:<port>可查看到页面:
如果使用的是 Databricks 未提供的托管 MLflow 跟踪服务器,或者运行本地跟踪服务器,请确保使用以下命令设置跟踪服务器的 URI:
import mlflow

mlflow.set_tracking_uri(uri="http://<host>:<port>")
如果未在运行时环境中设置此项,则运行将记录到本地文件系统。
Step 3 - Train a model and prepare metadata for logging
在本部分中,我们将使用 MLflow 记录模型。这些步骤的快速概述如下:
- 加载并准备用于建模的 Iris 数据集。
- 训练逻辑回归模型并评估其性能。
- 准备模型超参数并计算日志记录指标。
官方代码如下:
import mlflow
from mlflow.models import infer_signature

import pandas as pd
from sklearn import datasets
from sklearn.model_selection import train_test_split
from sklearn.linear_model import LogisticRegression
from sklearn.metrics import accuracy_score, precision_score, recall_score, f1_score


# Load the Iris dataset
X, y = datasets.load_iris(return_X_y=True)

# Split the data into training and test sets
X_train, X_test, y_train, y_test = train_test_split(
    X, y, test_size=0.2, random_state=42
)

# Define the model hyperparameters
params = {
    "solver": "lbfgs",
    "max\_iter": 1000,
    "multi\_class": "auto",
    "random\_state": 8888,
}

# Train the model
lr = LogisticRegression(\*\*params)
lr.fit(X_train, y_train)

# Predict on the test set
y_pred = lr.predict(X_test)

# Calculate metrics
accuracy = accuracy_score(y_test, y_pred)
Step 4 - Log the model and its metadata to MLflow
这个步骤将使用我们训练的模型、为模型拟合指定的超参数,以及通过评估模型对要记录到 MLflow 的测试数据的性能来计算的损失指标。步骤如下:
- 启动 MLflow 运行上下文以启动新运行,我们将模型和元数据记录到该运行。
- 记录模型参数和性能指标。
- 标记运行以便于检索。
- 在记录(保存)模型时,在 MLflow 模型注册表中注册模型。
官方代码如下:
# Set our tracking server uri for logging
mlflow.set_tracking_uri(uri="http://127.0.0.1:8080")

# Create a new MLflow Experiment
mlflow.set_experiment("MLflow Quickstart")

# Start an MLflow run
with mlflow.start_run():
    # Log the hyperparameters
    mlflow.log_params(params)

    # Log the loss metric
    mlflow.log_metric("accuracy", accuracy)

    # Set a tag that we can use to remind ourselves what this run was for
    mlflow.set_tag("Training Info", "Basic LR model for iris data")

    # Infer the model signature
    signature = infer_signature(X_train, lr.predict(X_train))

    # Log the model
    model_info = mlflow.sklearn.log_model(
        sk_model=lr,
        artifact_path="iris\_model",
        signature=signature,
        input_example=X_train,
        registered_model_name="tracking-quickstart",
    )
Step 5 - Load the model as a Python Function (pyfunc) and use it for inference
记录模型后,我们可以通过以下方式执行推理:
- 使用 MLflow 的 pyfunc 风格加载模型。
- 使用加载的模型对新数据运行 Predict。
官方源码如下:
# Load the model back for predictions as a generic Python Function model
loaded_model = mlflow.pyfunc.load_model(model_info.model_uri)

predictions = loaded_model.predict(X_test)

iris_feature_names = datasets.load_iris().feature_names

result = pd.DataFrame(X_test, columns=iris_feature_names)
result["actual\_class"] = y_test
result["predicted\_class"] = predictions

result[:4]
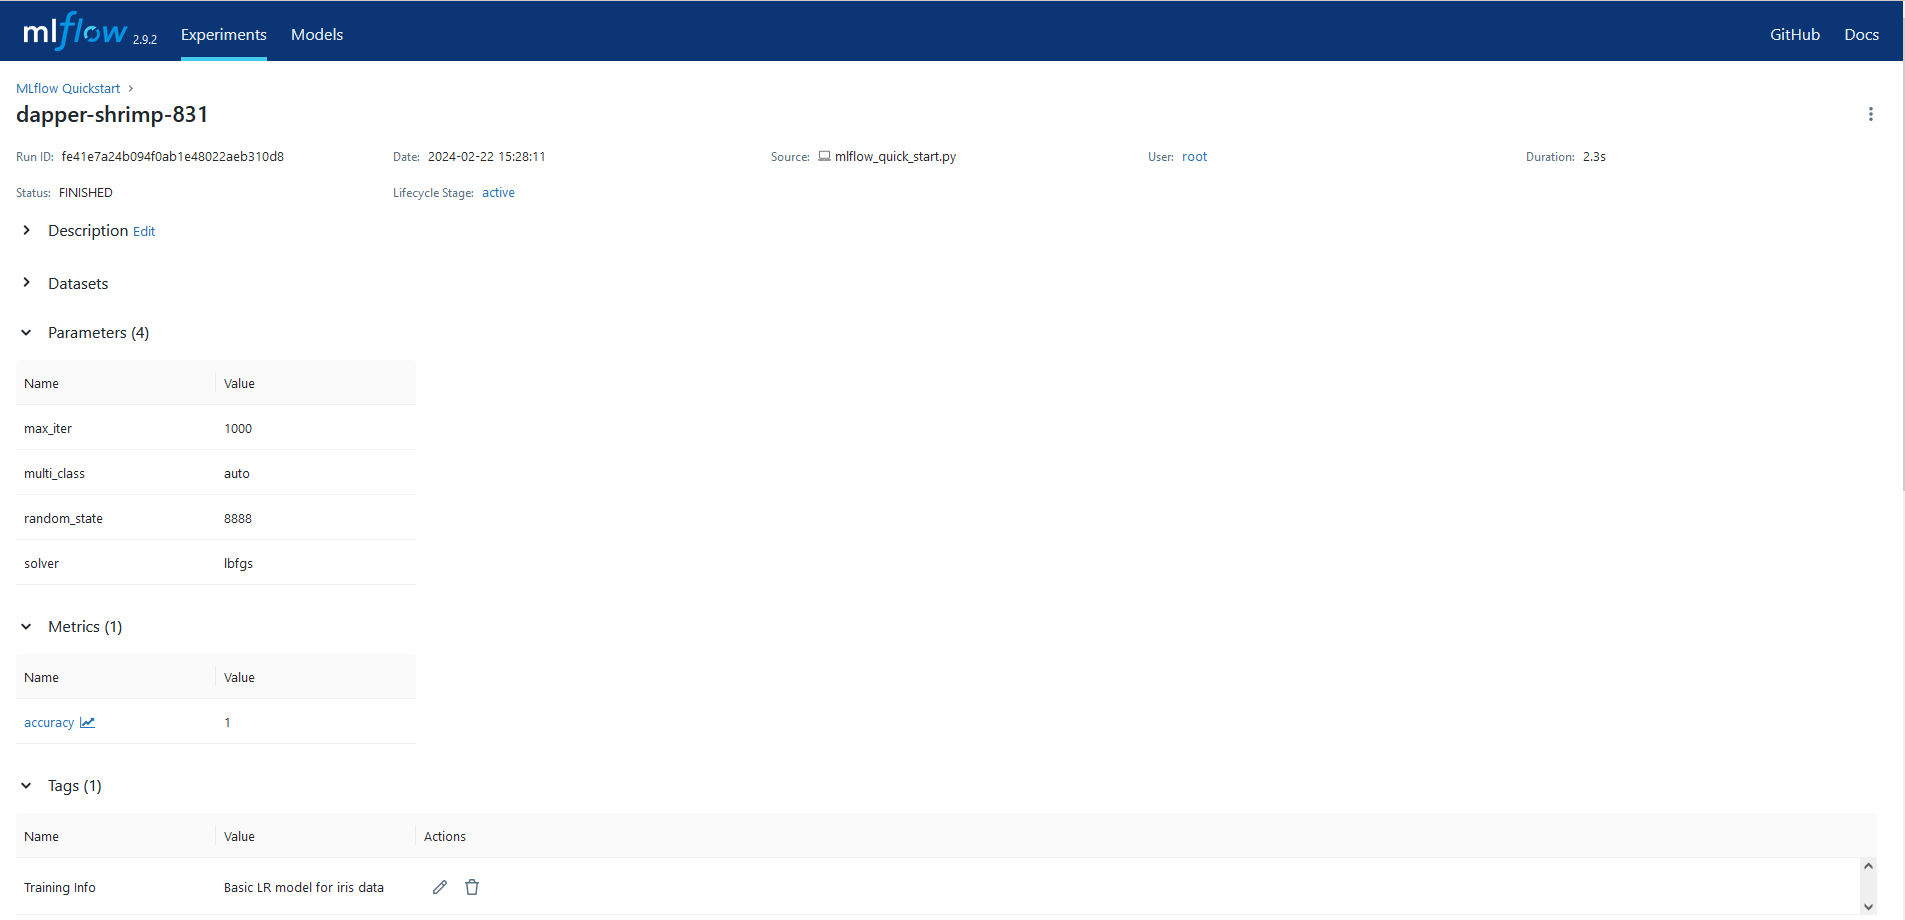
Step 6 - View the Run in the MLflow UI
官方带注释的示例:

实际执行示例:

官方运行详情图片:

实际运行详情图片:
查看生成的模型:

恭喜你完成了 MLflow 跟踪快速入门!
3.模型使用
模型文件可以从MLflow的页面上下载,调用代码如下:
import pickle
from sklearn import datasets
from sklearn.model_selection import train_test_split
# 使用鸢尾数据集
# Load the Iris dataset
X, y = datasets.load_iris(return_X_y=True)
# Split the data into training and test sets
X_train, X_test, y_train, y_test = train_test_split(X, y, test_size=0.2, random_state=42)
# 使用自己收集的数据
# X\_test = [[5.1, 3.5, 1.4, 0.2], [7, 3.2, 4.7, 1.4], [5.8, 2.7, 5.1, 1.9], [5, 3.4, 1.5, 0.2]]
# 加载模型文件
with open('model.pkl', 'rb') as f:
model = pickle.load(f)
# 预测类别
### 一、网安学习成长路线图
网安所有方向的技术点做的整理,形成各个领域的知识点汇总,它的用处就在于,你可以按照上面的知识点去找对应的学习资源,保证自己学得较为全面。
### 二、网安视频合集
观看零基础学习视频,看视频学习是最快捷也是最有效果的方式,跟着视频中老师的思路,从基础到深入,还是很容易入门的。
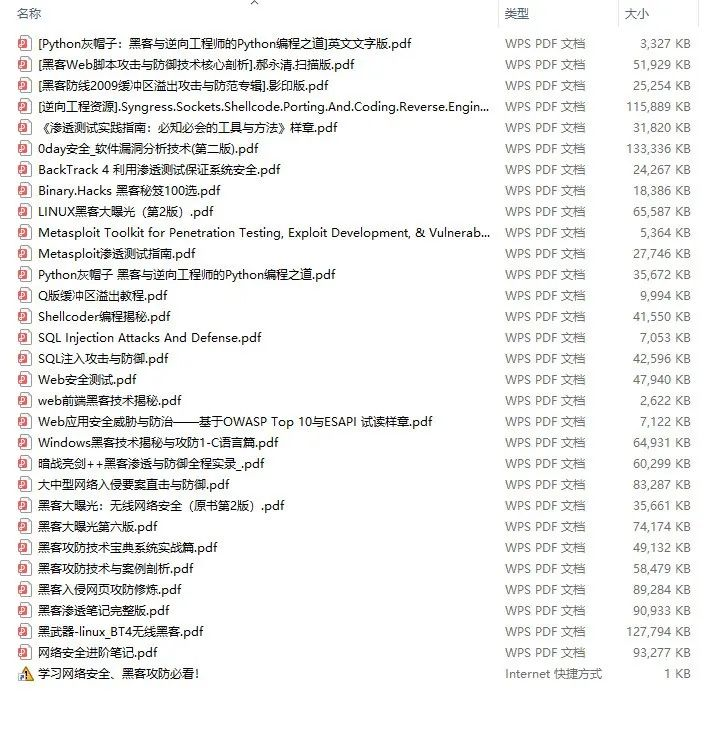
### 三、精品网安学习书籍
当我学到一定基础,有自己的理解能力的时候,会去阅读一些前辈整理的书籍或者手写的笔记资料,这些笔记详细记载了他们对一些技术点的理解,这些理解是比较独到,可以学到不一样的思路。
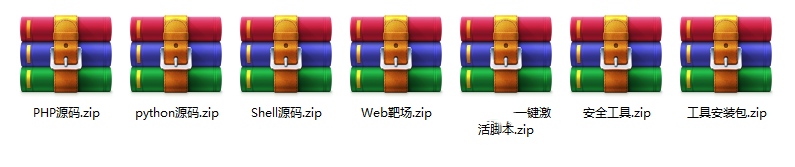
### 四、网络安全源码合集+工具包
光学理论是没用的,要学会跟着一起敲,要动手实操,才能将自己的所学运用到实际当中去,这时候可以搞点实战案例来学习。
**需要体系化学习资料的朋友,可以加我V获取:vip204888 (备注网络安全)**
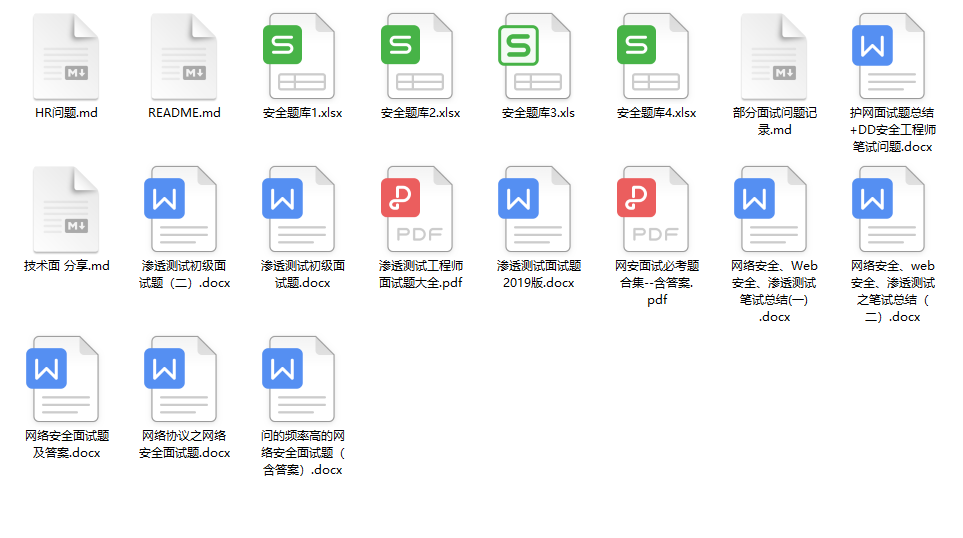
### 五、网络安全面试题
最后就是大家最关心的网络安全面试题板块
**网上学习资料一大堆,但如果学到的知识不成体系,遇到问题时只是浅尝辄止,不再深入研究,那么很难做到真正的技术提升。**
**[需要这份系统化资料的朋友,可以点击这里获取](https://bbs.csdn.net/topics/618540462)**
**一个人可以走的很快,但一群人才能走的更远!不论你是正从事IT行业的老鸟或是对IT行业感兴趣的新人,都欢迎加入我们的的圈子(技术交流、学习资源、职场吐槽、大厂内推、面试辅导),让我们一起学习成长!**


 7195
7195

 被折叠的 条评论
为什么被折叠?
被折叠的 条评论
为什么被折叠?
 到【灌水乐园】发言


