


结束
一次完整的面试流程就是这样啦,小编综合了腾讯的面试题做了一份前端面试题PDF文档,里面有面试题的详细解析,分享给小伙伴们,有没有需要的小伙伴们都去领取!
开源分享:【大厂前端面试题解析+核心总结学习笔记+真实项目实战+最新讲解视频】
- 将文字放到一个容器中,将容器的样式(主要是有关字体的样式)都设置为当前元素的样式,然后获取容器的宽,也就是文字的宽。
- 如果文字的宽度超过了当前元素的宽度,则给溢出隐藏的css样式
overflow :hidden;text-overflow: ellipsis;white-space: normal- 定义鼠标移入展示浮层,浮层中显示全部内容,鼠标移出销毁浮层。
通过自定义指令实现如上思路:
Vue.directive('showTips', {
  // el {element} 当前元素
  componentUpdated (el) {
    const curStyle = window.getComputedStyle(el, '') // 获取当前元素的style
    const textSpan = document.createElement('span') // 创建一个容器来记录文字的width
    // 设置新容器的字体样式,确保与当前需要隐藏的样式相同
    textSpan.style.fontSize = curStyle.fontSize
    textSpan.style.fontWeight = curStyle.fontWeight
    textSpan.style.fontFamily = curStyle.fontFamily
    // 将容器插入body,如果不插入,offsetWidth为0
    document.body.appendChild(textSpan)
    // 设置新容器的文字
    textSpan.innerHTML = el.innerText
    // 如果字体元素大于当前元素,则需要隐藏
    if (textSpan.offsetWidth > el.offsetWidth) {
      // 给当前元素设置超出隐藏
      el.style.overflow = 'hidden'
      el.style.textOverflow = 'ellipsis'
      el.style.whiteSpace = 'nowrap'
      // 鼠标移入
      el.onmouseenter = function (e) {
        // 创建浮层元素并设置样式
        const vcTooltipDom = document.createElement('div')
        vcTooltipDom.style.cssText = `
          max-width:400px;
          max-height: 400px;
          overflow: auto;
          position:absolute;
          top:${e.clientY + 5}px;
          left:${e.clientX}px;
          background: rgba(0, 0 , 0, .6);
          color:#fff;
          border-radius:5px;
          padding:10px;
          display:inline-block;
          font-size:12px;
          z-index:19999
        `
        // 设置id方便寻找
        vcTooltipDom.setAttribute('id', 'vc-tooltip')
        // 将浮层插入到body中
        document.body.appendChild(vcTooltipDom)
        // 浮层中的文字
        document.getElementById('vc-tooltip').innerHTML = el.innerText
      }
      // 鼠标移出
      el.onmouseleave = function () {
        // 找到浮层元素并移出
        const vcTooltipDom = document.getElementById('vc-tooltip')
        vcTooltipDom && document.body.removeChild(vcTooltipDom)
      }
    }
    // 记得移除刚刚创建的记录文字的容器
    document.body.removeChild(textSpan)
  },
  // 指令与元素解绑时
  unbind () {
    // 找到浮层元素并移除
    const vcTooltipDom = document.getElementById('vc-tooltip')
    vcTooltipDom && document.body.removeChild(vcTooltipDom)
  }
})
使用时只需要溢出隐藏的元素上直接加上指令 v-show-tips 即可
<div v-show-tips class="title-text">{{ name }}</div>
三、应用示例:ul 鼠标移动到多个 li 标签上字体高亮
示例代码如下:
  <ul v-for="(item,index) in tableData" :key="index" class="smart\_nav\_con">
    <li :class="colorHover===index?'smart\_index':'a\_white'" style="display:inline-block; width: 100%" @mouseenter="spanHover(index)">
      <a class="white a\_color bnContentCss" @click.prevent="xiangxi(item)">{{ item.bnContent }}</a>
      <a class="white a\_color bnDateCss" @click.prevent="xiangxi(item)">{{ item.bnDate }}</a>
      <a class="white a\_color bnPublishNameCss" @click.prevent="xiangxi(item)">{{ item.bnPublishName }}</a>
    </li>
  </ul>
data(){
	return{
	      colorHover: 0
	}
}
methods:{
    spanHover: function(index) {
      this.colorHover = index
    }
}
  .smart\_nav\_con{
    color:black;
    position: relative;
    padding-left: 10px;
    padding-top: 12px;
  }
  .smart\_nav\_con .smart\_index .a\_white{
    color:black;
  }
  .smart\_nav\_con .smart\_index .a\_color{
    color:#00a0e9;
  }
  .smart\_nav\_con li a{
    color:black;
  }
  .smart\_nav\_con .smart\_index a{
    color:#00a0e9;
  }
  .bnContentCss{
    font-size: 14px;
    color: #666666;
    width: 60%;
    white-space:nowrap;
    overflow:hidden;
    text-overflow:ellipsis;
    display: inline-block
  }
  .bnDateCss{
    font-size: 14px;
    color: #9b9b9b;
    display: inline-block;
    float: right;
    margin-right: 13px;
  }
  .bnPublishNameCss{
    font-size: 14px;
    color: #82796f;
    display:inline-block;
    float: right;
    position: relative;
    right: 15px;
  }
  .ulCss{
    list-style: none;
    padding-left: 10px;
    padding-top: 8px;
    color:#fff;
  }
效果如下:

四、应用示例:移动到元素上对应改变背景色
<ul v-for="(item,index) in tableData" :key="index" style="list-style: none;padding-left: 10px;">
<li :class="active === index?'smart\_index':'a\_white'" style="display:inline-block; width: 98%" @mouseover="mouseOver(index)" @mouseleave="mouseLeave(index)">
<a class="circle">
<div class="circletext" @click.prevent="xiangxi(item)" v-html="formatDate(item.bnDate)" />
</a>
<div style="display:inline-block;position: relative;top: 3px;width: 80%;margin-left: 12px">
<a style="width: 80%" @click.prevent="xiangxi(item)">
<span class="NoticeTitle">{{ item.bnTitle }}</span>
</a>
<a style="width: 80%" @click.prevent="xiangxi(item)">
<span class="NoticeContent">{{ item.bnContent }}</span>
</a>
</div>
</li>
</ul>
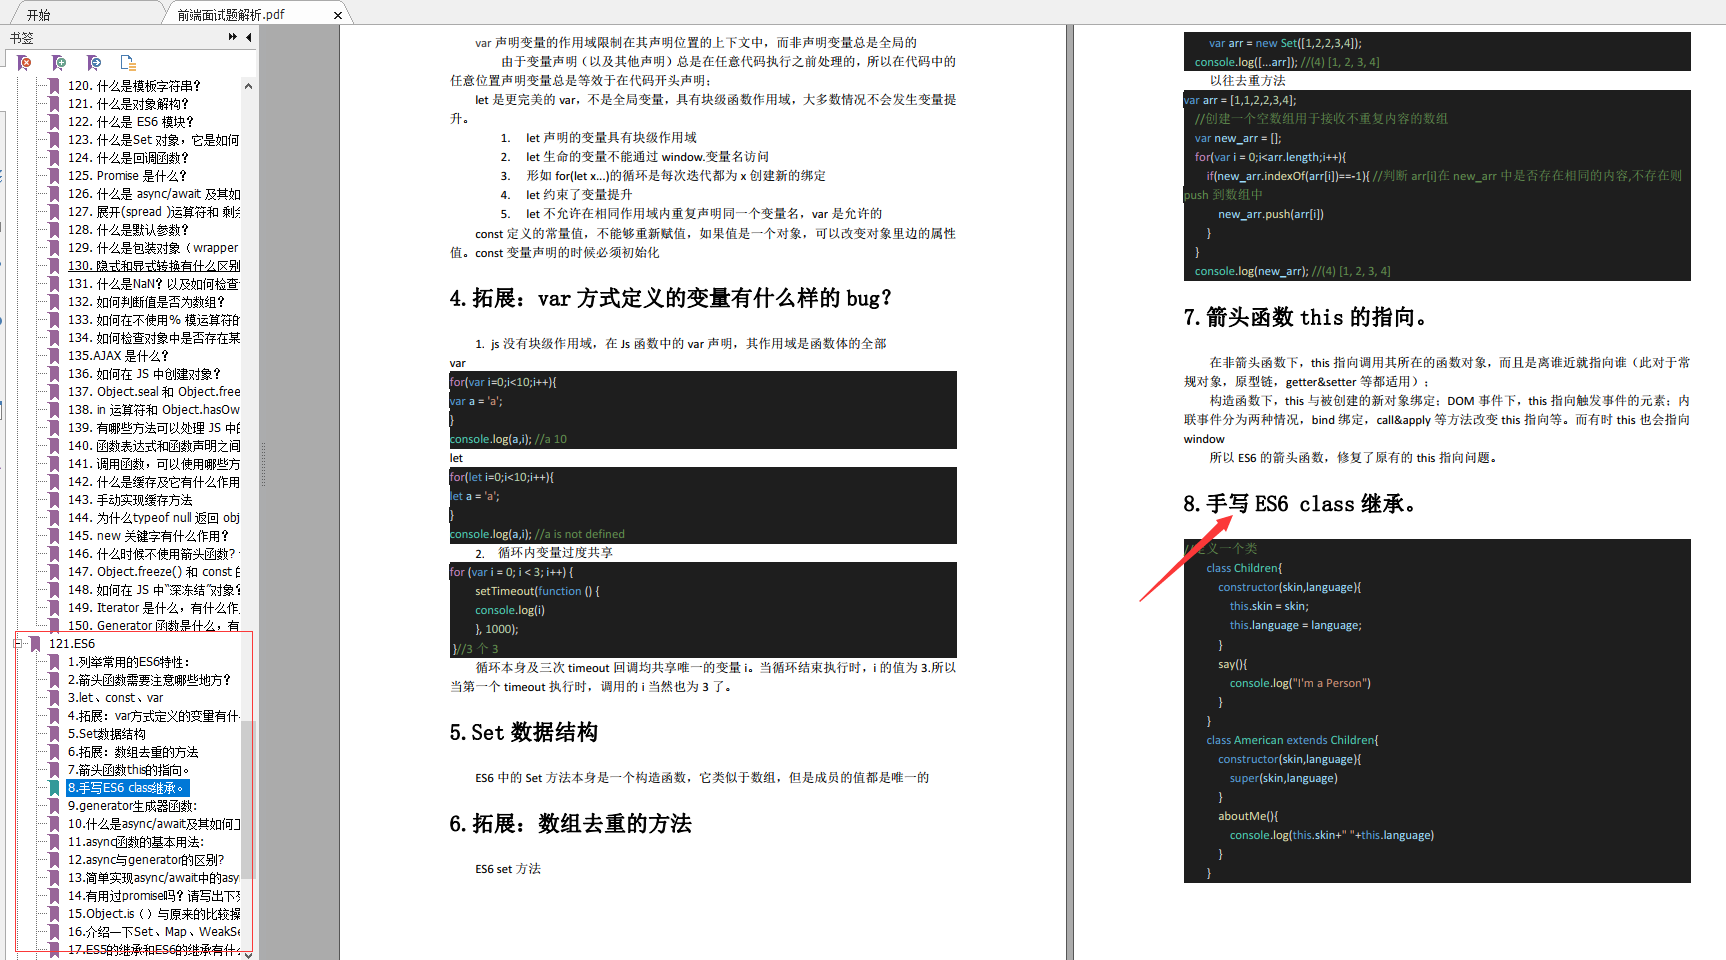
**ES6**
* 列举常用的ES6特性:
* 箭头函数需要注意哪些地方?
* let、const、var
* 拓展:var方式定义的变量有什么样的bug?
* Set数据结构
* 拓展:数组去重的方法
* 箭头函数this的指向。
* 手写ES6 class继承。
**[开源分享:【大厂前端面试题解析+核心总结学习笔记+真实项目实战+最新讲解视频】](https://bbs.csdn.net/forums/4304bb5a486d4c3ab8389e65ecb71ac0)**
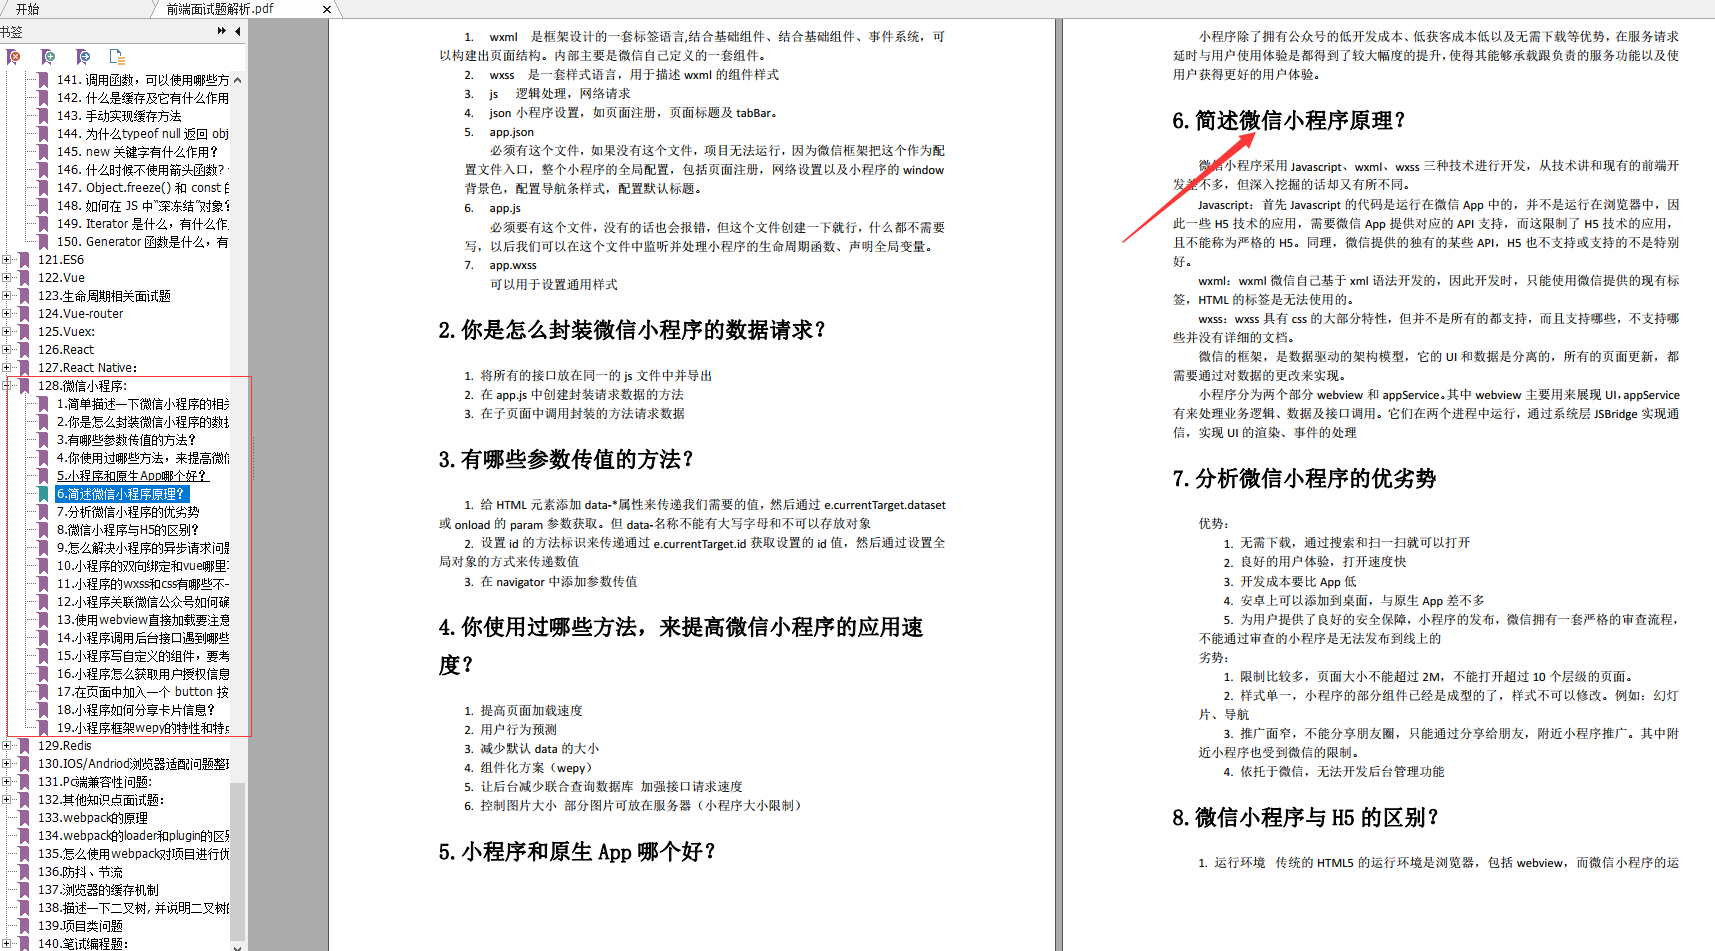
**微信小程序**
* 简单描述一下微信小程序的相关文件类型?
* 你是怎么封装微信小程序的数据请求?
* 有哪些参数传值的方法?
* 你使用过哪些方法,来提高微信小程序的应用速度?
* 小程序和原生App哪个好?
* 简述微信小程序原理?
* 分析微信小程序的优劣势
* 怎么解决小程序的异步请求问题?
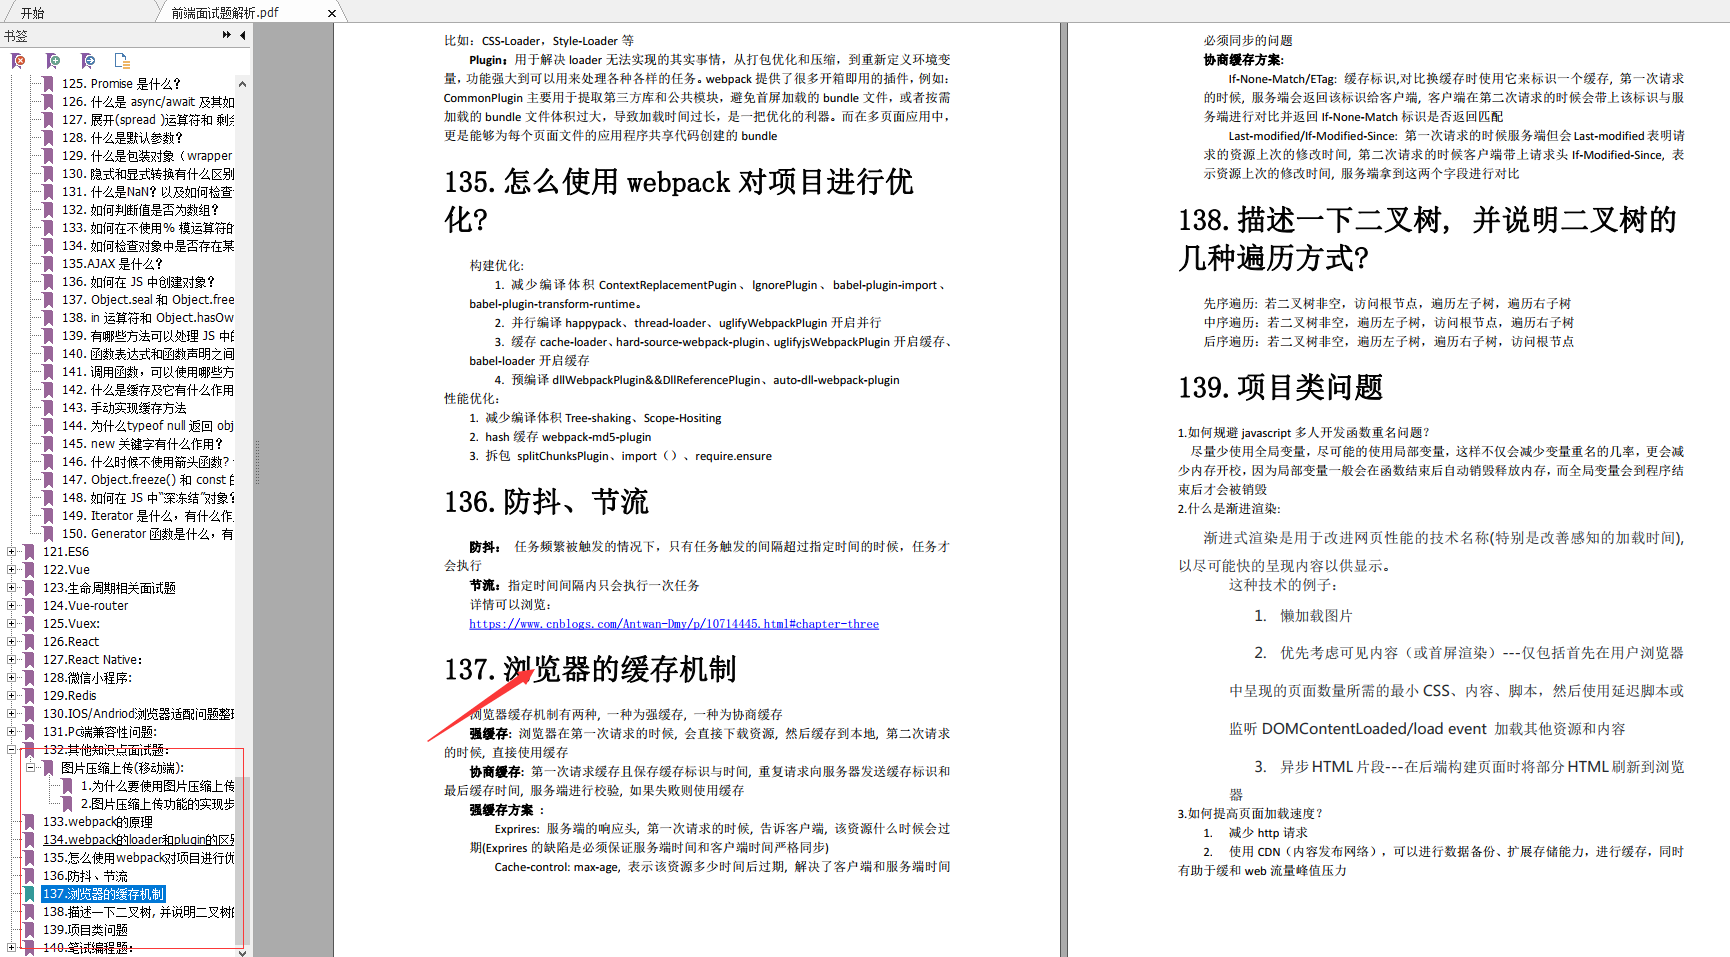
**其他知识点面试**
* webpack的原理
* webpack的loader和plugin的区别?
* 怎么使用webpack对项目进行优化?
* 防抖、节流
* 浏览器的缓存机制
* 描述一下二叉树, 并说明二叉树的几种遍历方式?
* 项目类问题
* 笔试编程题:
#### 最后
技术栈比较搭,基本用过的东西都是一模一样的。快手终面喜欢问智力题,校招也是终面问智力题,大家要准备一下一些经典智力题。如果排列组合、概率论这些基础忘了,建议回去补一下。


 260
260


 被折叠的 条评论
为什么被折叠?
被折叠的 条评论
为什么被折叠?
 到【灌水乐园】发言


