


import pyttsx3

def text\_to\_speech(text, output_file, voice_id=None, rate=None, volume=None):
    engine = pyttsx3.init()

    # 设置语音引擎属性
    if voice_id:
        voices = engine.getProperty('voices')
        engine.setProperty('voice', voices[voice_id].id)
    if rate:
        engine.setProperty('rate', rate)
    if volume:
        engine.setProperty('volume', volume)

    try:
        engine.save_to_file(text, output_file)
        engine.runAndWait()
        print(f"Converted text to {output\_file}")
    except pyttsx3.Error as e:
        print(f"Error occurred: {e}")

def process\_text\_files(file_list, voice_id=None, rate=None, volume=None, output_format='mp3'):
    for file_path in file_list:
        with open(file_path, 'r') as file:
            text = file.read()
            output_file = f"output\_{file\_path}.{output\_format}"
            text_to_speech(text, output_file, voice_id, rate, volume)

# 批量处理文本文件
file_list = ["file1.txt", "file2.txt", "file3.txt"]
process_text_files(file_list, voice_id=0, rate=150, volume=1.5, output_format='wav')
在这个修改后的示例代码中,我们对text_to_speech函数进行了修改,添加了错误处理和语音设置的功能。在错误处理部分,我们使用try-except语句捕获pyttsx3.Error异常,并打印出错误消息。这样可以在出现错误时,及时通知用户并进行相应处理。
在语音设置部分,我们添加了三个参数:voice_id、rate和volume。voice_id参数用于选择语音引擎的声音,可以通过设置不同的索引值来选择不同的声音。rate参数用于调整语音的速度,可以设置一个整数值,表示语音的速度。volume参数用于调整语音的音量,可以设置一个浮点数值,表示音量的大小。
在process_text_files函数中,我们添加了output_format参数,用于指定输出文件的格式。默认为mp3格式。你可以根据需要修改为其他支持的格式,如wav、ogg等。
最后,我们调用process_text_files函数时,传入了相应的参数来进行语音设置和输出文件格式的修改。你可以根据实际需求调整这些参数的值。
请注意,这只是一个示例代码,你可以根据自己的需求进行修改和扩展。例如,你可以添加更多的语音设置选项、修改输出文件命名方式、添加更详细的错误处理逻辑等。
四、自定义语音设置示例代码
 当使用
当使用pyttsx3库自定义语音设置时,你可以根据需要调整音量、语速、语调等属性。以下是一个示例代码,演示如何设置这些属性:
import pyttsx3

def text\_to\_speech(text, output_file, voice_id=None, rate=None, volume=None, pitch=None):
    engine = pyttsx3.init()

    # 设置语音引擎属性
    if voice_id:
        voices = engine.getProperty('voices')
        engine.setProperty('voice', voices[voice_id].id)
    if rate:
        engine.setProperty('rate', rate)
    if volume:
        engine.setProperty('volume', volume)
    if pitch:
        engine.setProperty('pitch', pitch)

    try:
        engine.save_to_file(text, output_file)
        engine.runAndWait()
        print(f"Converted text to {output\_file}")
    except pyttsx3.Error as e:
        print(f"Error occurred: {e}")

# 示例调用
text = "Hello, how are you?"
output_file = "output.mp3"
text_to_speech(text, output_file, volume=1.5, rate=150, pitch=50)
在这个示例代码中,我们修改了text_to_speech函数,添加了pitch参数用于设置语音的语调。
pyttsx3库的setProperty方法可以用来设置语音引擎的属性。我们使用setProperty方法来设置音量(volume)、语速(rate)、语调(pitch)等属性。
在示例调用中,我们传入了相应的参数来设置音量为1.5倍,语速为150,语调为50。你可以根据需要调整这些参数的值。
请注意,具体可用的属性值和范围可能因语音引擎和系统而有所不同。你可以根据自己的需求和实际情况进行调整。
五、结合其他库和API示例代码
 结合其他库和API可以实现更复杂的自动化任务。以下是一个示例代码,演示了如何结合文本分析库和
pyttsx3库,以提取关键信息并将其转换为语音输出:
import pyttsx3
from nltk import pos_tag, word_tokenize

def extract\_keywords(text):
    # 使用nltk库进行词性标注和分词
    tokens = word_tokenize(text)
    tagged = pos_tag(tokens)

    # 提取名词和形容词作为关键词
    keywords = [word for word, pos in tagged if pos.startswith('NN') or pos.startswith('JJ')]

    return keywords

def text\_to\_speech(text, output_file, voice_id=None, rate=None, volume=None):
    engine = pyttsx3.init()

    # 设置语音引擎属性
    if voice_id:
        voices = engine.getProperty('voices')
        engine.setProperty('voice', voices[voice_id].id)
    if rate:
        engine.setProperty('rate', rate)
    if volume:
        engine.setProperty('volume', volume)

    try:
        engine.save_to_file(text, output_file)
        engine.runAndWait()
        print(f"Converted text to {output\_file}")
    except pyttsx3.Error as e:
        print(f"Error occurred: {e}")

# 示例调用
text = "The quick brown fox jumps over the lazy dog"
output_file = "output.mp3"

# 提取关键词
keywords = extract_keywords(text)

# 将关键词转换为语音输出
keyword_text = ', '.join(keywords)
text_to_speech(keyword_text, output_file, volume=1.5, rate=150)
在这个示例代码中,我们使用了nltk库进行词性标注和分词,然后提取名词和形容词作为关键词。你可以根据需要使用其他文本分析库或API来提取关键信息。
在示例调用中,我们首先使用extract_keywords函数提取关键词。然后,将关键词转换为逗号分隔的文本,并将其传递给text_to_speech函数进行语音转换。
你还可以结合语音识别库,将语音转换为文本,然后使用pyttsx3将文本转换为语音输出。这样可以实现语音交互系统或语音助手等功能。
六、语音交互系统示例代码
 创建一个完整的语音交互系统需要结合语音识别库和语音合成库。在这个示例中,我们将使用
SpeechRecognition库进行语音识别,然后使用pyttsx3库进行语音合成。以下是一个简单的示例代码:
import speech_recognition as sr
import pyttsx3

def listen():
    r = sr.Recognizer()
    with sr.Microphone() as source:
        print("Listening...")
        audio = r.listen(source)

    try:
        text = r.recognize_google(audio)
        return text
    except sr.UnknownValueError:
        print("Sorry, I didn't understand.")
    except sr.RequestError as e:
        print(f"Request error: {e}")

    return ""

def speak(text, voice_id=None, rate=None, volume=None):
    engine = pyttsx3.init()

    # 设置语音引擎属性
    if voice_id:
        voices = engine.getProperty('voices')
        engine.setProperty('voice', voices[voice_id].id)
    if rate:
        engine.setProperty('rate', rate)
    if volume:
        engine.setProperty('volume', volume)

    engine.say(text)
    engine.runAndWait()

# 示例调用
while True:
    # 监听用户的语音输入
    user_input = listen()
    print("User:", user_input)

    # 判断用户的语音输入并作出回应
    if "hello" in user_input:
        speak("Hello, how can I help you?")
    elif "goodbye" in user_input:
        speak("Goodbye!")
        break
    else:
        speak("Sorry, I didn't understand. Can you please repeat?")
在这个示例代码中,我们使用SpeechRecognition库的Recognizer类进行语音识别。我们使用麦克风作为输入源,并使用Google语音识别API进行语音转文本的识别。
在listen函数中,我们使用recognize_google方法将语音转换为文本,并返回识别的文本结果。
在speak函数中,我们使用pyttsx3库将文本转换为语音输出。
在示例调用中,我们通过循环监听用户的语音输入,并根据用户的输入作出相应的回应。如果用户说"hello",则回应"Hello, how can I help you?“;如果用户说"goodbye”,则回应"Goodbye!“并退出循环;否则,回应"Sorry, I didn’t understand. Can you please repeat?”。
你可以根据需要扩展和定制这个系统,添加更多的语音命令和回应。
七、多语言支持示例代码
pyttsx3库支持多种语言和语音引擎,可以根据需要进行切换。以下是一个示例代码,演示了如何使用不同的语言和语音引擎进行语音输出:
import pyttsx3

def speak(text, language='en', voice_id=None, rate=None, volume=None):
    engine = pyttsx3.init()

    # 设置语音引擎属性
    if voice_id:
        voices = engine.getProperty('voices')
        engine.setProperty('voice', voices[voice_id].id)
    if rate:
        engine.setProperty('rate', rate)
    if volume:
        engine.setProperty('volume', volume)

    # 设置语言
    engine.setProperty('language', language)

    engine.say(text)
    engine.runAndWait()

# 示例调用
speak("Hello, how are you?", language='en', voice_id=0)
speak("你好,你好吗?", language='zh', voice_id=0)
在这个示例代码中,我们定义了speak函数,用于将文本转换为语音输出。
在speak函数中,我们使用pyttsx3库的init方法初始化语音引擎。
我们可以通过setProperty方法设置语音引擎的属性,包括语音、速率和音量。voice_id参数用于选择特定的语音,可以使用engine.getProperty('voices')获取可用的语音列表。
我们可以使用setProperty方法设置语言,使用ISO 639-1代码表示。例如,'en’表示英语,'zh’表示中文。
在示例调用中,我们分别使用英语和中文进行语音输出。language参数用于指定语言,voice_id参数用于指定特定的语音。
你可以根据需要切换语言和语音引擎,以满足具体的需求。
八、添加语音提示和反馈示例代码
 确实,你可以使用
pyttsx3库为脚本添加语音提示和反馈,以增强用户体验。以下是一个示例代码,演示了如何在长时间运行的任务中使用语音提示来告知进度或完成情况:
import pyttsx3

def speak(text, language='en', voice_id=None, rate=None, volume=None):
    engine = pyttsx3.init()

    # 设置语音引擎属性
    if voice_id:
        voices = engine.getProperty('voices')
        engine.setProperty('voice', voices[voice_id].id)
    if rate:
        engine.setProperty('rate', rate)
    if volume:
        engine.setProperty('volume', volume)

    # 设置语言
    engine.setProperty('language', language)

    engine.say(text)
    engine.runAndWait()

# 示例调用
speak("开始处理数据,请稍等...", language='zh', voice_id=0)

# 模拟长时间运行的任务
for i in range(10):
    # 执行任务的代码
    print(f"正在处理第 {i+1} 个数据...")

    # 使用语音提示告知进度
    speak(f"正在处理第 {i+1} 个数据...", language='zh', voice_id=0)

# 完成任务后使用语音提示
speak("数据处理完成!", language='zh', voice_id=0)
在这个示例代码中,我们定义了speak函数,用于将文本转换为语音输出。
我们在任务开始前使用语音提示告知用户开始处理数据。
然后,我们使用循环模拟长时间运行的任务,在每次循环中执行任务的代码,并使用语音提示告知当前进度。
最后,当任务完成后,我们使用语音提示告知用户数据处理完成。
通过在适当的位置添加语音提示,用户可以通过听取语音消息来了解任务的进度和状态,提升用户体验。
你可以根据需要在适当的位置使用语音提示,以满足具体的需求。
九、结合图形界面示例代码

当结合pyttsx3和图形界面库(如Tkinter)时,你可以创建一个具有语音交互功能的用户界面应用程序。
- 以下是一个示例代码,演示了如何结合
pyttsx3和Tkinter.ttk库创建一个简单的语音交互界面:
import pyttsx3
import tkinter as tk
from tkinter import ttk

def speak(text, language='en', voice_id=None, rate=None, volume=None):
    engine = pyttsx3.init()

    # 设置语音引擎属性
    if voice_id:
        voices = engine.getProperty('voices')
        engine.setProperty('voice', voices[voice_id].id)
    if rate:
        engine.setProperty('rate', rate)
    if volume:
        engine.setProperty('volume', volume)

    # 设置语言
    engine.setProperty('language', language)

    engine.say(text)
    engine.runAndWait()

def on\_button\_click():
    user_input = entry.get()
    speak(f"You entered: {user\_input}", language='en', voice_id=0)

# 创建Tkinter窗口
window = tk.Tk()
window.title("语音交互界面")

# 创建标签和输入框
label = ttk.Label(window, text="请输入文本:")
label.pack()
entry = ttk.Entry(window)
entry.pack()

# 创建按钮
button = ttk.Button(window, text="提交", command=on_button_click)
button.pack()

# 运行Tkinter事件循环
window.mainloop()
在这个示例代码中,我们创建了一个简单的Tkinter窗口应用程序。
我们定义了speak函数,用于将文本转换为语音输出。
在on_button_click函数中,我们获取用户在输入框中输入的文本,并使用语音提示告知用户输入的内容。
我们创建了一个标签、一个输入框和一个按钮,用于用户输入文本和提交。
当用户点击按钮时,会触发on_button_click函数,将用户输入的文本传递给speak函数进行语音输出。
通过结合pyttsx3和Tkinter库,你可以实现一个具有语音交互功能的用户界面应用程序。用户可以通过界面输入文本,并通过语音输出进行交互。
希望这个示例能帮助你开始开发一个结合图形界面和语音交互的应用程序。你可以根据需要进行进一步的定制和扩展。
 当结合
当结合pyttsx3和PySide6时,你可以创建一个具有语音交互功能的用户界面应用程序。
- 以下是一个示例代码,演示了如何结合
pyttsx3和PySide6库创建一个简单的语音交互界面:
import pyttsx3
from PySide6.QtCore import Qt
from PySide6.QtWidgets import QApplication, QMainWindow, QLabel, QLineEdit, QPushButton

def speak(text, language='en', voice_id=None, rate=None, volume=None):
    engine = pyttsx3.init()

    # 设置语音引擎属性
    if voice_id:
        voices = engine.getProperty('voices')
        engine.setProperty('voice', voices[voice_id].id)
    if rate:
        engine.setProperty('rate', rate)
    if volume:
        engine.setProperty('volume', volume)

    # 设置语言
    engine.setProperty('language', language)

    engine.say(text)
    engine.runAndWait()

class MainWindow(QMainWindow):
    def \_\_init\_\_(self):
        super().__init__()
        self.setWindowTitle("语音交互界面")

        # 创建标签和输入框
        self.label = QLabel("请输入文本:", self)
        self.label.setAlignment(Qt.AlignCenter)
        self.label.setGeometry(50, 50, 200, 30)

        self.entry = QLineEdit(self)
        self.entry.setGeometry(50, 100, 200, 30)

        # 创建按钮
        self.button = QPushButton("提交", self)
        self.button.setGeometry(50, 150, 200, 30)
        self.button.clicked.connect(self.on_button_click)

    def on\_button\_click(self):
        user_input = self.entry.text()
        speak(f"You entered: {user\_input}", language='en', voice_id=0)

# 创建PySide6应用程序
app = QApplication([])
window = MainWindow()
window.show()

# 运行应用程序事件循环
app.exec()
在这个示例代码中,我们创建了一个简单的PySide6窗口应用程序。
我们定义了speak函数,用于将文本转换为语音输出。
我们创建了一个MainWindow类,继承自QMainWindow,作为主窗口。
在MainWindow类中,我们创建了一个标签、一个输入框和一个按钮,用于用户输入文本和提交。
当用户点击按钮时,会触发on_button_click方法,获取用户输入的文本,并使用语音提示告知用户输入的内容。
通过结合pyttsx3和PySide6库,你可以实现一个具有语音交互功能的用户界面应用程序。用户可以通过界面输入文本,并通过语音输出进行交互。
希望这个示例能帮助你开始开发一个结合PySide6和语音交互的应用程序。你可以根据需要进行进一步的定制和扩展。
十、文本预处理和语音合成示例代码


 当使用
当使用pyttsx3进行语音合成之前,你可以进行一些文本预处理操作来提高语音合成的质量和准确性。以下是一个示例代码,演示了如何使用nltk库进行文本预处理,并将预处理后的文本传递给pyttsx3进行语音合成:
import pyttsx3
import nltk
from nltk.tokenize import word_tokenize
from nltk.corpus import stopwords
from string import punctuation
def preprocess\_text(text):
# 将文本转换为小写
text = text.lower()
# 分词
tokens = word_tokenize(text)
# 去除停用词和标点符号
stop_words = set(stopwords.words('english'))
tokens = [token for token in tokens if token not in stop_words and token not in punctuation]
# 重新组合文本
processed_text = ' '.join(tokens)
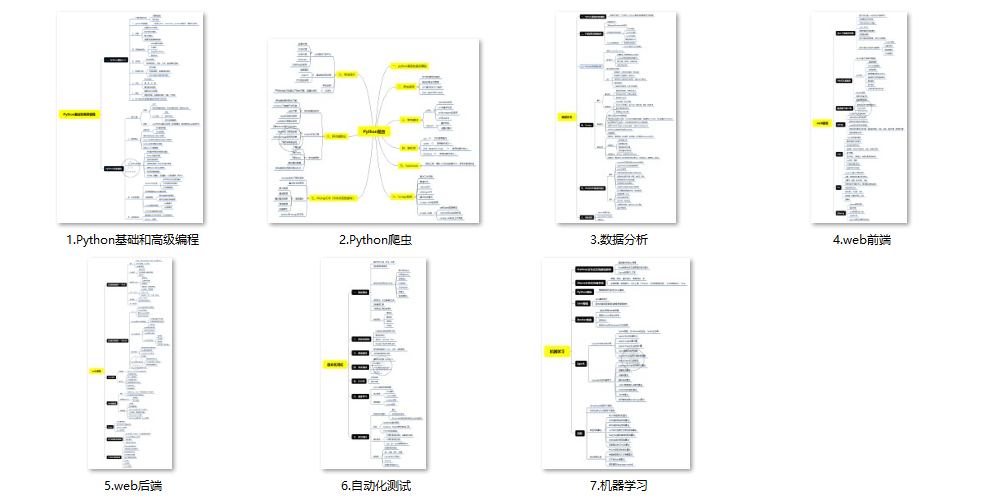
**(1)Python所有方向的学习路线(新版)**
这是我花了几天的时间去把Python所有方向的技术点做的整理,形成各个领域的知识点汇总,它的用处就在于,你可以按照上面的知识点去找对应的学习资源,保证自己学得较为全面。
最近我才对这些路线做了一下新的更新,知识体系更全面了。
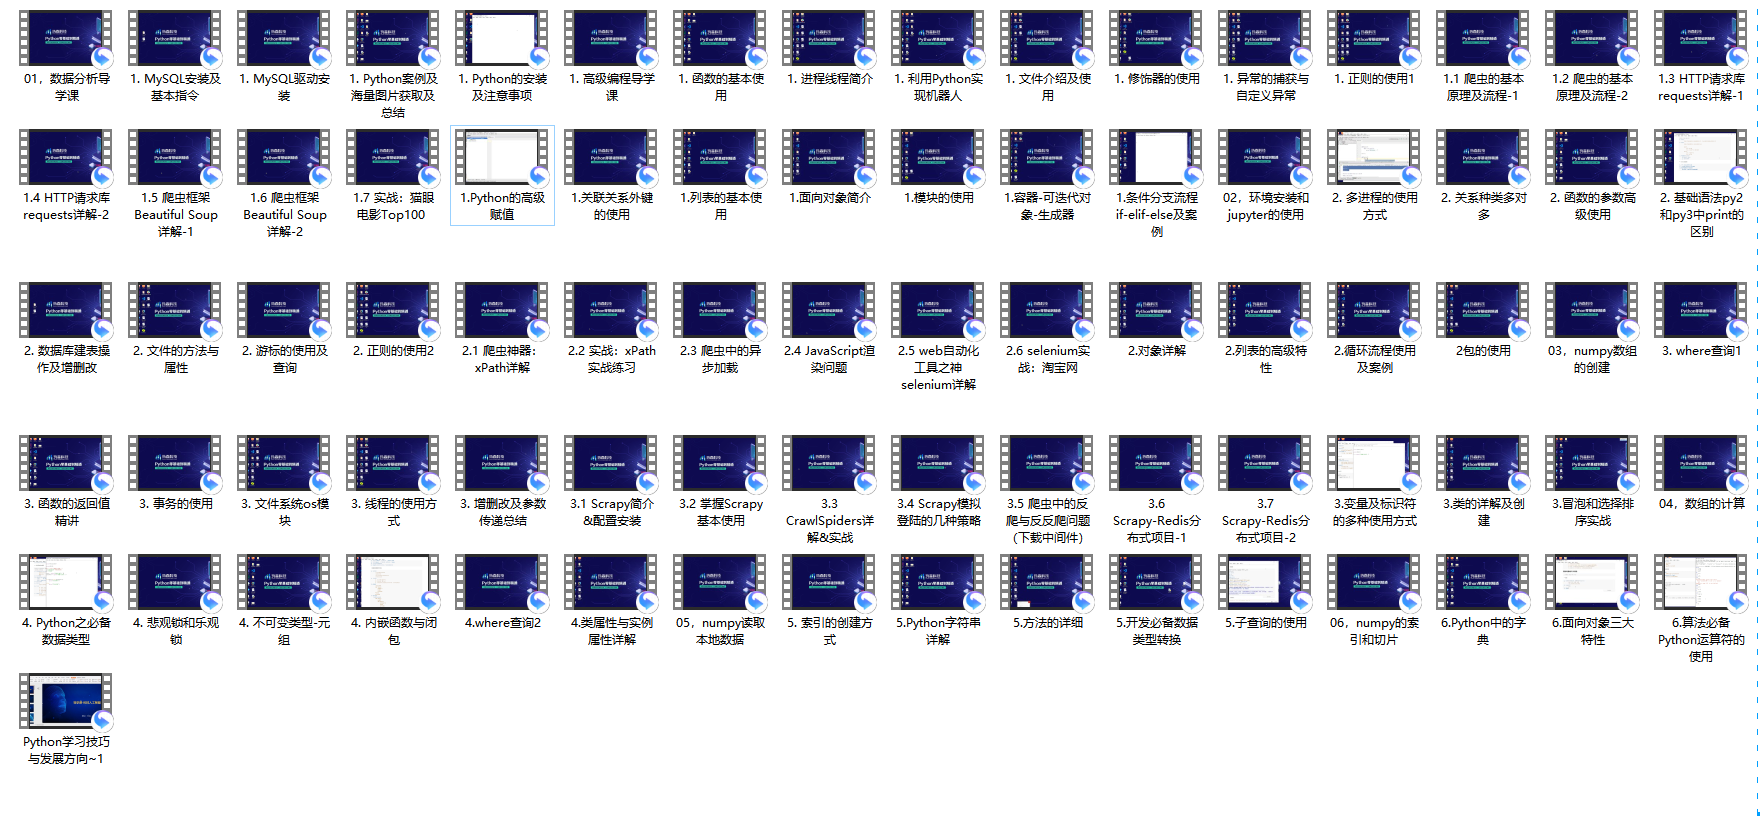
**(2)Python学习视频**
包含了Python入门、爬虫、数据分析和web开发的学习视频,总共100多个,虽然没有那么全面,但是对于入门来说是没问题的,学完这些之后,你可以按照我上面的学习路线去网上找其他的知识资源进行进阶。
**(3)100多个练手项目**
我们在看视频学习的时候,不能光动眼动脑不动手,比较科学的学习方法是在理解之后运用它们,这时候练手项目就很适合了,只是里面的项目比较多,水平也是参差不齐,大家可以挑自己能做的项目去练练。
**网上学习资料一大堆,但如果学到的知识不成体系,遇到问题时只是浅尝辄止,不再深入研究,那么很难做到真正的技术提升。**
**[需要这份系统化学习资料的朋友,可以戳这里无偿获取](https://bbs.csdn.net/topics/618317507)**
**一个人可以走的很快,但一群人才能走的更远!不论你是正从事IT行业的老鸟或是对IT行业感兴趣的新人,都欢迎加入我们的的圈子(技术交流、学习资源、职场吐槽、大厂内推、面试辅导),让我们一起学习成长!**


 被折叠的 条评论
为什么被折叠?
被折叠的 条评论
为什么被折叠?
 到【灌水乐园】发言


