


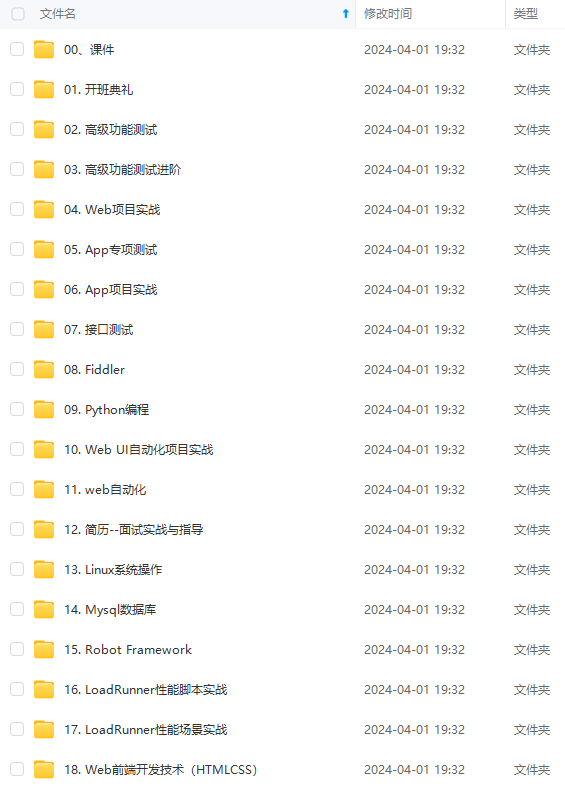

既有适合小白学习的零基础资料,也有适合3年以上经验的小伙伴深入学习提升的进阶课程,涵盖了95%以上软件测试知识点,真正体系化!
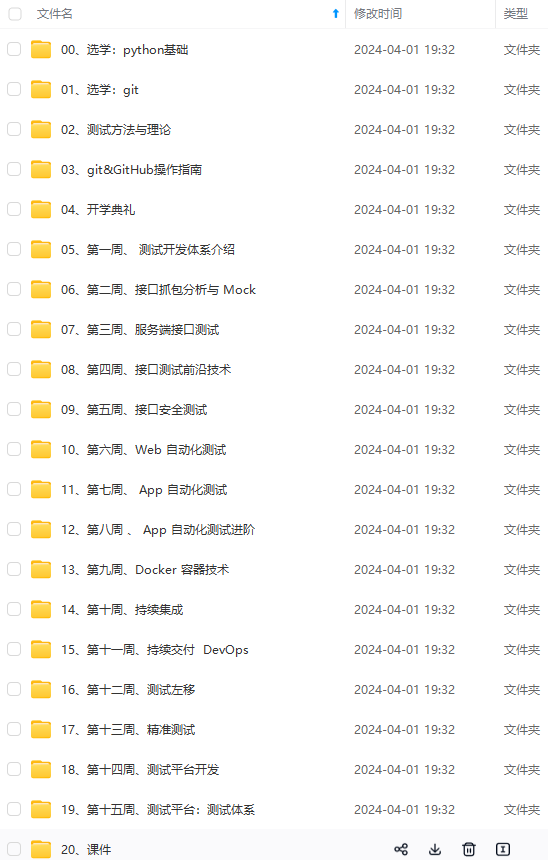
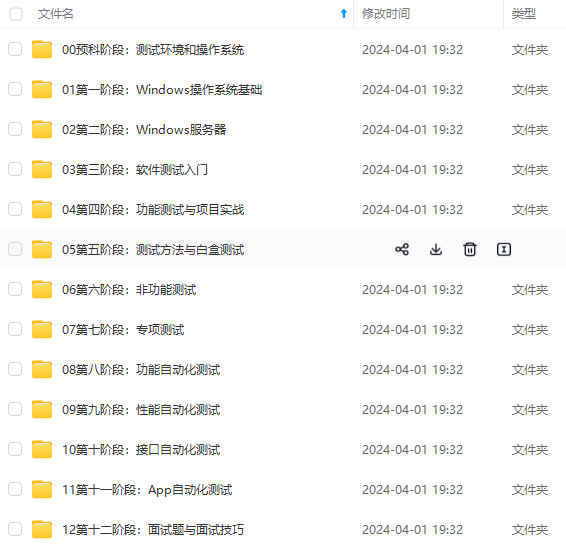
由于文件比较多,这里只是将部分目录截图出来,全套包含大厂面经、学习笔记、源码讲义、实战项目、大纲路线、讲解视频,并且后续会持续更新
在这里插入图片描述
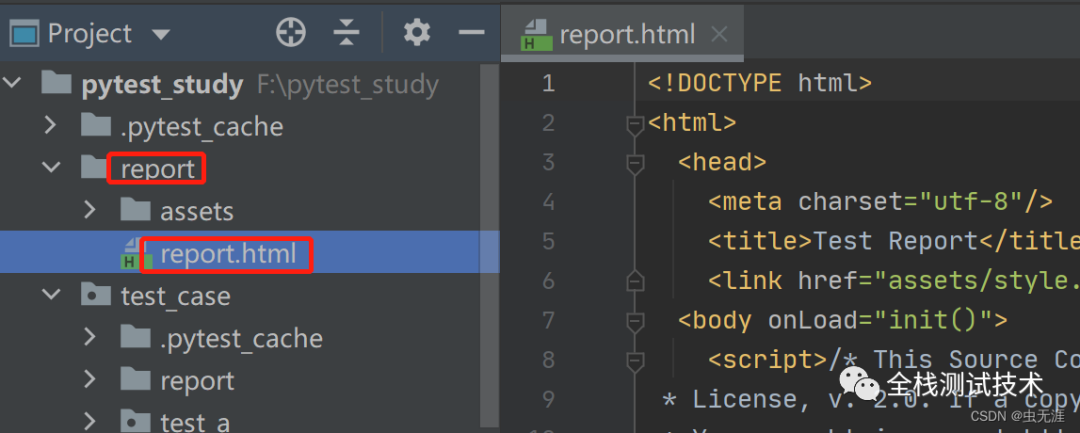
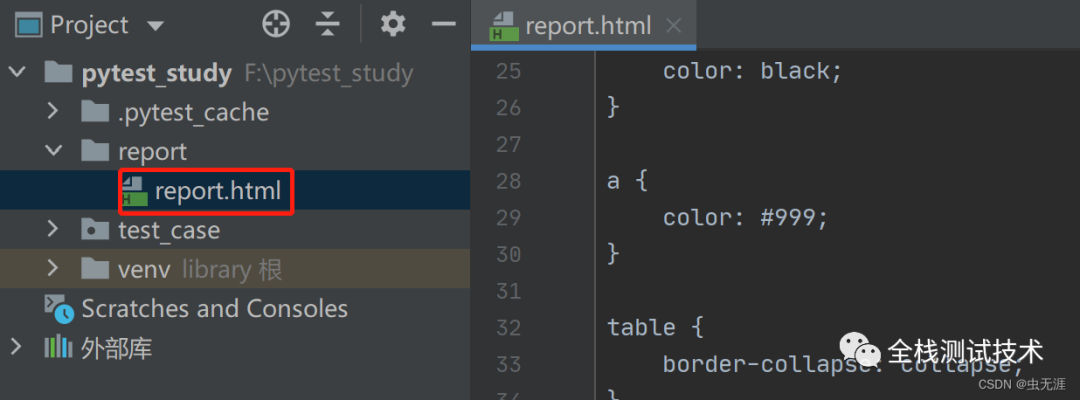
4 合并css
- 从生成的报告可以看出,除了
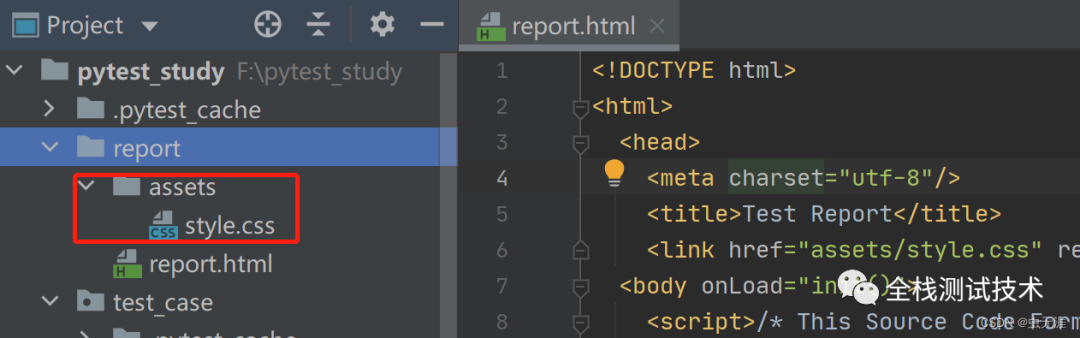
report.html外,还有个文件style.css; - 这个文件是报告的样式,是独立的,那么我们分享报告的时候,就必须把这个样式也加上,比较麻烦:
body {
	font-family: Helvetica, Arial, sans-serif;
	font-size: 12px;
	/* do not increase min-width as some may use split screens */
	min-width: 800px;
	color: #999;
}

h1 {
	font-size: 24px;
	color: black;
}

h2 {
	font-size: 16px;
	color: black;
}

p {
    color: black;
}

a {
	color: #999;
}

table {
	border-collapse: collapse;
}

/******************************
 * SUMMARY INFORMATION
 ******************************/

#environment td {
	padding: 5px;
	border: 1px solid #E6E6E6;
}

#environment tr:nth-child(odd) {
	background-color: #f6f6f6;
}

/******************************
 * TEST RESULT COLORS
 ******************************/
span.passed, .passed .col-result {
	color: green;
}
span.skipped, span.xfailed, span.rerun, .skipped .col-result, .xfailed .col-result, .rerun .col-result {
	color: orange;
}
span.error, span.failed, span.xpassed, .error .col-result, .failed .col-result, .xpassed .col-result  {
	color: red;
}


/******************************
 * RESULTS TABLE
 *
 * 1. Table Layout
 * 2. Extra
 * 3. Sorting items
 *
 ******************************/

/*------------------
 * 1. Table Layout
 *------------------*/

#results-table {
	border: 1px solid #e6e6e6;
	color: #999;
	font-size: 12px;
	width: 100%
}

#results-table th, #results-table td {
	padding: 5px;
	border: 1px solid #E6E6E6;
	text-align: left
}
#results-table th {
	font-weight: bold
}

/*------------------
 * 2. Extra
 *------------------*/

.log:only-child {
	height: inherit
}
.log {
	background-color: #e6e6e6;
	border: 1px solid #e6e6e6;
	color: black;
	display: block;
	font-family: "Courier New", Courier, monospace;
	height: 230px;
	overflow-y: scroll;
	padding: 5px;
	white-space: pre-wrap
}
div.image {
	border: 1px solid #e6e6e6;
	float: right;
	height: 240px;
	margin-left: 5px;
	overflow: hidden;
	width: 320px
}
div.image img {
	width: 320px
}
.collapsed {
	display: none;
}
.expander::after {
	content: " (show details)";
	color: #BBB;
	font-style: italic;
	cursor: pointer;
}
.collapser::after {
	content: " (hide details)";
	color: #BBB;
	font-style: italic;
	cursor: pointer;
}

/*------------------
 * 3. Sorting items
 *------------------*/
.sortable {
	cursor: pointer;
}

.sort-icon {
	font-size: 0px;
	float: left;
	margin-right: 5px;
	margin-top: 5px;
	/*triangle*/
	width: 0;
	height: 0;
	border-left: 8px solid transparent;
	border-right: 8px solid transparent;
}

.inactive .sort-icon {
	/*finish triangle*/
	border-top: 8px solid #E6E6E6;
}

.asc.active .sort-icon {
	/*finish triangle*/
	border-bottom: 8px solid #999;
}

.desc.active .sort-icon {
	/*finish triangle*/
	border-top: 8px solid #999;
}
- 所以为了方便,我们把这个
css样式合并到html里,命令如下:
pytest --html=report.html --self-contained-html
- 再次运行报告查看下,此时只有
report.html文件,且样式已经合并进来了:
5 报告中的行显示设置
- 默认生成功的报告中的所有行都是被展开的,如图:
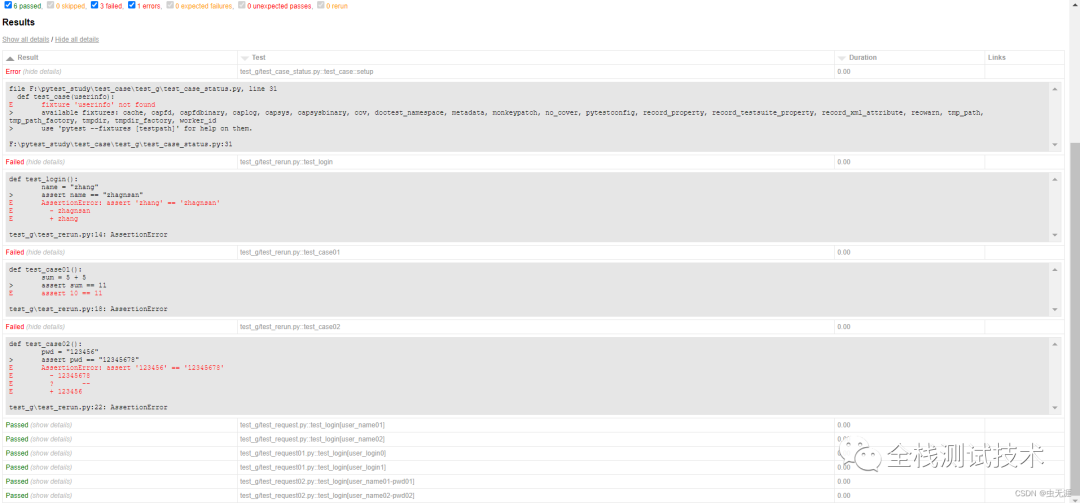
- 我们可以自定义显示的样式:
?collapsed=Passed,XFailed,Skipped
6 报告增强
详细参考官网文档:https://github.com/pytest-dev/pytest-html
6.1 自定义css
- 可以使用
--CSS选项在命令行上传递自定义CSS:
$ pytest --html=report.html --css=highcontrast.css --css=accessible.css
6.2 报告标题
- 默认情况下,报告标题将是报告的文件名;
- 您可以使用
pytest_html_report_title钩子对其进行编辑:
def pytest_html_report_title(report):
    report.title = "My very own title!"
6.3 环境
Environment部分由pytest-metadata插件提供;- 可以通过
pytest_configure和pytest_sessionfinish钩子访问; - 要在运行测试之前修改
Environment部分,请使用pytest_configure:
def pytest_configure(config):
    config._metadata["foo"] = "bar"
- 要在测试运行后修改
Environment部分,请使用pytest_sessionfinish:
import pytest


@pytest.hookimpl(tryfirst=True)
def pytest_sessionfinish(session, exitstatus):
    session.config._metadata["foo"] = "bar"
请注意,在上面的示例中,@pytest.hookimpl(tryfirst=True)非常重要,因为这可以确保在任何其他插件(包括pytest-html和pytest-metadata)运行之前尽最大努力运行pytest_sessionfinish。如果省略了这一行,那么Environment表将不会更新,因为插件的pytest_sessionfinish将首先执行,因此不会接受您的更改。
除非元数据是集合.OrderedDict,否则生成的表将按字母顺序排序。
可以从环境表中编辑变量。重做的变量将显示其名称,但其值将灰显。这可以通过在INI配置文件(例如:pytest.INI)中设置environment_table_redact_list来实现。environment_table_redact_list是正则表达式的行列表。与此列表中的正则表达式匹配的任何环境表变量都会对其值进行编校。
例如,以下命令将对与正则表达式^foo$、.*redact.*或bar匹配的所有环境表变量进行编校:
[pytest]
environment_table_redact_list = ^foo$
    .*redact.*
    bar
6.4 其他摘要信息
- 可以使用
pytest_html_results_Summary挂钩编辑Summary部分:
from py.xml import html


def pytest_html_results_summary(prefix, summary, postfix):
    prefix.extend([html.p("foo: bar")])
6.5 Extra内容
- 可以通过在报告对象上创建“
extra”列表来向HTML报告添加详细信息; - 以下是可以添加的
extra内容类型:
| Type | Example |
|---|---|
| Raw HTML | extra.html('<div>Additional HTML</div>') |
| JSON | extra.json({'name': 'pytest'}) |
| Plain text | extra.text('Add some simple Text') |
| URL | extra.url('http://www.example.com/') |
| Image | extra.image(image, mime_type='image/gif', extension='gif') |
| Image | extra.image('/path/to/file.png') |
| Image | extra.image('http://some_image.png') |
- 注意:从文件添加图像时,路径可以是绝对路径,也可以是相对路径;
- 注意:当使用
--self-contained-html时,作为文件或链接添加的图像可能无法按预期工作,有关详细信息,请参阅 Creating a self-contained report一节。 - 还有几种图像格式的方便类型:
| Image format | Example |
|---|---|
| PNG | extra.png(image) |
| JPEG | extra.jpg(image) |
| SVG | extra.svg(image) |
- 以下示例使用
pytest_runtest_makereport钩子添加了各种类型的附加功能,该钩子可以在plugin或conftest.py文件中实现:
import pytest


**既有适合小白学习的零基础资料,也有适合3年以上经验的小伙伴深入学习提升的进阶课程,涵盖了95%以上软件测试知识点,真正体系化!**
**由于文件比较多,这里只是将部分目录截图出来,全套包含大厂面经、学习笔记、源码讲义、实战项目、大纲路线、讲解视频,并且后续会持续更新**
**[需要这份系统化的资料的朋友,可以戳这里获取](https://bbs.csdn.net/forums/4f45ff00ff254613a03fab5e56a57acb)**
:
import pytest
[外链图片转存中…(img-aQQ71Pw4-1715279124492)]
[外链图片转存中…(img-PRTMlJb1-1715279124492)]
[外链图片转存中…(img-VD2KNk3a-1715279124493)]
既有适合小白学习的零基础资料,也有适合3年以上经验的小伙伴深入学习提升的进阶课程,涵盖了95%以上软件测试知识点,真正体系化!
由于文件比较多,这里只是将部分目录截图出来,全套包含大厂面经、学习笔记、源码讲义、实战项目、大纲路线、讲解视频,并且后续会持续更新


 326
326

 被折叠的 条评论
为什么被折叠?
被折叠的 条评论
为什么被折叠?
 到【灌水乐园】发言


