


- 测试
public class XmlMain {
public static void main(String[] args) {
ApplicationContext context=new FileSystemXmlApplicationContext(“classpath:applicationContext.xml”);
TestService testService=(TestService)context.getBean(“testService”);
System.out.println(testService);
}
}
复制代码
Spring Framework 2.x
====================
Spring Framework2.x时代,2.0版本在Annotation中添加了@Required、@Repository以及AOP相关的@Aspect等注解,同时也提升了XML配置能力,也就是可扩展的XML,比如Dubbo这样的开源框架就是基于Spring XML的扩展来完美的集成Spring,从而降低了Dubbo使用的门槛。
在2.x时代,2.5版本也是这个时代的分水岭, 它引入了一些很核心的Annotation
-
Autowired 依赖注入
-
@Qualifier 依赖查找
-
@Component、@Service 组件声明
-
@Controller、@RequestMappring等spring mvc的注解
尽管Spring 2.x时代提供了不少的注解,但是仍然没有脱离XML配置驱动,比如context:annotation-config context:componet-scan , 前者的职责是注册Annotation处理器,后者是负责扫描classpath下指定包路径下被Spring模式注解标注的类,将他们注册成为Spring Bean
- 在applicationContext.xml中定义context:componet-scan
<context:component-scan base-package=“com.gupaoedu.controller”/>
复制代码
- 添加注解声明
@Service
public class TestService {
}
复制代码
- 测试类
public class XmlMain {
public static void main(String[] args) {
ApplicationContext context=new FileSystemXmlApplicationContext(“classpath:applicationContext.xml”);
TestService testService=(TestService)context.getBean(“testService”);
System.out.println(testService);
}
}
复制代码
Spring Framework 3.x
Spring Framework3.0是一个里程碑式的时代,他的功能特性开始出现了非常大的扩展,比如全面拥抱Java5、以及Spring Annotation。更重要的是,它提供了配置类注解@Configuration, 他出现的首要任务就是取代XML配置方式,不过比较遗憾的是,Spring Framework3.0还没有引入替换XML元素context:componet-scan的注解,而是选择了一个过渡方式@ImportResource。
@ImportResource允许导入遗留的XML配置文件,比如
@ImportResource(“classpath:/META-INF/spring/other.xml”)
@Configuration
public class SpringConfiguration{
}
复制代码
并且在Spring Frameworkd提供了AnnotationConfigApplicationContext注册,用来注册@Configuration Class,通过解析Configuration类来进行装配。
在3.1版本中,引入了@ComponentScan,替换了XML元素Context:component-scan , 这个注解虽然是一个小的升级,但是对于spring 来说在注解驱动领域却是一个很大的进步,至此也体现了Spring 的无配置化支持。
Configuration配置演示
- Configuration这个注解大家应该有用过,它是JavaConfig形式的基于Spring IOC容器的配置类使用的一种注解。因为SpringBoot本质上就是一个spring应用,所以通过这个注解来加载IOC容器的配置是很正常的。所以在启动类里面标注了@Configuration,意味着它其实也是一个IoC容器的配置类。
举个非常简单的例子
- 测试代码
ConfigurationDemo
@Configuration
public class ConfigurationDemo {
@Bean
public DemoClass demoClass(){
return new DemoClass();
}
}
DemoClass
public class DemoClass {
public void say(){
System.out.println(“say: Hello Mic”);
}
}
ConfigurationMain
public class ConfigurationMain {
public static void main(String[] args) {
ApplicationContext applicationContext=
new AnnotationConfigApplicationContext
(ConfigurationDemo.class);
DemoClass demoClass=applicationContext.getBean(DemoClass.class);
demoClass.say();
}
}
复制代码
Component-scan
ComponentScan这个注解是大家接触得最多的了,相当于xml配置文件中的context:component-scan。 它的主要作用就是扫描指定路径下的标识了需要装配的类,自动装配到spring的Ioc容器中。
标识需要装配的类的形式主要是:@Component、@Repository、@Service、@Controller这类的注解标识的类。
- 在spring-mvc这个工程中,创建一个单独的包路径,并创建一个OtherServcie。
@Service
public class OtherService {
}
复制代码
- 在Controller中,注入OtherService的实例,这个时候访问这个接口,会报错,提示没有otherService这个实例。
@RestController
public class HelloController {
@Autowired
OtherService otherService;
@GetMapping(“/hello”)
public String hello(){
System.out.println(otherService);
return “Hello Gupaoedu”;
}
}
复制代码
- 添加conpoment-scan注解,再次访问,错误解决。
@ComponentScan(“com.gupaoedu”)
复制代码
ComponentScan默认会扫描当前package下的的所有加了相关注解标识的类到IoC容器中;
Import注解
import注解是什么意思呢? 联想到xml形式下有一个<import resource/> 形式的注解,就明白它的作用了。import就是把多个分来的容器配置合并在一个配置中。在JavaConfig中所表达的意义是一样的。
- 创建一个包,并在里面添加一个单独的configuration
public class DefaultBean {
}
@Configuration
public class SpringConfig {
@Bean
public DefaultBean defaultBean(){
return new DefaultBean();
}
}
复制代码
- 此时运行测试方法,
public class MainDemo {
public static void main(String[] args) {
ApplicationContext ac=new AnnotationConfigApplicationContext(SpringConfig.class);
String[] defNames=ac.getBeanDefinitionNames();
for(String name:defNames){
System.out.println(name);
}
}
}
复制代码
- 在另外一个包路径下在创建一个配置类。此时再次运行前面的测试方法,打印OtherBean实例时,这个时候会报错,提示没有该实例
public class OtherBean {
}
@Configuration
public class OtherConfig {
@Bean
public OtherBean otherBean(){
return new OtherBean();
}
}
复制代码
- 修改springConfig,把另外一个配置导入过来
@Import(OtherConfig.class)
@Configuration
public class SpringConfig {
@Bean
public DefaultBean defaultBean(){
return new DefaultBean();
}
}
复制代码
- 再次运行测试方法,即可看到对象实例的输出。
至此,我们已经了解了Spring Framework在注解驱动时代,完全替代XML的解决方案。至此,Spring团队就此止步了吗?你们太单纯了。虽然无配置化能够减少配置的维护带来的困扰,但是,还是会存在很对第三方组建的基础配置声明。同样很繁琐,所以Spring 退出了@Enable模块驱动。这个特性的作用是把相同职责的功能组件以模块化的方式来装配,更进一步简化了Spring Bean的配置。
Enable模块驱动
我们通过spring提供的定时任务机制来实现一个定时任务的功能,分别拿演示在使用Enable注解和没使用Enable的区别。让大家感受一些Enable注解的作用。
使用EnableScheduing之前
- 在applicationContext.xml中添加定时调度的配置
<beans xmlns=“http://www.springframework.org/schema/beans”
xmlns:xsi=“http://www.w3.org/2001/XMLSchema-instance”
xmlns:task=“http://www.springframework.org/schema/task”
xmlns:context=“http://www.springframework.org/schema/context”
xsi:schemaLocation="http://www.springframework.org/schema/beans
http://www.springframework.org/schema/beans/spring-beans-3.2.xsd
http://www.springframework.org/schema/task
http://www.springframework.org/schema/task/spring-task-3.2.xsd http://www.springframework.org/schema/context https://www.springframework.org/schema/context/spring-context.xsd">
<context:component-scan base-package=“com.gupaoedu.controller”/>
<task:annotation-driven scheduler=“scheduler”/>
<task:scheduler id=“scheduler” pool-size=“5”/>
复制代码
- 编写任务处理类
@Service
public class TaskService {
@Scheduled(fixedRate = 5000) //通过@Scheduled声明该方法是计划任务,使用fixedRate属性每隔固定时间执行
public void reportCurrentTime(){
System.out.println("每隔5秒执行一次 "+new Date());
}
}
复制代码
- 编写测试类
public class TestTask {
public static void main(String[] args) {
ApplicationContext applicationContext=new FileSystemXmlApplicationContext(“classpath:applicationContext.xml”);
}
}
复制代码
使用EnableScheding之后
- 创建一个配置类
@Configuration
@ComponentScan(“com.gupaoedu.controller”)
@EnableScheduling
public class SpringConfig {
}
复制代码
- 创建一个service
@Service
public class TaskService {
@Scheduled(fixedRate = 5000) //通过@Scheduled声明该方法是计划任务,使用fixedRate属性每隔固定时间执行
public void reportCurrentTime(){
System.out.println("每隔5秒执行一次 "+new Date());
}
}
复制代码
- 创建一个main方法
最后
自我介绍一下,小编13年上海交大毕业,曾经在小公司待过,也去过华为、OPPO等大厂,18年进入阿里一直到现在。
深知大多数Java工程师,想要提升技能,往往是自己摸索成长,自己不成体系的自学效果低效漫长且无助。
因此收集整理了一份《2024年Java开发全套学习资料》,初衷也很简单,就是希望能够帮助到想自学提升又不知道该从何学起的朋友,同时减轻大家的负担。
既有适合小白学习的零基础资料,也有适合3年以上经验的小伙伴深入学习提升的进阶课程,基本涵盖了95%以上Java开发知识点,不论你是刚入门Android开发的新手,还是希望在技术上不断提升的资深开发者,这些资料都将为你打开新的学习之门!
如果你觉得这些内容对你有帮助,需要这份全套学习资料的朋友可以戳我获取!!
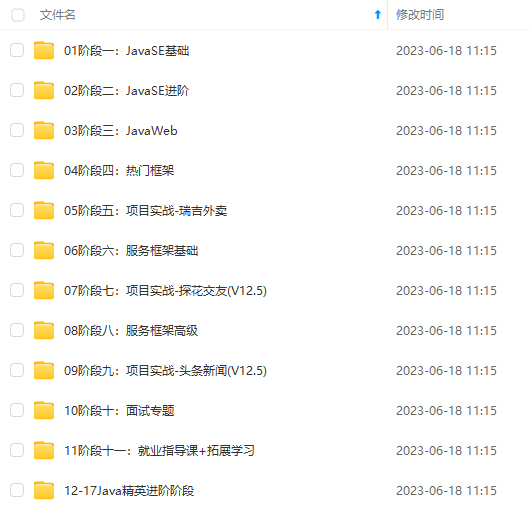
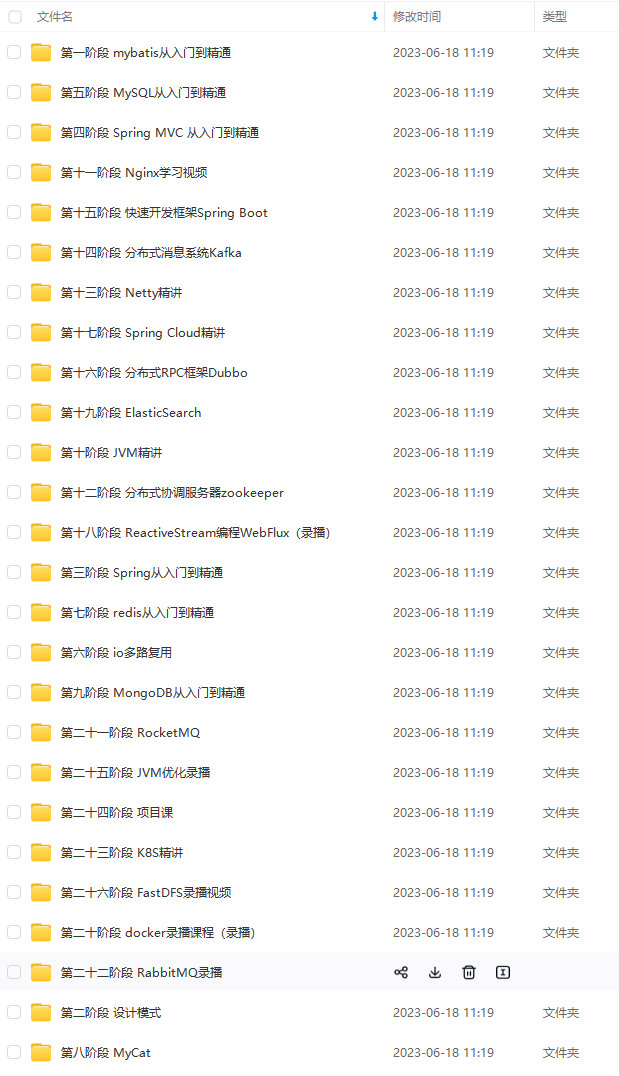
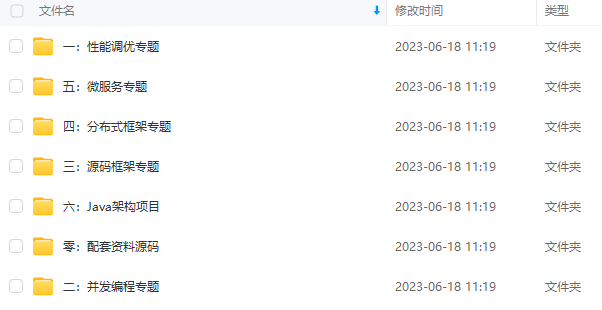
由于文件比较大,这里只是将部分目录截图出来,每个节点里面都包含大厂面经、学习笔记、源码讲义、实战项目、讲解视频,并且会持续更新!
复制代码
- 创建一个main方法
最后
自我介绍一下,小编13年上海交大毕业,曾经在小公司待过,也去过华为、OPPO等大厂,18年进入阿里一直到现在。
深知大多数Java工程师,想要提升技能,往往是自己摸索成长,自己不成体系的自学效果低效漫长且无助。
因此收集整理了一份《2024年Java开发全套学习资料》,初衷也很简单,就是希望能够帮助到想自学提升又不知道该从何学起的朋友,同时减轻大家的负担。
[外链图片转存中…(img-bTCkz1dC-1715209205995)]
[外链图片转存中…(img-08qbEvp3-1715209205996)]
[外链图片转存中…(img-qvihK6b8-1715209205996)]
既有适合小白学习的零基础资料,也有适合3年以上经验的小伙伴深入学习提升的进阶课程,基本涵盖了95%以上Java开发知识点,不论你是刚入门Android开发的新手,还是希望在技术上不断提升的资深开发者,这些资料都将为你打开新的学习之门!
如果你觉得这些内容对你有帮助,需要这份全套学习资料的朋友可以戳我获取!!
由于文件比较大,这里只是将部分目录截图出来,每个节点里面都包含大厂面经、学习笔记、源码讲义、实战项目、讲解视频,并且会持续更新!


 559
559

 被折叠的 条评论
为什么被折叠?
被折叠的 条评论
为什么被折叠?
 到【灌水乐园】发言


