


package com.zhy.blogcodes.largeImage;
import android.graphics.Bitmap;
import android.graphics.BitmapFactory;
import android.graphics.BitmapRegionDecoder;
import android.graphics.Rect;
import android.os.Bundle;
import android.support.v7.app.AppCompatActivity;
import android.widget.ImageView;
import com.zhy.blogcodes.R;
import java.io.IOException;
import java.io.InputStream;
public class LargeImageViewActivity extends AppCompatActivity
{
private ImageView mImageView;
@Override
protected void onCreate(Bundle savedInstanceState)
{
super.onCreate(savedInstanceState);
setContentView(R.layout.activity_large_image_view);
mImageView = (ImageView) findViewById(R.id.id_imageview);
try
{
InputStream inputStream = getAssets().open(“tangyan.jpg”);
//获得图片的宽、高
BitmapFactory.Options tmpOptions = new BitmapFactory.Options();
tmpOptions.inJustDecodeBounds = true;
BitmapFactory.decodeStream(inputStream, null, tmpOptions);
int width = tmpOptions.outWidth;
int height = tmpOptions.outHeight;
//设置显示图片的中心区域
BitmapRegionDecoder bitmapRegionDecoder = BitmapRegionDecoder.newInstance(inputStream, false);
BitmapFactory.Options options = new BitmapFactory.Options();
options.inPreferredConfig = Bitmap.Config.RGB_565;
Bitmap bitmap = bitmapRegionDecoder.decodeRegion(new Rect(width / 2 - 100, height / 2 - 100, width / 2 + 100, height / 2 + 100), options);
mImageView.setImageBitmap(bitmap);
} catch (IOException e)
{
e.printStackTrace();
}
}
}
上述代码,就是使用BitmapRegionDecoder去加载assets中的图片,调用bitmapRegionDecoder.decodeRegion解析图片的中间矩形区域,返回bitmap,最终显示在ImageView上。
效果图:
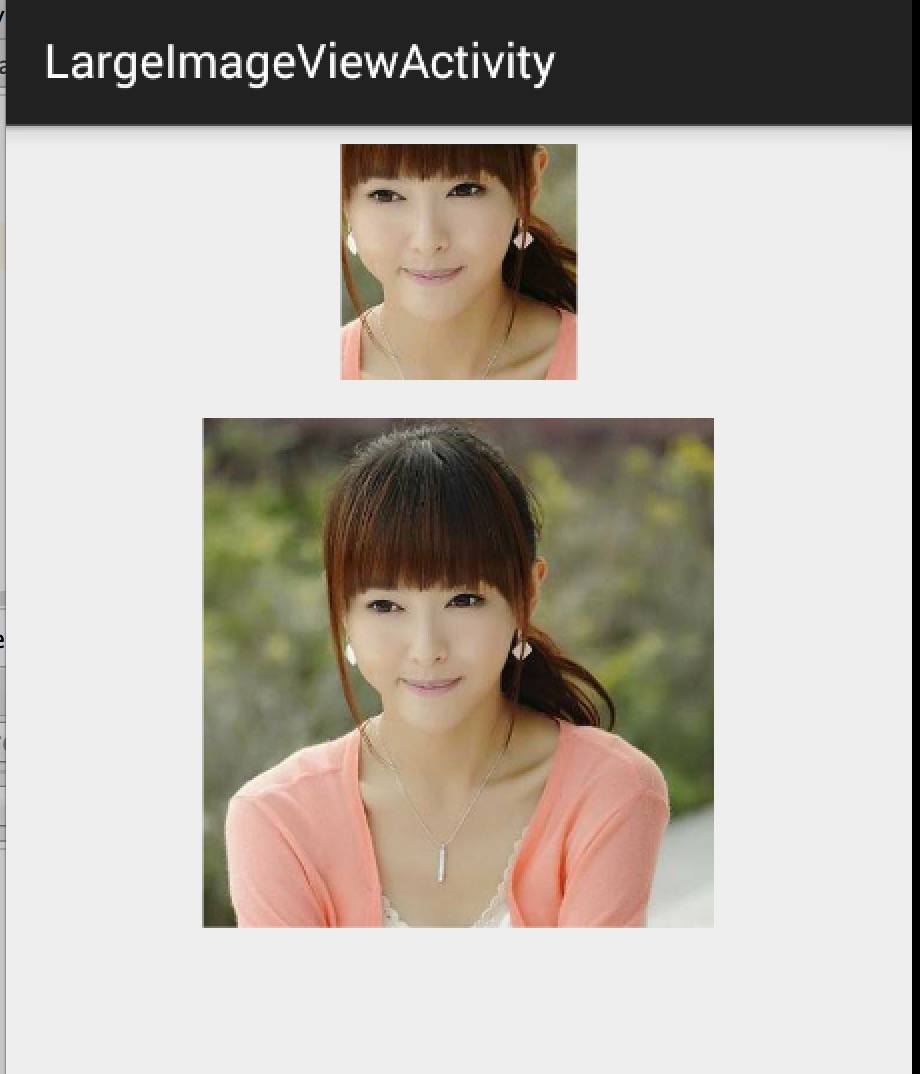
上面的小图显示的即为下面的大图的中间区域。
ok,那么目前我们已经了解了BitmapRegionDecoder的基本用户,那么往外扩散,我们需要自定义一个控件去显示巨图就很简单了,首先Rect的范围就是我们View的大小,然后根据用户的移动手势,不断去更新我们的Rect的参数即可。
三、自定义显示大图控件
根据上面的分析呢,我们这个自定义控件思路就非常清晰了:
-
提供一个设置图片的入口
-
重写onTouchEvent,在里面根据用户移动的手势,去更新显示区域的参数
-
每次更新区域参数后,调用invalidate,onDraw里面去regionDecoder.decodeRegion拿到bitmap,去draw
理清了,发现so easy,下面上代码:
package com.zhy.blogcodes.largeImage.view;
import android.content.Context;
import android.graphics.Bitmap;
import android.graphics.BitmapFactory;
import android.graphics.BitmapRegionDecoder;
import android.graphics.Canvas;
import android.graphics.Rect;
import android.util.AttributeSet;
import android.view.MotionEvent;
import android.view.View;
import java.io.IOException;
import java.io.InputStream;
/**
- Created by zhy on 15/5/16.
*/
public class LargeImageView extends View
{
private BitmapRegionDecoder mDecoder;
/**
- 图片的宽度和高度
*/
private int mImageWidth, mImageHeight;
/**
- 绘制的区域
*/
private volatile Rect mRect = new Rect();
private MoveGestureDetector mDetector;
private static final BitmapFactory.Options options = new BitmapFactory.Options();
static
{
options.inPreferredConfig = Bitmap.Config.RGB_565;
}
public void setInputStream(InputStream is)
{
try
{
mDecoder = BitmapRegionDecoder.newInstance(is, false);
BitmapFactory.Options tmpOptions = new BitmapFactory.Options();
// Grab the bounds for the scene dimensions
tmpOptions.inJustDecodeBounds = true;
BitmapFactory.decodeStream(is, null, tmpOptions);
mImageWidth = tmpOptions.outWidth;
mImageHeight = tmpOptions.outHeight;
requestLayout();
invalidate();
} catch (IOException e)
{
e.printStackTrace();
} finally
{
try
{
if (is != null) is.close();
} catch (Exception e)
{
}
}
}
public void init()
{
mDetector = new MoveGestureDetector(getContext(), new MoveGestureDetector.SimpleMoveGestureDetector()
{
@Override
public boolean onMove(MoveGestureDetector detector)
{
int moveX = (int) detector.getMoveX();
int moveY = (int) detector.getMoveY();
if (mImageWidth > getWidth())
{
mRect.offset(-moveX, 0);
checkWidth();
invalidate();
}
if (mImageHeight > getHeight())
{
mRect.offset(0, -moveY);
checkHeight();
invalidate();
}
return true;
}
});
}
private void checkWidth()
{
Rect rect = mRect;
int imageWidth = mImageWidth;
int imageHeight = mImageHeight;
if (rect.right > imageWidth)
{
rect.right = imageWidth;
rect.left = imageWidth - getWidth();
}
if (rect.left < 0)
{
rect.left = 0;
rect.right = getWidth();
}
}
private void checkHeight()
{
Rect rect = mRect;
int imageWidth = mImageWidth;
int imageHeight = mImageHeight;
if (rect.bottom > imageHeight)
{
rect.bottom = imageHeight;
rect.top = imageHeight - getHeight();
}
if (rect.top < 0)
{
rect.top = 0;
rect.bottom = getHeight();
}
}
public LargeImageView(Context context, AttributeSet attrs)
{
super(context, attrs);
init();
}
@Override
public boolean onTouchEvent(MotionEvent event)
{
mDetector.onToucEvent(event);
return true;
}
@Override
protected void onDraw(Canvas canvas)
{
Bitmap bm = mDecoder.decodeRegion(mRect, options);
canvas.drawBitmap(bm, 0, 0, null);
}
@Override
protected void onMeasure(int widthMeasureSpec, int heightMeasureSpec)
{
super.onMeasure(widthMeasureSpec, heightMeasureSpec);
int width = getMeasuredWidth();
int height = getMeasuredHeight();
int imageWidth = mImageWidth;
int imageHeight = mImageHeight;
//默认直接显示图片的中心区域,可以自己去调节
mRect.left = imageWidth / 2 - width / 2;
mRect.top = imageHeight / 2 - height / 2;
mRect.right = mRect.left + width;
mRect.bottom = mRect.top + height;
}
}
根据上述源码:
-
setInputStream里面去获得图片的真实的宽度和高度,以及初始化我们的mDecoder
-
onMeasure里面为我们的显示区域的rect赋值,大小为view的尺寸
-
onTouchEvent里面我们监听move的手势,在监听的回调里面去改变rect的参数,以及做边界检查,最后invalidate
-
在onDraw里面就是根据rect拿到bitmap,然后draw了
ok,上面并不复杂,不过大家有没有注意到,这个监听用户move手势的代码写的有点奇怪,恩,这里模仿了系统的ScaleGestureDetector,编写了MoveGestureDetector,代码如下:
- MoveGestureDetector
package com.zhy.blogcodes.largeImage.view;
import android.content.Context;
import android.graphics.PointF;
import android.view.MotionEvent;
public class MoveGestureDetector extends BaseGestureDetector
{
private PointF mCurrentPointer;
private PointF mPrePointer;
//仅仅为了减少创建内存
private PointF mDeltaPointer = new PointF();
//用于记录最终结果,并返回
private PointF mExtenalPointer = new PointF();
private OnMoveGestureListener mListenter;
public MoveGestureDetector(Context context, OnMoveGestureListener listener)
{
super(context);
mListenter = listener;
}
@Override
protected void handleInProgressEvent(MotionEvent event)
{
int actionCode = event.getAction() & MotionEvent.ACTION_MASK;
switch (actionCode)
{
case MotionEvent.ACTION_CANCEL:
case MotionEvent.ACTION_UP:
mListenter.onMoveEnd(this);
resetState();
break;
case MotionEvent.ACTION_MOVE:
updateStateByEvent(event);
boolean update = mListenter.onMove(this);
if (update)
{
mPreMotionEvent.recycle();
mPreMotionEvent = MotionEvent.obtain(event);
}
break;
}
}
@Override
protected void handleStartProgressEvent(MotionEvent event)
{
int actionCode = event.getAction() & MotionEvent.ACTION_MASK;
switch (actionCode)
{
case MotionEvent.ACTION_DOWN:
resetState();//防止没有接收到CANCEL or UP ,保险起见
mPreMotionEvent = MotionEvent.obtain(event);
updateStateByEvent(event);
break;
case MotionEvent.ACTION_MOVE:
mGestureInProgress = mListenter.onMoveBegin(this);
break;
}
}
protected void updateStateByEvent(MotionEvent event)
{
final MotionEvent prev = mPreMotionEvent;
mPrePointer = caculateFocalPointer(prev);
mCurrentPointer = caculateFocalPointer(event);
//Log.e(“TAG”, mPrePointer.toString() + " , " + mCurrentPointer);
boolean mSkipThisMoveEvent = prev.getPointerCount() != event.getPointerCount();
//Log.e(“TAG”, "mSkipThisMoveEvent = " + mSkipThisMoveEvent);
mExtenalPointer.x = mSkipThisMoveEvent ? 0 : mCurrentPointer.x - mPrePointer.x;
mExtenalPointer.y = mSkipThisMoveEvent ? 0 : mCurrentPointer.y - mPrePointer.y;
}
/**
-
根据event计算多指中心点
-
@param event
-
@return
*/
private PointF caculateFocalPointer(MotionEvent event)
{
final int count = event.getPointerCount();
float x = 0, y = 0;
for (int i = 0; i < count; i++)
{
x += event.getX(i);
y += event.getY(i);
}
x /= count;
y /= count;
return new PointF(x, y);
}
public float getMoveX()
{
return mExtenalPointer.x;
}
public float getMoveY()
{
return mExtenalPointer.y;
}
public interface OnMoveGestureListener
{
public boolean onMoveBegin(MoveGestureDetector detector);
public boolean onMove(MoveGestureDetector detector);
public void onMoveEnd(MoveGestureDetector detector);
}
public static class SimpleMoveGestureDetector implements OnMoveGestureListener
{
@Override
public boolean onMoveBegin(MoveGestureDetector detector)
{
return true;
}
@Override
public boolean onMove(MoveGestureDetector detector)
{
return false;
}
@Override
public void onMoveEnd(MoveGestureDetector detector)
{
}
}
}
- BaseGestureDetector
package com.zhy.blogcodes.largeImage.view;
import android.content.Context;
import android.view.MotionEvent;
public abstract class BaseGestureDetector
{
最后
自我介绍一下,小编13年上海交大毕业,曾经在小公司待过,也去过华为、OPPO等大厂,18年进入阿里一直到现在。
深知大多数初中级Android工程师,想要提升技能,往往是自己摸索成长或者是报班学习,着实压力不小。自己不成体系的自学效果低效又漫长,而且极易碰到天花板技术停滞不前!
因此收集整理了一份《2024年Android移动开发全套学习资料》,初衷也很简单,就是希望能够帮助到想自学提升又不知道该从何学起的朋友,同时减轻大家的负担。
既有适合小白学习的零基础资料,也有适合3年以上经验的小伙伴深入学习提升的进阶课程,基本涵盖了95%以上Android开发知识点,真正体系化!
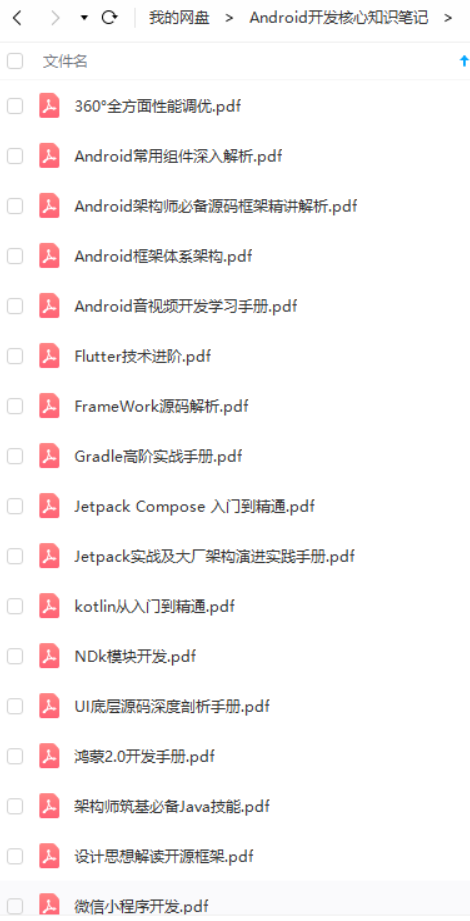
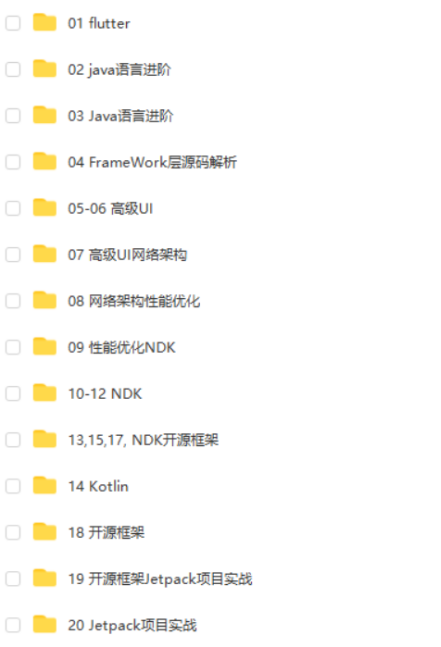
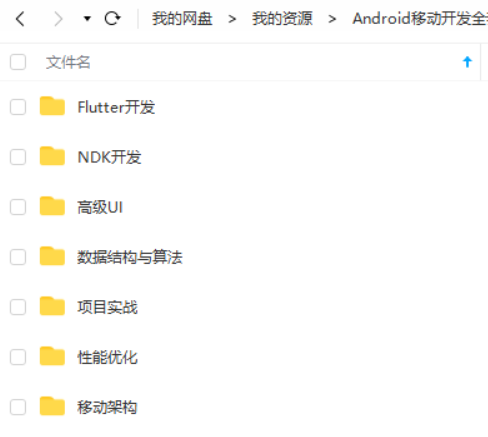
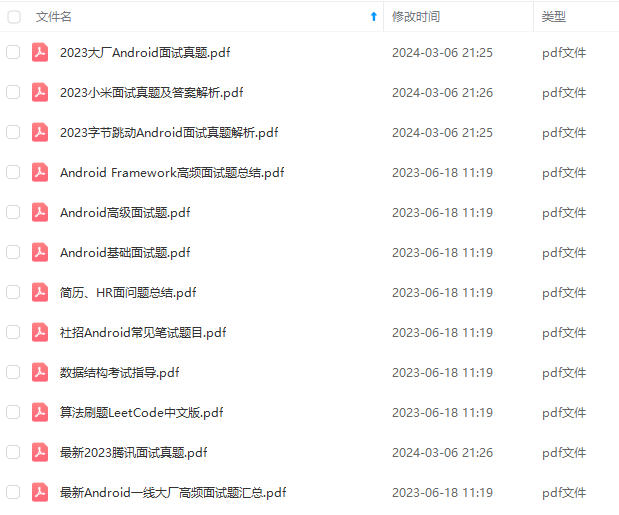
由于文件比较大,这里只是将部分目录截图出来,每个节点里面都包含大厂面经、学习笔记、源码讲义、实战项目、讲解视频,并且会持续更新!
如果你觉得这些内容对你有帮助,需要这份全套学习资料的朋友可以戳我获取!!
BaseGestureDetector
package com.zhy.blogcodes.largeImage.view;
import android.content.Context;
import android.view.MotionEvent;
public abstract class BaseGestureDetector
{
最后
自我介绍一下,小编13年上海交大毕业,曾经在小公司待过,也去过华为、OPPO等大厂,18年进入阿里一直到现在。
深知大多数初中级Android工程师,想要提升技能,往往是自己摸索成长或者是报班学习,着实压力不小。自己不成体系的自学效果低效又漫长,而且极易碰到天花板技术停滞不前!
因此收集整理了一份《2024年Android移动开发全套学习资料》,初衷也很简单,就是希望能够帮助到想自学提升又不知道该从何学起的朋友,同时减轻大家的负担。
[外链图片转存中…(img-YIwtEiTz-1714961048025)]
[外链图片转存中…(img-ft8DLn8O-1714961048026)]
[外链图片转存中…(img-P8b6CIu3-1714961048026)]
[外链图片转存中…(img-jUuLAx6M-1714961048026)]
[外链图片转存中…(img-hirME4pC-1714961048026)]
既有适合小白学习的零基础资料,也有适合3年以上经验的小伙伴深入学习提升的进阶课程,基本涵盖了95%以上Android开发知识点,真正体系化!
由于文件比较大,这里只是将部分目录截图出来,每个节点里面都包含大厂面经、学习笔记、源码讲义、实战项目、讲解视频,并且会持续更新!


 6057
6057

 被折叠的 条评论
为什么被折叠?
被折叠的 条评论
为什么被折叠?
 到【灌水乐园】发言


