


// 省略部分代码
} catch (Exception e) { /* 省略部分代码 */ }
try {
Application app = r.packageInfo.makeApplication(false, mInstrumentation);
// 省略部分代码
if (activity != null) {
// 省略部分代码
Window window = null;
if (r.mPendingRemoveWindow != null && r.mPreserveWindow) {
window = r.mPendingRemoveWindow;
r.mPendingRemoveWindow = null;
r.mPendingRemoveWindowManager = null;
}
appContext.setOuterContext(activity);
activity.attach(appContext, this, getInstrumentation(), r.token,
r.ident, app, r.intent, r.activityInfo, title, r.parent,
r.embeddedID, r.lastNonConfigurationInstances, config,
r.referrer, r.voiceInteractor, window, r.configCallback);
// 省略部分代码
if (r.isPersistable()) {
mInstrumentation.callActivityOnCreate(activity, r.state, r.persistentState);
} else {
mInstrumentation.callActivityOnCreate(activity, r.state);
}
// 省略部分代码
if (!r.activity.mFinished) {
activity.performStart();
r.stopped = false;
}
if (!r.activity.mFinished) {
activity.mCalled = false;
if (r.isPersistable()) {
mInstrumentation.callActivityOnPostCreate(activity, r.state,
r.persistentState);
} else {
mInstrumentation.callActivityOnPostCreate(activity, r.state);
}
// 省略部分代码
}
}
r.paused = true;
// 保存ActivityClientRecord
mActivities.put(r.token, r);
} catch { /* 省略catch相关代码 */ }
return activity;
}
上述代码主要执行了以下操作:
- 创建Activity对象
调用Instrumentation的newActivity方法,通过反射创建Activity对象。
- 初始化Activity
调用Activity对象的attach方法,用于初始化Activity的一些数据,同时会为Activity设置Window对象。 注意:Activity的Window对象,与传入的Window对象不是同一个对象。这也意味着:每个Activity都有各自的Window对象。
public class Activity extends … {
// 省略部分代码
private Window mWindow;
private WindowManager mWindowManager;
final void attach(Context context, ActivityThread aThread,
Instrumentation instr, IBinder token, int ident,
Application application, Intent intent, ActivityInfo info,
CharSequence title, Activity parent, String id,
NonConfigurationInstances lastNonConfigurationInstances,
Configuration config, String referrer, IVoiceInteractor voiceInteractor,
Window window, ActivityConfigCallback activityConfigCallback) {
attachBaseContext(context);
mFragments.attachHost(null /parent/);
mWindow = new PhoneWindow(this, window, activityConfigCallback);
// 省略部分代码
mWindow.setWindowManager(
(WindowManager)context.getSystemService(Context.WINDOW_SERVICE),
mToken, mComponent.flattenToString(),
(info.flags & ActivityInfo.FLAG_HARDWARE_ACCELERATED) != 0);
// 省略部分代码
mWindowManager = mWindow.getWindowManager();
// 省略部分代码
}
// 省略部分代码
}
- 调用3个生命周期方法
1、
Instrumentation.callActivityOnCreate方法,该方法中会调用activity.performCreate()方法。
2、activity.performStart()方法。
3、Instrumentation.callActivityOnPostCreate方法,该方法中会调用activity.onPostCreate()方法。
查看里面的源码,确实依次调用了onCreate、onStart、onPostCreate方法,验证了我们之前对performLaunchActivity的猜想。
总结一下:
在handleLaunchActivity方法里,会回调以下生命周期:
onCreate()->onStart()->onPostCreate()->onResume()
注意:如果ActivityClientRecord.startsNotResumed = true时,生命周期流程将会变为:
onCreate()->onStart()->onPostCreate()->onResume()->onPause()
二、界面加载
通过上节内容的介绍,我们知道在handleLaunchActivity方法里,会回调Activity的onCreate()生命周期方法。
而一般我们在创建Activity时,会在onCreate()中调用setContentView来设置布局文件。
下面,我们开始分析,我们自定义的布局文件是如何被加载出来的。
2.1、设置布局
首先分析Activity中的setContentView方法的源码。
public class Activity extends … {
// 省略部分代码
public void setContentView(@LayoutRes int layoutResID) {
getWindow().setContentView(layoutResID);
initWindowDecorActionBar();
}
// 省略部分代码
}
根据前面的分析可知,这里的getWindow()方法返回的是该Activity所特有的Window对象,它在attach方法中被赋值。
而Window是一个抽象类,通过查看类上的注解可知,它只有一个名为PhoneWindow的子类,所以我们直接看PhoneWindow的setContentView方法。
public class PhoneWindow extends Window implements MenuBuilder.Callback {
// 省略部分代码
ViewGroup mContentParent;
@Override
public void setContentView(int layoutResID) {
// Note: FEATURE_CONTENT_TRANSITIONS may be set in the process of installing the window
// decor, when theme attributes and the like are crystalized. Do not check the feature
// before this happens.
if (mContentParent == null) {
installDecor();
} else if (!hasFeature(FEATURE_CONTENT_TRANSITIONS)) {
mContentParent.removeAllViews();
}
if (hasFeature(FEATURE_CONTENT_TRANSITIONS)) {
final Scene newScene = Scene.getSceneForLayout(mContentParent, layoutResID,
getContext());
transitionTo(newScene);
} else {
mLayoutInflater.inflate(layoutResID, mContentParent);
}
mContentParent.requestApplyInsets();
final Callback cb = getCallback();
if (cb != null && !isDestroyed()) {
cb.onContentChanged();
}
mContentParentExplicitlySet = true;
}
// 省略部分代码
}
代码还是比较清楚的,如果mContentParent == null,调用installDecor()方法,后续将传入的布局资源,加载到mContentParent中。
所以这里可以肯定:installDecor()方法,主要作用就是为了创建mContentParent对象。
public class PhoneWindow extends Window implements MenuBuilder.Callback {
// 省略部分代码
private DecorView mDecor;
ViewGroup mContentParent;
private void installDecor() {
mForceDecorInstall = false;
if (mDecor == null) {
mDecor = generateDecor(-1);
// 省略部分代码
} else {
mDecor.setWindow(this);
}
if (mContentParent == null) {
mContentParent = generateLayout(mDecor);
// 省略后续设置icon、title等代码
}
}
}
嗯,这里确实通过generateLayout方法创建了mContentParent对象,但在创建之前,先创建了一个DecorView对象,并将其作为参数传入generateLayout方法里。
而DecorView,我们只需要知道它继承至FrameLayout即可,因为此时分析它的细节,对于我们并没太大帮助。
那我们分析generateLayout做了什么:
public class PhoneWindow extends Window implements MenuBuilder.Callback {
// 省略部分代码
public static final int ID_ANDROID_CONTENT = com.android.internal.R.id.content;
protected ViewGroup generateLayout(DecorView decor) {
// Apply data from current theme.
// 省略部分代码:从主题文件中读取内容,并设置对应的Flag
// Inflate the window decor.
int layoutResource;
int features = getLocalFeatures();
//省略部分代码:通过features,为layoutResource设置不同布局资源id
mDecor.startChanging();
mDecor.onResourcesLoaded(mLayoutInflater, layoutResource);
ViewGroup contentParent = (ViewGroup)findViewById(ID_ANDROID_CONTENT);
//省略部分代码:为mDecor设置background、elevation、title、titleColor等数据
mDecor.finishChanging();
return contentParent;
}
}
主要做了以下内容:
- 从主题中获取数据,并应用到当前
Window中。 - 根据features,让
mDecor加载不同的布局文件。 - 获得
mContentParent对象(id为com.android.internal.R.id.content)。
这里我们可以得出以下信息:
- 不同的主题会让
Window加载不同的布局到DecorView中。 setContentView方法,实际是将自定义的布局文件,加载到mContentParent中。
至此,我们可以简单总结一下setContentView的流程:
1、首先,Activity中的
Window对象会创建一个DecorView。
2、然后根据不同的主题,让DecorView加载不同的布局资源。
3、获取这些布局资源中的mContentParent,它的id为com.android.internal.R.id.content。
4、最后将自定义的布局加载到mContentParent中。
2.2、渲染布局
在上述setContentView的流程中,所有的布局资源都已加载完毕,而布局的加载又会涉及到addView方法。
一般来说,调用
addView方法,都会间接调用到requestLayout()和invalidate(true)方法,造成界面重新布局和刷新。
而我们也知道:
Activity在
onCreate时,界面并不会被加载出来。
这里仿佛出现了矛盾,那我们再分析分析,看看为什么调用了addView方法后,界面却没有被加载出来。
public abstract class ViewGroup extends View implements ViewParent, ViewManager {
// 省略部分代码
public void addView(View child, int index, LayoutParams params) {
// 省略部分代码
requestLayout();
invalidate(true);
addViewInner(child, index, params, false);
}
// 省略部分代码
}
public class View implements … {
// 省略部分代码
public void requestLayout() {
// 省略部分代码
if (mParent != null && !mParent.isLayoutRequested()) {
mParent.requestLayout();
}
// 省略部分代码
}
public void invalidate(boolean invalidateCache) {
invalidateInternal(0, 0, mRight - mLeft, mBottom - mTop, invalidateCache, true);
}
void invalidateInternal(int l, int t, int r, int b, boolean invalidateCache,
boolean fullInvalidate) {
// 省略部分代码
if (skipInvalidate()) {
return;
}
// 省略后续代码
}
private boolean skipInvalidate() {
return (mViewFlags & VISIBILITY_MASK) != VISIBLE && mCurrentAnimation == null &&
(!(mParent instanceof ViewGroup) ||
!((ViewGroup) mParent).isViewTransitioning(this));
}
// 省略部分代码
}
哦,原来此时DecorView没有父容器,导致这里只会执行添加操作,而不会去重新布局和刷新。
那什么时候,界面才会被加载出来呢?
只要学过Android生命周期的人,都知道:
当Activity处于
onCreate时,是不可见的。
当Activity处于onStart时,可见,但不可交互。
当Activity处于onResume时,才是可见可交互的。
那我们看看Activity的performStart方法实现:
public class Activity extends … {
// 省略部分代码
final void performStart() {
mActivityTransitionState.setEnterActivityOptions(this, getActivityOptions());
mFragments.noteStateNotSaved();
mCalled = false;
mFragments.execPendingActions();
mInstrumentation.callActivityOnStart(this);
if (!mCalled) {
throw new SuperNotCalledException(
“Activity " + mComponent.toShortString() +
" did not call through to super.onStart()”);
}
mFragments.dispatchStart();
mFragments.reportLoaderStart();
// 省略部分代码
mActivityTransitionState.enterReady(this);
}
这里只要调用了Instrumentation的callActivityOnStart方法,而callActivityOnStart方法内部的实现,只是简单调用了传入的Activity对象的onStart()方法。
emmmmm…好像有点不对啊,performStart方法里好像也没做什么操作啊,难不成界面渲染是在onResume()里?
带着疑惑,我们一起来看看handleResumeActivity方法:
public final class ActivityThread {
// 省略部分代码
final void handleResumeActivity(IBinder token,
boolean clearHide, boolean isForward, boolean reallyResume, int seq, String reason) {
ActivityClientRecord r = mActivities.get(token);
// 省略部分代码
// TODO Push resumeArgs into the activity for consideration
r = performResumeActivity(token, clearHide, reason);
if (r != null) {
final Activity a = r.activity;
// 省略部分代码
if (r.window == null && !a.mFinished && willBeVisible) {
r.window = r.activity.getWindow();
View decor = r.window.getDecorView();
decor.setVisibility(View.INVISIBLE);
ViewManager wm = a.getWindowManager();
WindowManager.LayoutParams l = r.window.getAttributes();
a.mDecor = decor;
// 省略部分代码
if (a.mVisibleFromClient) {
if (!a.mWindowAdded) {
a.mWindowAdded = true;
wm.addView(decor, l);
} else {
// The activity will get a callback for this {@link LayoutParams} change
// earlier. However, at that time the decor will not be set (this is set
// in this method), so no action will be taken. This call ensures the
// callback occurs with the decor set.
a.onWindowAttributesChanged(l);
}
}
// 省略后续代码
}
}
}
}
其中performResumeActivity也没做过多操作,只是调用了Activity的performResume()方法,间接调用到onResume,我们就不过多分析了。
这里比较核心的是,将DecorView添加到ViewManager中,这里间接调用到WindowManagerGlobal的addView方法,它是一个单例对象,注意这里的判定条件,可以看出,一个ActivityClientRecord对象,之后执行一次。
public final class WindowManagerGlobal {
// 省略部分代码
private final ArrayList mViews = new ArrayList();
private final ArrayList mRoots = new ArrayList();
private final ArrayList<WindowManager.LayoutParams> mParams = new ArrayList<WindowManager.LayoutParams>();
public void addView(View view, ViewGroup.LayoutParams params,
Display display, Window parentWindow) {
// 省略部分代码
final WindowManager.LayoutParams wparams = (WindowManager.LayoutParams) params;
ViewRootImpl root;
View panelParentView = null;
synchronized (mLock) {
// 省略部分代码
root = new ViewRootImpl(view.getContext(), display);
view.setLayoutParams(wparams);
mViews.add(view);
mRoots.add(root);
mParams.add(wparams);
// do this last because it fires off messages to start doing things
try {
root.setView(view, wparams, panelParentView);
} catch (RuntimeException e) {
// BadTokenException or InvalidDisplayException, clean up.
if (index >= 0) {
removeViewLocked(index, true);
}
throw e;
}
}
}
// 省略部分代码
}
最后
自我介绍一下,小编13年上海交大毕业,曾经在小公司待过,也去过华为、OPPO等大厂,18年进入阿里一直到现在。
深知大多数初中级Android工程师,想要提升技能,往往是自己摸索成长或者是报班学习,着实压力不小。自己不成体系的自学效果低效又漫长,而且极易碰到天花板技术停滞不前!
因此收集整理了一份《2024年Android移动开发全套学习资料》,初衷也很简单,就是希望能够帮助到想自学提升又不知道该从何学起的朋友,同时减轻大家的负担。
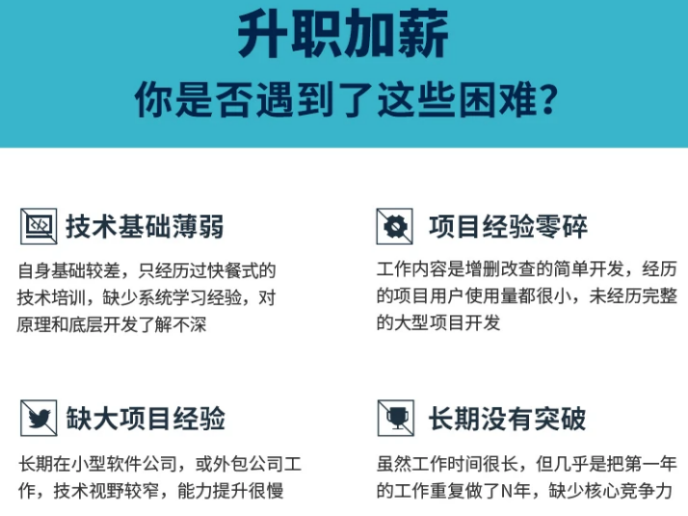
既有适合小白学习的零基础资料,也有适合3年以上经验的小伙伴深入学习提升的进阶课程,基本涵盖了95%以上Android开发知识点,真正体系化!
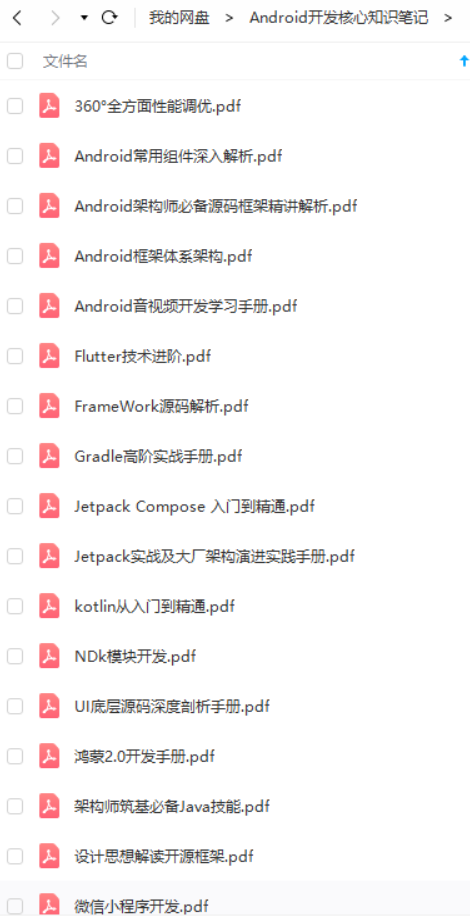
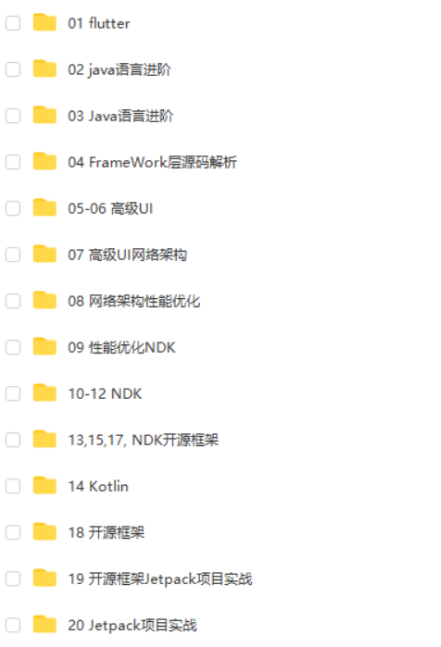
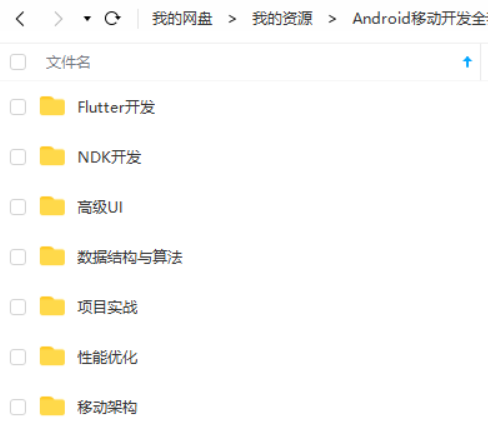
由于文件比较大,这里只是将部分目录截图出来,每个节点里面都包含大厂面经、学习笔记、源码讲义、实战项目、讲解视频,并且会持续更新!
如果你觉得这些内容对你有帮助,需要这份全套学习资料的朋友可以戳我获取!!
该从何学起的朋友,同时减轻大家的负担。**
[外链图片转存中…(img-H3dGlD5n-1715113672732)]
[外链图片转存中…(img-20Ea9B54-1715113672733)]
[外链图片转存中…(img-duzJ2c8b-1715113672733)]
[外链图片转存中…(img-tJRaUHMG-1715113672733)]
[外链图片转存中…(img-c6pYV5To-1715113672733)]
既有适合小白学习的零基础资料,也有适合3年以上经验的小伙伴深入学习提升的进阶课程,基本涵盖了95%以上Android开发知识点,真正体系化!
由于文件比较大,这里只是将部分目录截图出来,每个节点里面都包含大厂面经、学习笔记、源码讲义、实战项目、讲解视频,并且会持续更新!


 2898
2898

 被折叠的 条评论
为什么被折叠?
被折叠的 条评论
为什么被折叠?
 到【灌水乐园】发言


