


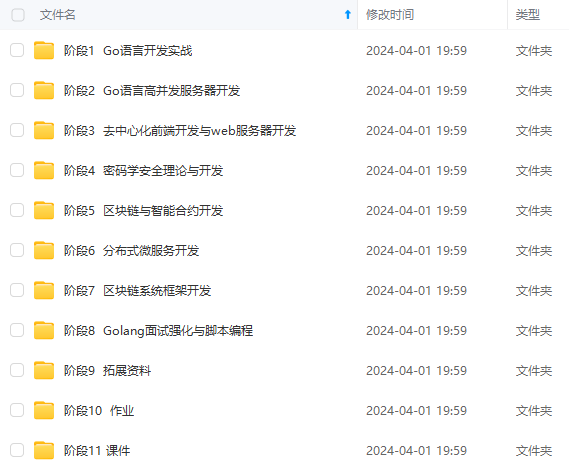
既有适合小白学习的零基础资料,也有适合3年以上经验的小伙伴深入学习提升的进阶课程,涵盖了95%以上Go语言开发知识点,真正体系化!
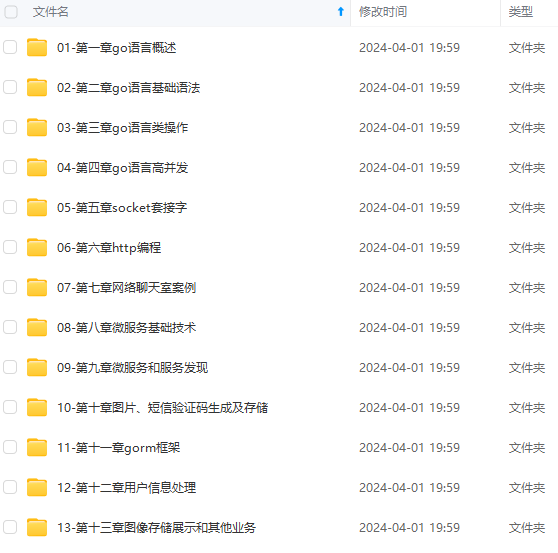
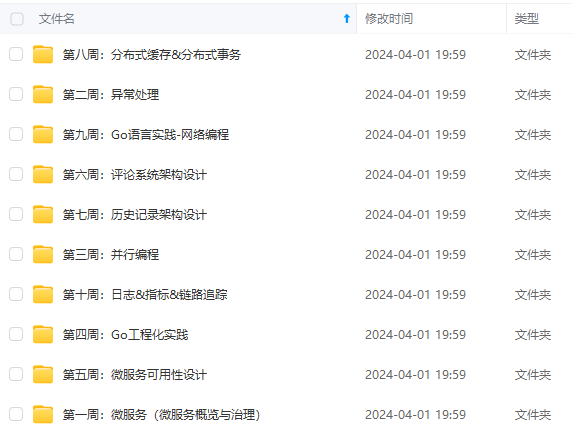
由于文件比较多,这里只是将部分目录截图出来,全套包含大厂面经、学习笔记、源码讲义、实战项目、大纲路线、讲解视频,并且后续会持续更新
根据提示一步步操作
# 查看版本
local brew -v
Homebrew 2.2.17-105-g1aee867-dirty
Homebrew/homebrew-core (git revision cc21f; last commit 2020-05-25)
Homebrew/homebrew-cask (git revision 84a57; last commit 2020-05-25)
二. 安装PHP
brew install php
通过brew安装后位置: /usr/local/Cellar
cd /usr/local/Cellar
# 查看版本
cd php/7.4.6
bin/php -v
PHP 7.4.6 (cli) (built: May 14 2020 10:39:21) ( NTS )
Copyright (c) The PHP Group
Zend Engine v3.4.0, Copyright (c) Zend Technologies
    with Zend OPcache v7.4.6, Copyright (c), by Zend Technologies
切换MAC系统下的PHP版本
- 确认当前系统的php版本
which php
# 如果你没有更改过系统默认的php路径,输出的结果应该类似于
/usr/bin/php
# 版本
php -v
PHP 7.1.19 (cli) (built: Aug 17 2018 18:03:17) ( NTS )
Copyright (c) 1997-2018 The PHP Group
Zend Engine v3.1.0, Copyright (c) 1998-2018 Zend Technologies
- 更改版本
# 确认需要切换的PHP版本路径, 按照上面brew安装的PHP路径为
/usr/local/Cellar/php/7.4.6/bin
- 编辑文件
vim ~/.bash_profile
# 添加
export PATH=/usr/local/Cellar/php/7.4.6/bin:$PATH
# 保存退出
- 重载配置
source ~/.bash_profile
- 查看PHP版本是否切换
which php
# 版本
php -v
PHP 7.4.6 (cli) (built: May 14 2020 10:39:21) ( NTS )
Copyright (c) The PHP Group
Zend Engine v3.4.0, Copyright (c) Zend Technologies
    with Zend OPcache v7.4.6, Copyright (c), by Zend Technologies
php-fpm加入开机启动项
通过brew安装的php-fpm
# 安装路径
/usr/local/Cellar/php/7.4.6/sbin/php-fpm
# 配置文件
cd /usr/local/etc/php/7.4
# 编辑
vim php-fpm.conf
...
daemonize = yes
...
加入启动项
# 编辑
vim ~/Library/LaunchAgents/org.php.php-fpm.plist

<?xml version="1.0" encoding="UTF-8"?>
<!DOCTYPE plist PUBLIC "-//Apple//DTD PLIST 1.0//EN" "http://www.apple.com/DTDs/PropertyList-1.0.dtd">
<plist version="1.0">
<dict>
    <key>Label</key>
    <string>php-fpm</string>
    <key>Program</key>
    <string>/usr/local/Cellar/php/7.4.6/sbin/php-fpm</string>
    <key>KeepAlive</key><true/>
</dict>
</plist>
保存退出后, 执行以下名命令
sudo chown root:owner ~/Library/LaunchAgents/org.php.php-fpm.plist
sudo chmod +x ~/Library/LaunchAgents/org.php.php-fpm.plist
sudo launchctl load -w ~/Library/LaunchAgents/org.php.php-fpm.plist
执行完以上命令,可以用这个调试命令,来看看是否加载了启动项
launchctl list | grep php
输出:
586 0 com.apple.xpc.launchd.oneshot.0x10000003.phpstorm
中间的数字是状态码,如果是0说明已经成功了,这时服务已经启动了
三. 安装Mysql
brew install mysql
# 安装路径为 /usr/local/Cellar
cd /usr/local/Cellar/mysql
8.0.19_1
# 开启服务
cd 8.0.19_1
/bin/mysqld
# 进入MySQL, 默认密码为空, 直接进入
/bin/mysql -u root -p

Welcome to the MySQL monitor.  Commands end with ; or \g.
Your MySQL connection id is 38
Server version: 8.0.19 Homebrew

Copyright (c) 2000, 2020, Oracle and/or its affiliates. All rights reserved.

Oracle is a registered trademark of Oracle Corporation and/or its
affiliates. Other names may be trademarks of their respective
owners.

Type 'help;' or '\h' for help. Type '\c' to clear the current input statement.

mysql>
用Navicat链接MySQL时, 出现 Authentication plugin ‘caching_sha2_password’ cannot be loaded
出现这个原因是mysql8 之前的版本中加密规则是mysql_native_password, 而在mysql8之后,加密规则是caching_sha2_password
解决问题方法是把mysql用户登录密码加密规则还原成mysql_native_password.
- 登陆MySQL
- 修改账户密码加密规则并更新用户密码
ALTER USER 'root'@'localhost' IDENTIFIED BY 'your password' PASSWORD EXPIRE NEVER;
ALTER USER 'root'@'localhost' IDENTIFIED WITH mysql\_native\_password BY 'your password';
- 刷新权限并重置密码
FLUSH PRIVILEGES;
Navicat远程登录报错Host is not allowed to connect to this MySQL server
- 登录MySQL mysql -u root -p密码
- 执行use mysql
- 执行update user set host = ‘%’ where user = ‘root’;这一句执行完可能会报错,不用管它
- 执行FLUSH PRIVILEGES
设置mysql开机自启动
- 编辑一个mysql启动文件
sudo vim /Library/LaunchDaemons/com.mysql.mysql.plist
- 输入启动文件内容
<?xml version="1.0" encoding="UTF-8"?>
<!DOCTYPE plist PUBLIC "-//Apple//DTD PLIST 1.0//EN" "http://www.apple.com/DTDs/PropertyList-1.0.dtd">
<plist version="1.0">
  <dict>
    <key>KeepAlive</key>
    <true/>
    <key>Label</key>
    <string>com.mysql.mysqld</string>
    <key>ProgramArguments</key>
    <array>
    <string>/usr/local/Cellar/mysql/8.0.19/bin/mysqld_safe</string>
    <string>--user=root</string>
    </array>
  </dict>
</plist>
上面xml中的 /usr/local/Cellar/mysql/8.0.19/bin/mysqld_safe 为我的mysql所在目录
- 加载这个启动文件
sudo launchctl load -w /Library/LaunchDaemons/com.mysql.mysql.plist
- 查看启动情况
ps -aef | grep mysql
四. 安装Nginx
brew install nginx
通过brew安装后位置: /usr/local/Cellar
# 进入
cd /usr/local/Cellar/nginx/1.17.10
# 启动 默认端口8080
nginx
# 重启
nginx -s reload
# 停止
nginx -s stop
# 检验
在浏览器中输入 127.0.0.1:8080

或者终端里输入
curl 127.0.0.1:8080

<!DOCTYPE html>
<html>
<head>
<title>Welcome to nginx!</title>
<style>
    body {
        width: 35em;
        margin: 0 auto;
        font-family: Tahoma, Verdana, Arial, sans-serif;
    }
</style>
</head>
<body>
<h1>Welcome to nginx!</h1>
<p>If you see this page, the nginx web server is successfully installed and
working. Further configuration is required.</p>

<p>For online documentation and support please refer to
<a href="http://nginx.org/">nginx.org</a>.<br/>
Commercial support is available at
<a href="http://nginx.com/">nginx.com</a>.</p>

<p><em>Thank you for using nginx.</em></p>
</body>
</html>
设置Nginx开机自启动
**既有适合小白学习的零基础资料,也有适合3年以上经验的小伙伴深入学习提升的进阶课程,涵盖了95%以上Go语言开发知识点,真正体系化!**
**由于文件比较多,这里只是将部分目录截图出来,全套包含大厂面经、学习笔记、源码讲义、实战项目、大纲路线、讲解视频,并且后续会持续更新**
**[如果你需要这些资料,可以戳这里获取](https://bbs.csdn.net/topics/618658159)**
>
</html>
设置Nginx开机自启动
[外链图片转存中...(img-5sRy9gbe-1715484123544)]
[外链图片转存中...(img-Drm0h3dE-1715484123544)]
[外链图片转存中...(img-BCSFygAG-1715484123545)]

**既有适合小白学习的零基础资料,也有适合3年以上经验的小伙伴深入学习提升的进阶课程,涵盖了95%以上Go语言开发知识点,真正体系化!**

**由于文件比较多,这里只是将部分目录截图出来,全套包含大厂面经、学习笔记、源码讲义、实战项目、大纲路线、讲解视频,并且后续会持续更新**

**[如果你需要这些资料,可以戳这里获取](https://bbs.csdn.net/topics/618658159)**


 1657
1657


 被折叠的 条评论
为什么被折叠?
被折叠的 条评论
为什么被折叠?
 到【灌水乐园】发言


