


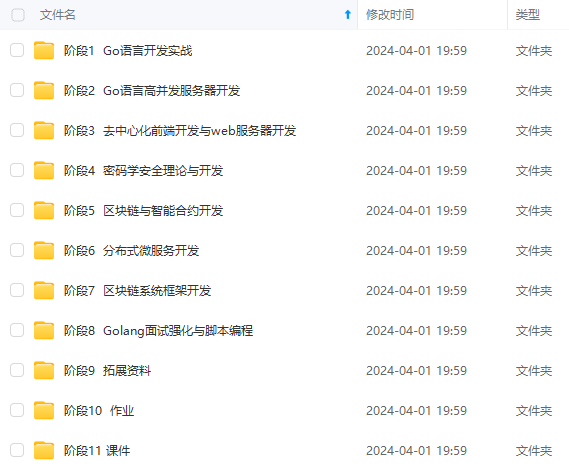

既有适合小白学习的零基础资料,也有适合3年以上经验的小伙伴深入学习提升的进阶课程,涵盖了95%以上Go语言开发知识点,真正体系化!
由于文件比较多,这里只是将部分目录截图出来,全套包含大厂面经、学习笔记、源码讲义、实战项目、大纲路线、讲解视频,并且后续会持续更新
hides all connections in the diagram
-hide-fields
hides fields
-hide-methods
hides methods
-ignore string
comma separated list of folders to ignore
-notes string
Comma separated list of notes to be added to the diagram
-output string
output file path. If omitted, then this will default to standard output
-recursive
walk all directories recursively
-show-aggregations
renders public aggregations even when -hide-connections is used (do not render by default)
-show-aliases
Shows aliases even when -hide-connections is used
-show-compositions
Shows compositions even when -hide-connections is used
-show-connection-labels
Shows labels in the connections to identify the connections types (e.g. extends, implements, aggregates, alias of
-show-implementations
Shows implementations even when -hide-connections is used
-show-options-as-note
Show a note in the diagram with the none evident options ran with this CLI
-title string
Title of the generated diagram
-hide-private-members
Hides all private members (fields and methods)
选项很多,用的多的就两个:-output和-recursive,设置*.puml文件输出路径和是否递归生成。
例如:goplantuml $GOPATH/src/github.com/jfeliu007/goplantuml/parser
生成了*.puml文件之后,我们需要选择工具进行生成图片。
注意:使用前确认是否安装Graphviz 。
2 生成UML图片
有两种方法。
使用plantuml.jar文件生成
-
下载plantuml.jar文件,百度可以找到官网
-
如果没有安装java环境自行安装
生成图片命令:java -jar plantuml.jar *.puml
这样就可以生成UML图片了。
注意: 如果图片太大,需要修改图片大小和分辨率。

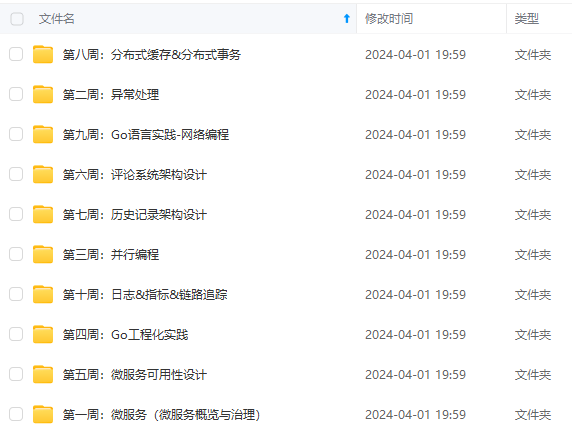
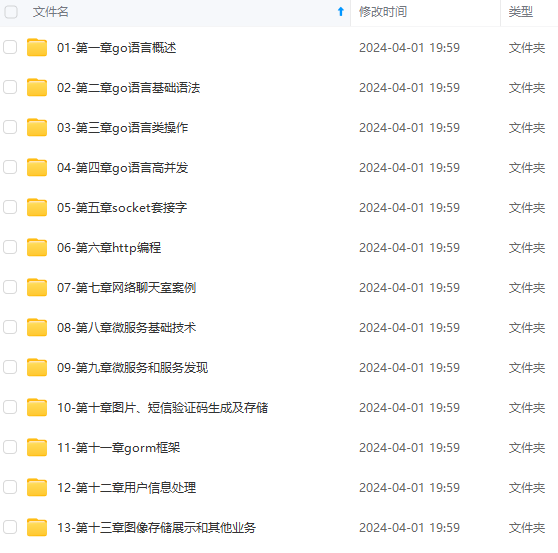
既有适合小白学习的零基础资料,也有适合3年以上经验的小伙伴深入学习提升的进阶课程,涵盖了95%以上Go语言开发知识点,真正体系化!
由于文件比较多,这里只是将部分目录截图出来,全套包含大厂面经、学习笔记、源码讲义、实战项目、大纲路线、讲解视频,并且后续会持续更新
件比较多,这里只是将部分目录截图出来,全套包含大厂面经、学习笔记、源码讲义、实战项目、大纲路线、讲解视频,并且后续会持续更新**


 被折叠的 条评论
为什么被折叠?
被折叠的 条评论
为什么被折叠?
 到【灌水乐园】发言


