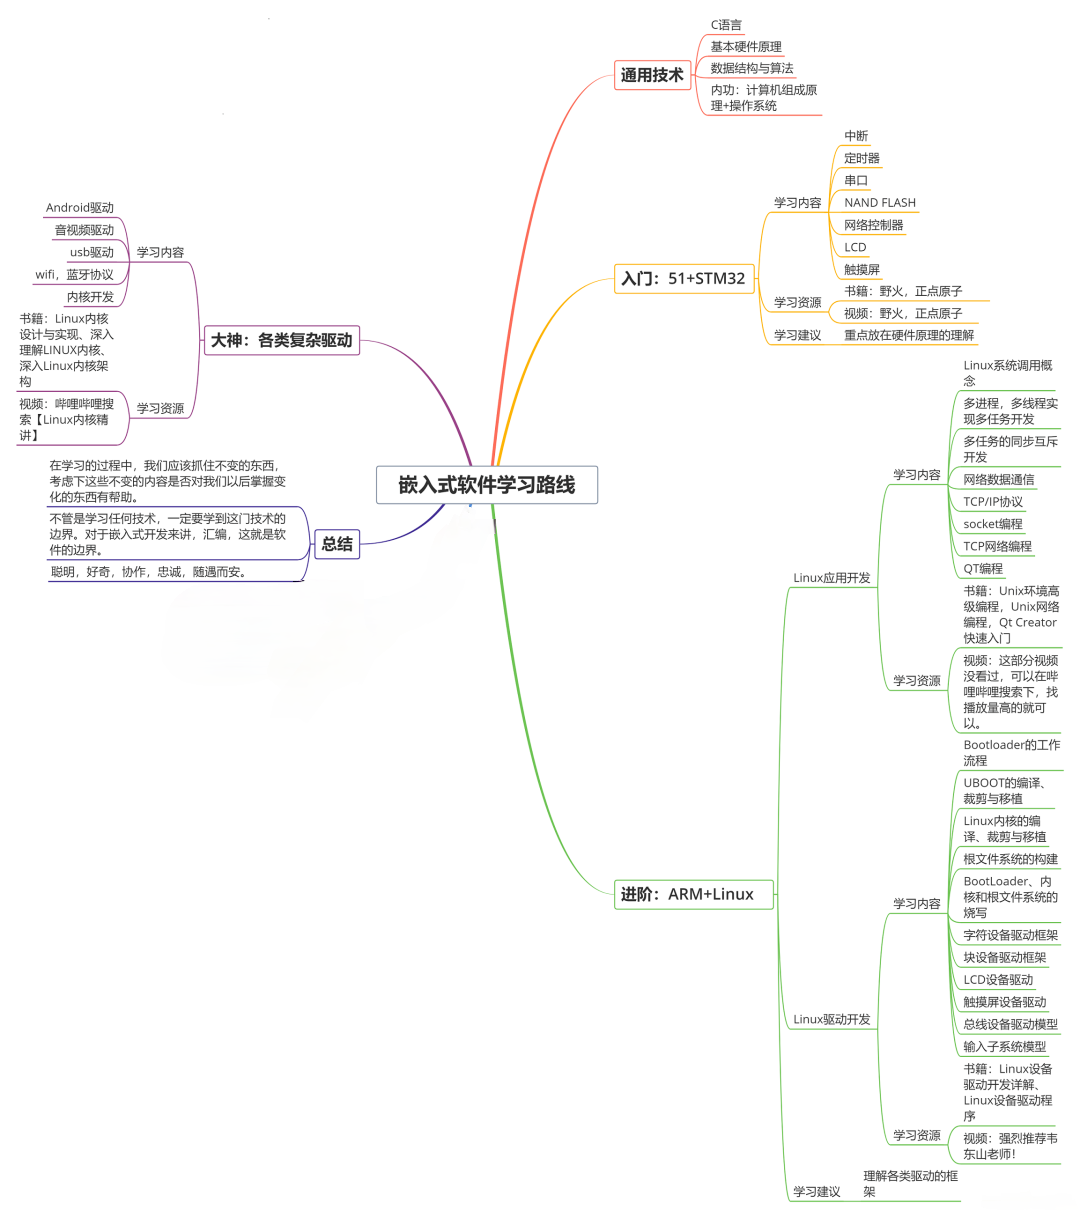
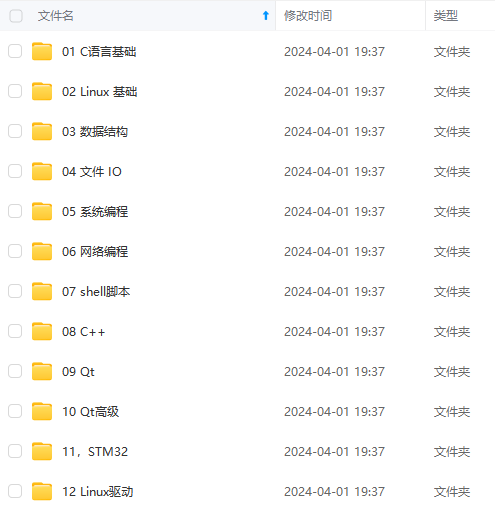
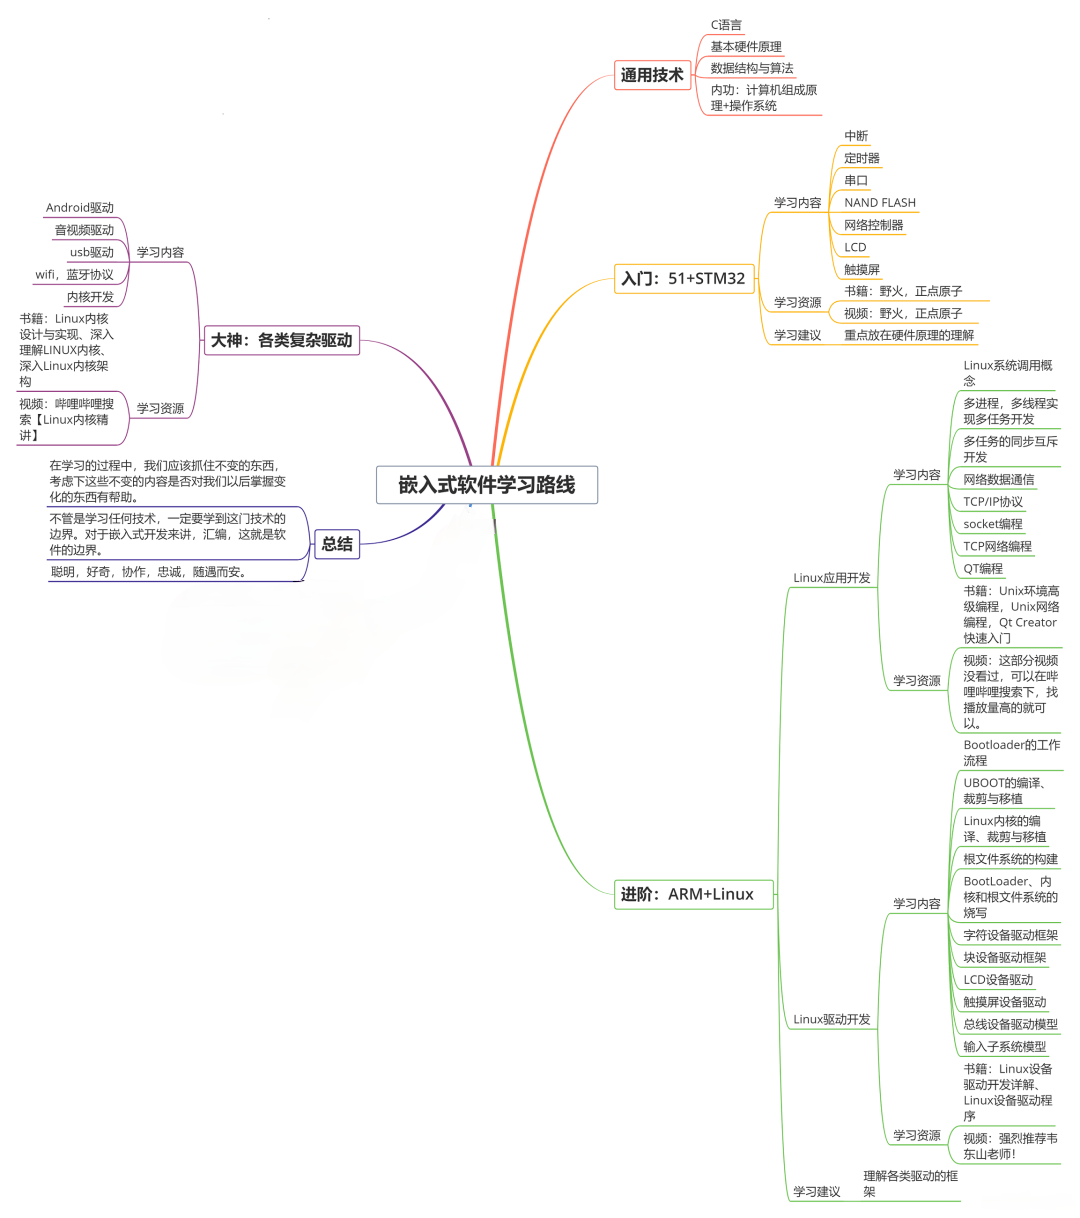
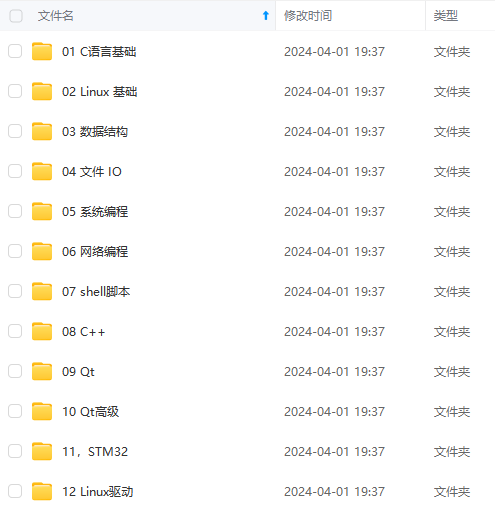
收集整理了一份《2024年最新物联网嵌入式全套学习资料》,初衷也很简单,就是希望能够帮助到想自学提升的朋友。


需要这些体系化资料的朋友,可以加我V获取:vip1024c (备注嵌入式)
一个人可以走的很快,但一群人才能走的更远!不论你是正从事IT行业的老鸟或是对IT行业感兴趣的新人
都欢迎加入我们的的圈子(技术交流、学习资源、职场吐槽、大厂内推、面试辅导),让我们一起学习成长!

在浏览器输入:http://localhost:8080/

这是 Vue 默认的页面,代表项目创建成功了,在进行代码开发前,先贴上项目整体结构,防止不知道在哪创建

四、View 层代码编写
编写三个 vue 文件:login.vue(登录页面)、success.vue(登录成功页面)、error.vue(登录失败页面)
1.login.vue
代码如下(比较懒,直接从 mall 扒下来的代码,去掉了一些功能)
<template>
  <div>
    <el-card class="login-form-layout">
      <el-form
        autocomplete="on"
        :model="loginForm"
        ref="loginForm"
        label-position="left"
      >
        <div style="text-align: center">
          <svg-icon icon-class="login-mall" style="width: 56px;height: 56px;color: #409EFF"></svg-icon>
        </div>
        <h2 class="login-title color-main">mall-admin-web</h2>
        <el-form-item prop="username">
          <el-input
            name="username"
            type="text"
            v-model="loginForm.username"
            autocomplete="on"
            placeholder="请输入用户名"
          >
            <span slot="prefix">
              <svg-icon icon-class="user" class="color-main"></svg-icon>
            </span>
          </el-input>
        </el-form-item>
        <el-form-item prop="password">
          <el-input
            name="password"
            :type="pwdType"
            @keyup.enter.native="handleLogin"
            v-model="loginForm.password"
            autocomplete="on"
            placeholder="请输入密码"
          >
            <span slot="prefix">
              <svg-icon icon-class="password" class="color-main"></svg-icon>
            </span>
            <span slot="suffix" @click="showPwd">
              <svg-icon icon-class="eye" class="color-main"></svg-icon>
            </span>
          </el-input>
        </el-form-item>
        <el-form-item style="margin-bottom: 60px">
          <el-button
            style="width: 100%"
            type="primary"
            :loading="loading"
            @click.native.prevent="handleLogin"
          >登录</el-button>
        </el-form-item>
      </el-form>
    </el-card>
  </div>
</template>

<script>
export default {
  name: "login",
  data() {
    return {
      loginForm: {
        username: "admin",
        password: "123456"
      },
      loading: false,
      pwdType: "password",
    };
  },
  methods: {
    showPwd() {
      if (this.pwdType === "password") {
        this.pwdType = "";
      } else {
        this.pwdType = "password";
      }
    },
    handleLogin() {
      this.$refs.loginForm.validate(valid => {
        if (valid) {
          this.loading = true;
          this.$store
            .dispatch("Login", this.loginForm)
            .then(response => {
              this.loading = false;
              let code = response.data.code;
              if (code == 200) {
                this.$router.push({
                  path: "/success",
                  query: { data: response.data.data }
                });
              } else {
                this.$router.push({
                  path: "/error",
                  query: { message: response.data.message }
                });
              }
            })
            .catch(() => {
              this.loading = false;
            });
        } else {
          // eslint-disable-next-line no-console
          console.log("参数验证不合法!");
          return false;
        }
      });
    }
  }
};
</script>

<style scoped>
.login-form-layout {
  position: absolute;
  left: 0;
  right: 0;
  width: 360px;
  margin: 140px auto;
  border-top: 10px solid #409eff;
}

.login-title {
  text-align: center;
}

.login-center-layout {
  background: #409eff;
  width: auto;
  height: auto;
  max-width: 100%;
  max-height: 100%;
  margin-top: 200px;
}
</style>
2.success.vue
<template>
  <div>
    <h1>Welcome!{{msg}}</h1>
  </div>
</template>
<script>
export default {
  data() {
    return {
      msg: this.$route.query.data
    };
  },
//   data() { //这种方式也可以
//     return {
//       msg: null
//     };
//   },
  // created() {
  //   this.msg = this.$route.query.data;
  // }
}
</script>
3.error.vue
<template>
  <div>
    <h1>登录错误:{{msg}}</h1>
  </div>
</template>
<script>
export default {
  // data() {
  //   return {
  //     msg: this.$route.query.data
  //   };
  // }, //使用这种方式也可以显示 msg
  data() {
    return {
      msg: null
    };
  },
  created() {
    this.msg = this.$route.query.message;
  }
};
</script>
五、路由
页面写好了,我们需要依次显示这三个页面,这里我们统一使用路由来管理显示页面,路由的官方文档见:vue 路由
本着先实践,后理解的码农学习方式。我们先使用路由显示三个页面后,再去理解Vue路由这个功能点。
1.创建路由配置文件
在刚才建立的 router 文件夹下创建一个 index.js 文件,内容如下
import Vue from 'vue' //引入 Vue
import VueRouter from 'vue-router' //引入 Vue 路由

Vue.use(VueRouter); //安装插件

export const constantRouterMap = [
    //配置默认的路径,默认显示登录页
    { path: '/', component: () => import('@/views/login')},

    //配置登录成功页面,使用时需要使用 path 路径来实现跳转
    { path: '/success', component: () => import('@/views/success')},

    //配置登录失败页面,使用时需要使用 path 路径来实现跳转
    { path: '/error', component: () => import('@/views/error'), hidden: true }
]

export default new VueRouter({
    // mode: 'history', //后端支持可开
    scrollBehavior: () => ({ y: 0 }),
    routes: constantRouterMap //指定路由列表
})
2.将路由添加到程序入口
路由配置文件写好,我们需要把他引入到 main.js 中,在项目的 src 目录根节点下,找到 main.js,添加内容如下:
import Vue from 'vue'
import App from './App.vue'
import './plugins/element.js'
import router from './router' //引入路由配置

Vue.config.productionTip = false

new Vue({
  render: h => h(App),
  router, //使用路由配置
}).$mount('#app')
3.配置路由的出入口
现在路由已经完全引入到项目了,但是路由还需要一个出入口,这个出入口用来告诉路由将路由的内容显示在这里。上面 main.js 配置的第一个 vue 显示页面为 App.vue ,因此我们修改 App.vue 内容如下
<template>
  <div id="app">
    <!-- 路由的出入口,路由的内容将被显示在这里 -->
    <router-view/>
  </div>
</template>

<script>
  export default {
    name: 'App'
  }
</script>
就是显示路由的出入口。
现在保存 App.vue 文件后,当前项目会被重新装载运行,在刚才浏览的界面就会看到登录界面如下:

4.路由跳转
在 login.vue 中可以使用 this.$router.push({path: “路径”}) 来跳转到指定路径的路由组件中,下面是通过路由跳转到 error.vue 与 success.vue的代码
this.$router.push({path: "/success"}); //跳转到成功页
或
this.$router.push({path: "/error"}); //跳转到失败页
六、使用 Vuex + Axios 方式进行网络请求
1.Axios
axios 是一个网络请求构架,官方推荐使用这种方式进行 http 的请求。
1) 在 utils 包下封装一个请求工具类 request.js
import axios from 'axios' //引入 axios
import baseUrl from '../api/baseUrl' //使用环境变量 + 模式的方式定义基础URL

// 创建 axios 实例
const service = axios.create({
  baseURL: baseUrl, // api 的 base_url
  timeout: 15000, // 请求超时时间
})

export default service
这里的 baseUrl 涉及 Vue CLI3 的环境变量与模式的概念,见:Vue 环境变量和模式(设置通用baseUrl)
2) 登录请求接口 API
在 api 文件夹下,创建一个登录API文件:login.js
import request from '@/utils/request' //引入封装好的 axios 请求

export function login(username, password) { //登录接口
  return request({ //使用封装好的 axios 进行网络请求
    url: '/admin/login',
    method: 'post',
    data: { //提交的数据
      username,
      password
    }
  })
}
2.使用 Vuex 封装 axios
Vuex 是一个状态管理构架,官方文档:Vuex
1)封装 Vuex 中的 module
在 store 文件夹下创建一个 modules 文件夹,然后在此文件夹下创建一个 user.js 文件
import { login } from '@/api/login'//引入登录 api 接口

const user = {
  actions: {
    // 登录
    Login({ commit }, userInfo) { //定义 Login 方法,在组件中使用 this.$store.dispatch("Login") 调用
      const username = userInfo.username.trim()
      return new Promise((resolve, reject) => { //封装一个 Promise
        login(username, userInfo.password).then(response => { //使用 login 接口进行网络请求
          commit('') //提交一个 mutation,通知状态改变
          resolve(response) //将结果封装进 Promise
        }).catch(error => {
          reject(error)
        })
      })
    },
  }
}
export default user
这里的代码值得解释一下:官方文档对应:Vuex actions
1.首先引入 login 接口,之后使用登录接口进行网络请求。
2.定义一个 名为 Login 的 action 方法,Vue 组件通过 this.$store.dispatch(“Login”) 调用
3.Promise,这个类很有意思,官方的解释是“store.dispatch 可以处理被触发的 action 的处理函数返回的 Promise,并且 store.dispatch 仍旧返回 Promise”。这话的意思组件中的 dispatch 返回的仍是一个 Promise 类,因此推测 Promise 中的两个方法 resolve() 与 reject() 分别对应 dispatch 中的 then 与 catch。
2)创建 Vuex
在 store 文件夹下创建一个 index.js 文件
import Vue from 'vue' //引入 Vue
import Vuex from 'vuex' //引入 Vuex
import user from './modules/user' //引入 user module

Vue.use(Vuex)

const store = new Vuex.Store({
  modules: {
    user //使用 user.js 中的 action
  }
})

export default store
3) 将 Vuex 添加到 main.js 文件
修改之前的 main.js 文件如下:
import Vue from 'vue'
import App from './App.vue'
import './plugins/element.js'
import router from './router' //引入路由配置
import store from './store' //引入 Vuex 状态管理

Vue.config.productionTip = false

new Vue({
  render: h => h(App),
  router, //使用路由配置
  store //使用 Vuex 进行状态管理
}).$mount('#app')
重新运行项目,在 Chrome 浏览器中进入调试模式,点击登录按钮

可以看到有发送一个 8088 端口的请求,至此 Vue 端的所有代码已经完成。
-------------------------------Springboot 开发-------------------------------
项目创建就不提了,网上有很多,只要使用 Spring Assistant 创建就好。
整体目录结构如下

1.在 application.yml 修改端口号
不要和 Vue 在一个 8080 端口上:
server:
  port: 8088
2.解决跨域问题
这里有一个跨域问题,即 Vue 使用 8080 端口,要访问 8088 端口的服务器,会报错。错误信息如下:
Access to XMLHttpRequest at ‘http://localhost:8088/admin/login’ from origin ‘http://localhost:8080’ has been blocked by CORS policy: Response to preflight request doesn’t pass access control check: No ‘Access-Control-Allow-Origin’ header is present on the requested resource.

这个问题在 Vue 端或在 Springboot 端处理都可以,我在 Springboot 端处理的,写一个 CorsConfig 类内容如下,不要忘了 @Configuration 注解。
@Configuration
public class CorsConfig {
    private CorsConfiguration buildConfig() {
        CorsConfiguration corsConfiguration = new CorsConfiguration();
        corsConfiguration.addAllowedOrigin("*"); // 1
        corsConfiguration.addAllowedHeader("*"); // 2
        corsConfiguration.addAllowedMethod("*"); // 3
        return corsConfiguration;
    }

    @Bean
    public CorsFilter corsFilter() {
        UrlBasedCorsConfigurationSource source = new UrlBasedCorsConfigurationSource();
        source.registerCorsConfiguration("/**", buildConfig()); // 4
        return new CorsFilter(source);
    }
}
3.IErrorCode 接口
Java 版本
public interface IErrorCode {
    long getCode();
    String getMessage();
}
Kotlin 版本
interface IErrorCode {
    fun getCode(): Long
    fun getMessage(): String
}
4.CommonResult 类
Java 版本
public class CommonResult<T> {
private long code;
private String message;
private T data;
protected CommonResult() {
}
protected CommonResult(long code, String message, T data) {
this.code = code;
this.message = message;
this.data = data;
}
/**
* 成功返回结果
*
* @param data 获取的数据
*/
public static <T> CommonResult<T> success(T data) {
return new CommonResult<T>(ResultCode.SUCCESS.getCode(), ResultCode.SUCCESS.getMessage(), data);
}
/**
* 成功返回结果
*
* @param data 获取的数据
* @param message 提示信息
*/
public static <T> CommonResult<T> success(T data, String message) {
return new CommonResult<T>(ResultCode.SUCCESS.getCode(), message, data);
}
/**
* 失败返回结果
*
* @param errorCode 错误码
*/
public static <T> CommonResult<T> failed(IErrorCode errorCode) {
return new CommonResult<T>(errorCode.getCode(), errorCode.getMessage(), null);
}
/**
* 失败返回结果
*
* @param message 提示信息
*/
public static <T> CommonResult<T> failed(String message) {
return new CommonResult<T>(ResultCode.FAILED.getCode(), message, null);
}
/**
* 失败返回结果
*/
public static <T> CommonResult<T> failed() {
return failed(ResultCode.FAILED);
}
/**
* 参数验证失败返回结果
*/
public static <T> CommonResult<T> validateFailed() {
return failed(ResultCode.VALIDATE_FAILED);
}
/**
* 参数验证失败返回结果
*
* @param message 提示信息
*/
public static <T> CommonResult<T> validateFailed(String message) {
return new CommonResult<T>(ResultCode.VALIDATE_FAILED.getCode(), message, null);
}
/**
**收集整理了一份《2024年最新物联网嵌入式全套学习资料》,初衷也很简单,就是希望能够帮助到想自学提升的朋友。**


**[如果你需要这些资料,可以戳这里获取](https://bbs.csdn.net/topics/618679757)**
**需要这些体系化资料的朋友,可以加我V获取:vip1024c (备注嵌入式)**
**一个人可以走的很快,但一群人才能走的更远!不论你是正从事IT行业的老鸟或是对IT行业感兴趣的新人**
**都欢迎加入我们的的圈子(技术交流、学习资源、职场吐槽、大厂内推、面试辅导),让我们一起学习成长!**
return failed(ResultCode.VALIDATE_FAILED);
}
/**
* 参数验证失败返回结果
*
* @param message 提示信息
*/
public static <T> CommonResult<T> validateFailed(String message) {
return new CommonResult<T>(ResultCode.VALIDATE_FAILED.getCode(), message, null);
}
/**
**收集整理了一份《2024年最新物联网嵌入式全套学习资料》,初衷也很简单,就是希望能够帮助到想自学提升的朋友。**
[外链图片转存中...(img-83KXKKk2-1715905790573)]
[外链图片转存中...(img-2hd766Dm-1715905790573)]
**[如果你需要这些资料,可以戳这里获取](https://bbs.csdn.net/topics/618679757)**
**需要这些体系化资料的朋友,可以加我V获取:vip1024c (备注嵌入式)**
**一个人可以走的很快,但一群人才能走的更远!不论你是正从事IT行业的老鸟或是对IT行业感兴趣的新人**
**都欢迎加入我们的的圈子(技术交流、学习资源、职场吐槽、大厂内推、面试辅导),让我们一起学习成长!**


 7368
7368

 被折叠的 条评论
为什么被折叠?


