


二、Vue CLI2的使用
1. 基本使用
遇到问题:
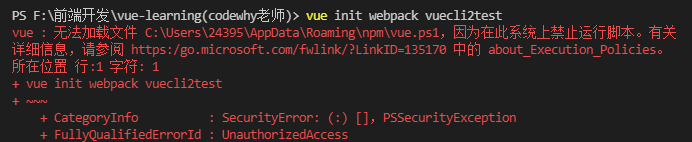
禁止运行脚本的解决办法
执行策略的问题
步骤:
vue init webpack vuecli2test并设置相关的选项- 运行:
npm run dev开发,npm run build构建发布

然后生成了vuecli2test的文件夹,目录结构如下

2. ESlint
注意,在创建时,如果选择了使用ESlint会有严格的规范,代码很容易报错,譬如严格的空格、缩进还有分号,如果想禁用,可以在config目录的index.js文件中修改其中:useEslint: false
3. runtime-compiler与runtime-only的区别

先了解:
vue程序运行过程:template->ast->render->vdom->ui

runtime-compiler:template -> ast -> render -> vdom -> ui
runtime-only:render -> vdom -> ui 性能更高、代码更少
- h实际上是createElement这个函数
	render: function(createElement) {
		//createElement('标签', {标签属性}, ['内容'])
		//return createElement('h2', {class: 'box'}, ['Hello world']);
		//可以传入组件
		return createElement(App); //这里的App中的template已经由vue-template-compiler转成成render了
	}
4. npm-run-build/dev
了解一下


三、Vue CLI3的使用
cli3和cli2的区别

步骤:
vue create vuecli3test
运行:npm run serve开发,npm run build 构建发布
目录结构:

修改配置三种方法:


 1523
1523


 被折叠的 条评论
为什么被折叠?
被折叠的 条评论
为什么被折叠?
 到【灌水乐园】发言


