


大家好我是安琪!!!
随着AI技术的飞速发展,AI绘画在艺术创作领域中崭露头角。而Stable Diffusion(SD),一款基于深度学习的图像生成模型,以其强大的图像生成能力和个性化风格迁移能力,在艺术创作领域掀起了一场革命。本文将带你深入了解Stable Diffusion的写实模型,让你轻松实现逼真的人物风格,即使是新手小白也能一键出图!
Stable Diffusion是一款基于深度学习的图像生成模型,它能够在没有任何人类指导的情况下生成高质量、逼真的图像。与传统的图像生成技术相比,Stable Diffusion具有更高的生成质量和更快的生成速度。
极致质感DgirlV5模型简介
今天介绍一款超级质感的真实人物模型:D系列-极致质感-DgirlV5,这是一款作者为追求人物纹理质感而不断优化,甚至细到发丝细节的优化写实模型。该模型是一款基于SD1.5模型训练的绘图模型,当前开放版本为最新的版本V5.1,重点对细节进行了增强,以及修正V5版本之前的的绘图整体色彩偏红的问题。这是一款能够根据简单的提示词Prompt,就可以直出高质量优质美女图片的大模型。
另外需要注意大模型的胶皮效果,作者特别声明使用负向提示语可解决:(worst quality:1.6),(low quality:1.6),(normal quality:1.6),lowres,watermark,nsfw,nsfw,tooth,ng_deepnegative_v1_75t 。同时建议开启ADetailer面部和手部修复。
本文绘图配置如下所示:
• 绘图模型:D系列-极致质感-DgirlV5
• 采样方法:DPM++ 2M Karras
• 迭代步数:30步
• 分辨率:512* 512, 高清修复:R-ESRGAN 4x+ 2X放大
• 提示词引导系数 (CFG Scale):7
• 启用ADetailer修复脸部和手部细节。
本文涉及模型下载地址 (相关模型插件和安装包文末可自行扫描获取)
- • D系列-极致质感-DgirlV5
极致质感DgirlV5模型体验
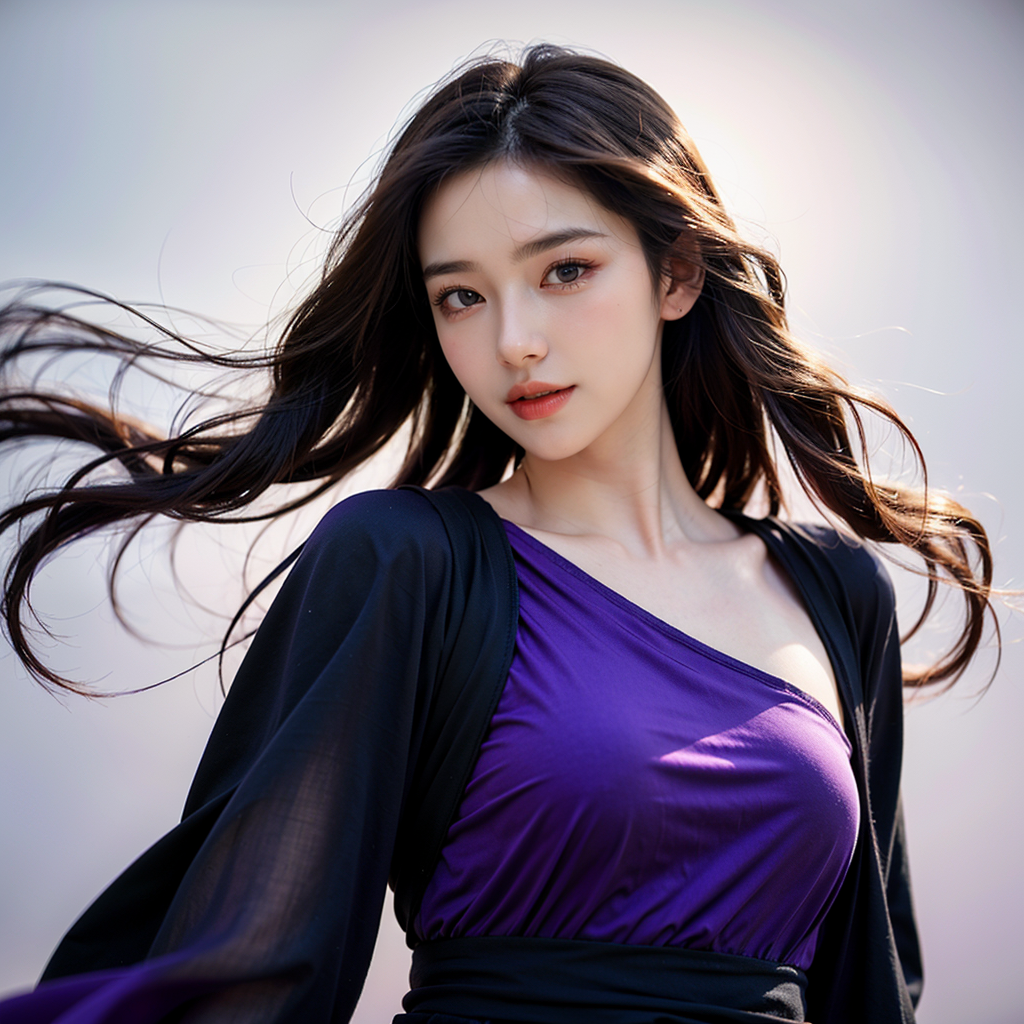
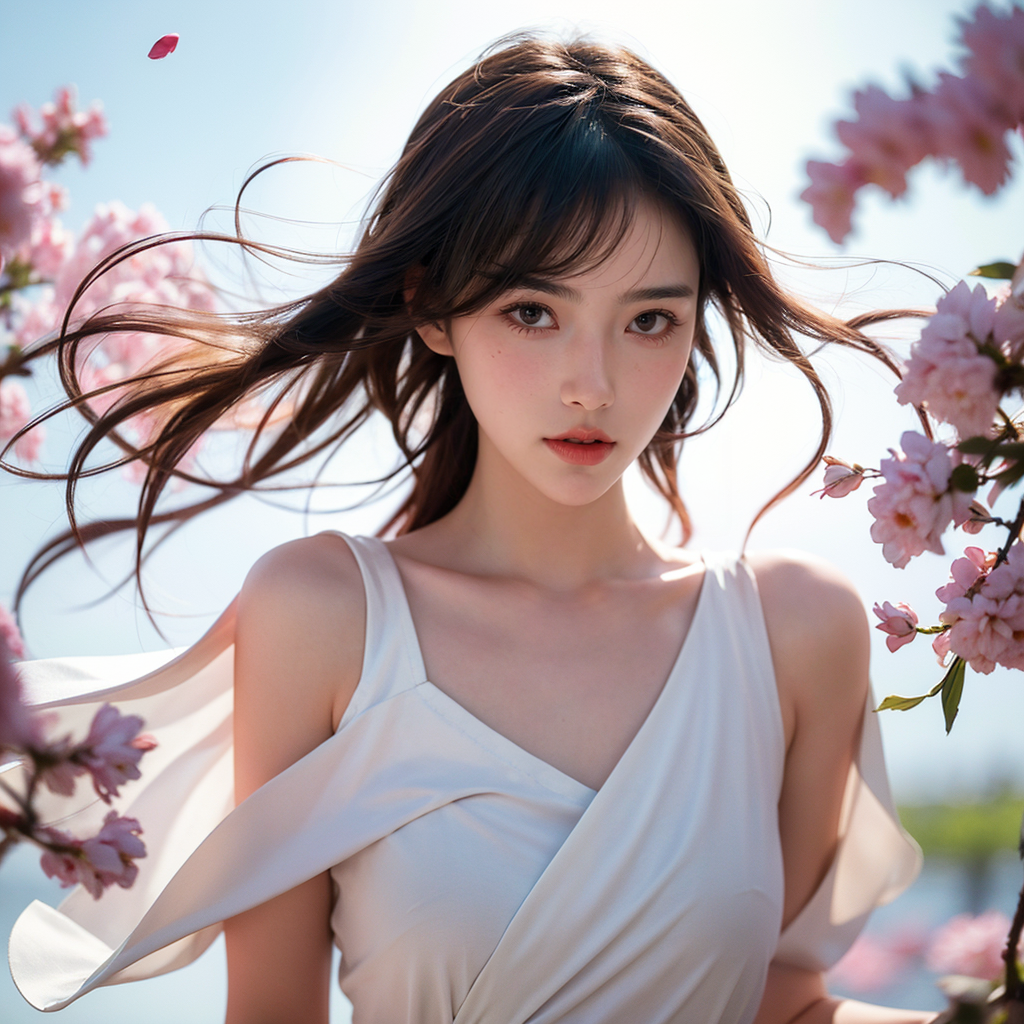
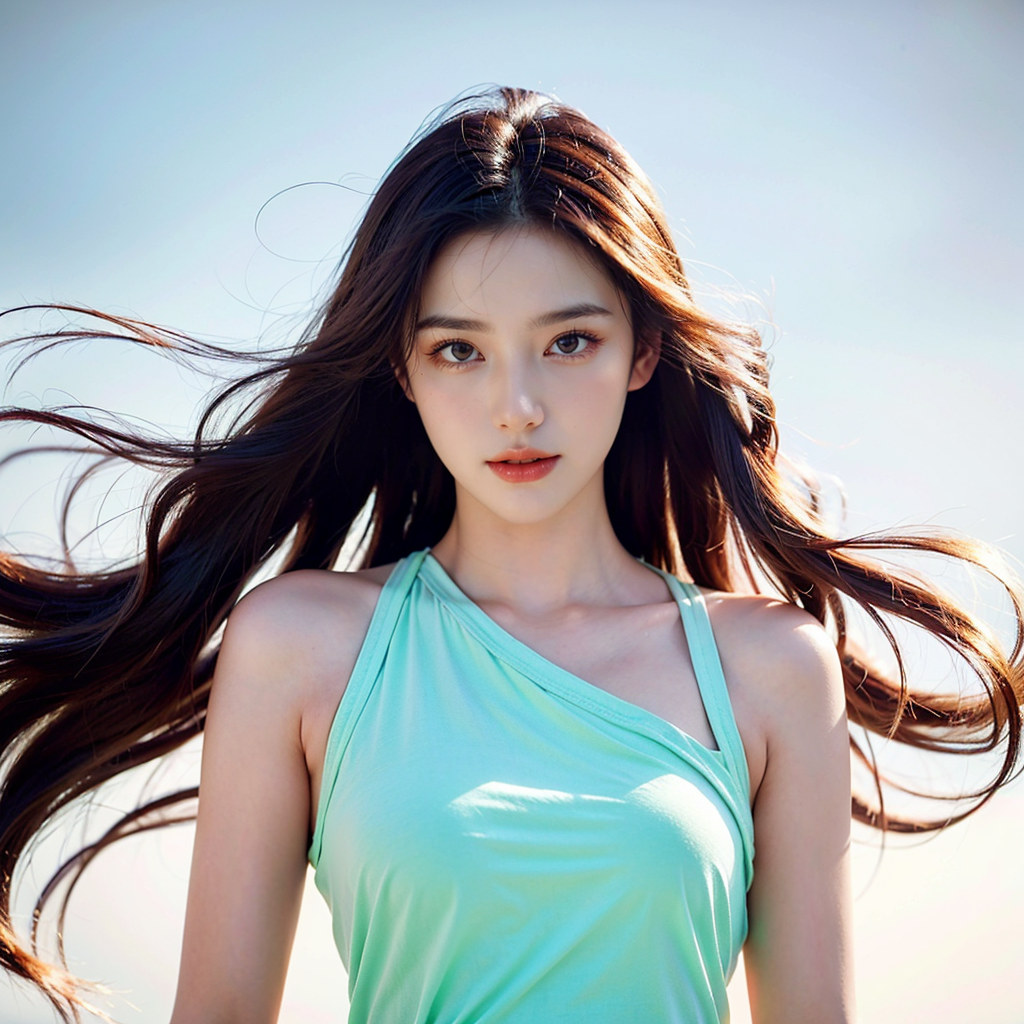
01. 随风起舞
1girl,solo,long hair,realistic,lips,parted lips,upper body,simple background,floating petals,jitome,cute,short hair,

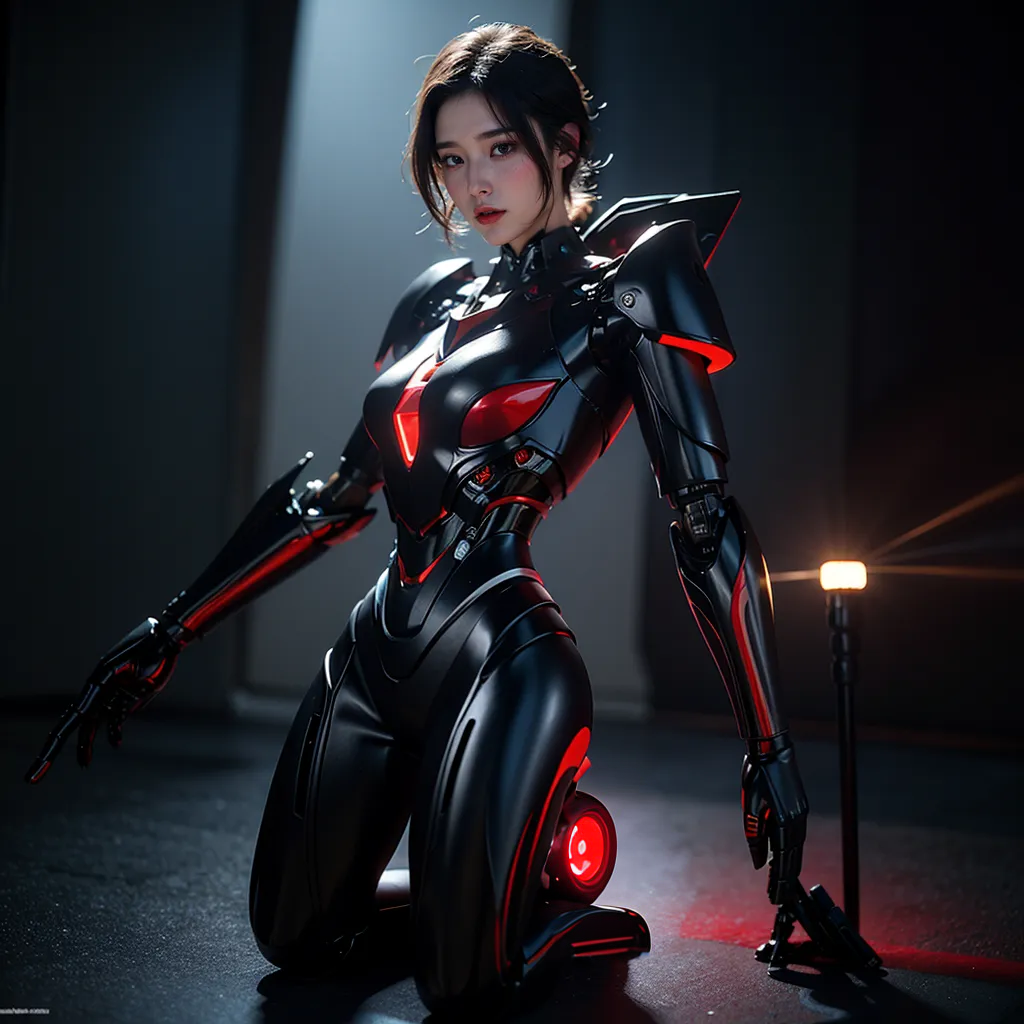
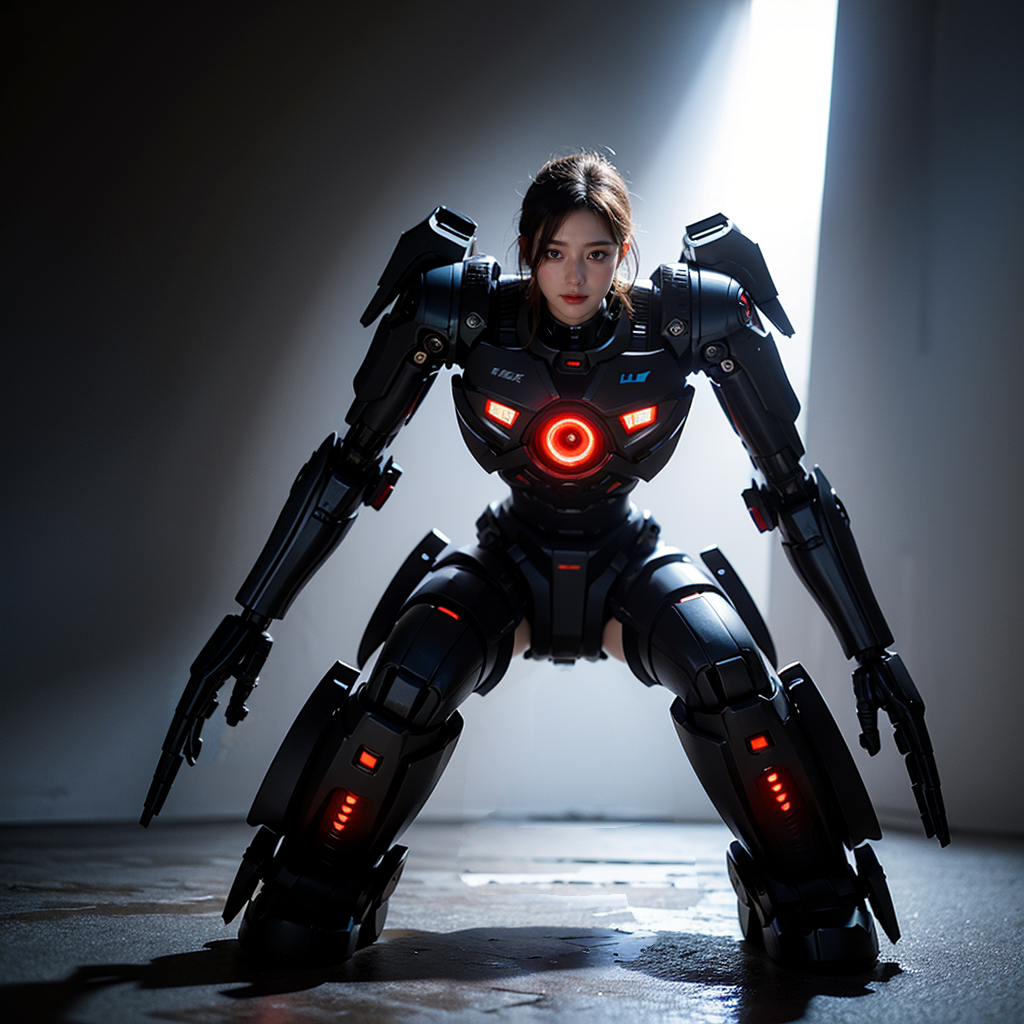
02. 机甲战士
Sitting on a mecha device,8K,ultra detailed graphic tension,dynamic posture,stunning colors,3D rendering,surrealism,movie lighting effects,realism,ultra realistic,full body photos,ultra long range,ultra wide angle,high-definition,(light blue short hair:1.1),(red eye:1.1),
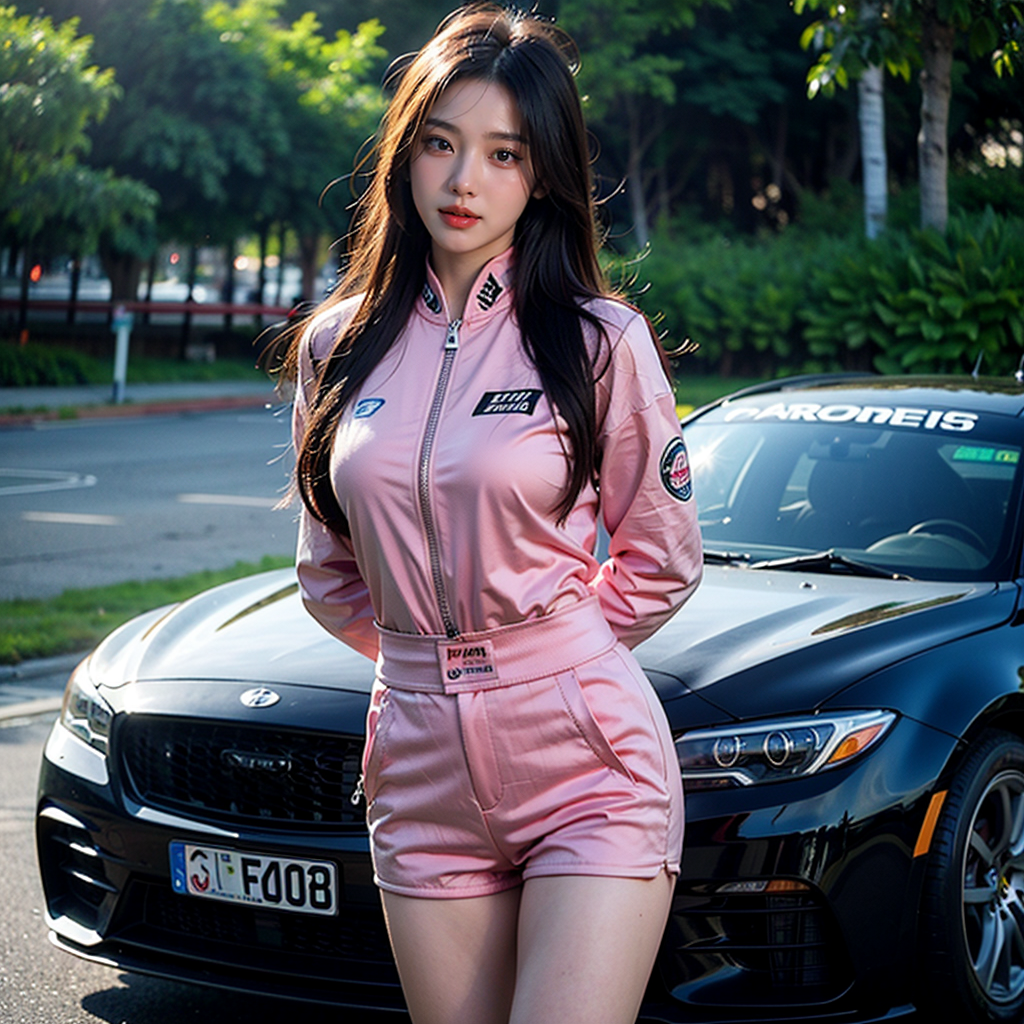
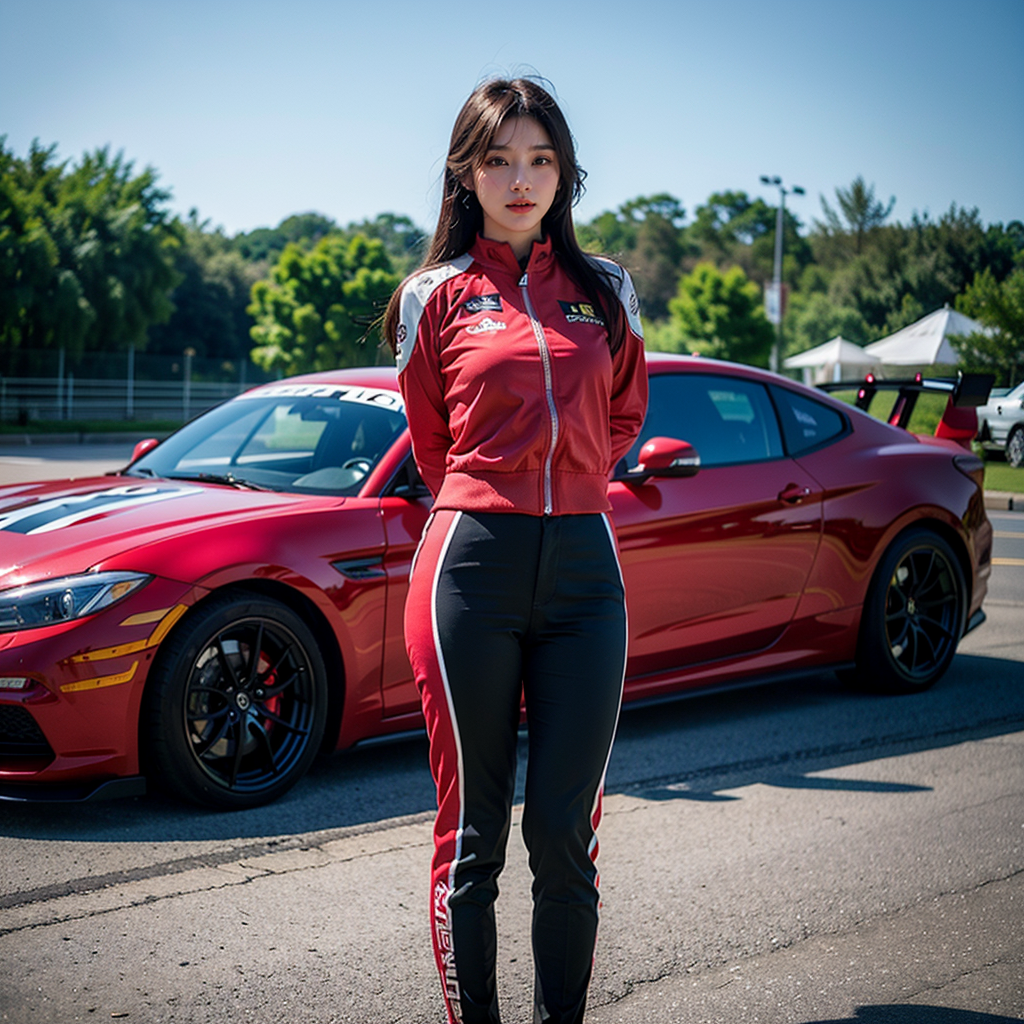
03. 赛车手
chinese girl,1girl,race suits,jackets,stockings,looking at viewer,sfw,film photography,photo realistic,insanely detailed,best quality,ultra-detailed,masterpiece,highres,details,
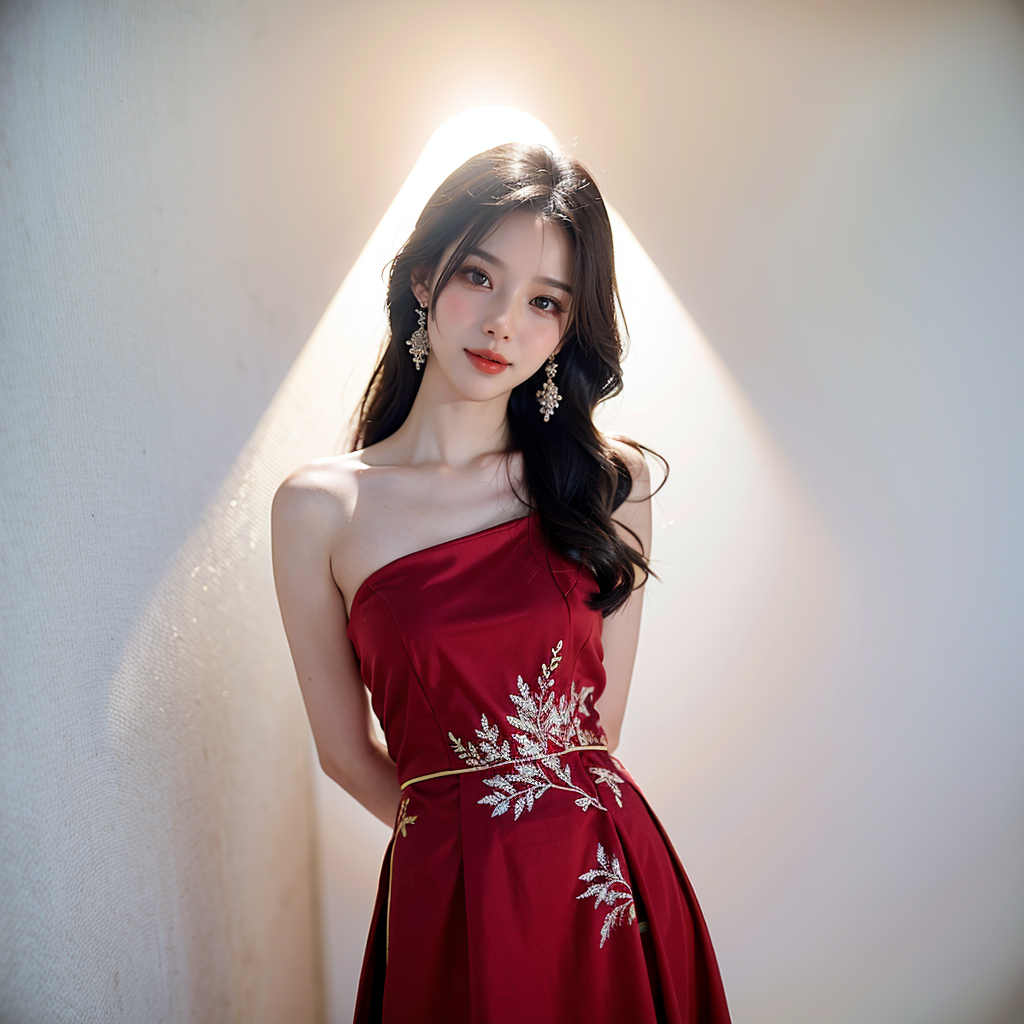
04. 摄影
A young model in Chinese dress poses,in front of divine light with silhouette light illuminating the edges of the long curly hair,snowflake,solid color red background,Excellent skin texture,gaze deeply,cheerful atmosphere,in the style of eye-catching resin jewelry,Beauty product advertising,photo,

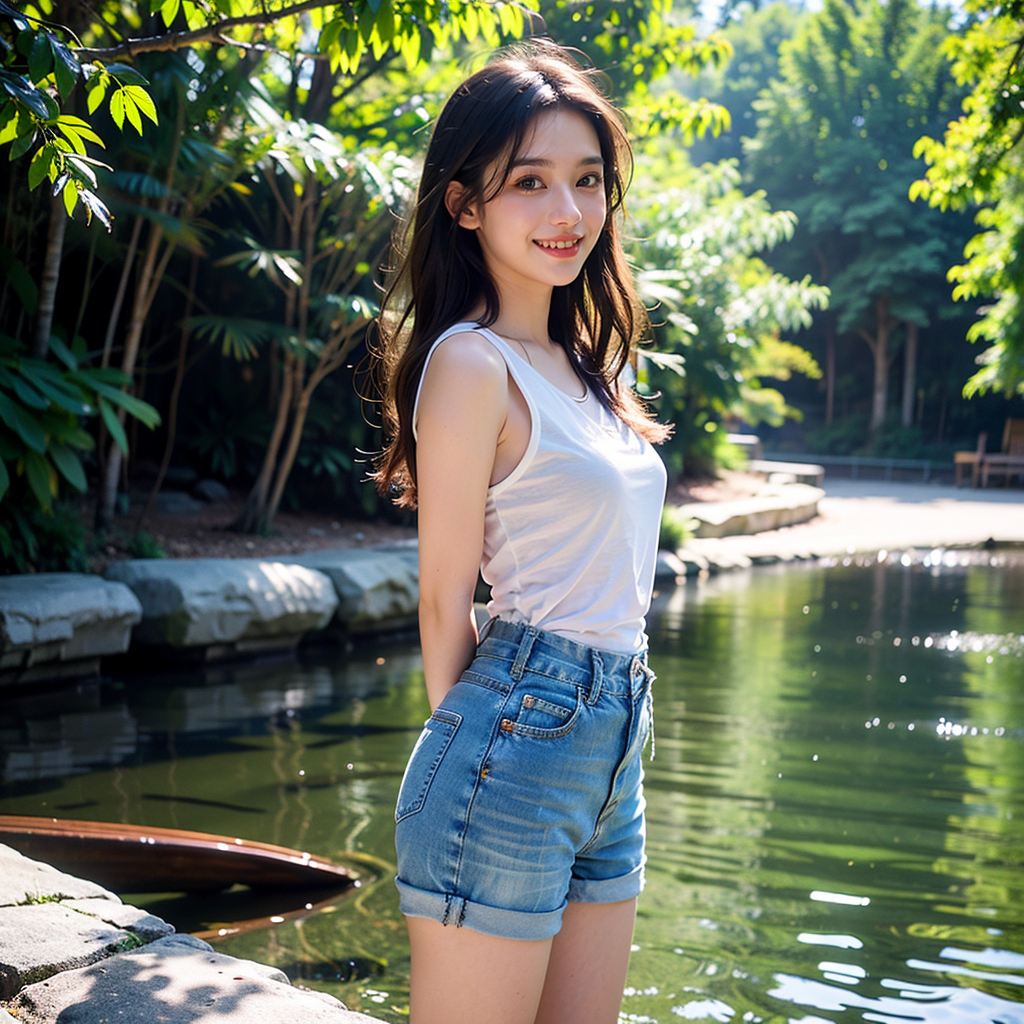
05. 溪边
1girl,early teen,fair_skin,makeup,absurdres,light smile,realistic,facing viewer,solo,long hair,(arms_behind_back:1.3),shorts,outdoor,brook side,

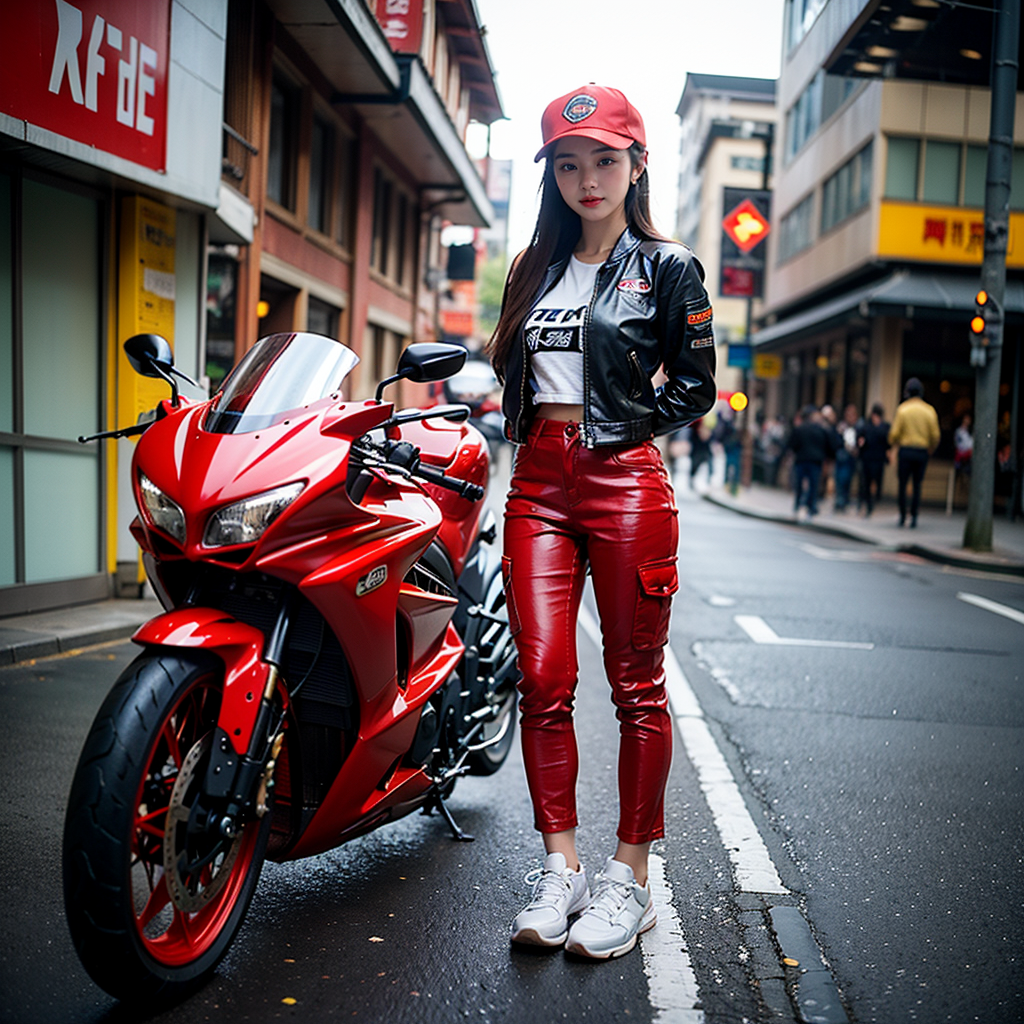
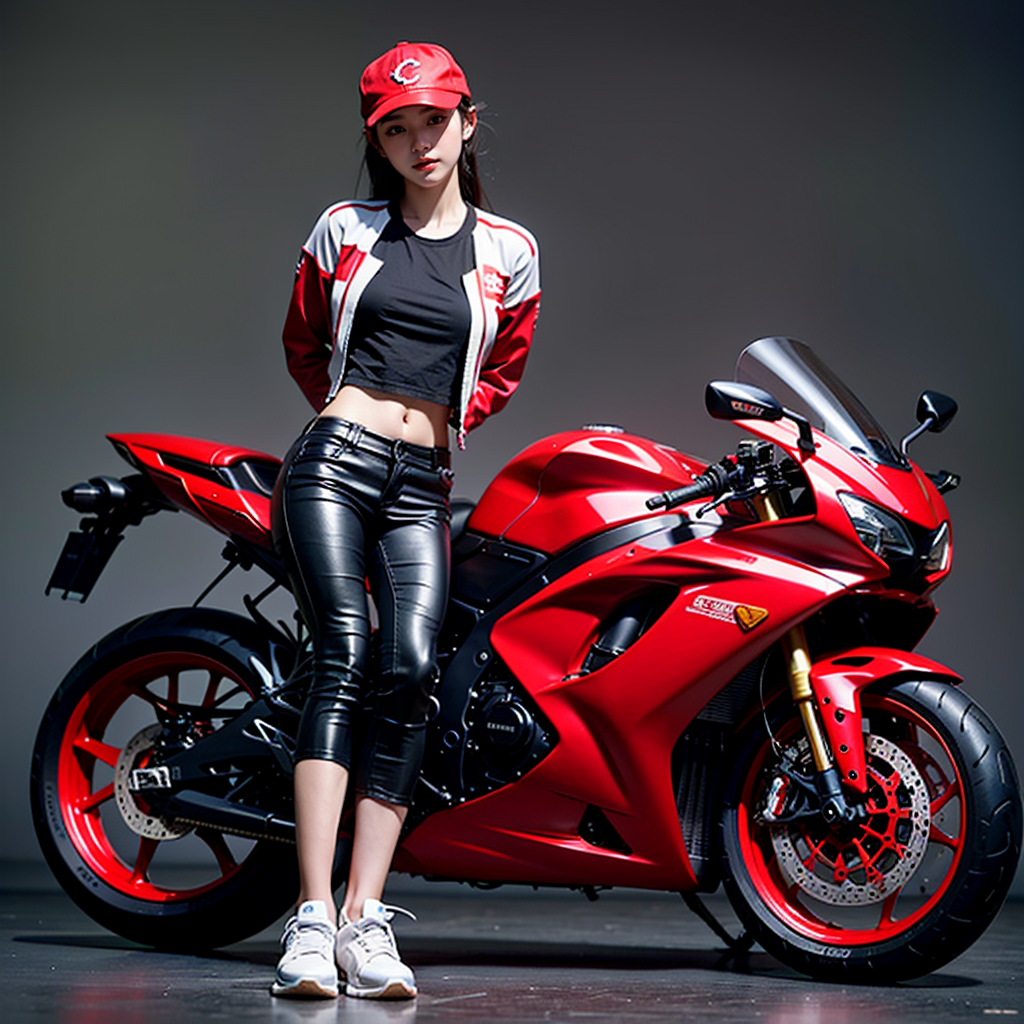
06. 机车少年
chinese girl,1girl,super beautiful,18-old-years,futuristic science fiction,red motorcycle,Motorcycle clothing,cargo pants,jackets,Leather pants,high-top sneakers,snapback hats,bold patterns,details,best quality,
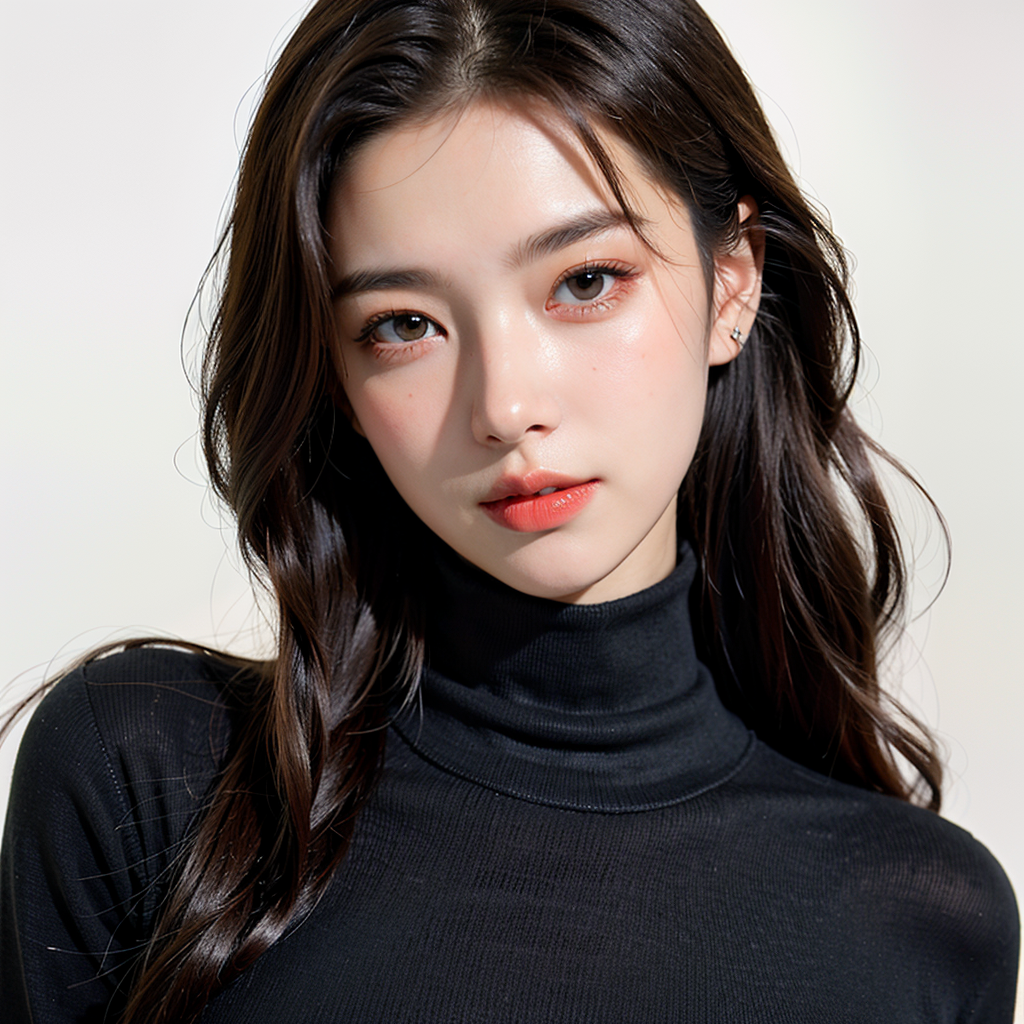
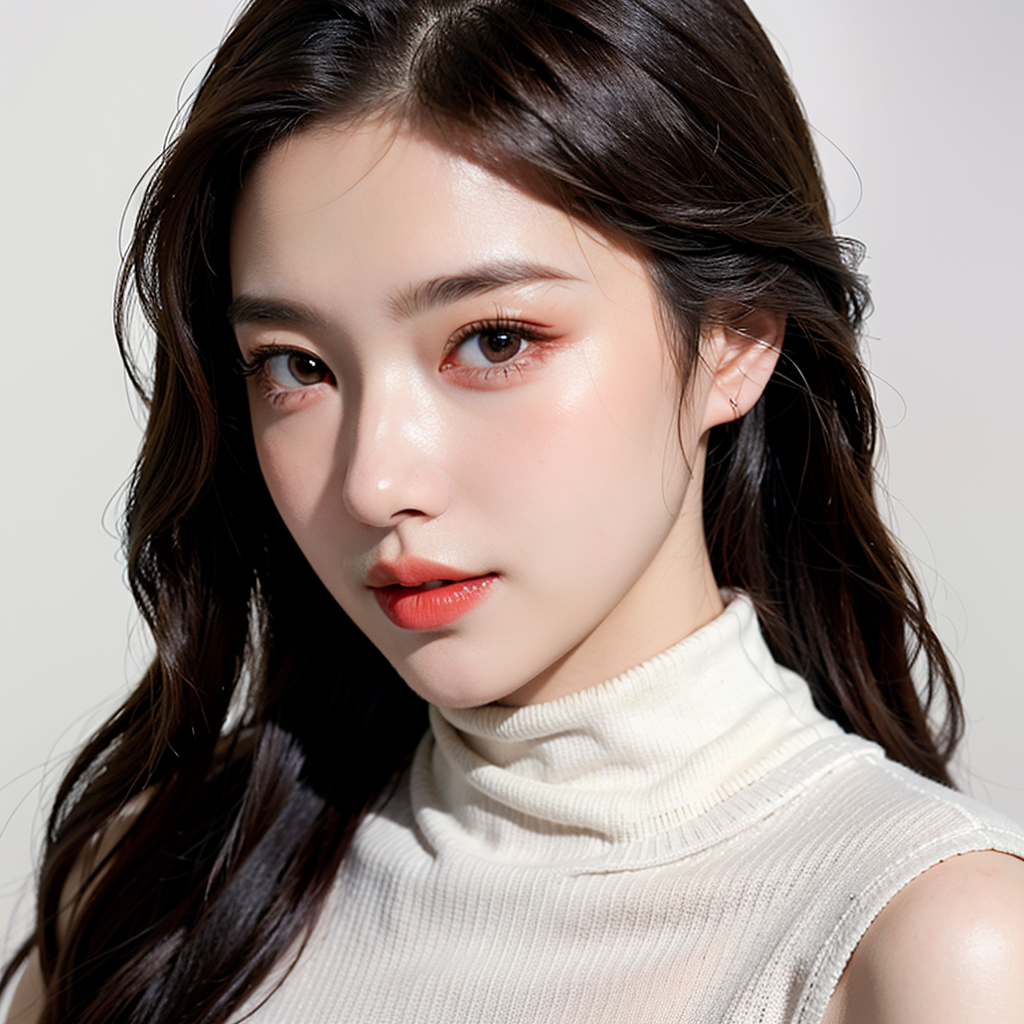
07. 肖像写真
upper body portrait of 1girl wear a black color turtleneck sweater,A proud and confident expression,long hair,look at viewers,studio fashion portrait,studio light,pure white background,
08. 彩装
masterpiece,best quality,1girl ((pure gradient background, )),long hair,floating hair,looking at viewers,happy,((front)),(upper body),Dynamic clothes,(studio light),soft light,dark style,summer,lora:Haute_Couturev2:0.4,haute couture,
资料软件免费放送
次日同一发放请耐心等待
学好 AI绘画 不论是就业还是做副业赚钱都不错,但要学会 AI绘画 还是要有一个学习规划。最后大家分享一份全套的 AI绘画 学习资料,给加粗样式那些想学习 AI绘画 的小伙伴们一点帮助!
需要的可以扫描下方CSDN官方认证二维码免费领取【保证100%免费】

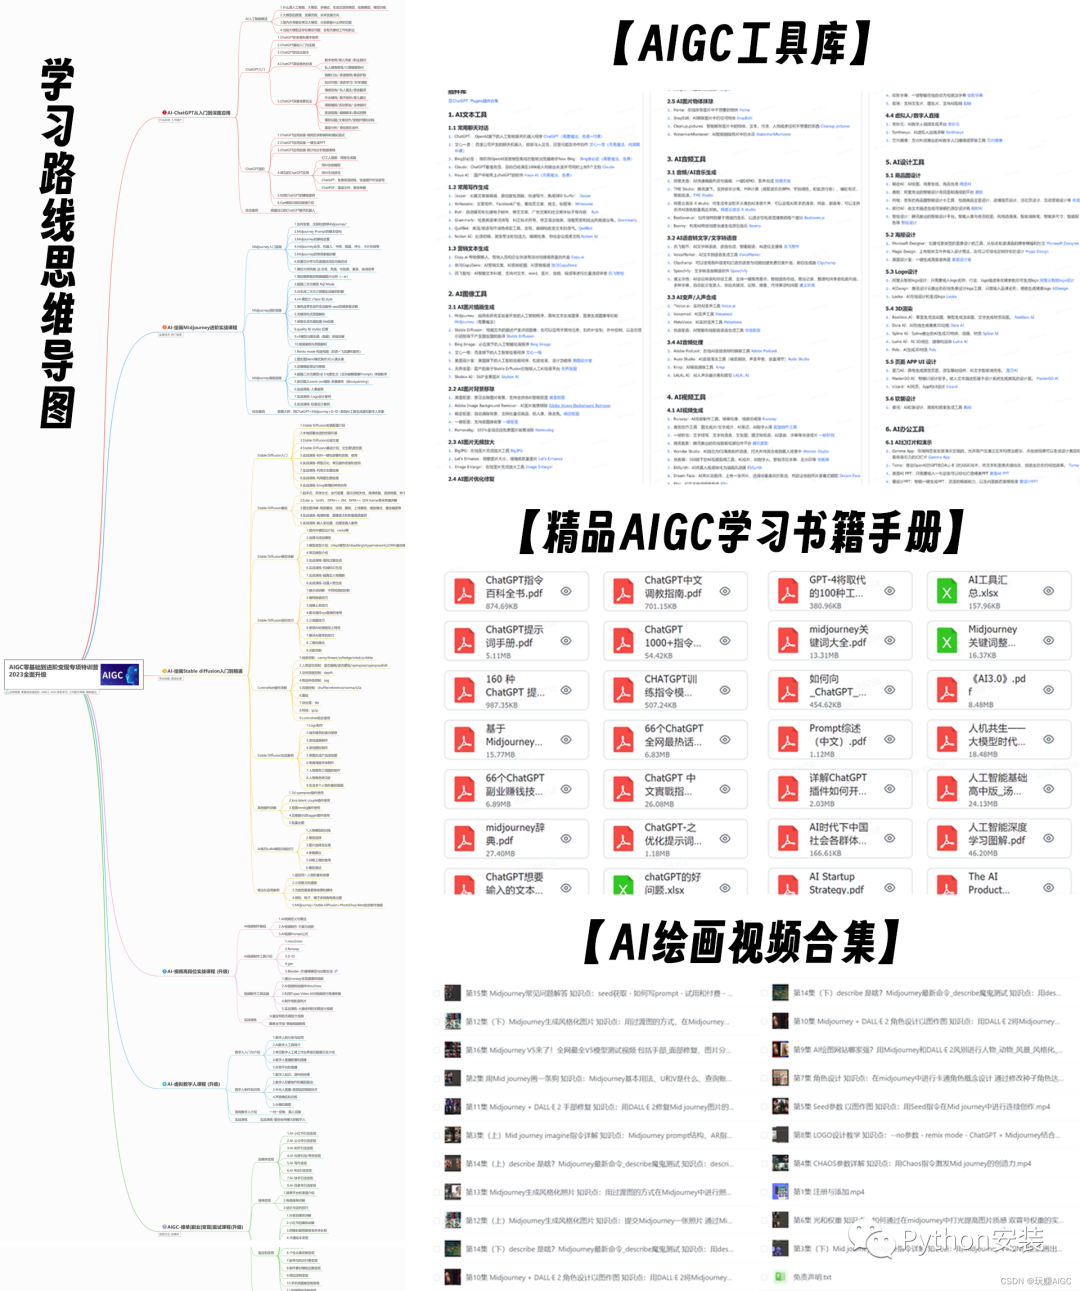
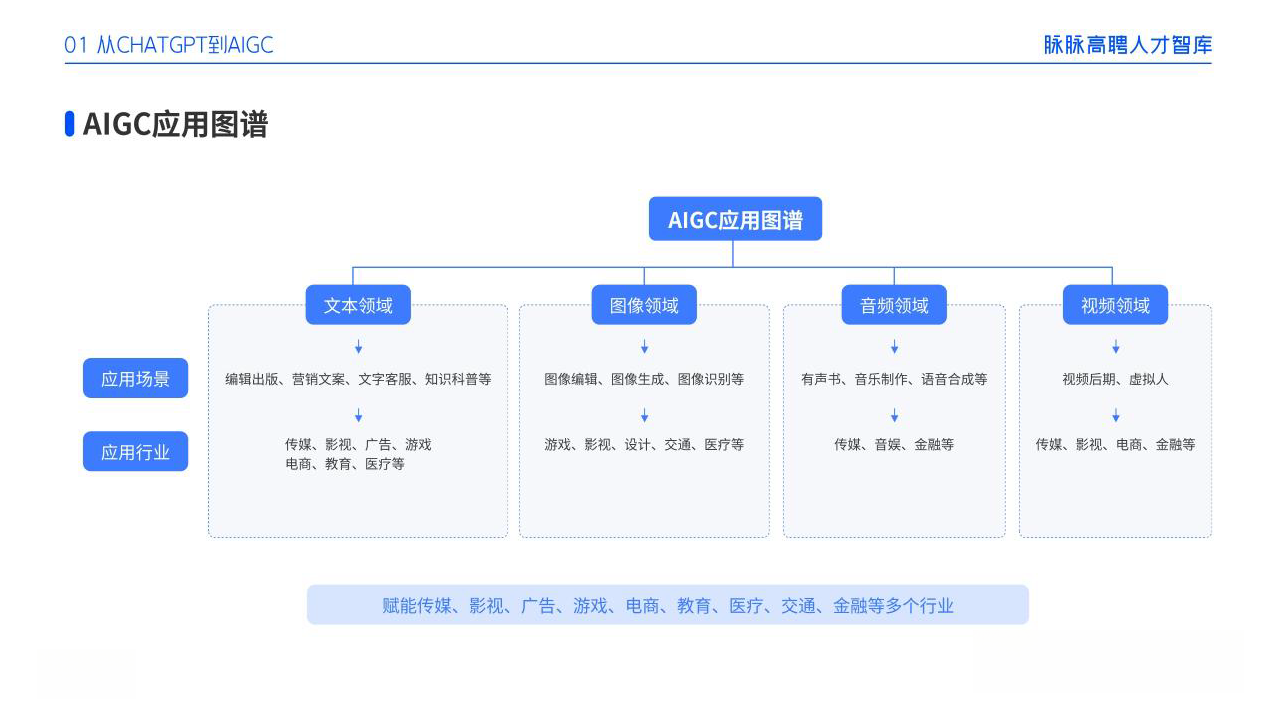
**一、AIGC所有方向的学习路线**
AIGC所有方向的技术点做的整理,形成各个领域的知识点汇总,它的用处就在于,你可以按照下面的知识点去找对应的学习资源,保证自己学得较为全面。
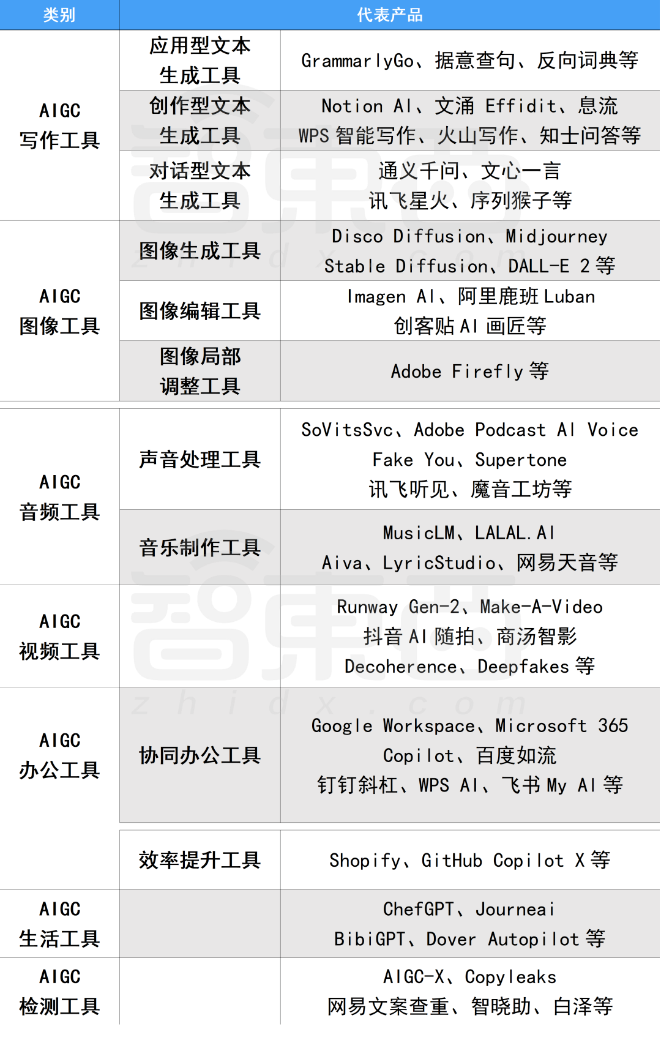
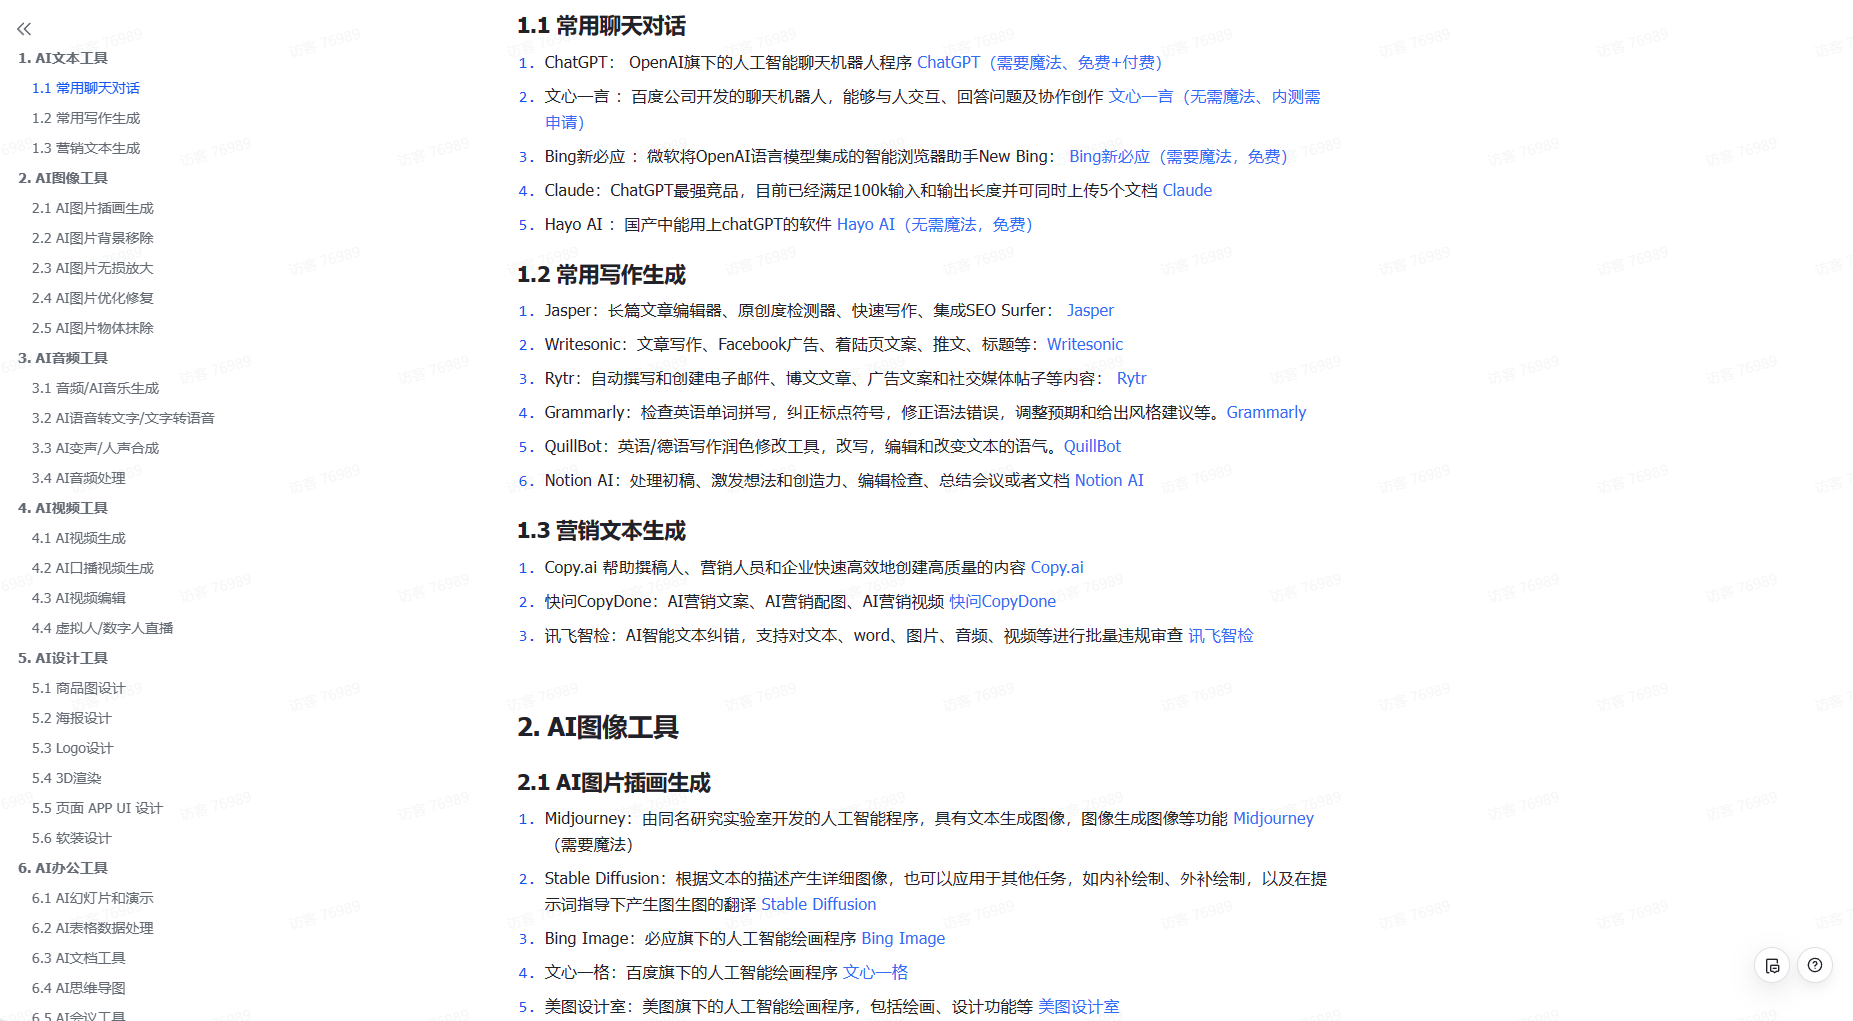
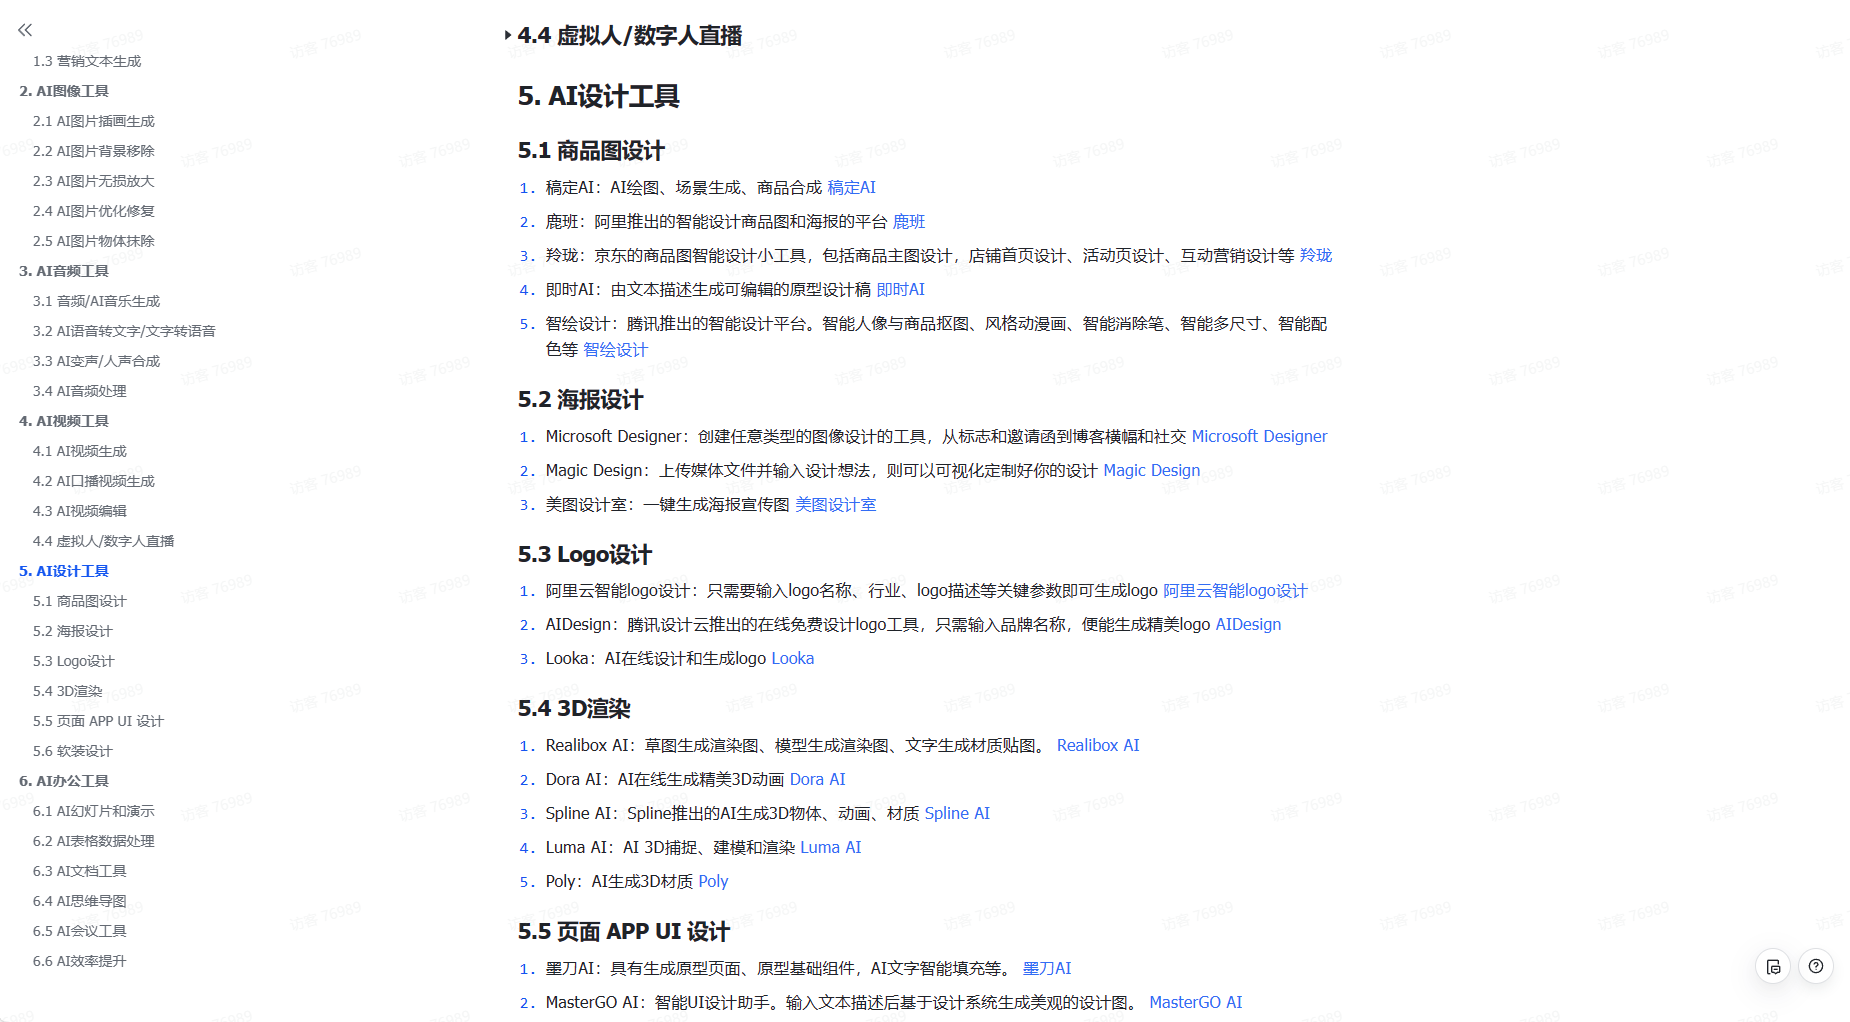
二、AIGC必备工具
工具都帮大家整理好了,安装就可直接上手!
三、最新AIGC学习笔记
当我学到一定基础,有自己的理解能力的时候,会去阅读一些前辈整理的书籍或者手写的笔记资料,这些笔记详细记载了他们对一些技术点的理解,这些理解是比较独到,可以学到不一样的思路。
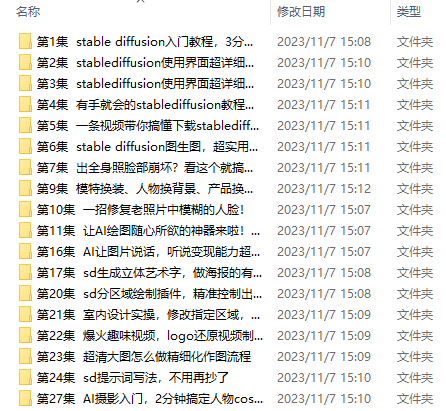
四、AIGC视频教程合集
观看全面零基础学习视频,看视频学习是最快捷也是最有效果的方式,跟着视频中老师的思路,从基础到深入,还是很容易入门的。
五、实战案例
纸上得来终觉浅,要学会跟着视频一起敲,要动手实操,才能将自己的所学运用到实际当中去,这时候可以搞点实战案例来学习。

这份完整版的学习资料已经上传CSDN,朋友们如果需要可以微信扫描下方CSDN官方认证二维码免费领取【保证100%免费】


 682
682

 被折叠的 条评论
为什么被折叠?
被折叠的 条评论
为什么被折叠?
 到【灌水乐园】发言


