


ReactDOM.render(
<App></App>
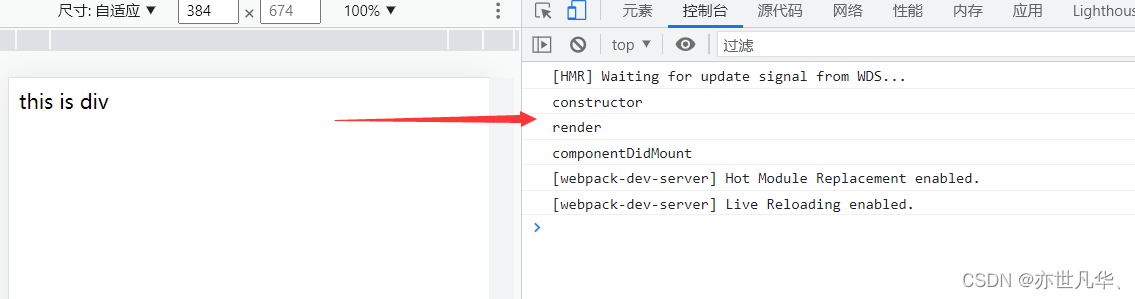
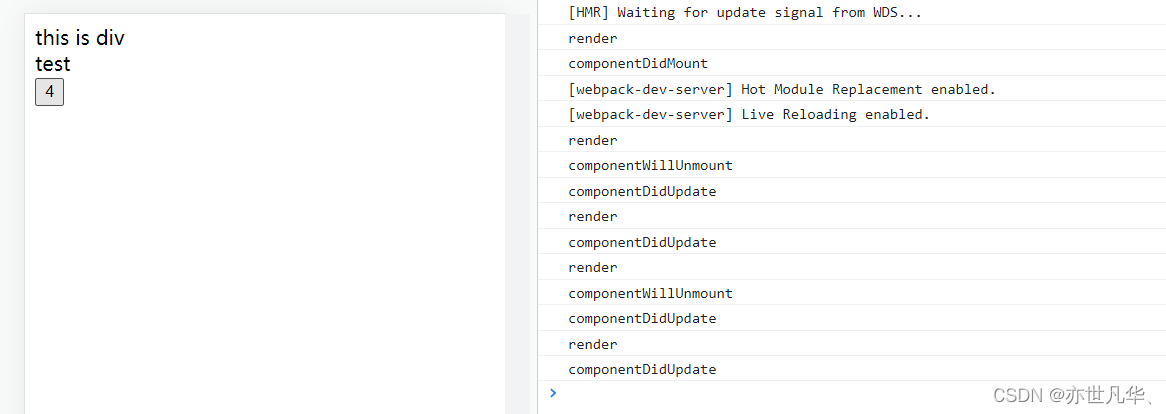
render和componentDidMount循序颠倒,说明我们不要以输出的循序为主,而是以它真正执行的顺序为主。
### 钩子函数 constructor
触发时机:创建组件时,最先执行,初始化的时候只执行一次。
作用:1.初始化state 、2.创建Ref、3.使用bind解决this指向问题

之前我们初始化state的时候会在构造器内书写,现在React也允许我们直接在外边书写
### 钩子函数 render
触发时机:每次组件渲染都会触发
作用:渲染UI (注意:不能在里面调用setState)
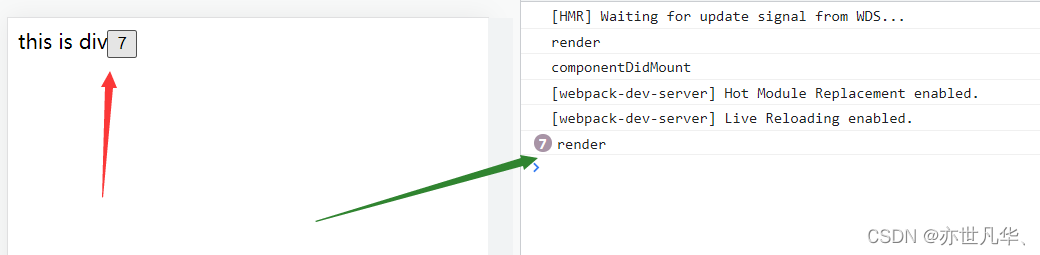
每次只要引起视图变化,我们的render都会执行。
### 钩子函数 componentDidMount
触发时机:组件挂载 (完成DOM渲染) 后执行,初始化的时候执行一次
作用:1.发送网络请求、2.DOM操作
更新阶段
----
render和componentDidMount每次更新都会依次执行
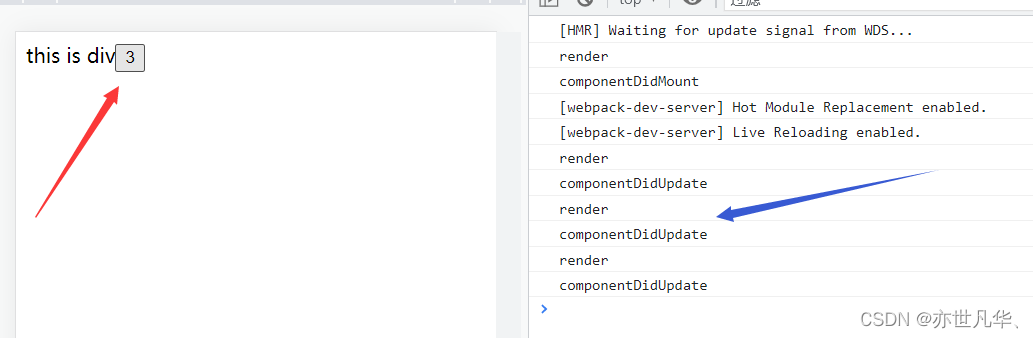
### 钩子函数 render
触发时机:每次组件渲染都会触发
作用:渲染UI (与 挂载阶段 是同一个render)
### 钩子函数 componentDidUpdate
触发时机:组件更新后 (DOM渲染完毕)
作用:DOM操作,可以获取到更新后的DOM内容,不要直接调用setState
卸载阶段
----
### 钩子函数 componentWillUnmount
触发时机:组件卸载 (从页面中消失)
作用:执行清理工作 (比如:清理定时器等)
import React from “react”;
class Test extends React.Component{
componentWillUnmount(){

    console.log('componentWillUnmount');

    //清理定时器

}

render(){

    return <div>

        test

    </div>

}
}
class App extends React.Component{
constructor(){
super()
// this.state = {
// }
}
state = {
count:0,
flag:true
}
clickHandler = () =>{
this.setState({
count: this.state.count+1,
flag: !this.state.flag
})
}
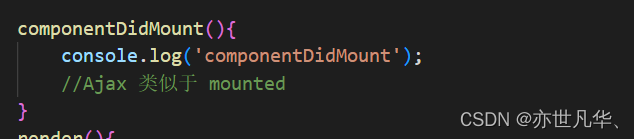
componentDidMount(){
console.log('componentDidMount');
//Ajax 类似于 mounted
}
componentDidUpdate(){
console.log('componentDidUpdate');
}
render(){
console.log('render');
return <div>
this is div
{/* 通过一个数据状态的切换 让Test组件进行销毁重建 就会发生组件卸载 */}
{this.state.flag ? <Test /> : null}
<button onClick={this.clickHandler}>{this.state.count}</button>
</div>
}
}
export default App
import React from “react”;
class Test extends React.Component{
//如果数据是组件的状态需要去影响视图 定义到state中
//如果我们需要的数据状态 不和视图绑定 定义成一个普通的实例属性就可以了
//state中尽量保持精简
timer = null
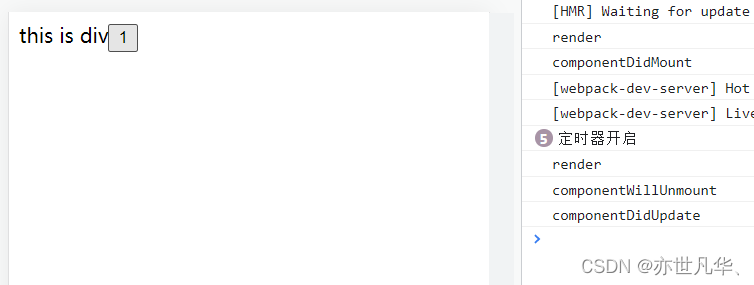
componentDidMount(){
this.timer = setInterval(()=>{
console.log('定时器开启');
},1000)
}
componentWillUnmount(){
console.log('componentWillUnmount');
clearInterval(this.timer)
}
render(){
return <div>
test
</div>
}
}
class App extends React.Component{
constructor(){

    super()

    // this.state = {


    // }


}

state = {

    count:0,

    flag:true

}

clickHandler = () =>{

    this.setState({

        count: this.state.count+1,

        flag: !this.state.flag

    })

}


componentDidMount(){

    console.log('componentDidMount');

    //Ajax 类似于 mounted

}

componentDidUpdate(){

    console.log('componentDidUpdate');

}

render(){

    console.log('render');

    return <div>

        this is div

        {/* 通过一个数据状态的切换 让Test组件进行销毁重建 就会发生组件卸载 */}

        {this.state.flag ? <Test /> : null}

        <button onClick={this.clickHandler}>{this.state.count}</button>

    </div>

}
}
export default App
总结
--
### 生命周期的概念
每个组件的实例,从创建、到运行、直到销毁,在这个过程中,会触发一系列事件,这些事件就叫做组件的生命周期函数。
### React组件生命周期的过程
//组件创建阶段 特点:一辈子只执行一次
componentWillMount:
render:
componentDidMount:
//组件运行阶段:按需,根据props属性或state状态的改变,有选择性的执行0到多次
componentWillReceiveProps:
shouldComponentUpdate:
componentWillUpdate:
render:
componentDidUpdate:
//组件销毁阶段
componentWillUnmount:
二、拓展Vue生命周期
===========
我们借助Vue的生命周期图浅解生命周期的概念和过程。
#### 算法刷题
大厂面试还是很注重算法题的,尤其是字节跳动,算法是问的比较多的,关于算法,推荐《LeetCode》和《算法的乐趣》,这两本我也有电子版,字节跳动、阿里、美团等大厂面试题(含答案+解析)、学习笔记、Xmind思维导图均可以分享给大家学习。

**写在最后**
**最后,对所以做Java的朋友提几点建议,也是我的个人心得:**
1. 疯狂编程
2. 学习效果可视化
3. 写博客
4. 阅读优秀代码
5. 心态调整


 125
125

 被折叠的 条评论
为什么被折叠?
被折叠的 条评论
为什么被折叠?
 到【灌水乐园】发言


