


如何使用深度学习目标检测算法yolo训练路障路面树倒地检测数据集基于深度学习卷积神经网络的_路边倒伏树木的检测 识别倒伏树木的检测
文章目录
以下文字及代码仅供参考。
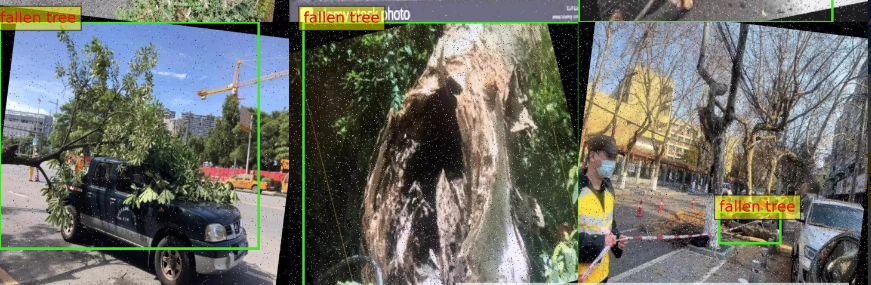
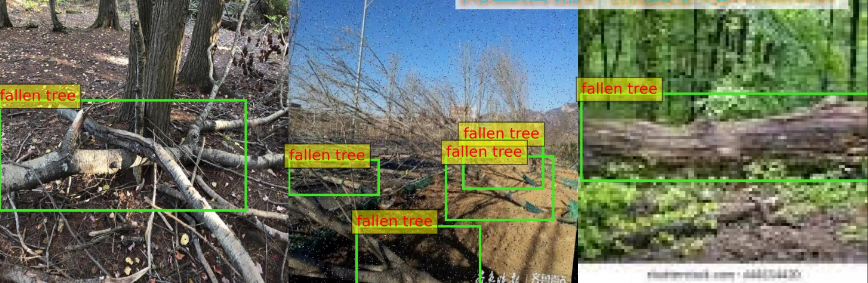
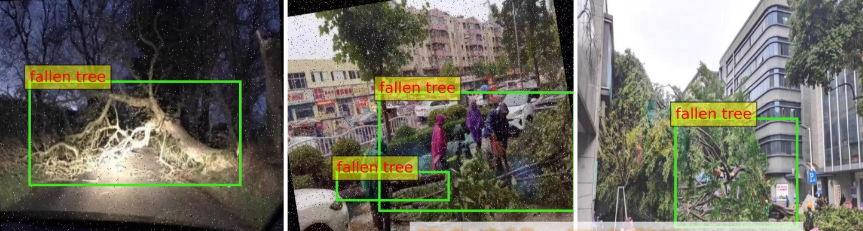
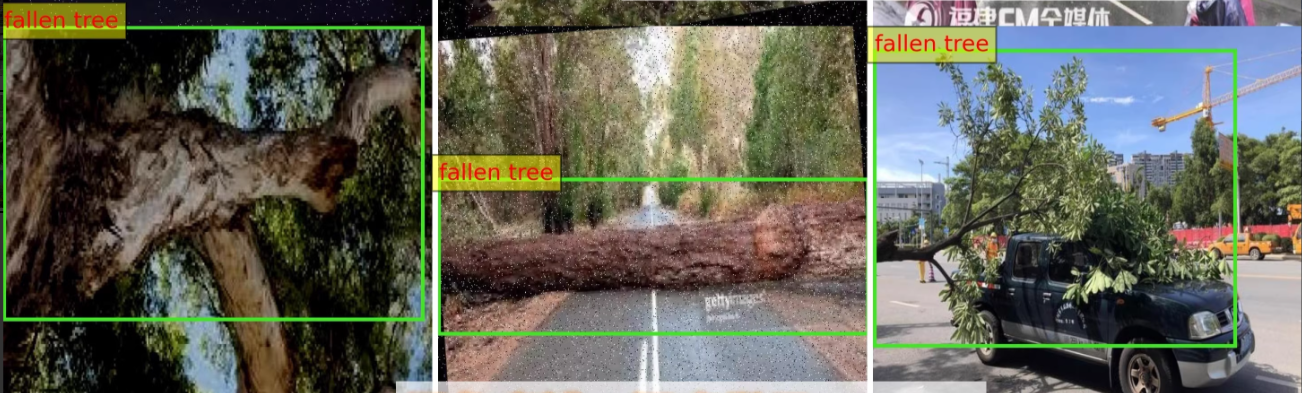
路障类_路边倒伏树木检测数据集,8164张,yolo和voc两种标注方式
1类,标注数量:
fallen tree 倒伏树木: 9942
image num: 8164
1
1
1
从环境搭建、数据准备(包括格式转换和数据划分)、模型训练(含超参数配置)、以及模型推理和性能评估。以下是详细的步骤和代码示例。
来做个参考。
1. 环境搭建
确保安装了必要的库:
pip install torch torchvision torchaudio opencv-python matplotlib pascal-voc-writer
2. 数据准备
2.1 数据集格式转换
假设你已经有了原始的标注文件,需要将其转换为YOLO和VOC格式。
YOLO格式转换示例:
import os
from PIL import Image

def convert_to_yolo_format(annotation_path, image_dir, output_dir):
    if not os.path.exists(output_dir):
        os.makedirs(output_dir)

    for xml_file in os.listdir(annotation_path):
        if not xml_file.endswith('.xml'): continue

        tree = ET.parse(os.path.join(annotation_path, xml_file))
        root = tree.getroot()
        size = root.find('size')
        w = int(size.find('width').text)
        h = int(size.find('height').text)

        with open(os.path.join(output_dir, xml_file.replace('.xml', '.txt')), 'w') as f:
            for obj in root.iter('object'):
                difficult = obj.find('difficult').text
                cls = obj.find('name').text
                if cls not in class_map or int(difficult) == 1: continue

                xmlbox = obj.find('bndbox')
                b = (float(xmlbox.find('xmin').text), float(xmlbox.find('xmax').text),
                     float(xmlbox.find('ymin').text), float(xmlbox.find('ymax').text))
                bb = convert_bbox((w, h), b)
                f.write(str(class_map[cls]) + " " + " ".join([str(a) for a in bb]) + '\n')

# 示例调用
convert_to_yolo_format('path/to/annotations', 'path/to/images', 'path/to/yolo_labels')
VOC格式转换示例(如果已有XML格式则无需转换):
可以直接使用现有的XML文件作为VOC格式的标注文件。
2.2 数据划分
将数据集划分为训练集和验证集:
from sklearn.model_selection import train_test_split
import shutil

image_files = [f for f in os.listdir('path/to/images') if f.endswith('.jpg')]
train_files, val_files = train_test_split(image_files, test_size=0.2, random_state=42)

for file in train_files:
    shutil.copy(os.path.join('path/to/images', file), 'path/to/train/images')
    shutil.copy(os.path.join('path/to/yolo_labels', file.replace('.jpg', '.txt')), 'path/to/train/labels')

for file in val_files:
    shutil.copy(os.path.join('path/to/images', file), 'path/to/val/images')
    shutil.copy(os.path.join('path/to/yolo_labels', file.replace('.jpg', '.txt')), 'path/to/val/labels')
3. 模型训练
3.1 配置YOLOv5
下载YOLOv5仓库并安装依赖:
git clone https://github.com/ultralytics/yolov5
cd yolov5
pip install -r requirements.txt
3.2 创建data.yaml
在yolov5/data目录下创建一个名为fallen_tree.yaml的文件:
train: path/to/train/images
val: path/to/val/images

nc: 1
names: ['fallen tree']
3.3 开始训练
python train.py --img 640 --batch 16 --epochs 50 --data fallen_tree.yaml --weights yolov5s.pt
4. 模型推理
编写推理代码进行批量推理:
from pathlib import Path
import cv2

def batch_inference(model_path, source_dir, output_dir):
    model = torch.hub.load('ultralytics/yolov5', 'custom', path=model_path)
    images = list(Path(source_dir).rglob('*.jpg'))

    for img_path in images:
        results = model(str(img_path))
        result_image = results.render()[0]
        cv2.imwrite(os.path.join(output_dir, img_path.name), result_image)

# 示例调用
batch_inference('path/to/best.pt', 'path/to/test/images', 'path/to/output')
5. 性能评估
使用YOLOv5自带的评估脚本对模型进行性能评估:
python val.py --weights path/to/best.pt --data fallen_tree.yaml --img 640
tx,同学仅供参考,很多需要自己调整。根据实际需求,可以调整相关参数和路径以适应不同的应用场景。


 被折叠的 条评论
为什么被折叠?
被折叠的 条评论
为什么被折叠?
 到【灌水乐园】发言


