


[一知半解,就是给自己挖坑]
本文,我们将在前面介绍的依赖注入的各种方法之上,详细介绍bean下的参数注入的各种方式。在实际应用中,请读者选择自身需求的方式即可。
a.操作系统:win7 x64
b.开发工具:eclipse mars j2ee版本,maven3.3.2,Spring 4,junit4.12
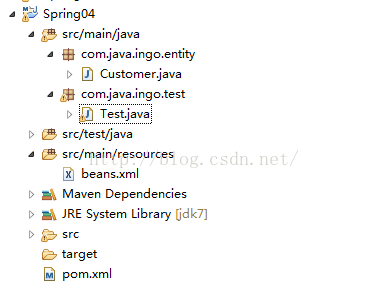
c.复制Spring03工程,重命名为Spring04工程。具体工程结构图如下:
一.基本参数类型注入
1.创建Test.java文件,注意:这里需要引入junit包。具体内容如下:
package com.java.ingo.test;

import org.junit.After;
import org.junit.Before;
import org.springframework.context.ApplicationContext;
import org.springframework.context.support.ClassPathXmlApplicationContext;
import com.java.ingo.entity.Customer;

/**
 * @author 作者 E-mail:ingo
 * @version 创建时间:2016年2月28日上午19:22:47 类说明
 */
public class Test {
	private ApplicationContext ac = null;

	@Before
	public void setUp() throws Exception {
		System.out.println("......junit单元测试是方法之前执行......");
		// 首先读取配置文件,配置文件中的bean将会保存到ApplicationContext的实例中
		ac = new ClassPathXmlApplicationContext("classpath:beans.xml");
	}
	@After
	public void tearDown() throws Exception {
		System.out.println("......junit单元测试是方法之后执行......");
	}

	@org.junit.Test
	public void test1() {
		Customer customer = (Customer)ac.getBean("Customer1");
		System.out.println(customer);
	}
}
<?xml version="1.0" encoding="UTF-8"?>
<beans xmlns="http://www.springframework.org/schema/beans"
	xmlns:xsi="http://www.w3.org/2001/XMLSchema-instance"
	xsi:schemaLocation="http://www.springframework.org/schema/beans
        http://www.springframework.org/schema/beans/spring-beans.xsd">

	<bean id="Customer1" class="com.java.ingo.entity.Customer">
		<property name="name" value="Tom"></property>
		<property name="sex" value="male"></property>
		<property name="age" value="22"></property>
	</bean>
</beans>4.测试方法:在test1方法上,右键run as--->junit test。观察控制台输出结果即可。
-------------------------------------------------------------------------------------------------------------------------------------------------------
二.使用注入bean的方式注入
1.在beans.xml文件中,加入下面配置:
<bean id="Record2" class="com.java.ingo.entity.Record">
		<property name="company" value="ABCD"></property>
		<property name="position" value="Engineer"></property>
		<property name="address" value="Beijing"></property>
	</bean>
	<bean id="Customer2" class="com.java.ingo.entity.Custom
最低0.47元/天 解锁文章


 756
756


 被折叠的 条评论
为什么被折叠?
被折叠的 条评论
为什么被折叠?
 到【灌水乐园】发言


