


Gotify 是一个用于接收和发送自定义通知的开源消息推送服务器。它支持通过简单的 REST API 接收通知,并允许用户通过 Web 界面或移动客户端查看这些通知。Gotify 的主要用途是帮助开发者和运维团队创建自定义通知系统,比如将监控告警或脚本输出结果推送到移动设备或浏览器中。
Gotify 的基本组件
1. Server(服务器):用 Go 语言编写,可以轻松部署到各种环境中,比如 Docker、Kubernetes 等。
2. API:提供 RESTful API,用于创建应用、发送消息、管理用户等。
3. Web UI:Gotify 带有一个 Web 用户界面,方便用户直接在浏览器查看消息、管理应用和插件。
4. 客户端应用:Gotify 提供 Android 客户端,可以在移动设备上接收通知。
安装 Gotify
1. 编写docker-compose.yml:
services:
  gotify:
    image: gotify/server:2.5.0
    container_name: "gotify"
    restart: always
    ports:
     - "80:80"
    volumes:
      - "./gotify_data:/app/data"
2. 启动服务:
docker-compose up -d3. 页面展示:http://localhost

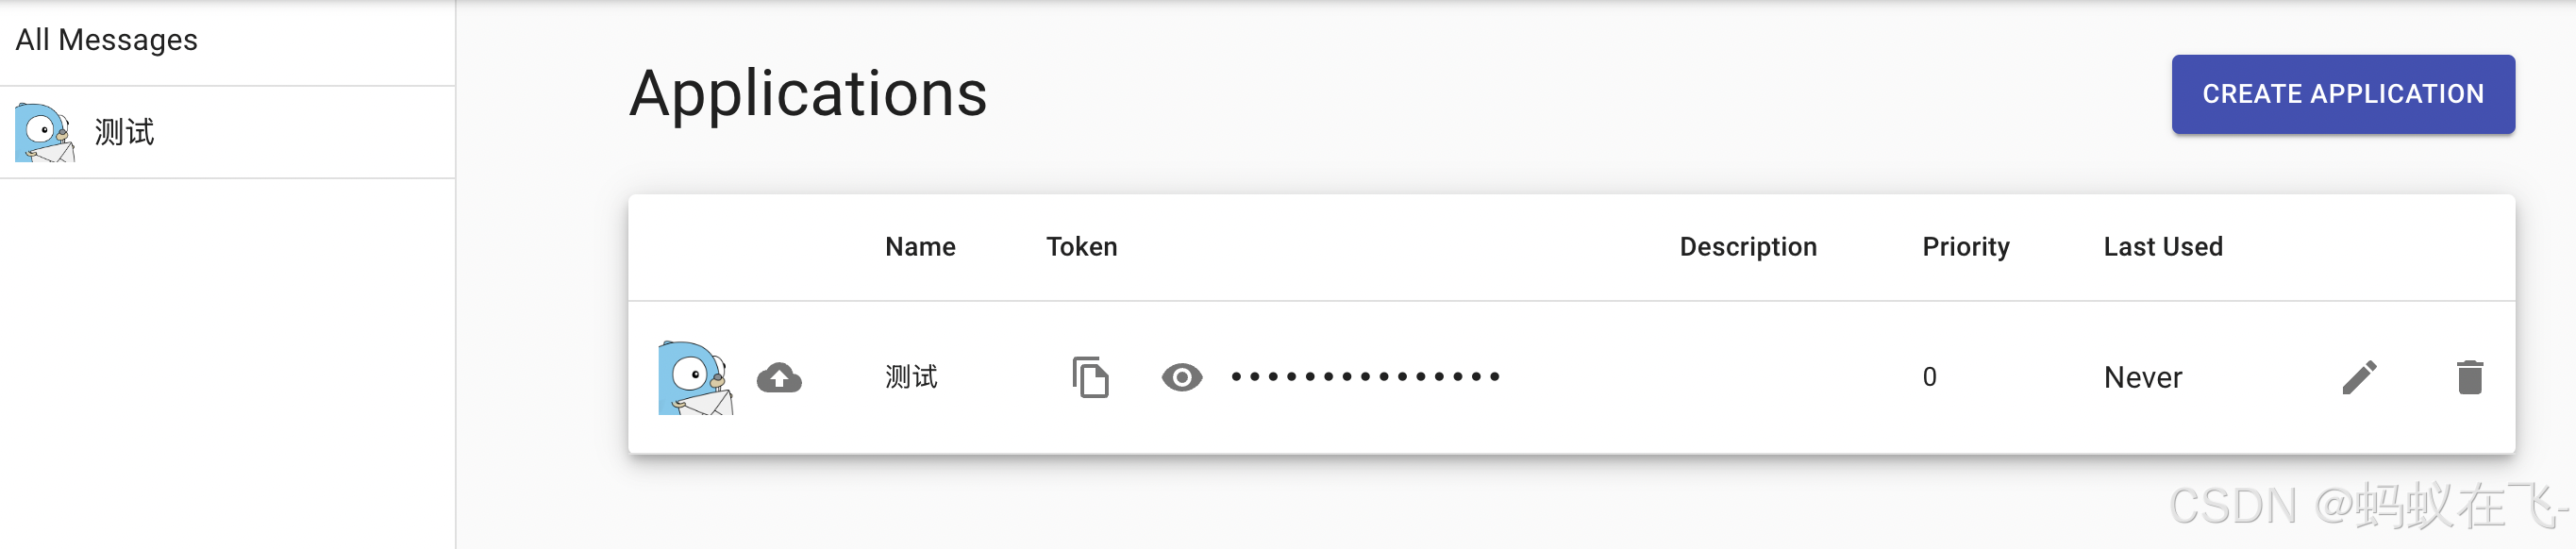
4. 创建APPS:
5. 拿到token后模拟请求:
curl -X POST "http://localhost/message" \
-H "Content-Type: application/json" \
-H "Authorization: Bearer XXXX" \ // xxxx为上一部拿到的token
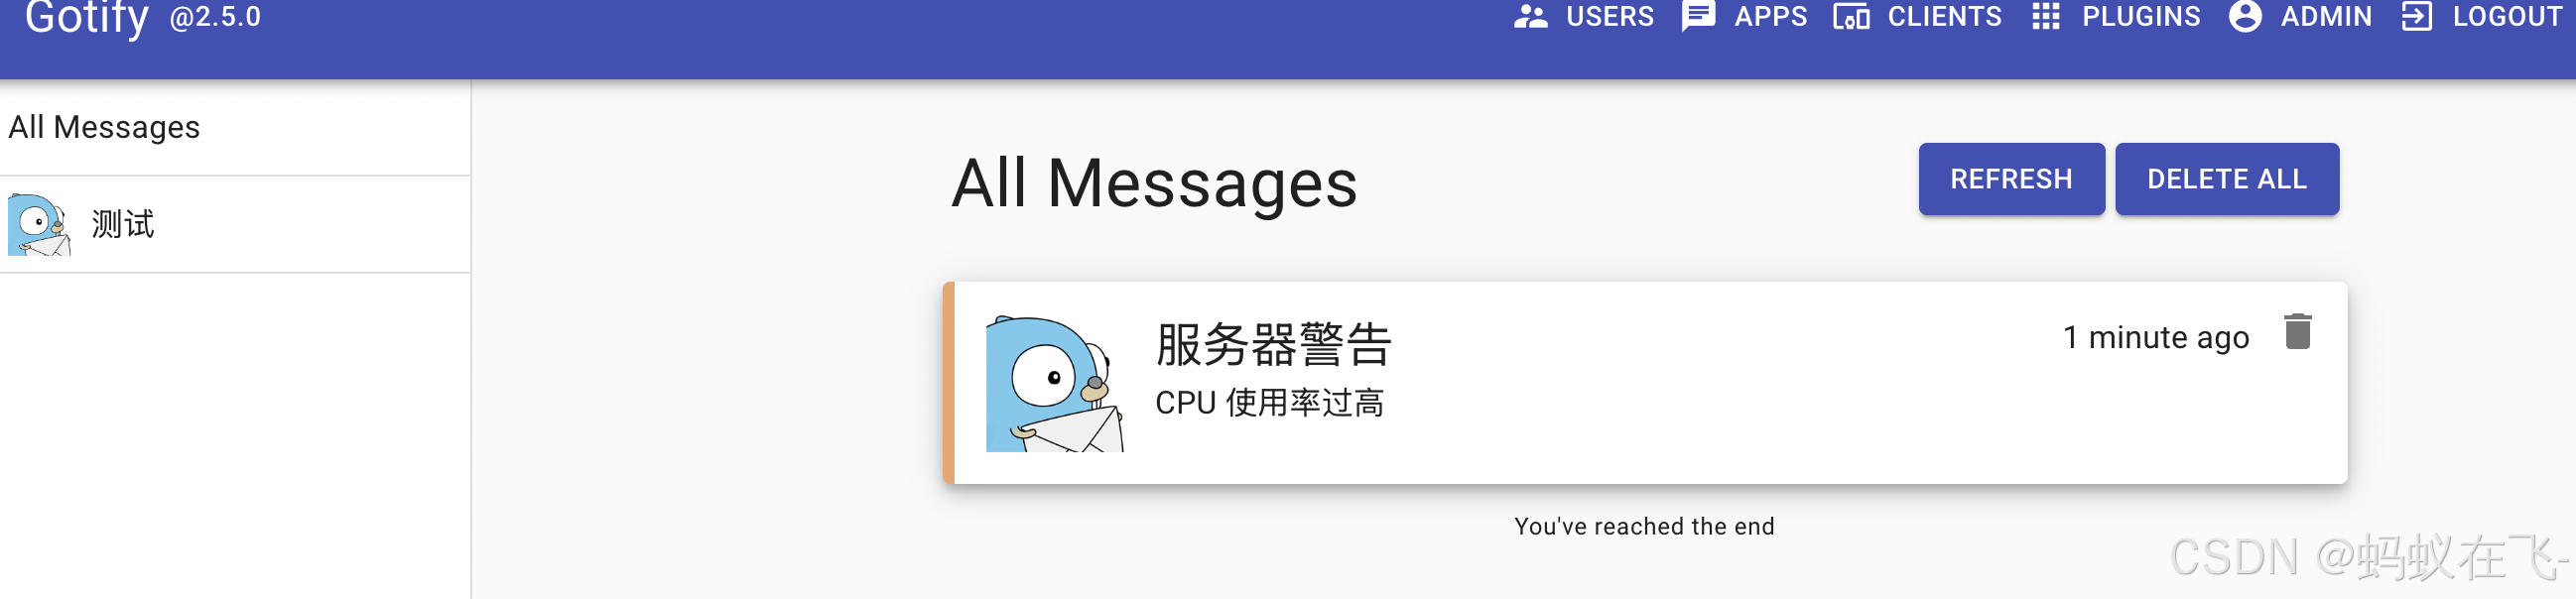
-d '{"title": "服务器警告", "message": "CPU 使用率过高", "priority": 5}'
6. 页面查看消息:
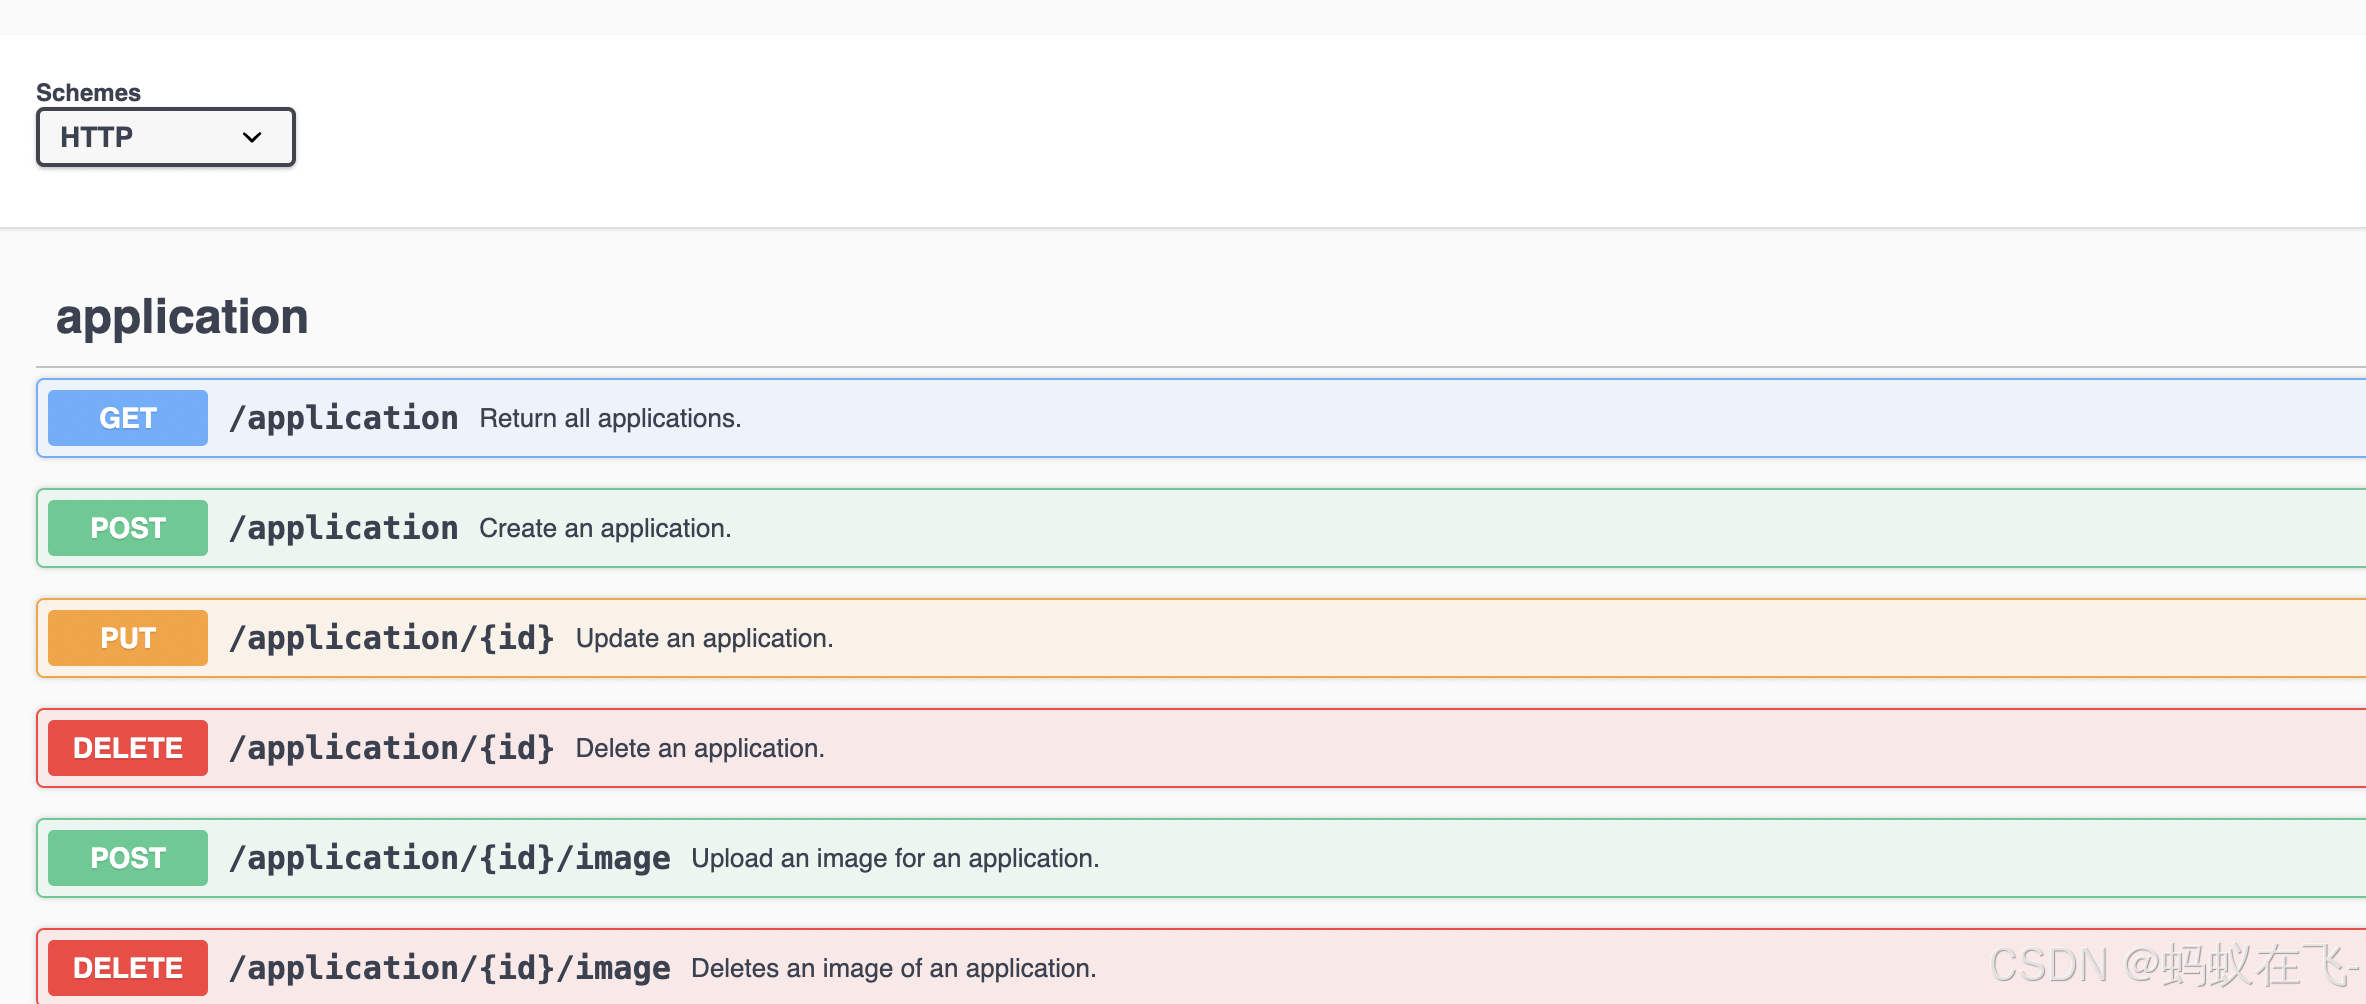
服务全量的接口可通过http://localhost/docs拿到:
此外提供了插件功能。默认新版本未开启,需要使用GO编写好插件后放到plugin目录启用。目前不支持其他语言的插件编写,但可以使用webhook方式转发实现通知到微信、钉钉等第三方软件。
简单的插件实现
package main

import (
    "fmt"
    "github.com/gotify/plugin-api"
    "github.com/gotify/plugin-api/context"
)

// MyPlugin 是一个示例插件结构体,符合 Gotify 插件 API 的要求。
type MyPlugin struct {
    ctx *context.Context
}

// NewGotifyPlugin 是插件的构造函数
func NewGotifyPlugin(ctx *context.Context) (plugin.Plugin, error) {
    return &MyPlugin{ctx: ctx}, nil
}

// Default 告知 Gotify 插件的配置信息
func (p *MyPlugin) Default() string {
    return "This is a simple Gotify plugin"
}

// Name 返回插件的名称
func (p *MyPlugin) Name() string {
    return "My Custom Plugin"
}

// SendMessage 是处理消息的主要逻辑
func (p *MyPlugin) SendMessage(message plugin.Message) {
    fmt.Printf("Received message with title: %s, content: %s\n", message.Title, message.Message)
}

func main() {}
webhook转发到pyhton服务例子
# webhook_service.py
from flask import Flask, request

app = Flask(__name__)

@app.route('/gotify-webhook', methods=['POST'])
def handle_notification():
    data = request.json
    title = data.get('title')
    message = data.get('message')
    # 在这里处理消息,例如发送到 Telegram、日志记录等
    print(f"Received Gotify notification: {title} - {message}")
    return "OK", 200

if __name__ == "__main__":
    app.run(port=5000)
其他功能可前往github自行探索


 1540
1540

 被折叠的 条评论
为什么被折叠?
被折叠的 条评论
为什么被折叠?
 到【灌水乐园】发言


