


<!DOCTYPE html>
<html lang="en">
<head>
<meta charset="UTF-8">
<meta http-equiv="X-UA-Compatible" content="IE=edge">
<meta name="viewport" content="width=device-width, initial-scale=1.0">
<title>JavaScript基础:动态操作元素(方法:createElement、appendChild、insertBefore、removeChild,属性:firstChild、lastChild、childNodes)</title>
<!--
动态操作元素
1、创建新元素。
document.createElement();
例如:
// 添加一个input标签元素(默认type是text)
document.createElement("input");
2、添加子元素。
document.appendChild();
例如:
// 直接在body标签里添加
document.body.appendChild();
// 在特定div标签里添加一个input标签元素(默认type是text)
<div id="div1"></div>
<script>
var divObj1 = document.getElementById("div1");
var appendNode = document.createElement("input");
divObj1.appendChild(appendNode);
</script>
3、在某元素前添加元素。
在orgNode元素前添加newNode元素。
document.insertBefore(newNode, orgNode);
例如:
<div id="div1"></div>
<script>
var divObj1 = document.getElementById("div1");
var appendNode = document.createElement("input");
document.body.insertBefore(appendNode, divObj1);
</script>
4、获取第一个子元素和最后一个子元素。
document.firstChild;
document.lastChild;
5、获取所有子元素。
document.childNodes;
6、移除指定子元素。
调用此方法必须传参,否则页面会报错!
document.removeChild(childNode);
-->
<style>
.bisqueTextbox{
width: 200px;
height: 50px;
color:darkviolet;
text-align: center;
margin: 10px;
background-color: bisque;
border: 2px solid dodgerblue;
}
.greenyellowButton{
width: 150px;
height: 50px;
color:royalblue;
margin: 10px;
background-color: greenyellow;
border: 2px solid orange;
}
.paleturquoiseButton{
width: 140px;
height: 50px;
color:cornflowerblue;
margin: 10px;
background-color:paleturquoise;
border: 2px solid hotpink;
}
ul{
width: 200px;
height: 250px;
text-align: left;
color: dodgerblue;
padding-top: 10px;
border:1px solid orange;
margin-right: 20px;
float: left;
}
#ulList1{
list-style: upper-alpha;
}
#ulList2{
list-style:upper-roman;
}
</style>
</head>
<body>
<input type="button" id="btnCreateNewTags1" value="向前添加新元素" class="greenyellowButton">
<br>
<div id="newElementContainer">
<input type="button" id="btnCreateNewTags2" value="向后添加新元素" class="greenyellowButton">
</div>
<br>
<div>
<input type="button" id="btnCreateNewTags3" value="移除li标签" class="greenyellowButton">
<div>
<ul id="ulList1">
<li>我是li标签1</li>
<li>我是li标签2</li>
<li>我是li标签3</li>
<li>我是li标签4</li>
<li>我是li标签5</li>
</ul>
<ul id="ulList2"><li>我是li标签1</li><li>我是li标签2</li><li>我是li标签3</li><li>我是li标签4</li><li>我是li标签5</li></ul>
</div>
</div>
<script>
// 获取创建新元素的button标签元素1
var btnCreateNewTags1 = document.getElementById("btnCreateNewTags1");
// 通过对象注册事件,定义匿名函数
btnCreateNewTags1.onclick = function(){
// 当没有指定input标签元素的type时,默认类型是text,并设置样式和文本值
var newInputObj1 = document.createElement("input");
newInputObj1.className = "bisqueTextbox";
newInputObj1.value = "我是新的文本框哦!";
// 把新建的input标签元素添加到指定button标签之前
document.body.insertBefore(newInputObj1, btnCreateNewTags1);
// 指定input标签元素的type是button,并设置样式和文本值
var newInputObj2 = document.createElement("input");
newInputObj2.type = "button";
newInputObj2.className = "paleturquoiseButton";
newInputObj2.value = "我是新的按钮哦!";
// 把新建的input标签元素添加到指定button标签之前
document.body.insertBefore(newInputObj2, btnCreateNewTags1);
};
// 获取创建新元素的button标签元素2
var btnCreateNewTags2 = document.getElementById("btnCreateNewTags2");
// 获取容纳新创建元素的div标签元素
var divNewElementContainer = document.getElementById("newElementContainer");
// 通过对象注册事件,定义匿名函数
btnCreateNewTags2.onclick = function(){
// 当没有指定input标签元素的type时,默认类型是text,并设置样式和文本值
var newInputObj1 = document.createElement("input");
newInputObj1.className = "bisqueTextbox";
newInputObj1.value = "我是新的文本框哦!";
// 把新建的input标签元素添加到body标签里面
// 默认向后添加元素
divNewElementContainer.appendChild(newInputObj1);
// 错误用法:
// button标签元素是不可以在里面添加子元素节点的,所以调用此方法不起作用
// btnCreateNewTags2.appendChild(newInputObj1);
// 这种用法会把新添加的子元素节点添加到body的最后,并不会添加到我们想要的button后面,
// 为了实现这个效果,我们需要把button元素放到一个类似div的容器中
// document.body.appendChild(newInputObj1);
// 指定input标签元素的type是button,并设置样式和文本值
var newInputObj2 = document.createElement("input");
newInputObj2.type = "button";
newInputObj2.className = "paleturquoiseButton";
newInputObj2.value = "我是新的按钮哦!";
// 把新建的input标签元素添加到body标签里面
// 默认向后添加元素
divNewElementContainer.appendChild(newInputObj2);
};
// 获取删除元素的button标签元素3
var btnCreateNewTags3 = document.getElementById("btnCreateNewTags3");
var paramEvent = function(){
var ulList1 = document.getElementById("ulList1");
// NodeList[11],li标签之间的空格也被计算在内,算作childNode
var allChildNodes1 = ulList1.childNodes;
var firstChildNode1 = ulList1.firstChild;
var lastChildNode1 = ulList1.lastChild;
console.log("allChildNodes1,Ul的所有li是:");
console.log(allChildNodes1);
console.log("firstChildNode1,Ul的第一个li是:");
console.log(firstChildNode1);
console.log("lastChildNode1,Ul的最后一个li是:");
console.log(lastChildNode1);
var ulList2 = document.getElementById("ulList2");
// NodeList[5],li标签之间由于没有空格,故只把5个li算作childNode
var allChildNodes2 = ulList2.childNodes;
var firstChildNode2 = ulList2.firstChild;
var lastChildNode2 = ulList2.lastChild;
console.log("allChildNodes2,Ul的所有li是:");
console.log(allChildNodes2);
console.log("firstChildNode2,Ul的第一个li是:");
console.log(firstChildNode2);
console.log("lastChildNode2,Ul的最后一个li是:");
console.log(lastChildNode2);
// 移除li标签1
ulList2.removeChild(ulList2.childNodes[0]);
// 移除li标签2
ulList2.removeChild(ulList2.firstChild);
// 移除li标签5
ulList2.removeChild(ulList2.lastChild);
allChildNodes2 = ulList2.childNodes;
console.log("执行移除操作后,allChildNodes2,Ul的所有li是:");
console.log(allChildNodes2);
};
btnCreateNewTags3.onclick = paramEvent;
</script>
</body>
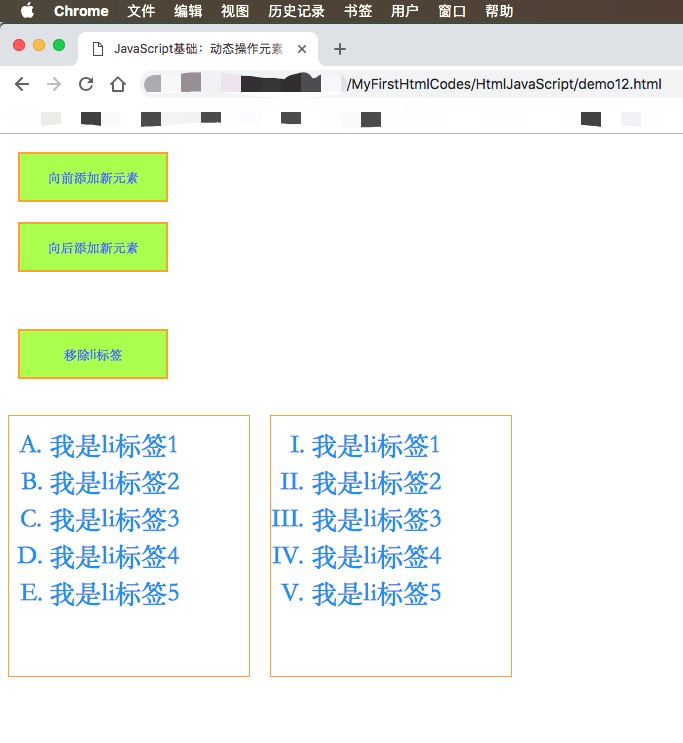
</html>页面初始效果:
点击按钮后的效果:


 2818
2818


 被折叠的 条评论
为什么被折叠?
被折叠的 条评论
为什么被折叠?
 到【灌水乐园】发言


