


zabbix监控
部署zabbix5.0服务端
1.准备机器,环境进行初始化
#关闭防火墙服务
systemctl stop firewalld
#修改安全策略
sed -i 's/SELINUX=enforcing/SELINUX=disabled/' /etc/selinux/config
systemctl disable --now firewalld
2.获取zabbix下载源
rpm -Uvh https://mirrors.aliyun.com/zabbix/zabbix/5.0/rhel/7/x86_64/zabbix-release-5.0-1.el7.noarch.rpm
3.更换zabbix.repo源为阿里的
sed -i 's#http://repo.zabbix.com#https://mirrors.aliyun.com/zabbix#' /etc/yum.repos.d/zabbix.repo
4.清空缓存,下载zabbix服务器
yum clean all
yum makecache
yum install zabbix-server-mysql zabbix-agent -y
5.安装工具,可以在机器上,使用多个版本的软件,并且不会影响到整个系统的依赖环境
yum install centos-release-scl -y
6.修改zabbix-front前端源,修改以下参数
[zabbix-frontend]
name=Zabbix Official Repository frontend - $basearch
baseurl=https://mirrors.aliyun.com/zabbix/zabbix/5.0/rhel/7/$basearch/frontend
enabled=1 #开启这里的参数
gpgcheck=1
gpgkey=file:///etc/pki/rpm-gpg/RPM-GPG-KEY-ZABBIX-A14FE591
7.安装zabbix前端环境,且是安装到scl环境下
yum install zabbix-web-mysql-scl zabbix-apache-conf-scl -y
8.安装zabbix所需要的数据库,mariadb
yum install mariadb-server -y
9.配置数据库,开机启动
[root@root yum.repos.d]# systemctl enable --now mariadb
Created symlink from /etc/systemd/system/multi-user.target.wants/mariadb.service to /usr/lib/systemd/system/mariadb.service.
10.初始化数据库
[root@root yum.repos.d]# mysql_secure_installation
y , n ,y ,y
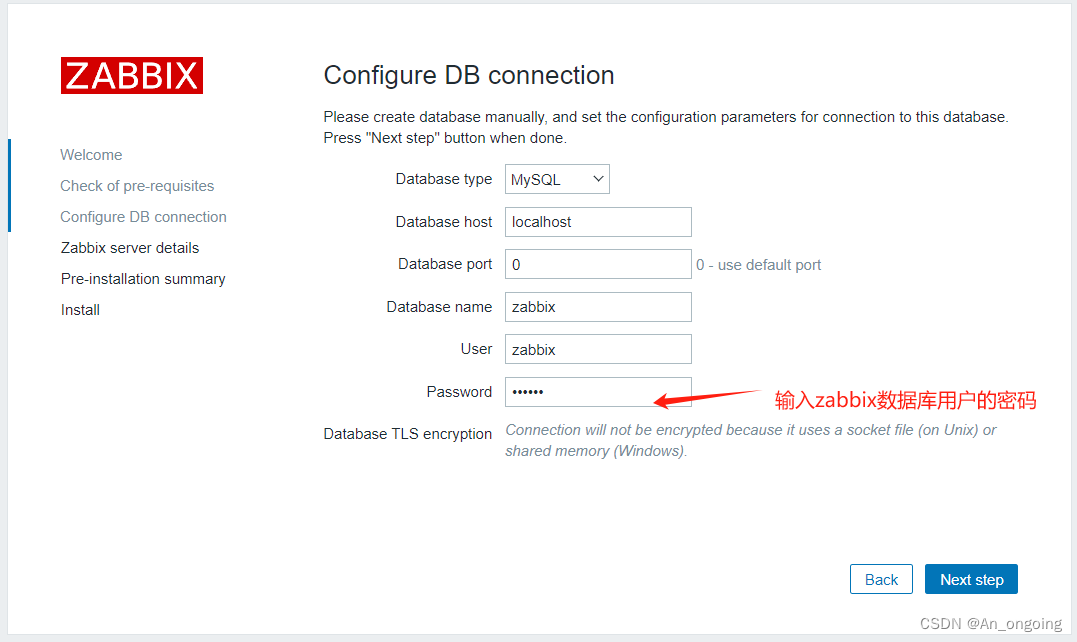
11.添加数据库用户,以及zabbix所需要的信息
#创建一个叫zabbix的数据库
MariaDB [(none)]> create database zabbix character set utf8 collate utf8_bin;
#创建一个zabbix用户并且设置密码000000
MariaDB [(none)]> create user zabbix@localhost identified by '000000';
#给zabbix用户设置一个权限
MariaDB [(none)]> grant all privileges on zabbix.* to zabbix@localhost;
#刷新
MariaDB [(none)]> flush privileges;
12.使用zabbix-mysql命令,导入数据库信息
zcat /usr/share/doc/zabbix-server-mysql*/create.sql.gz | mysql -uzabbix -p zabbix
13.修改zabbix-server配置文件,修改mariadb数据库密码
[root@root ~]# grep '^DBPas' /etc/zabbix/zabbix_server.conf
DBPassword=000000
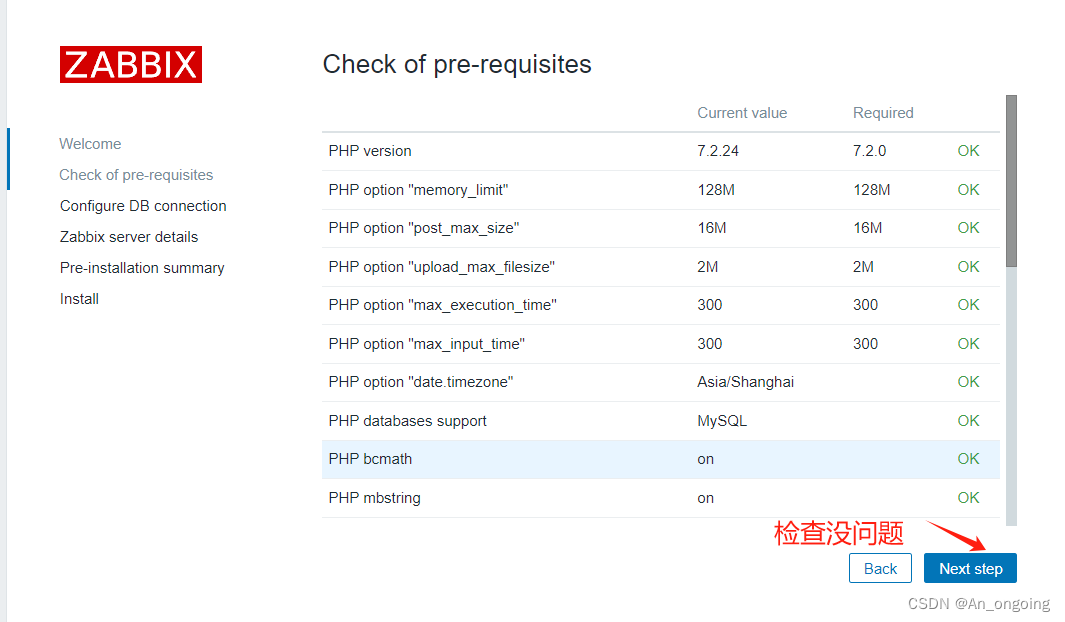
14.修改zabbix的php配置文件
[root@root ~]# grep "timezone" /etc/opt/rh/rh-php72/php-fpm.d/zabbix.conf
php_value[date.timezone] = Asia/Shanghai
15.启动zabbix相关服务器
systemctl restart zabbix-server zabbix-agent httpd rh-php72-php-fpm
systemctl enable zabbix-server zabbix-agent httpd rh-php72-php-fpm
#重启服务时候遇到报错
[root@root ~]# systemctl restart zabbix-server zabbix-agent httpd rh-php72-php-fpm
Job for rh-php72-php-fpm.service failed because the control process exited with error code. See "systemctl status rh-php72-php-fpm.service" and "journalctl -xe" for details.
#解决办法
1.有可能是/etc/selinux/config 当中的内容没有得到刷新
2.可能是因为被nginx服务占用端口
3.可能是被php-fpm服务占用端口!!!!此处需要的是rh-php72-php-fpm.service服务,关闭php-fpm,停止占用端口。
systemctl stop php-fpm
systemctl stop nginx
16.输入 ip地址/zabbix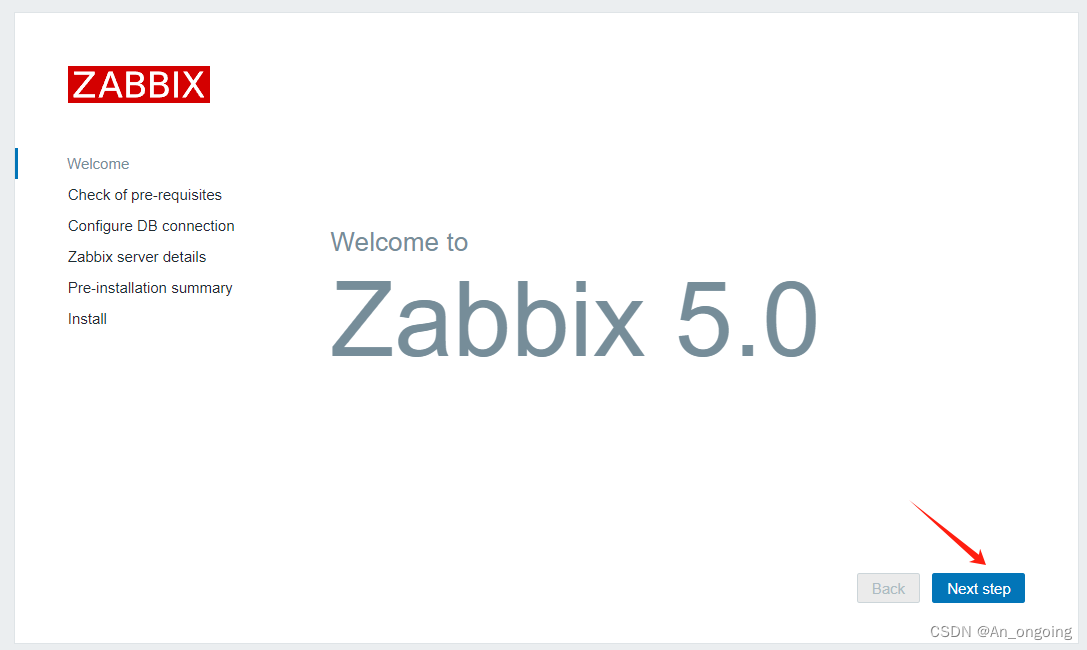
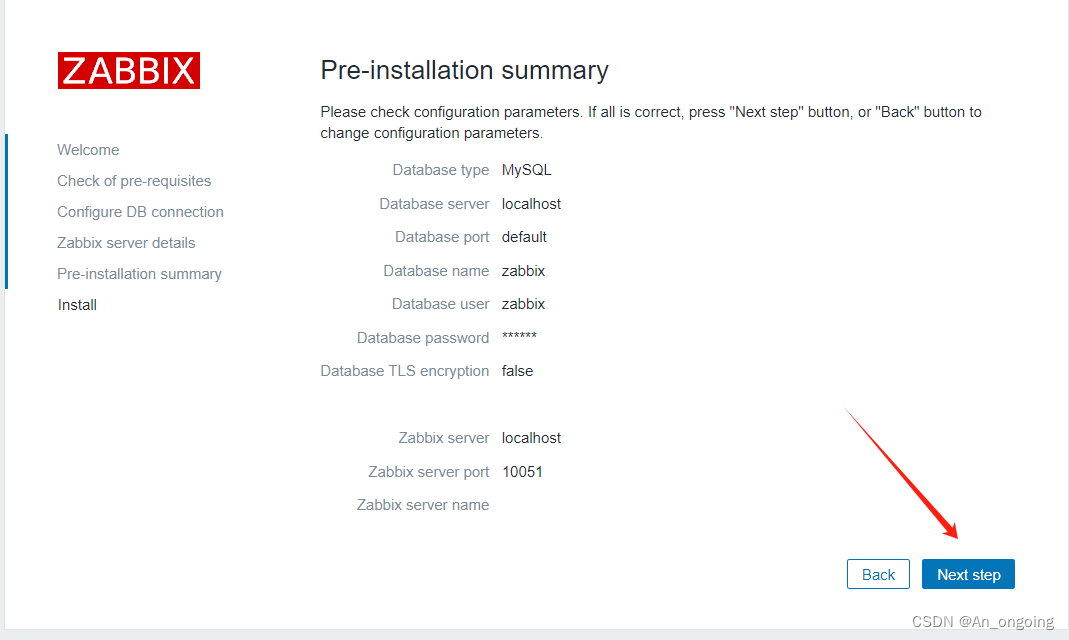


#成功进入到以下页面,进行登入
#默认用户名和密码
Admin
zabbix
部署zabbix5.0客户端
Zabbix5.e版本 agent2新版木采用golang语言开发的客户端 由于是go语言开发,部署起来就很方便了,和之前的程序部署形式不——样了agnet2默认用10050端口,也就是zabbix客户端的端口 旧版本的客户端, zabbix-agent go语言新版客户端, zabbix-agent2
1.机器环境准备,2台zabbix客户端
192.168.200.11	zabbix-agent2
192.168.200.12	zabbix-agent2

2.注意时间的正确
yum install update -y
ntpdate -u ntp.aliyun.com

3.时区的统一配置	(可以忽略这一步)
mv /etc/localtime{,.bak}
ln -s /usr/share/zoneinfo/Asia/Shanghai /etc/localtime
具体的zabbix-agent2部署流程
#提前配置好zabbix源
1.获取zabbix下载源
rpm -Uvh https://mirrors.aliyun.com/zabbix/zabbix/5.0/rhel/7/x86_64/zabbix-release-5.0-1.el7.noarch.rpm
2.更换zabbix.repo源为阿里的
sed -i 's#http://repo.zabbix.com#https://mirrors.aliyun.com/zabbix#' /etc/yum.repos.d/zabbix.repo
3.安装zabbix-agent2
yum install zabbix-agent2 -y
4.查看配置文件
[root@root ~]# ll /etc/zabbix/zabbix_agent2.conf
/etc/zabbix/zabbix_agent2.conf
#zabbix启动文件
[root@root ~]# ls -l /usr/sbin/zabbix_agent2
/usr/sbin/zabbix_agent2
5.启动zabbix客户端的服务
[root@root ~]# systemctl enable --now zabbix-agent2 // --now 立即启动
Created symlink from /etc/systemd/system/multi-user.target.wants/zabbix-agent2.service to /usr/lib/systemd/system/zabbix-agent2.service.
6.查看服务是否启动成功 查看端口
[root@192 ~]# netstat -ntpl | grep zabbix
tcp6 0 0 :::10050 :::* LISTEN 22442/zabbix_agent2
7.修改agent2配置文件,查看配置信息,根据自己的机器环境修改
[root@zbx-agent1 ~]# grep -Ev '^#|^$' /etc/zabbix/zabbix_agent2.conf
PidFile=/var/run/zabbix/zabbix_agent2.pid
LogFile=/var/log/zabbix/zabbix_agent2.log
LogFileSize=0
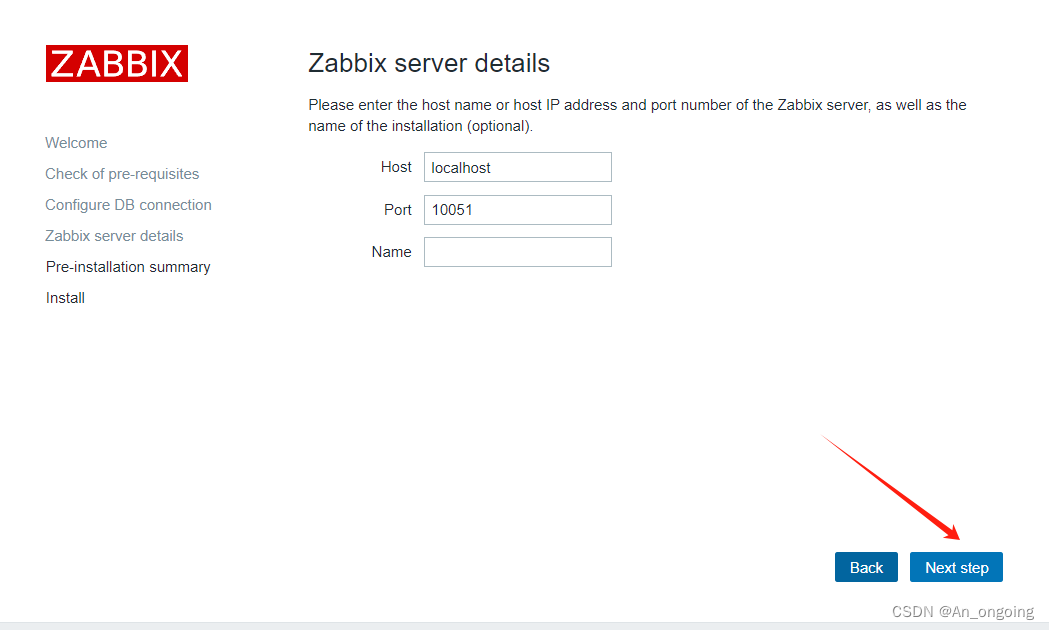
Server=192.168.200.13 //zabbix服务端的ip地址
ServerActive=192.168.200.13 //zabbix服务端的ip地址
Hostname=zbx-agent1 //zabbix客户端的主机名字
Include=/etc/zabbix/zabbix_agent2.d/*.conf
ControlSocket=/tmp/agent.sock
8.重启zabbix-agent2服务重新进行配置文件的读取
[root@zbx-agent2 ~]# systemctl restart zabbix-agent2
#验证zabbix-agent2的连通性
9.在服务端上安装zabbix-get服务
yum install zabbix-get -y
10.通过命令检测客户端和服务端是否连通
[root@root ~]# zabbix_get -s '192.168.200.11' -p 10050 -k 'system.hostname'
zbx-agent1解决zabbix-server查看乱码的问题
zabbix默认检测服务端本身,但是编码有问题
[root@root ~]# yum install wqy-microhei-fonts

[root@root ~]# \cp /usr/share/fonts/wqy-microhei/wqy-microhei.ttc /usr/share/fonts/dejavu/DejaVuSans.ttf
添加zabbix-agetn主机
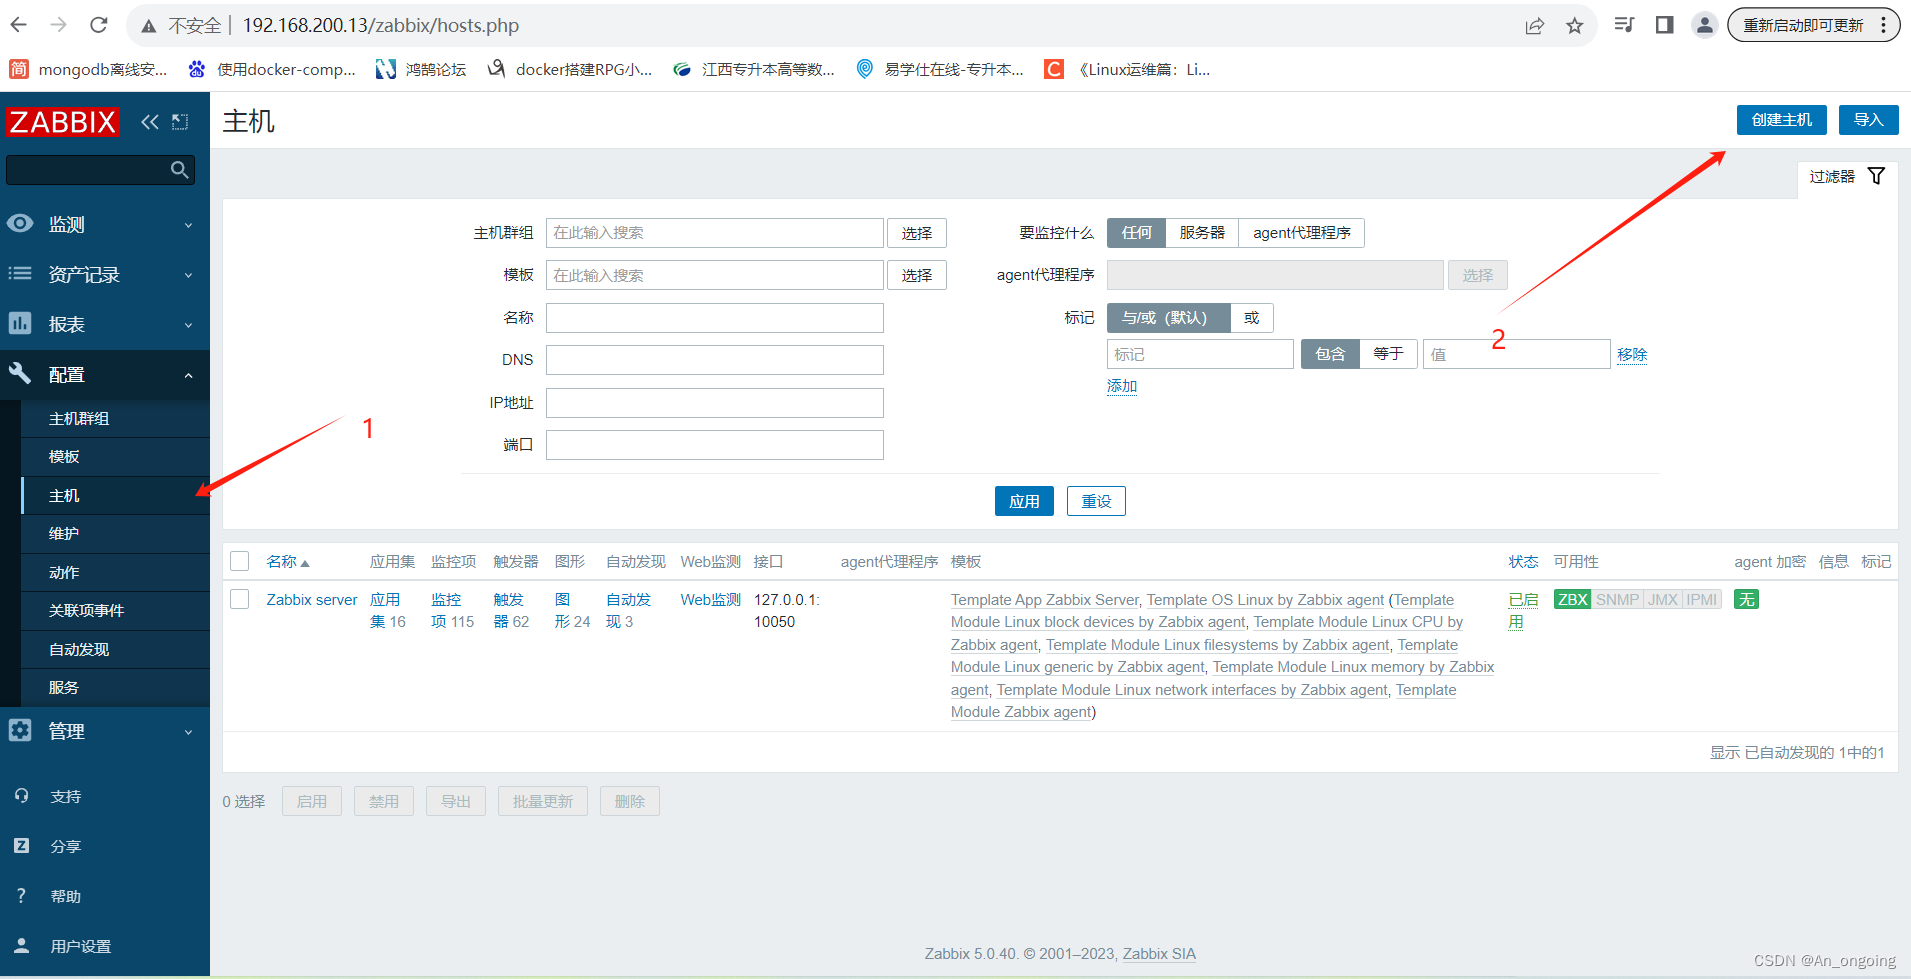
1.创建主机
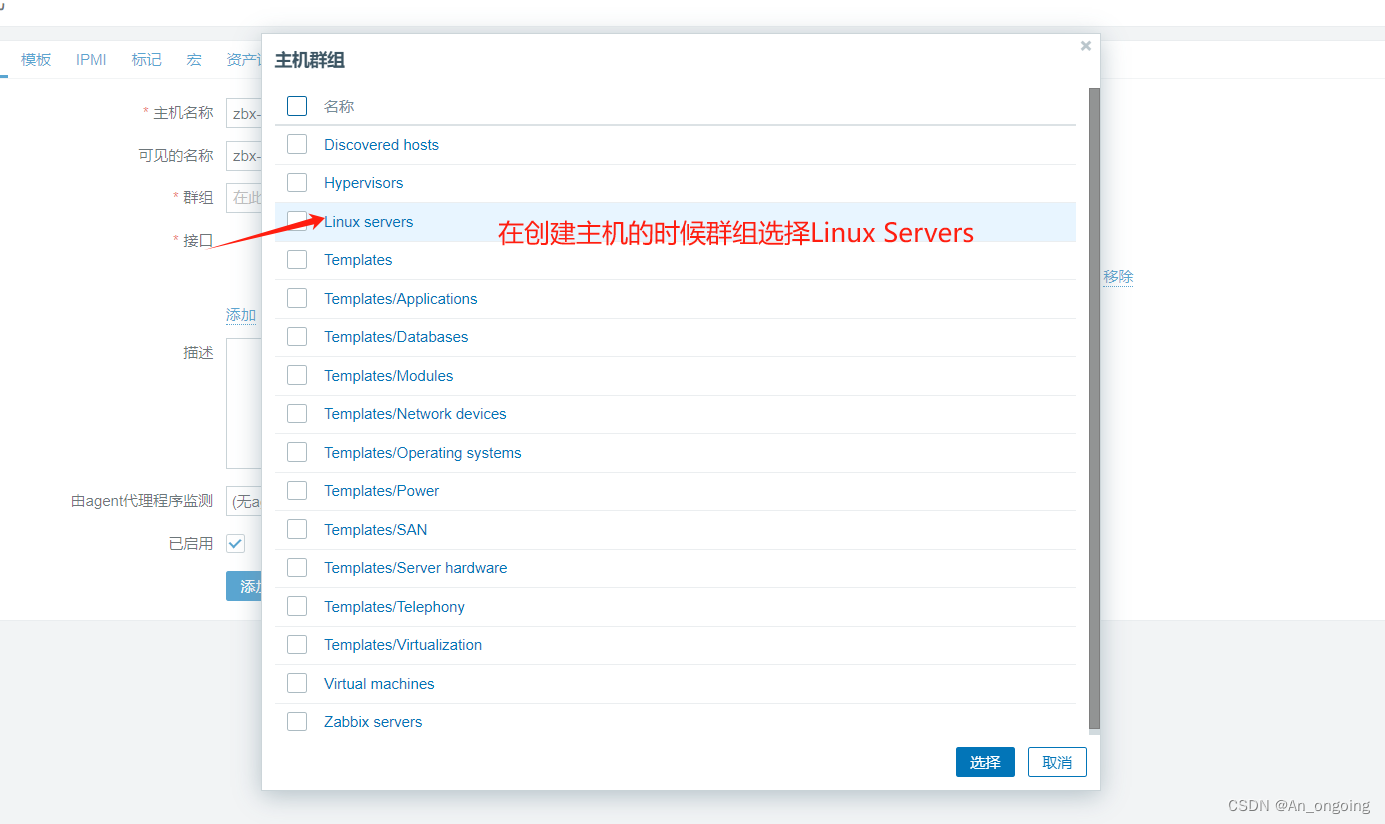
2.选择主机群组Linux server
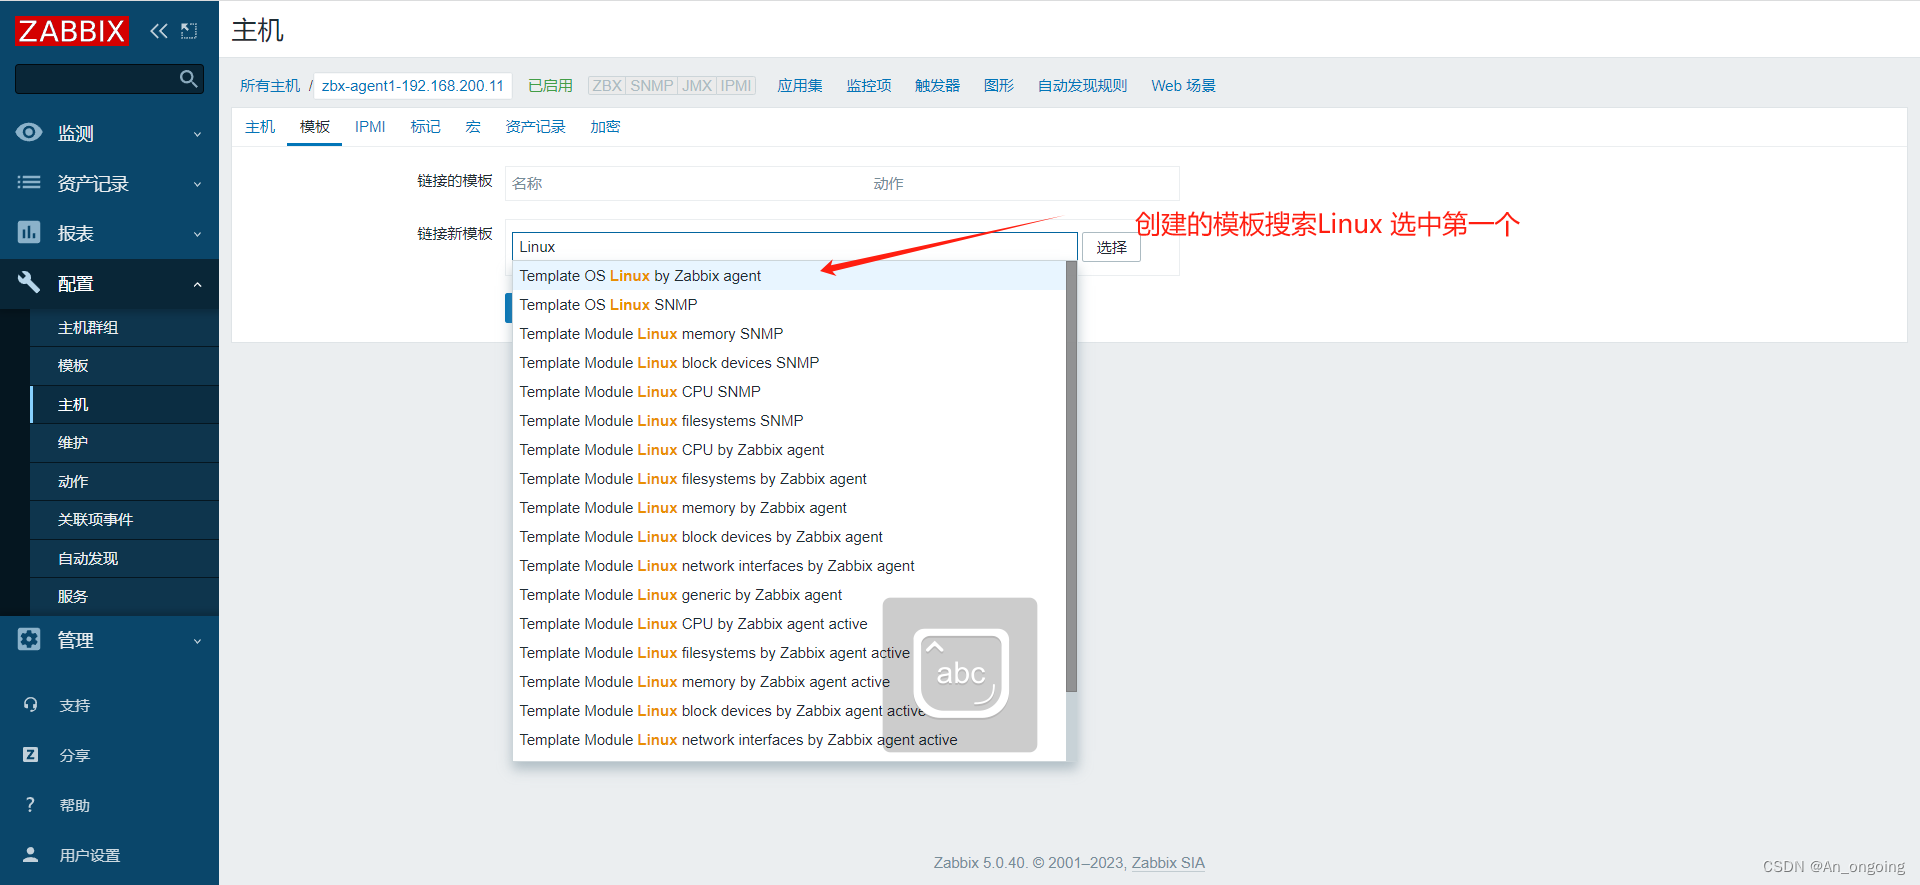
3.主机添加完成,点中主机,选择添加模板
 4.搜索模板Linux 选择第一个,点击更新
5.添加成功,查看被检测机器的状态


 177
177


 被折叠的 条评论
为什么被折叠?
被折叠的 条评论
为什么被折叠?
 到【灌水乐园】发言


