


还在使用古老的Listview吗?
还在继承那个复杂的BaseAdapter吗?
还在给listview ADDHead,ADDfoot吗?
今天不用啦,我们只需使用SuperRefreshRecyclerView。
一切都只是一行代码的事情。
加入Gilde和多样布局 本系列的第二篇地址如下(两篇的Github地址不同):
http://blog.csdn.net/AndroidMsky/article/details/52944370
[项目GITHUB链接]
(https://github.com/AndroidMsky/OOMTestUseAirRecyclerView) 觉得有帮助欢迎STAR是博主的动力
https://github.com/AndroidMsky/OOMTestUseAirRecyclerView
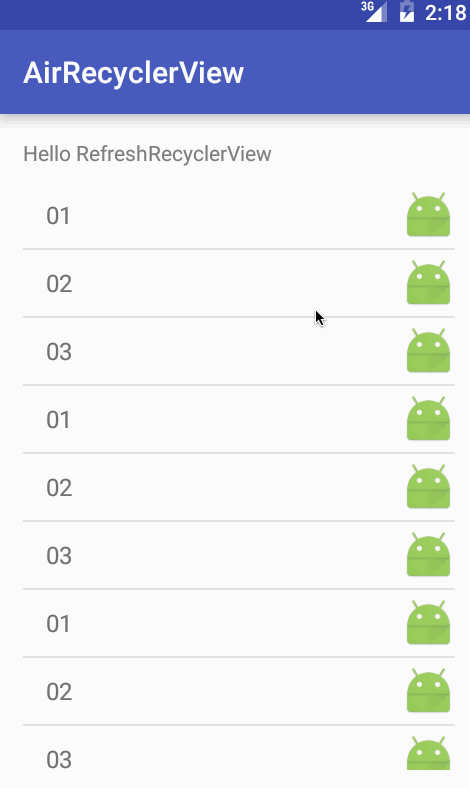
先上一个效果gif吧。
还是老惯例第一步先讲原理,第二步讲用法。
一.原理
我们知道之前使用listview是有addhead addfoot方法的。这样讲可以给listview设置头和尾啦,但是如果用GirdView去显示网格的时候就不支持这些方法啦,处理起来也可以但是相对逻辑复杂需要引入的东西也比较多,RecyclerView这个新生代的控件会逐渐取代listview的,他只需要一行代码就可以给进行GirdView listView的切换及其方便。
这样讲是一行一个的:
superRecyclerView.init(new LinearLayoutManager(this), this, this);这样讲是一行三个的:
superRecyclerView.init(new GridLayoutManager(this,3), this, this);当然刚刚都是原生RecyclerView的基本特性。本文推荐使用的继承框架加入了完美的刷新。加载。多样式的三大特性。
首先要知道RecyclerView不可以像listview那样去设置头和尾的,框架的做法原理也狠简单,就是用一个FrameLayout去包装他的头和尾以及没有数据为空的时候。布局代码如下。
<FrameLayout xmlns:android="http://schemas.android.com/apk/res/android"
    xmlns:tools="http://schemas.android.com/tools"
    android:layout_width="match_parent"
    android:layout_height="match_parent"
    >

    <com.example.liangmutian.airrecyclerview.swipetoloadlayout.SwipeToLoadLayout
        android:id="@+id/swipe_to_load"
        android:layout_width="match_parent"
        android:layout_height="wrap_content">

        <com.example.liangmutian.airrecyclerview.swipetoloadlayout.RefreshHeaderView
            android:id="@+id/swipe_refresh_header"
            android:layout_width="match_parent"
            android:layout_height="wrap_content" />

        <android.support.v7.widget.RecyclerView
            android:id="@id/swipe_target"
            android:layout_width="match_parent"
            android:layout_height="match_parent"
            android:scrollbars="vertical" />

        <com.example.liangmutian.airrecyclerview.swipetoloadlayout.SwipeLoadMoreFooterLayout
            android:id="@+id/swipe_load_more_footer"
            android:layout_width="match_parent"
            android:layout_height="wrap_content">

        </com.example.liangmutian.airrecyclerview.swipetoloadlayout.SwipeLoadMoreFooterLayout>
    </com.example.liangmutian.airrecyclerview.swipetoloadlayout.SwipeToLoadLayout>

    <RelativeLayout
        android:id="@+id/layout_empty"
        android:layout_width="match_parent"
        android:layout_height="match_parent"
        android:visibility="gone">

        <TextView
            android:id="@+id/tv_empty"
            android:layout_width="wrap_content"
            android:layout_height="wrap_content"
            android:layout_centerInParent="true"
            android:textSize="20sp"
            android:text="没有数据" />
    </RelativeLayout>

    <RelativeLayout
        android:id="@+id/layout_error"
        android:layout_width="match_parent"
        android:layout_height="match_parent"
        android:visibility="gone">

        <TextView
            android:id="@+id/tv_error"
            android:layout_width="wrap_content"
            android:layout_height="wrap_content"
            android:layout_centerInParent="true"
            android:textSize="20sp"
            android:text="请求失败" />
    </RelativeLayout>

</FrameLayout>
可以看到是自己定义的几个layout包上一个原生的android.support.v7.widget.RecyclerView,是不是很机智很简单。如果想改头尾的样式,修改SwipeRefreshHeaderLayout和SwipeLoadMoreFooterLayout的相关布局就好啦。
二。用法
数据适配Adapter,复用不复用的方法都有啦。ViewHolder也不用自己创建啦。
public class Adapter extends BaseRecyclerAdapter<BaseRecyclerAdapter.BaseRecyclerViewHolder, ActType> {

    private List<ActType> list;

    public Adapter(List<ActType> list) {
        super(list);
        this.list = list;
    }

    @Override
    public BaseRecyclerViewHolder createViewHolder(LayoutInflater inflater, ViewGroup parent, int viewType) {
        BaseRecyclerViewHolder holder = null;
        holder = new ProductHolder(inflater.inflate(R.layout.item_choose_act_type, parent, false));
        return holder;
    }

    @Override
    public void onBindViewHolder(BaseRecyclerViewHolder holder, int position, final ActType data) {
        ProductHolder productHolder = (ProductHolder) holder;
        productHolder.tvName.setText(data.name);
    }

    class ProductHolder extends BaseRecyclerViewHolder {
        public TextView tvName;

        public ProductHolder(View itemView) {
            super(itemView);
            tvName = findView(R.id.tv_type_name);

        }
    }
}
Activiy处
初始化RecyclerView,后两行代码级是设置是否可以刷新和加载。
implements OnRefreshListener, OnLoadMoreListener实现这两个接口即可。
superRecyclerView = (SuperRefreshRecyclerView) findViewById(R.id.super_recyclerview);
        superRecyclerView.init(new LinearLayoutManager(this), this, this);
        superRecyclerView.setRefreshEnabled(true);
        superRecyclerView.setLoadingMoreEnable(true);
关联适配器
adapter = new Adapter(list);
        superRecyclerView.setAdapter(adapter);
        superRecyclerView.showData();
模拟更新数据
 @Override
    public void onRefresh() {

        new Handler().postDelayed(new Runnable(){

            public void run() {

                setData();
                superRecyclerView.setRefreshing(false);

            }

        }, 3000);

    }
本文第二篇将会讲一些多种布局样式等一些高级内容。
欢迎关注作者。欢迎评论讨论。欢迎拍砖。
如果觉得这篇文章对你有帮助 欢迎star我的github。也算对笔者的一种支持。
本文Github代码链接
https://github.com/AndroidMsky/OOMTestUseAirRecyclerView
欢迎加安卓开发交流群:308372687
博主原创未经允许不许转载。


 543
543

 被折叠的 条评论
为什么被折叠?
被折叠的 条评论
为什么被折叠?
 到【灌水乐园】发言


