


项目仓库地址: https://github.com/chenfenbgin/vue3-router
一、路由
1、路由 - 路径修改原理
注:底层:路径和组件之间的映射关系(前端路由维护)。
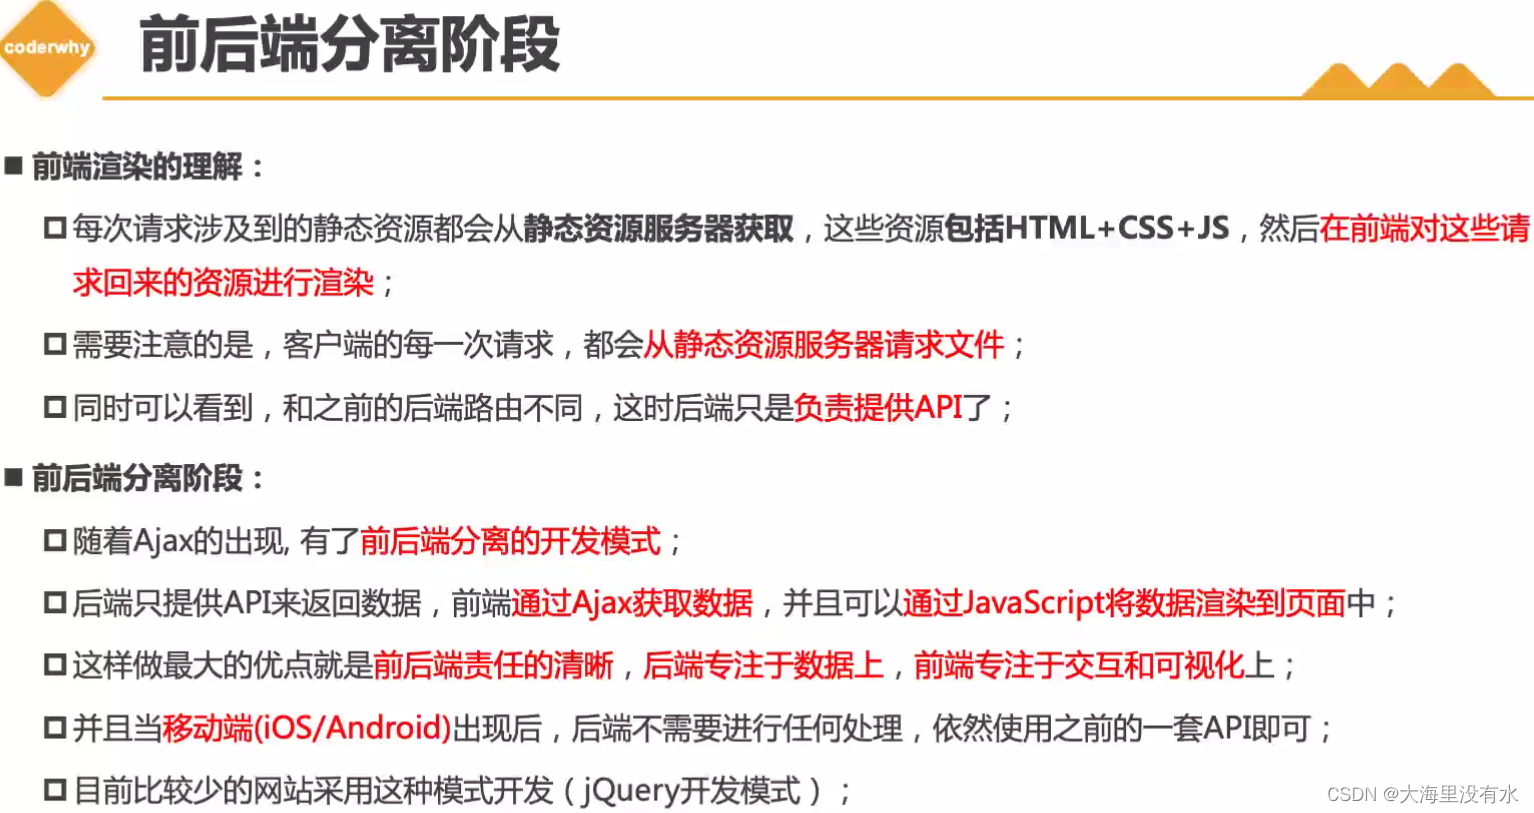
路径:http://www.baidu.com/home 与 http://www.baidu.com/about,当我们路径改变是,不希望去静态服务器重新请求资源,只是组件之间的切换而已,可以使用:
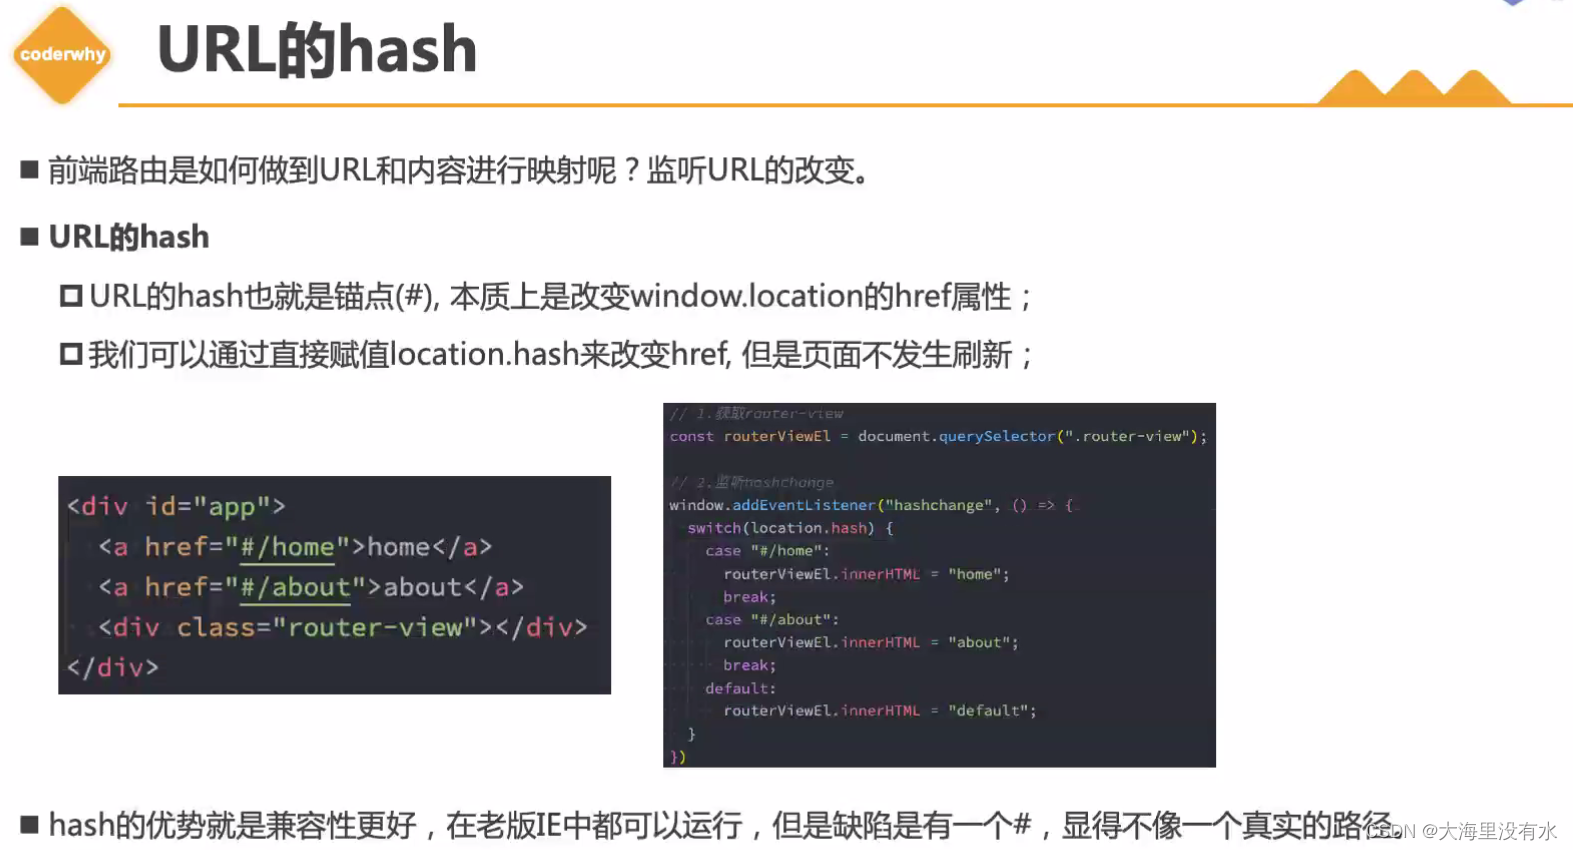
1、路径写成hash值,#/home -> #/about, 用的其实是锚点(href属性)
2、history模式
方式一:hash修改路径
<!DOCTYPE html>
<html lang="en">
  <head>
    <meta charset="UTF-8" />
    <meta http-equiv="X-UA-Compatible" content="IE=edge" />
    <meta name="viewport" content="width=device-width, initial-scale=1.0" />
    <title>Document</title>
  </head>
  <body>
    <div id="app">
      <a href="#/home">home</a>
      <a href="#/about">about</a>

      <div class="content">Default</div>
    </div>

    <script>
      const contentEl = document.querySelector(".content");
      // hashchange:监听浏览器hash值的改变
      window.addEventListener("hashchange", () => {
        switch (location.hash) {
          case "#/home":
            contentEl.innerHTML = "Home";
            break;
          case "#/about":
            contentEl.innerHTML = "About";
            break;
          default:
            contentEl.innerHTML = "Default";
        }
      });
    </script>
  </body>
</html>
方式二:history修改路径,需要监听浏览器路由修改,但是不让其刷新

注: http://127.0.0.1:5500/history-demo.html 点击home到 http://127.0.0.1:5500/home, 浏览器是会去在请求一次资源的,浏览器是无法解析这个路径的。
<!DOCTYPE html>
<html lang="en">
  <head>
    <meta charset="UTF-8" />
    <meta http-equiv="X-UA-Compatible" content="IE=edge" />
    <meta name="viewport" content="width=device-width, initial-scale=1.0" />
    <title>Document</title>
  </head>
  <body>
    <div id="app">
      <a href="/home">home</a>
      <a href="/about">about</a>

      <div class="content">Default</div>
    </div>

    <script>
      // 1、获取router-view
      const contentEl = document.querySelector(".content");

      // 4、执行设置页面操作
      const changeContent = () => {
        console.log("-----");
        switch (location.pathname) {
          case "/home":
            contentEl.innerHTML = "Home";
            break;
          case "/about":
            contentEl.innerHTML = "About";
            break;
          default:
            contentEl.innerHTML = "Default";
        }
      };

      // 2、监听所有a元素
      const aEls = document.getElementsByTagName("a");
      // 获取a元素,使用of进行遍历,可以直接拿到元素本身
      for (let aEl of aEls) {
        aEl.addEventListener("click", (e) => {
          // 阻止a元素默认行为
          e.preventDefault();

          const href = aEl.getAttribute("href");
          // history.pushState({}, "", href);
          // 这里是不会再去请求资源的
          // 3、监听pushState\replaceState操作
          history.replaceState({}, "", href);

          changeContent();
        });
      }

      window.addEventListener("popstate", changeContent);
    </script>
  </body>
</html>
二、vue-router
注:维护的,也是组件和路径之间的映射关系。
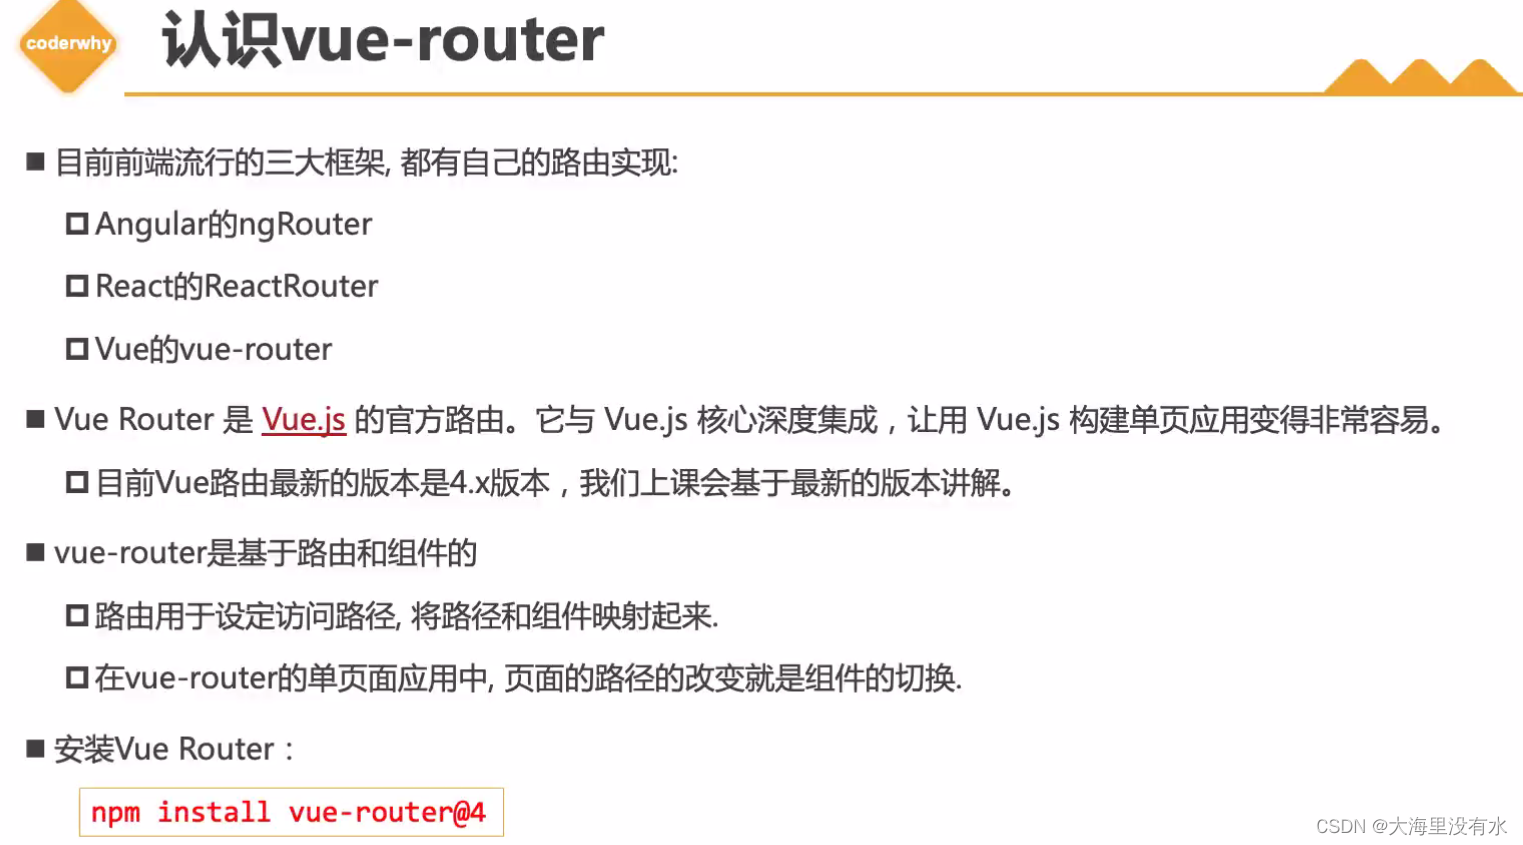
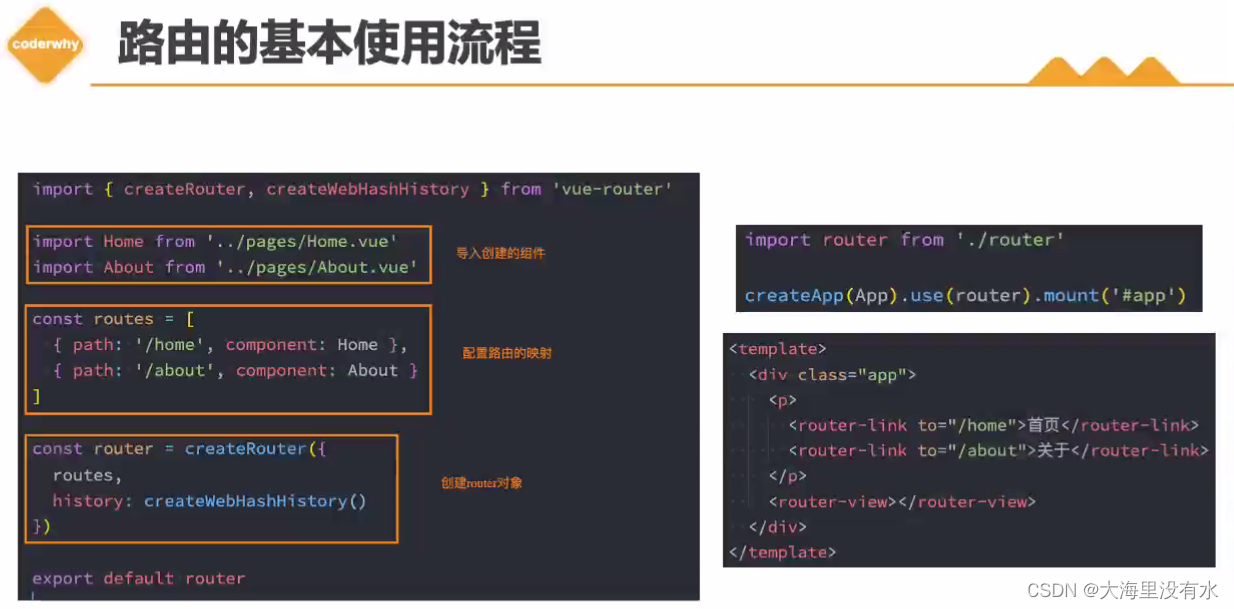
1、vue-router的基本使用
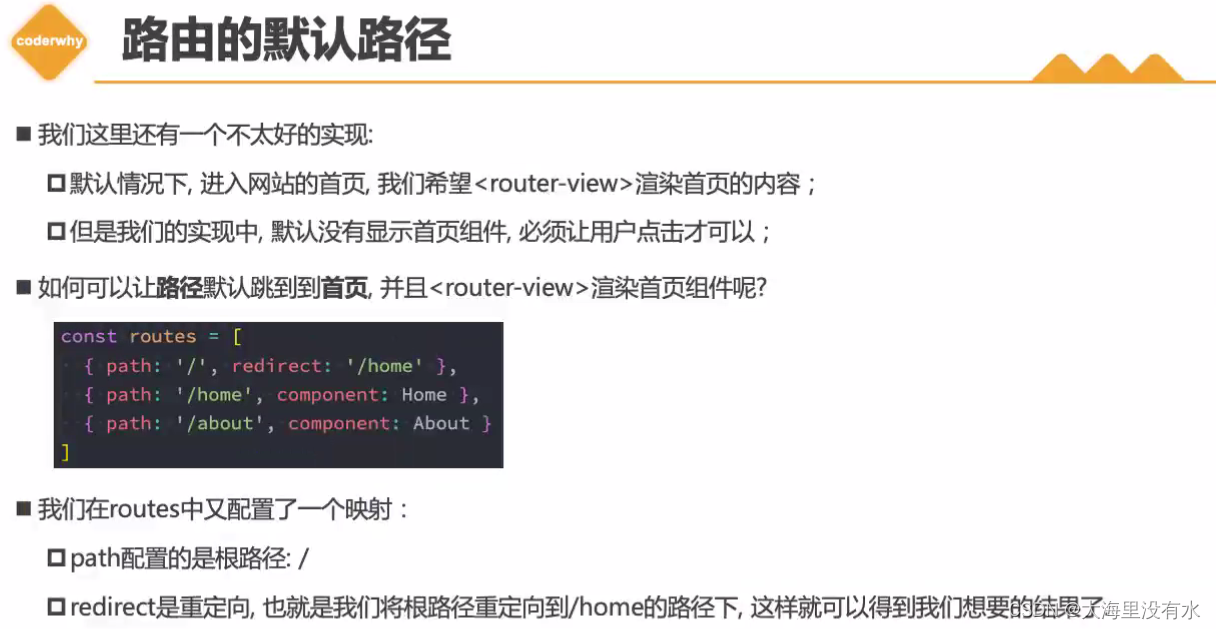
2、路由的默认路径
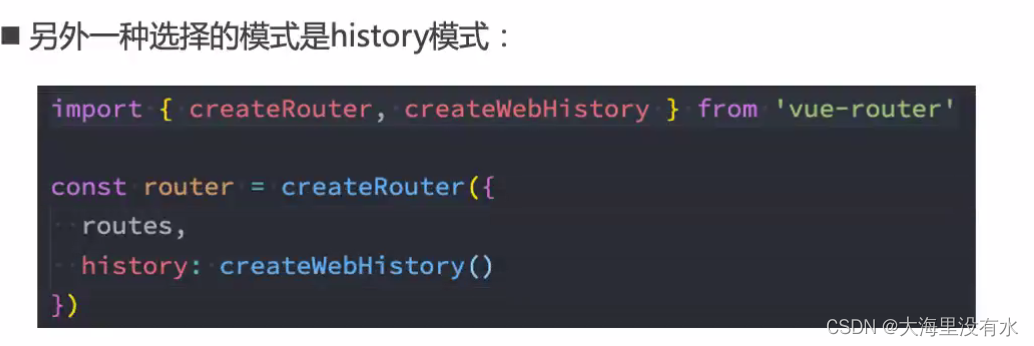
3、history模式
4、router-link
注: router-link标签如果设置replace属性,不允许用户返回上一次的页面。

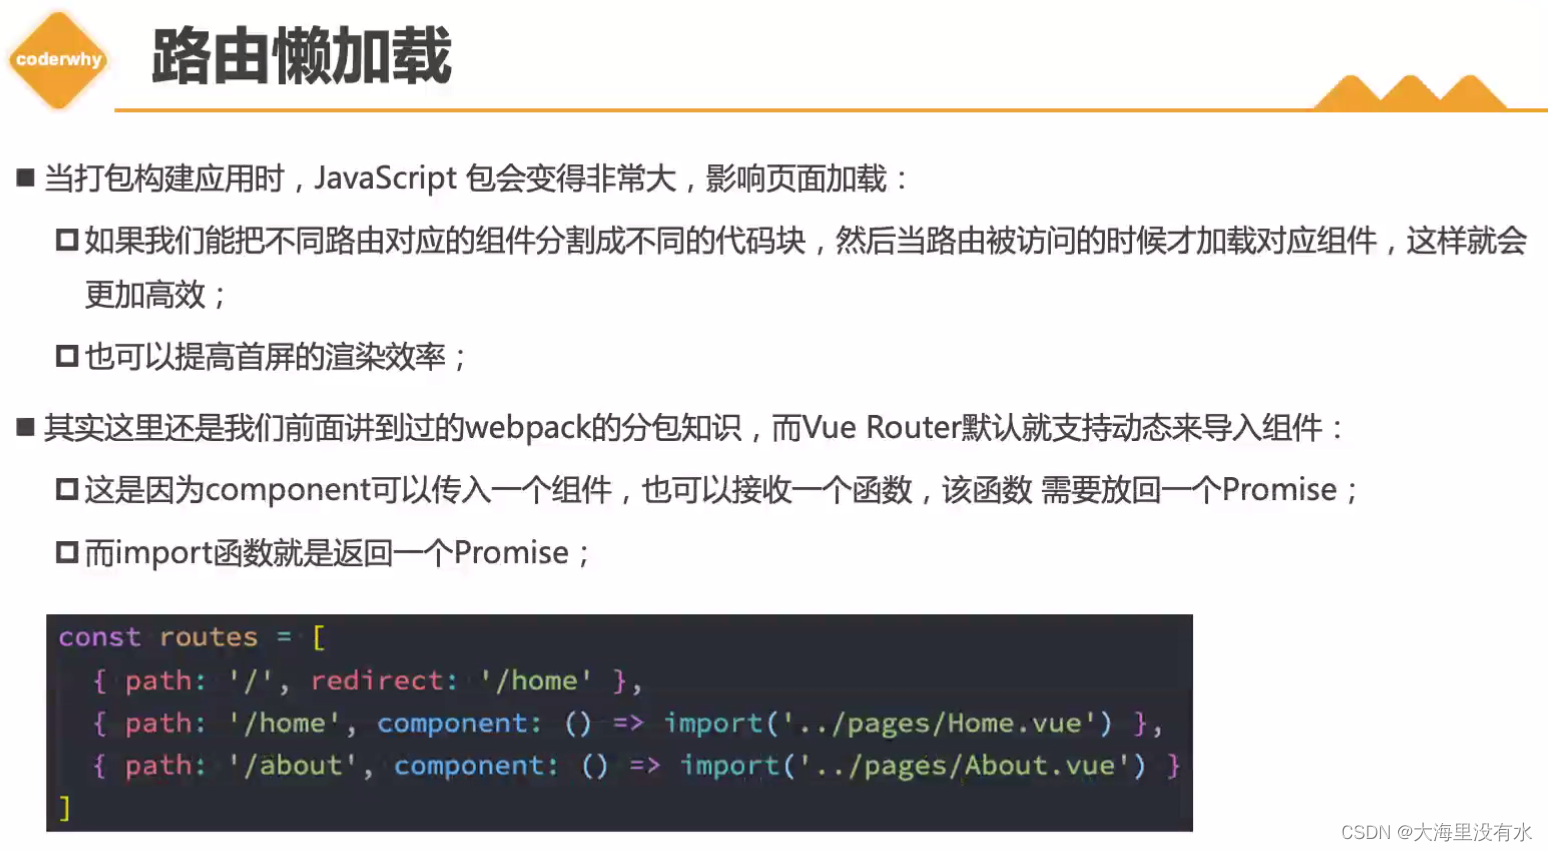
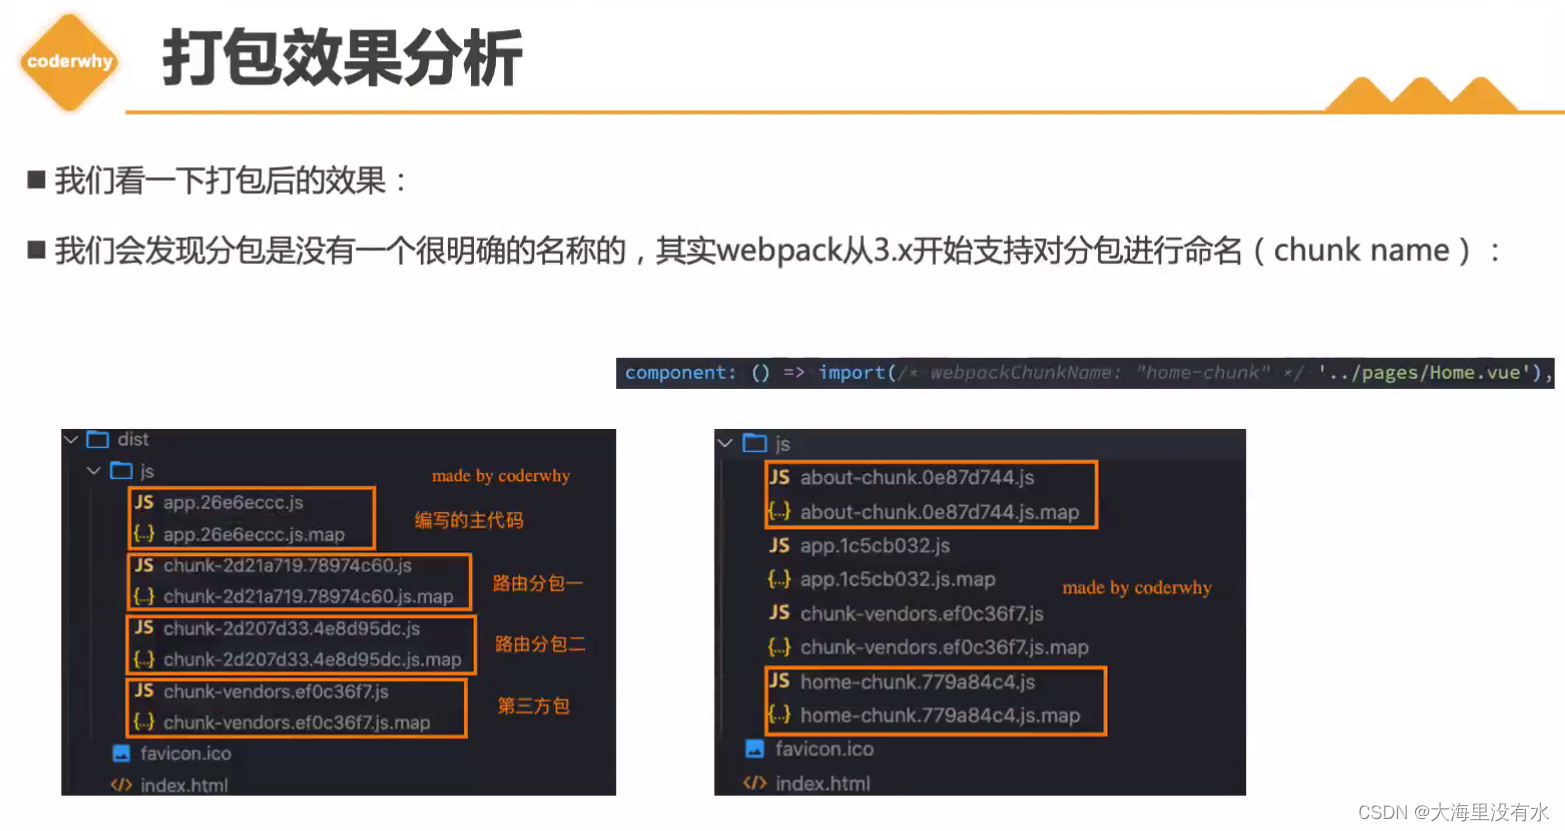
5、路由懒加载
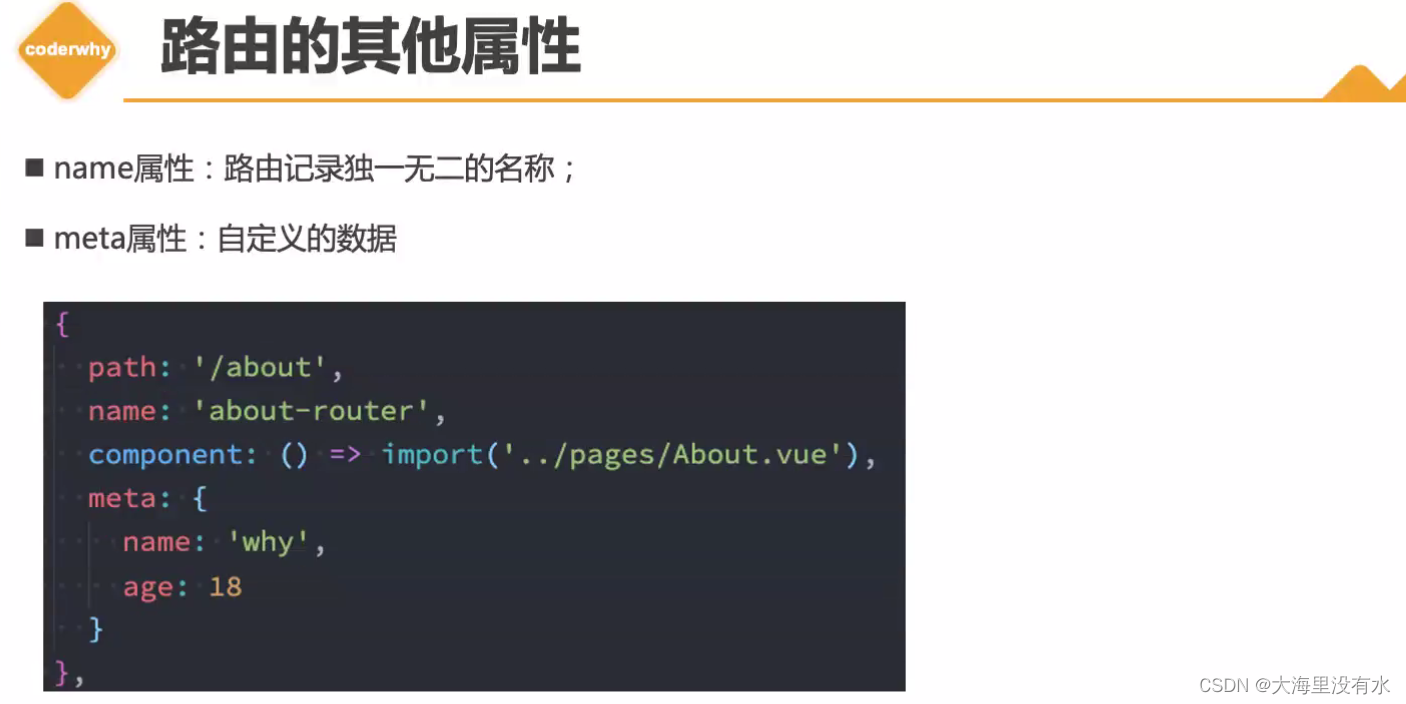
6、路由其他属性
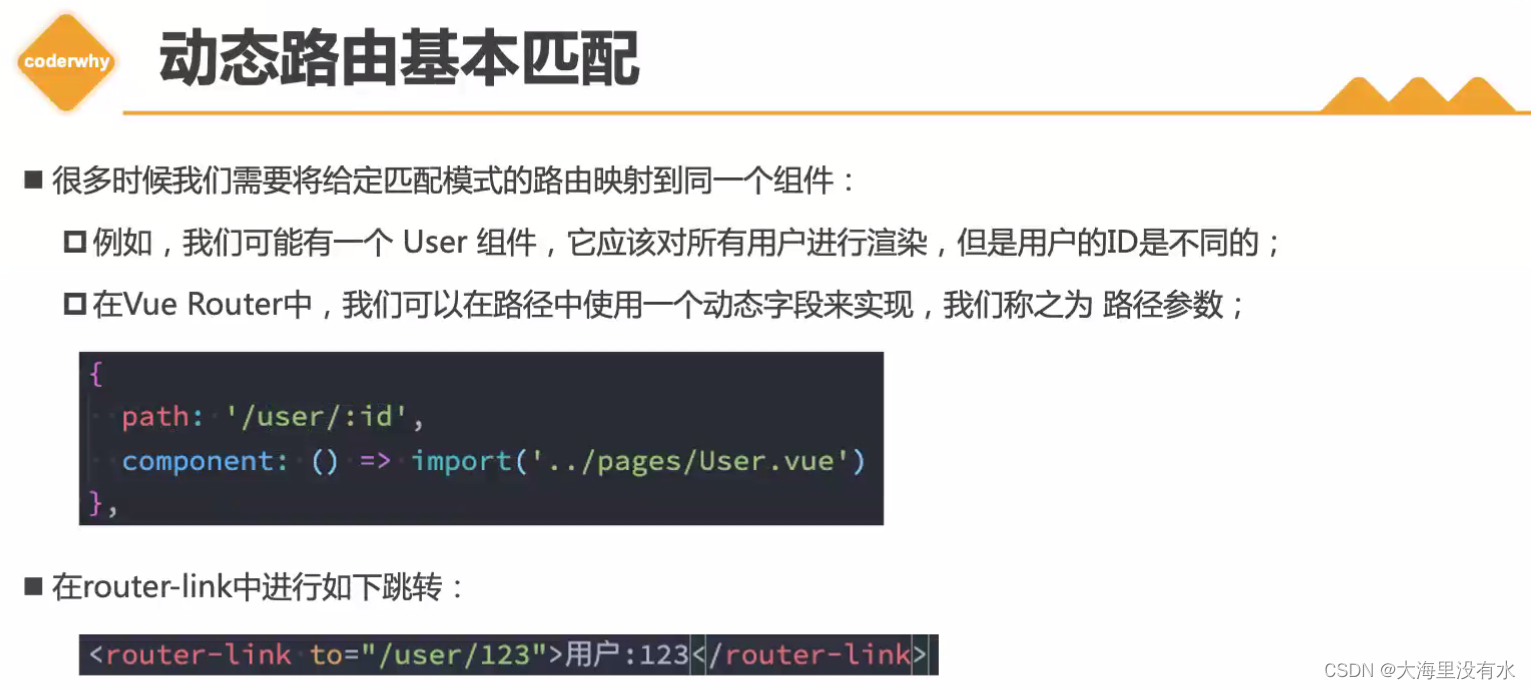
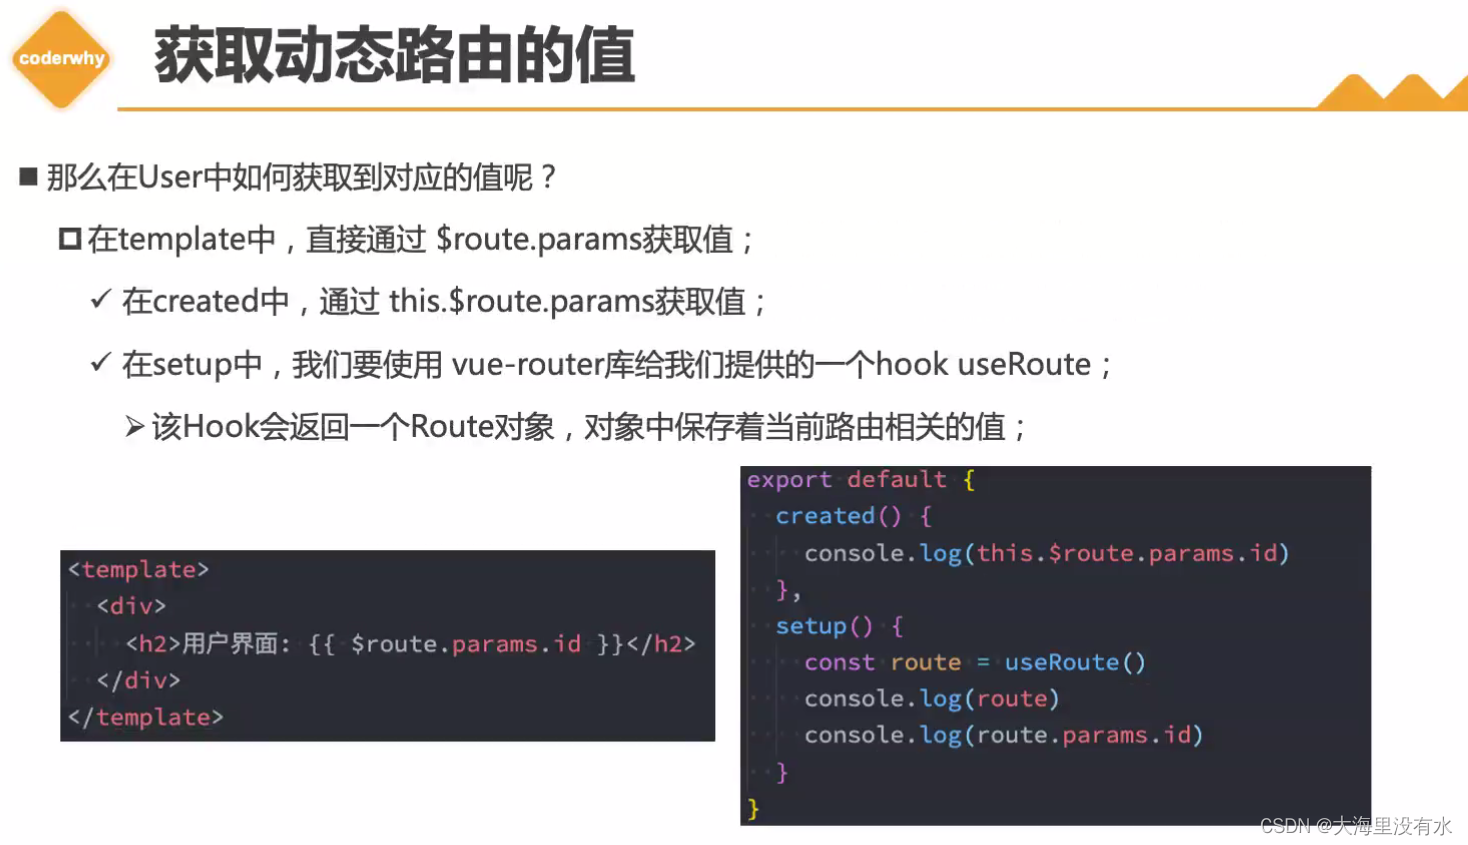
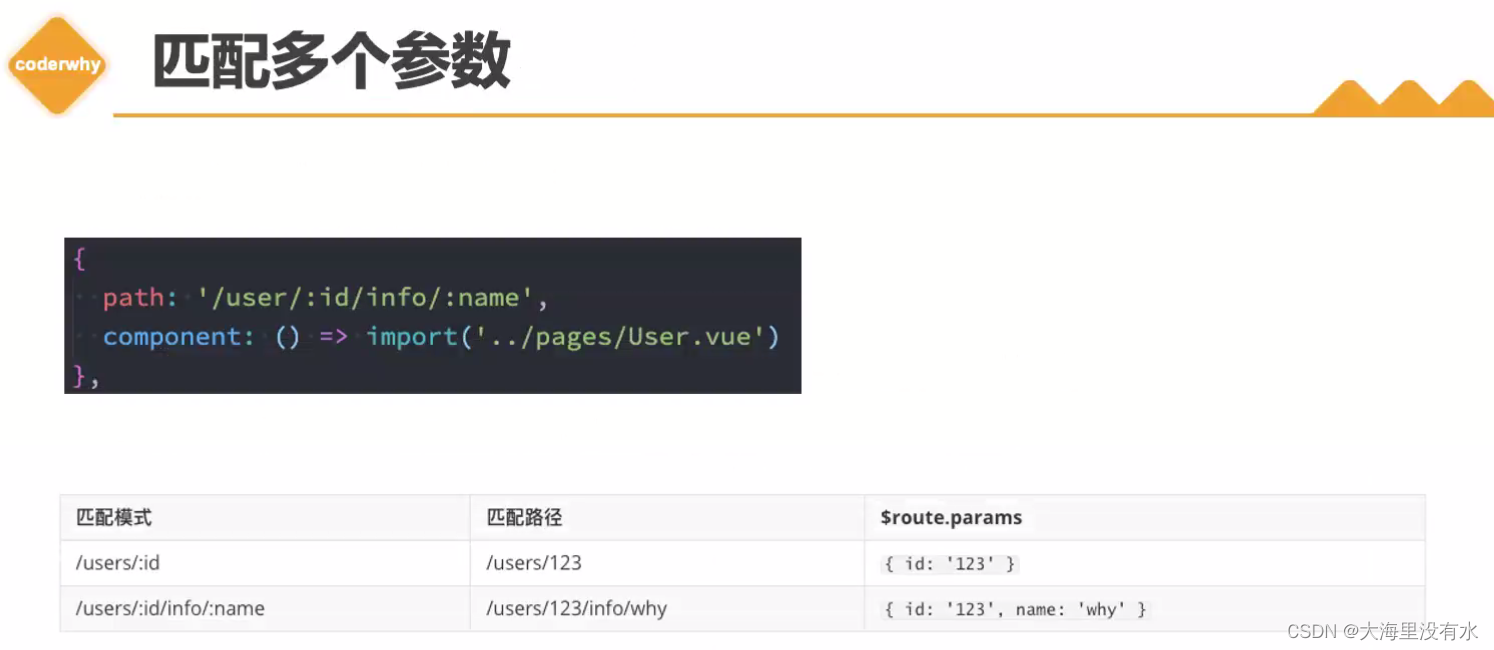
7、动态路由基本匹配 / 获取参数
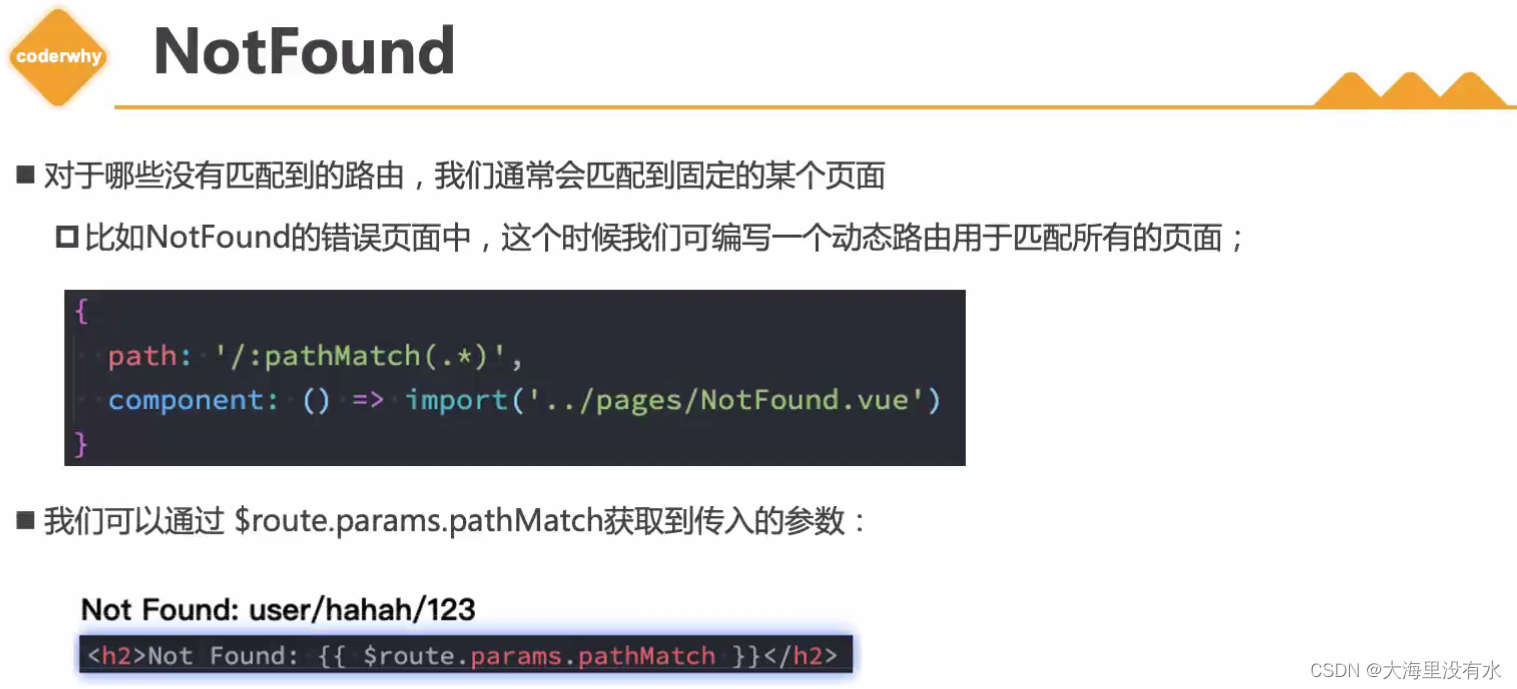
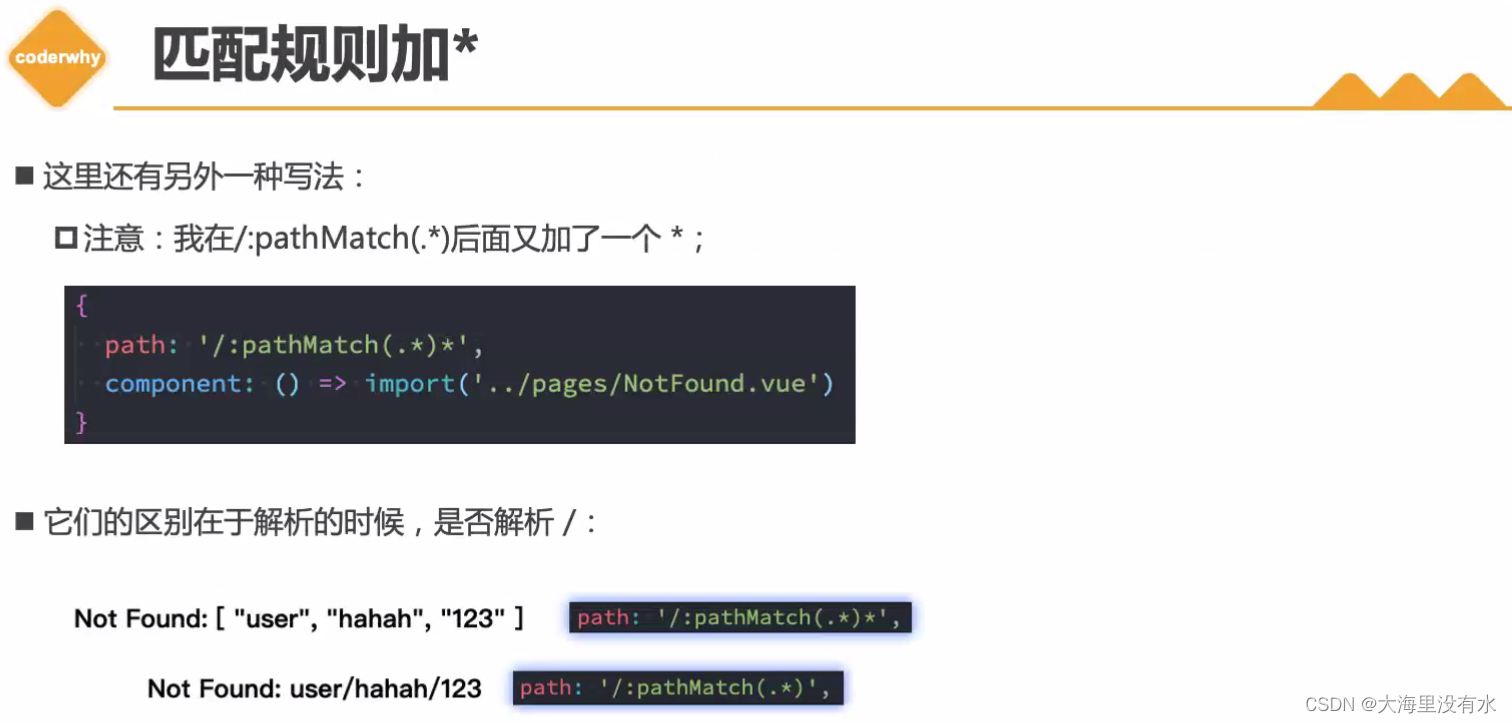
8、匹配不存在的路径
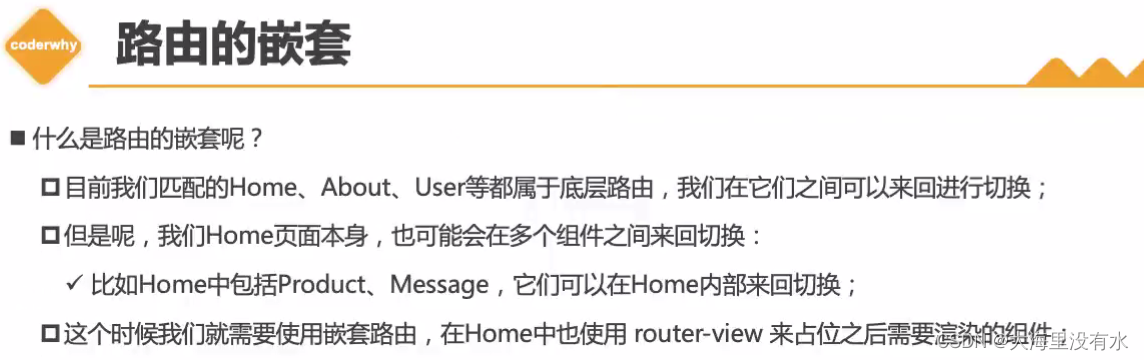
9、路由嵌套
10、编程式导航
  // 使用methods方式进行路由跳转
  // methods: {
  //   jumpToAbout() {
  //     // router
  //     this.$router.push("/about")
  //   }
  // },
  // setup中的写法
  setup() {
    const router = useRouter();

    const jumpToAbout = () => {
       router.push("/about")
       router.push({
         path: "/about",
         query: {
           name: "why",
           age: 18
         }
       })
      // router.replace("/about")
    };
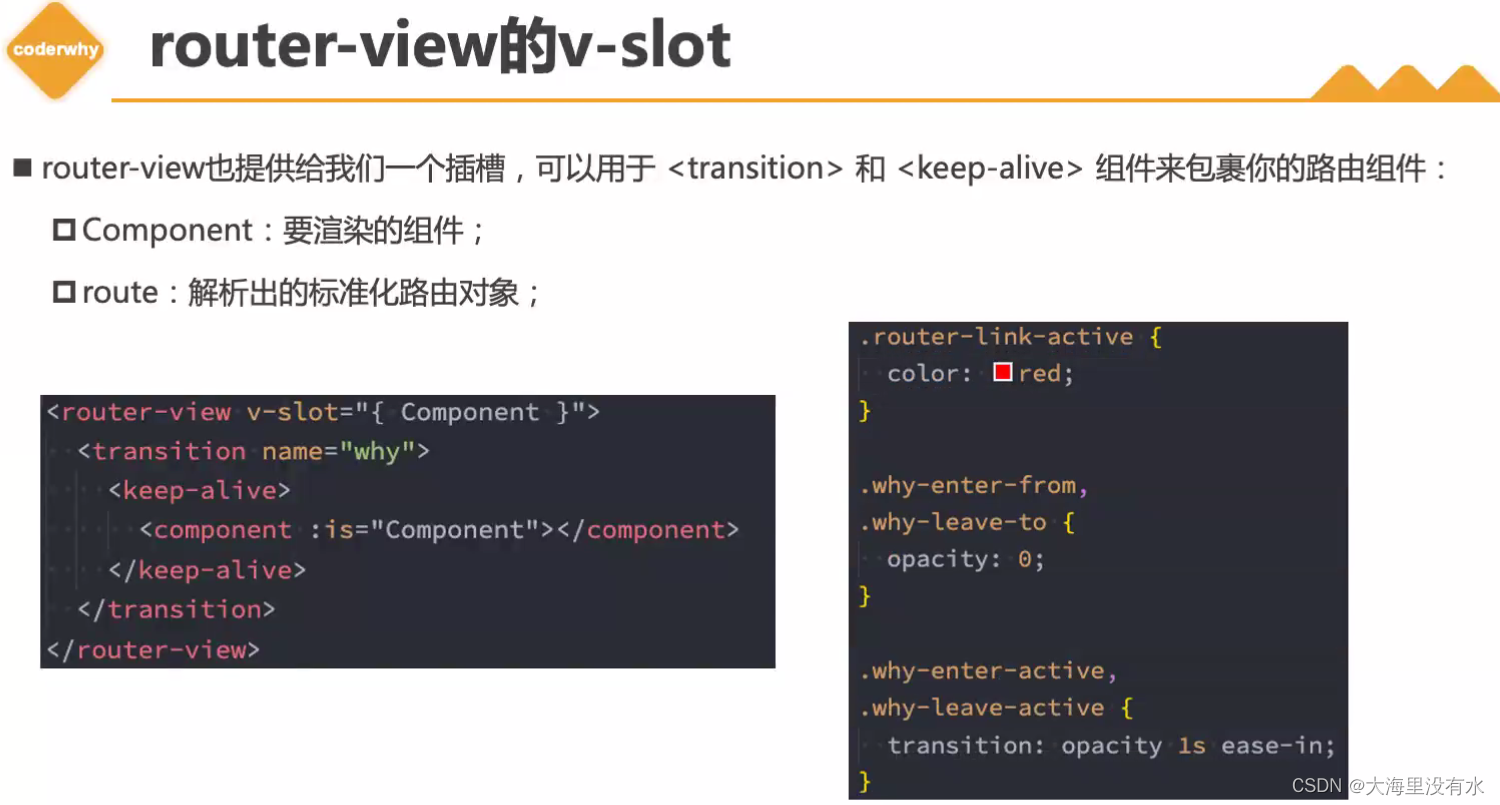
11、router-link、router-view/v-slot
注:我们在使用router-link 跟 router-view组件时,其实是:
1、app.use(router)
2、router.install = function(){
//全局注册
app.component(‘router-link’, {})
app.component(‘router-link’, {})
}
注: 3.x之前,<router-link>有个属性tag, 决定以后出来要渲染出来什么元素。默认渲染出来的是a元素;4.x之后没有tag元素了。可以通过插槽的方式

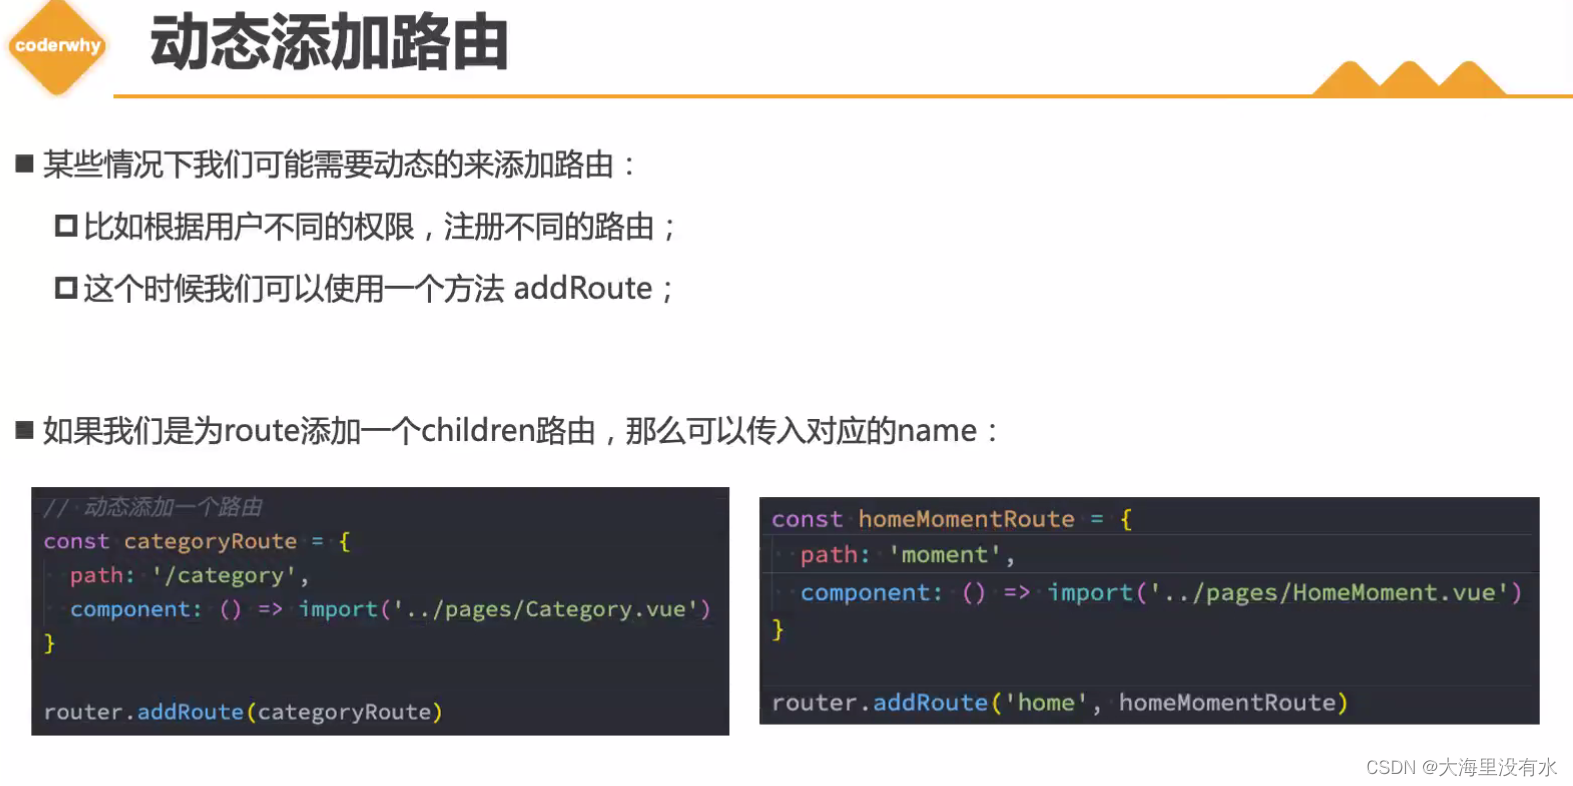
12、动态添加路由
账号 -> 角色 -> 权限 -> 不同的路由

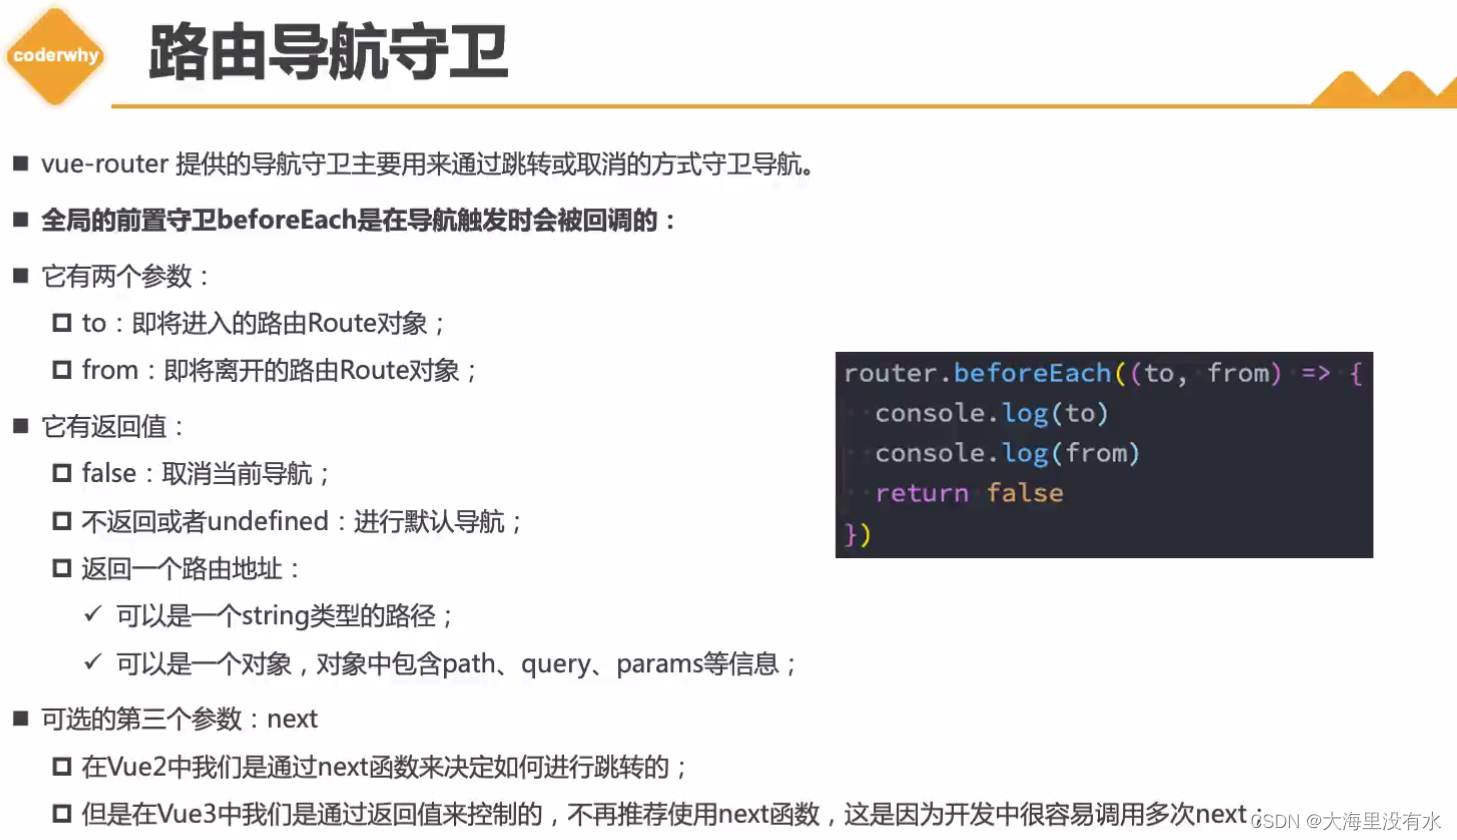
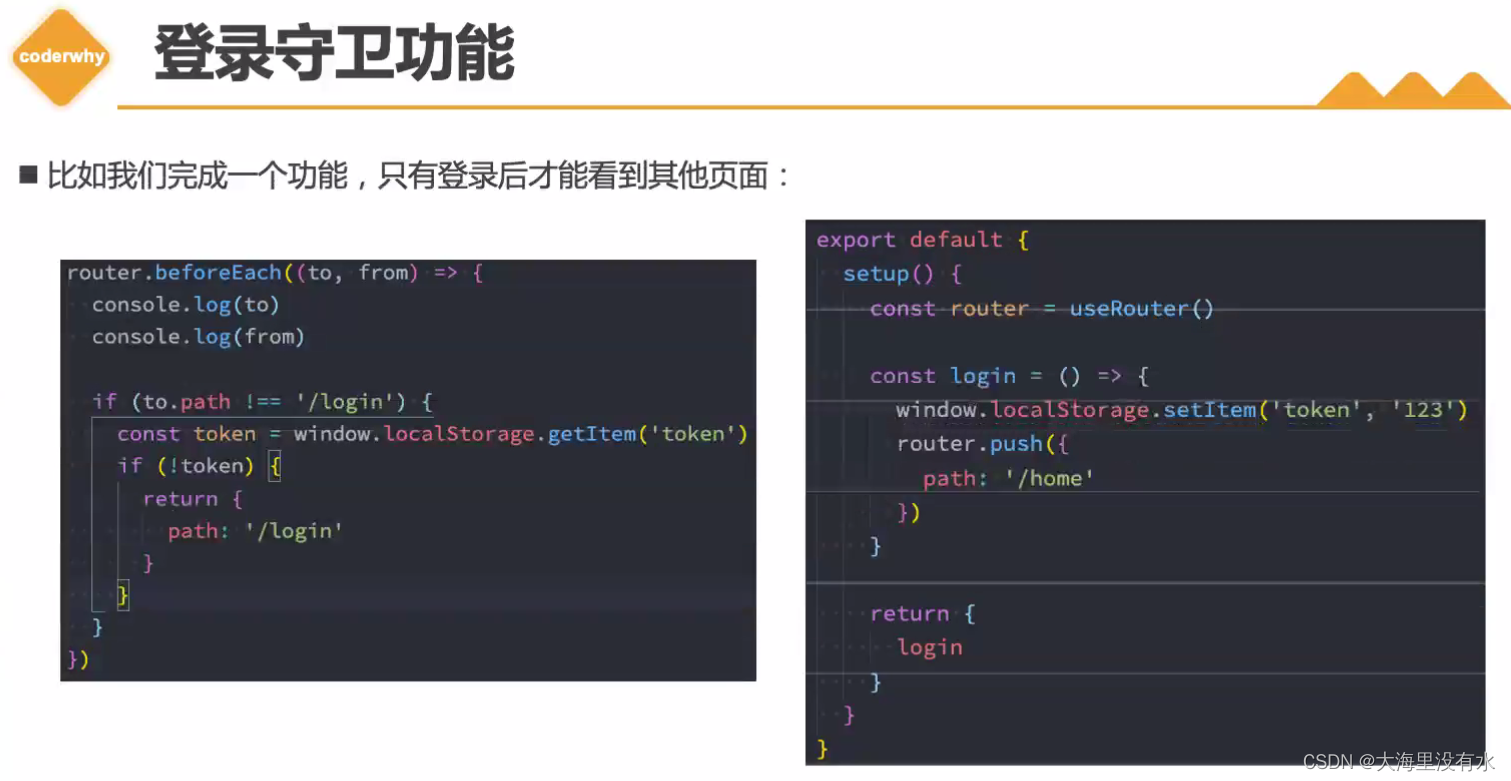
13、导航守卫


 873
873


 被折叠的 条评论
为什么被折叠?
被折叠的 条评论
为什么被折叠?
 到【灌水乐园】发言


