


建立项目MM-parent
1、建立project
建立多个项目的集成项目MM-parent,工程建立方式与单独建立java、web项目基本一致,建立"maven-project"类型项目,在选择组装方式时选择pom。
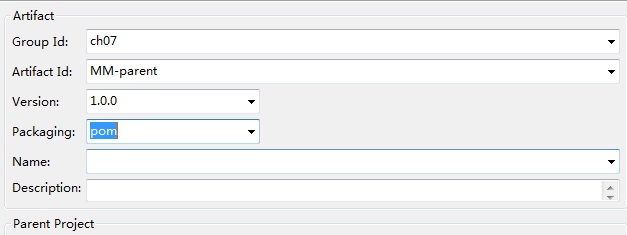
2、pom.xml
<modelVersion>4.0.0</modelVersion>
<groupId>ch07</groupId>
<artifactId>MM-parent</artifactId>
<version>1.0.0</version>
<packaging>pom</packaging>
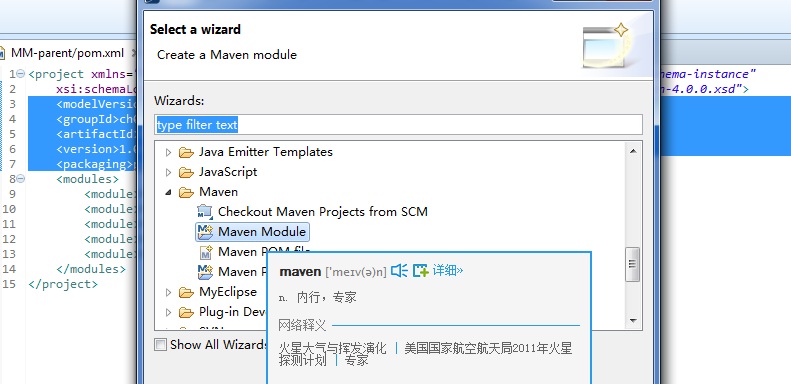
建立项目模块
选择"maven-model"为项目类型:
勾选创建一个简单项目,不用自己去设置,写模块名,然后选择父节点,下一步。
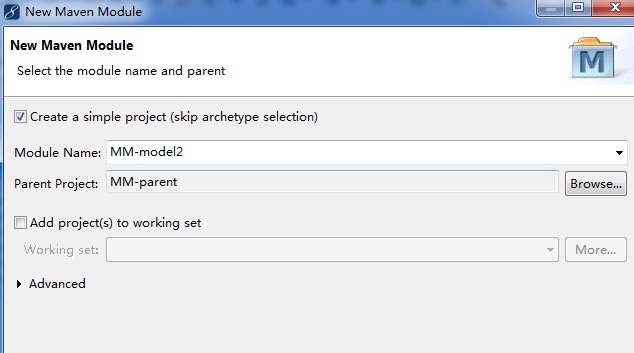
检查信息,点击完成,一个模块即建立好了。
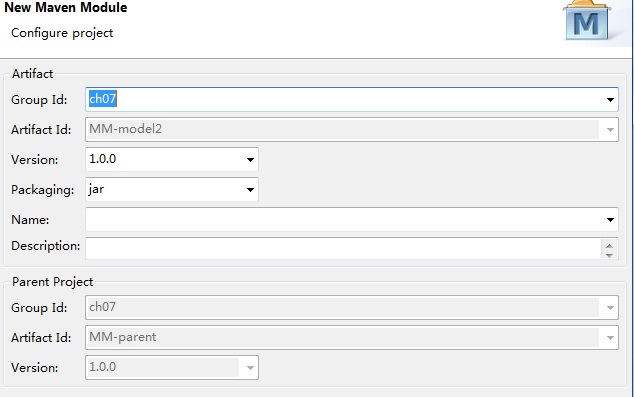
建立好的模块的pom.xml中的内容如下:
<parent>
<artifactId>MM-parent</artifactId>
<groupId>ch07</groupId>
<version>1.0.0</version>
</parent>
<groupId>ch07</groupId>
<artifactId>MM-model</artifactId>
<version>1.0.0</version>
可以看到,在xml中有一个parent节点,它表明了该项目的父项目。
按同样的方式分别建立:MM-model、MM-command、MM-persist、MM-weather、MM-webapp,其中MM-webapp的打包方式为war,其它为jar
建立好后,MM-parent的pom.xml变成了:
<modelVersion>4.0.0</modelVersion>
<groupId>ch07</groupId>
<artifactId>MM-parent</artifactId>
<version>1.0.0</version>
<packaging>pom</packaging>
<modules>
<module>MM-model</module>
<module>MM-command</module>
<module>MM-persist</module>
<module>MM-weather</module>
<module>MM-webapp</module>
</modules>
maven自动管理好了,项目及模块的对应关系,这是用modules和module来进行配置的。
至些一个内容为空的多模块架构的搭建就完成了。
丰富项目内容
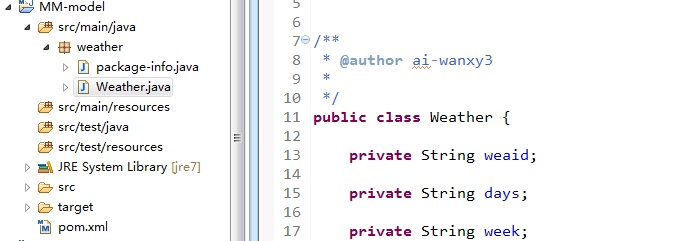
MM-model
MM-model模块主要放置对象模型,即BO类,将Weather放到里面,Weather类只是一个属性以及get和set方法,及重写了toString方法。
@Override
public String toString() {
return "cityid:" + cityid + ";days:" + days + ";temp_curr:" + temp_curr;
}
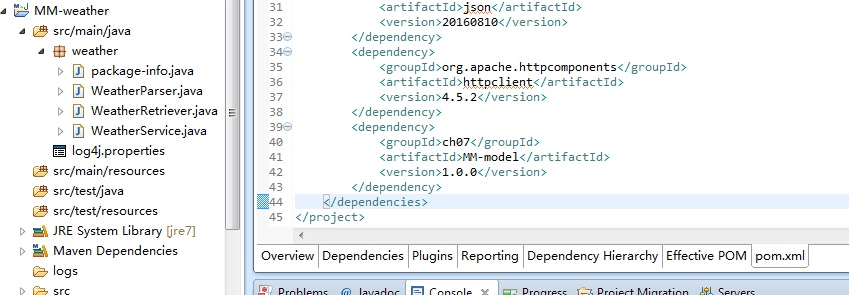
MM-weather
MM-weather模块,我们将其作为一个服务,它包括的功能有从气象服务接口查询天气情况,解析返回的Json数据、并返回Weather对象。
1、将WeatherParser.java、WeatherRetriever.java、WeatherService.java拷贝到MM-wather工程下。具体代码不再贴出来了,只在前面的基础上修改一些代码。
2、在src目录下增加log4j日志配置文件。
3、在pom.xml中增加slf4j、json、httpclient等依赖,由于服务中需要将天气信息解析成Weather对象,需要增加对MM-model的依赖,最终pom.xml配置及项目结构如下:
<dependencies>
<dependency>
<groupId>org.slf4j</groupId>
<artifactId>slf4j-log4j12</artifactId>
<version>1.7.21</version>
</dependency>
<dependency>
<groupId>junit</groupId>
<artifactId>junit</artifactId>
<version>4.12</version>
</dependency>
<dependency>
<groupId>org.apache.velocity</groupId>
<artifactId>velocity</artifactId>
<version>1.7</version>
</dependency>
<dependency>
<groupId>org.json</groupId>
<artifactId>json</artifactId>
<version>20160810</version>
</dependency>
<dependency>
<groupId>org.apache.httpcomponents</groupId>
<artifactId>httpclient</artifactId>
<version>4.5.2</version>
</dependency>
<dependency>
<groupId>ch07</groupId>
<artifactId>MM-model</artifactId>
<version>1.0.0</version>
</dependency>
</dependencies>
MM-persist
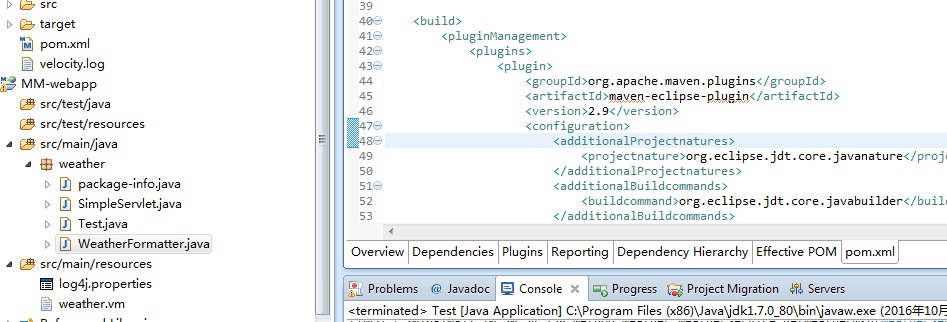
数据持久化模块,暂时不考虑相关功能。MM-webapp模块
MM-webapp模块提供页面访问功能,提供serlet接口,接口从MM-weather服务获取数据,并使用velocity模版返回数据。
1、将WeatherFrmatter.java和SimpleServlet.java拷贝到weather包下。
2、将log4j.properties和weather.vm拷贝到resources目录下。
3、配置web.xml:
<!-- servlet -->
<servlet>
<servlet-name>SimpleServlet</servlet-name>
<servlet-class>weather.SimpleServlet</servlet-class>
<load-on-startup>1</load-on-startup>
</servlet>
<!-- servlet-mapping -->
<servlet-mapping>
<servlet-name>SimpleServlet</servlet-name>
<url-pattern>/SimpleServlet</url-pattern>
</servlet-mapping>
、4、在pom.xml中增加依赖关系:
<dependencies>
<dependency>
<groupId>javax.servlet</groupId>
<artifactId>javax.servlet-api</artifactId>
<version>3.1.0</version>
</dependency>
<dependency>
<groupId>org.apache.velocity</groupId>
<artifactId>velocity</artifactId>
<version>1.7</version>
</dependency>
<dependency>
<groupId>ch07</groupId>
<artifactId>MM-weather</artifactId>
<version>1.0.0</version>
</dependency>
<dependency>
<groupId>org.mortbay.jetty</groupId>
<artifactId>jsp-2.1</artifactId>
<version>6.0.0</version>
</dependency>
</dependencies>
原本依赖于MM-weather和MM-model,但MM-weather中已经依赖了MM-model,所以只需要依赖MM-weather就可以了。
org.mortbay.jetty是启动jetty服务的依赖。
5、在pom.xml增加jetty插件:
<plugin>
<groupId>org.mortbay.jetty</groupId>
<artifactId>maven-jetty-plugin</artifactId>
</plugin>
项目构建及运行
1、在mm-parent目录下运行mvn clean install
2、然后在mm-webapp目录下运行mvn jetty:run就可以在jetty上发布工程了。
3、访问http://localhost:8080/MM-webapp/SimpleServlet,能访问就正常了。(发布、测试是不是很简单。)


 38万+
38万+


 被折叠的 条评论
为什么被折叠?
被折叠的 条评论
为什么被折叠?
 到【灌水乐园】发言


