


场景
鸿蒙基于JS搭建HelloWorld并修改国际化文件:
https://blog.csdn.net/BADAO_LIUMANG_QIZHI/article/details/118274050
在上面基于JS搭建起来Hello World之后,
怎样发起网络请求获取数据。
注:
博客:
https://blog.csdn.net/badao_liumang_qizhi
关注公众号
霸道的程序猿
获取编程相关电子书、教程推送与免费下载。
实现
fetch API接口
首先需要配置网络访问的权限
在config.json中的module标签中添加
    "reqPermissions": [
      {
        "reason": "",
        "name": "ohos.permission.INTERNET"
      }
    ],
添加位置如下

默认支持https,如果要支持http,需要在config.json里增加network标签,属性标识
"usesCleartext": true。即:

  "deviceConfig": {
    "default": {
      "network": {
        "cleartextTraffic": true
      }
    }
  },
然后在pages下新建一个页面,右键new-JS Page

这里叫fetch,然后就会在pages下面新增fetch页面,下面有hml、js、css。
然后打开js文件
首先需要导入接口模块
import fetch from '@system.fetch';然后再生命周期函数onInit中通过fetch.fetch发起请求。
    onInit() {
        //发起网络请求
        fetch.fetch({
            url:`https://qqlykm.cn/api/api/tq.php?city=北京`,
            responseType:"json",
            success:(resp)=>
            {
                this.winfo = resp.data;
            }
        });
    }
其中url就是网络请求的url
这里是从网络上找的免费api

然后将接口的返回值给属性winfo
    data: {
        winfo:"默认数据"
    },
完整的js代码为
import router from '@system.router';
import fetch from '@system.fetch';
export default {
    data: {
        winfo:"默认数据"
    },
    goback(){
        router.back();
    },
    onInit() {
        //发起网络请求
        fetch.fetch({
            url:`https://qqlykm.cn/api/api/tq.php?city=北京`,
            responseType:"json",
            success:(resp)=>
            {
                this.winfo = resp.data;
            }
        });
    }
}
其中route和goback是用来实现路由跳转
hml页面上
<div class="container">
<button @click="goback">返回</button>
<text >
{{ winfo }}
</text>
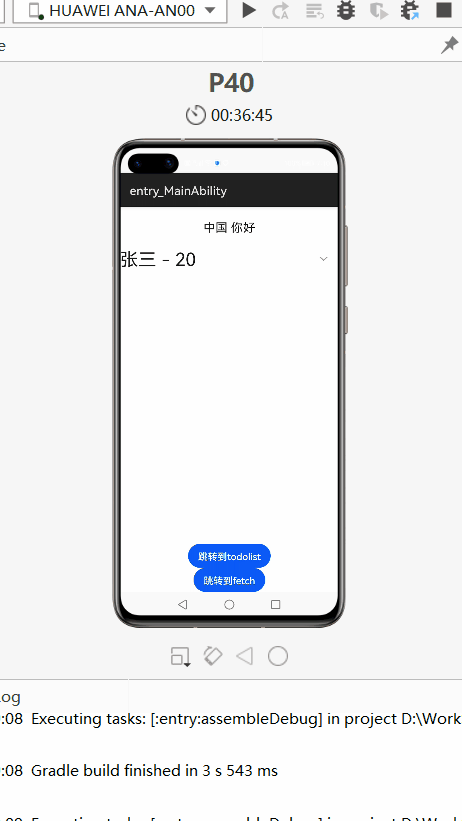
</div>效果
fetch的参数有
| 参数名 | 类型 | 必填 | 说明 |
|---|---|---|---|
| url | string | 是 | 资源地址。 |
| data | 否 | 请求的参数,可选类型是字符串或者json对象。 | |
| header | Object | 否 | 设置请求的header。 |
| method | string | 否 | 请求方法默认为GET,可选值为:OPTIONS、GET、HEAD、POST、PUT、DELETE、TRACE。 |
| responseType | string | 否 | 默认会根据服务器返回header中的Content-Type确定返回类型,支持文本和json格式。详见success返回值。 |
| success | Function | 否 | 接口调用成功的回调函数。 |
| fail | Function | 否 | 接口调用失败的回调函数。 |
| complete | Function | 否 | 接口调用结束的回调函数。 |
| data | Content-Type | 说明 |
|---|---|---|
| string | 不设置 | Content-Type默认为 text/plain,data值作为请求的body。 |
| string | 任意 Type | data值作为请求的body。 |
| Object | 不设置 | Content-Type默认为application/x-www-form-urlencoded,data按照资源地址规则进行encode拼接作为请求的body。 |
| Object | application/x-www-form-urlencoded | data按照资源地址规则进行encode拼接作为请求的body。 |
success返回值:
| 参数名 | 类型 | 说明 |
|---|---|---|
| code | number | 表示服务器的状态code。 |
| data | 返回数据类型由responseType确定,详见responseType与success中data关系。 | |
| headers | Object | 表示服务器response的所有header。 |
| responseType | data | 说明 |
|---|---|---|
| 无 | string | 服务器返回的header中的type如果是text/*或application/json、application/javascript、application/xml,值为文本内容。 |
| text | string | 返回文本内容。 |
| json | Object | 返回json格式的对象。 |


 147
147


 被折叠的 条评论
为什么被折叠?
被折叠的 条评论
为什么被折叠?
 到【灌水乐园】发言


