


 本文详细介绍了如何从下载GN源码开始,通过gen.py生成out文件夹,使用ninja编译并运行测试。在Linux环境下,默认使用Clang++编译器。以GN的simple_build为例,展示了如何编译执行hello项目,添加新的编译目标,并在BUILD.gn中配置静态库和配置项。最后,讨论了gn和ninja的环境变量设置及其构建过程的查看方法。
- 从gn.googlesource.com/gn 下载gn源码
下载gn之后的文档格式为
此时不包含out文件
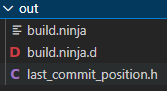
2. 使用python build/gen.py 命令之后,会出现out文件夹
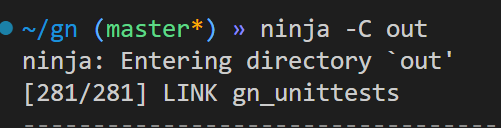
3. 执行ninja -C out将执行ninja的编译过程,用于link gn_unittests
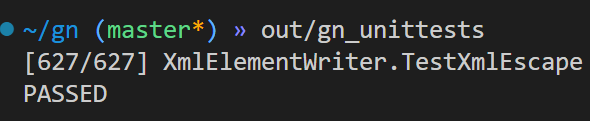
4. 运行tests:执行out/gn_unittests,运行完成出现PASSED
5. 在Linux上,默认编译器是Clang ++,将在PATH中找到一个最新版本。也可以通过设置CC,CXX和AR来进行覆盖。
GN构建过程举例
在example/simple_build中有一个最小配置项目
1. 对原有的hello项目进行编译执行
在gn/examples/simple_build目录下执行:
../../out/gn gen out -C
将在simple_build下生成out文件夹
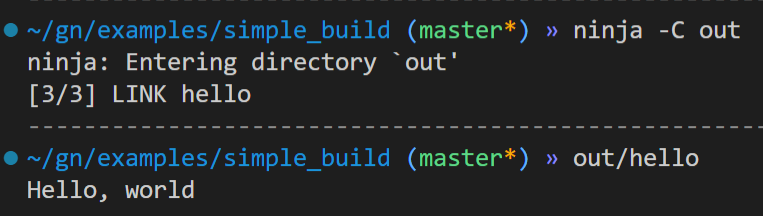
2. 执行:
ninja -C out
out/hello
3. 新增一个build编译目标
在原有的hello编译目标基础中,添加一个编译目标,tutorial,位于simple_build目录下
创建BUILD.gn文件并添加代码
executable("tutorial") {
  sources = [
    "tutorial.cc",
  ]
}
现在,我们只需要分辨出有关这个新目标的构建。在父(simple_build)目录中打开build.gn文件。GN首先加载此根文件,然后从这里加载我们的所有依赖项,因此我们只需要从此文件中添加对我们新目标的引用。
您可以将我们的新目标添加为来自simple_build/build.gn文件中现有目标之一的依赖性,但是将可执行文件作为另一个可执行文件的可执行文件通常没有很大的意义(它们不能链接)。因此,让我们成为一个“tool”group。在GN中,“group”只是一系列未遵守或链接的依赖项的集合:
4. 在simple_build目录下的BUILD.gn中添加
group("tools") {
  deps = [
    # This will expand to the name "//tutorial:tutorial" which is the full name
    # of our new target. Run "gn help labels" for more.
    "//tutorial",
  ]
}
5. 同时可以在static_library中新增config
关于BUILD.gn的完整配置为
executable("hello") {
sources = [ "hello.cc" ]
deps = [
":hello_shared",
":hello_static",
]
print("The configs for the target $target_name are $configs")
}
shared_library("hello_shared") {
sources = [
"hello_shared.cc",
"hello_shared.h",
]
defines = [
"HELLO_SHARED_IMPLEMENTATION",
"ENABLE_DOOM_MELON=0",
]
}
static_library("hello_static") {
sources = [
"hello_static.cc",
"hello_static.h",
]
configs += [
":my_lib_config",#add my lib_config
]
}
config("my_lib_config") {
defines = [ "ENABLE_DOOM_MELON" ]
include_dirs = [ "//third_party/something" ]
}
declare_args() {
enable_teleporter = true
enable_doom_melon = false
}
group("tools") {
deps = [
# This will expand to the name "//tutorial:tutorial" which is the full name
# of our new target. Run "gn help labels" for more.
"//tutorial",
]
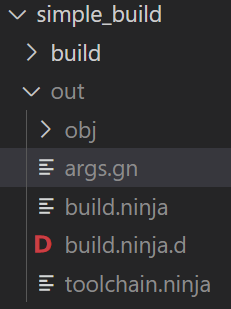
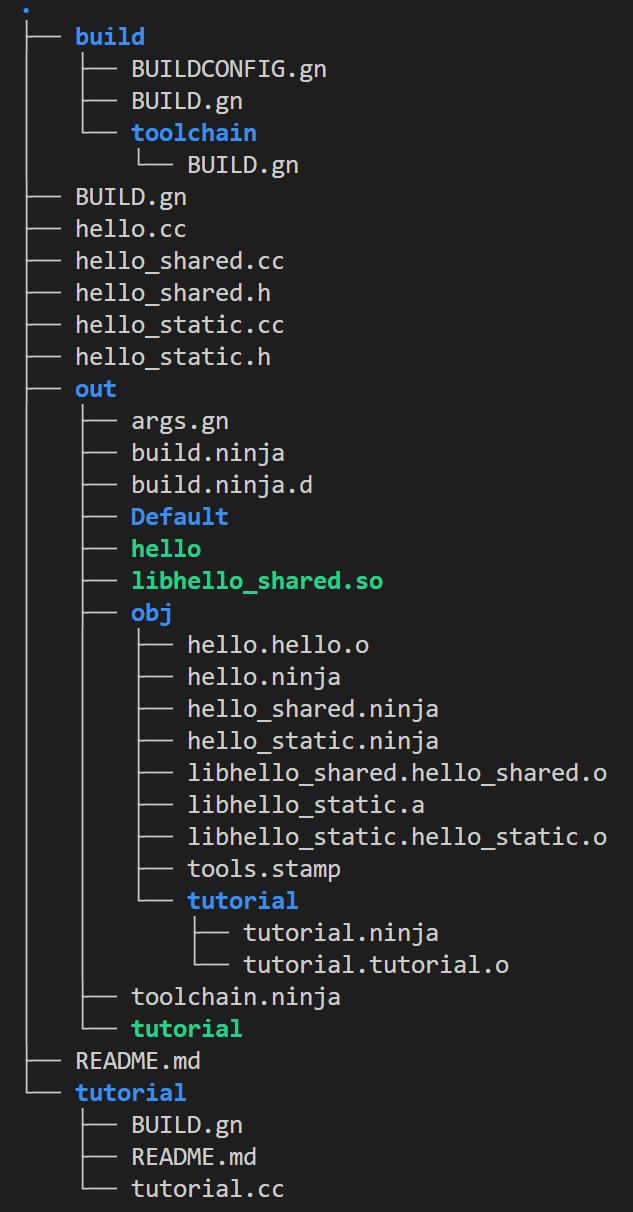
}6. 编译完成后,可以产生如下的目录结构
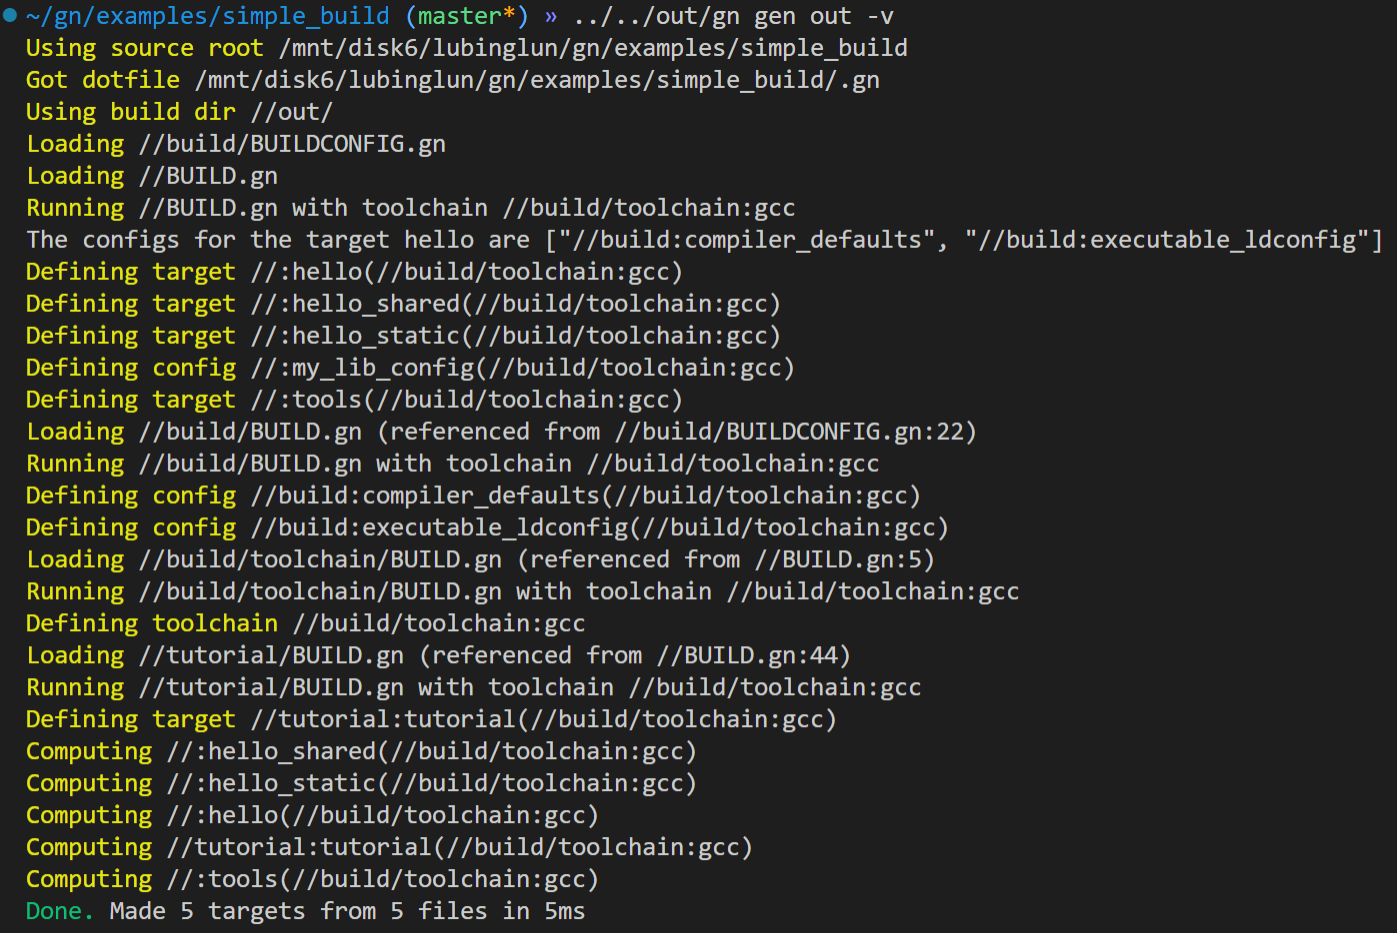
7. gn构建的过程可以通过-v查看
8. 查看ninja的过程

9. 可以将gn和ninja添加至环境变量
下载gn:https://repo.huaweicloud.com/harmonyos/compiler/gn/
下载ninjia:https://repo.huaweicloud.com/harmonyos/compiler/ninja/
将gn和ninja添加进~/.bashrc的最后一行,本人直接将openharmony中的gn和ninja工具所在目录放在了环境变量中。
![]()


 1640
1640

 被折叠的 条评论
为什么被折叠?
被折叠的 条评论
为什么被折叠?
 到【灌水乐园】发言


