from imutils import face_utils
import numpy as np
import imutils
import dlib
import cv2
# intialize dlib face detector adn then create the facial landmark predictor
detector = dlib.get_frontal_face_detector()
predictor = dlib.shape_predictor("shape_predictor_68_face_landmarks.dat")# load the image,resize it and convert it into grayscale# resice the size of the image into 500 width# image = cv2.imread(args["image"])
image = cv2.imread("1.jpg")
image = imutils.resize(image,width =500)# change the BGR into RGB
gray = cv2.cvtColor(image,cv2.COLOR_BGR2GRAY)# detect face in the grayscale face# detecting the bounding box of faces in our image# the second parameter is the number of image pyramid layer# prior applying the detector we must upscaling the image
rects = detector(gray,1)# Given the coordinates of the face in the image# loop over the face detectionsfor(i,rect)inenumerate(rects):# determine the facial landmarks for the face region# convert the coordiantes of the facial landmark to numpy array# predictor is to detect the facila landmark
shape = predictor(gray,rect)# convert the dlib objects to a numpy array
shape = face_utils.shape_to_np(shape)# loop over the face parts individuallyfor(name,(i,j))in face_utils.FACIAL_LANDMARKS_IDXS.items():# clone the original image to draw on it# display the name of the face part on the image
clone = image.copy()
cv2.putText(clone,name,(10,30),
cv2.FONT_HERSHEY_SIMPLEX,0.7,(0,0,255),2)# loop over the subset of facila landmarks# drawing the specific face partfor(x,y)in shape[i:j]:
cv2.circle(image,(x,y),1,(0,0,255),-1)# exract the ROI of the face region as separate image(x,y,w,h)= cv2.boundingRect(np.array([shape[i:j]]))
roi = image[y:y+h,x:x+w]
roi = imutils.resize(roi,width=250,inter=cv2.INTER_CUBIC)# show the particular face part
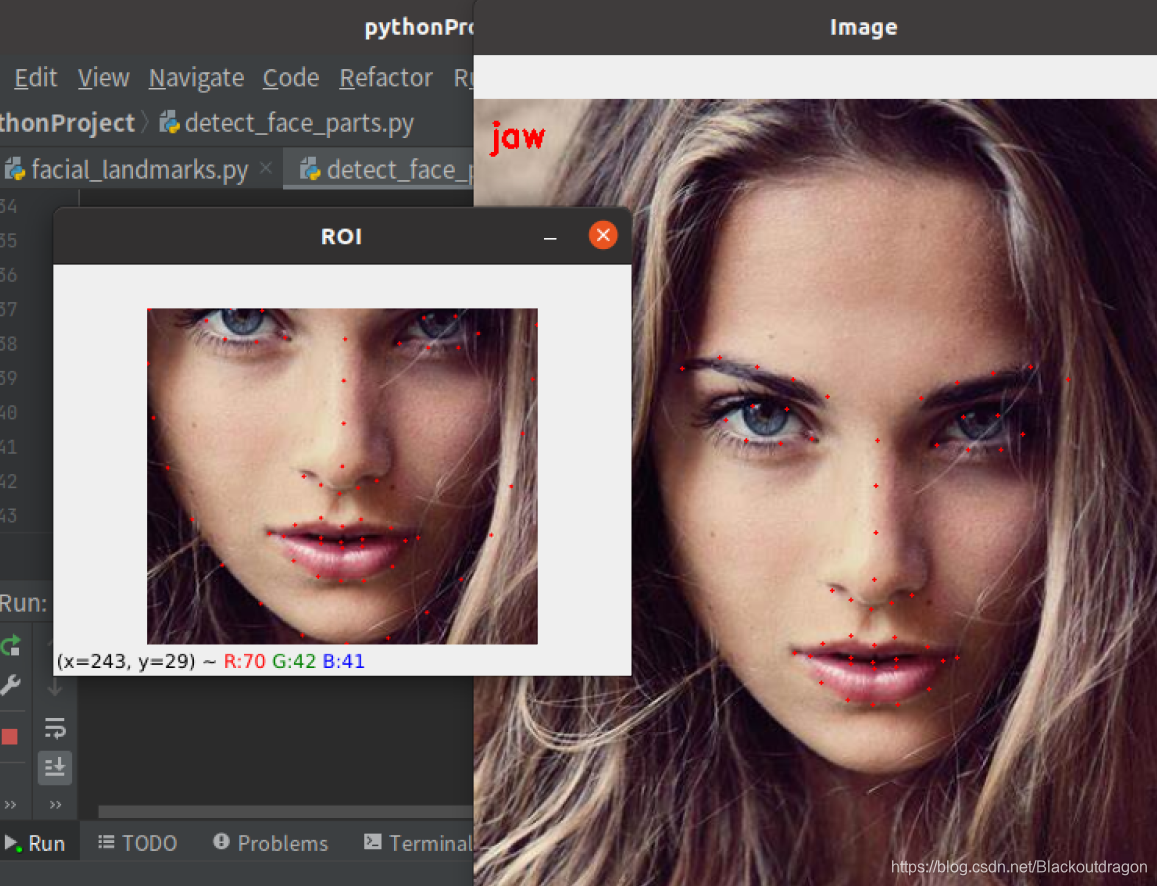
cv2.imshow("ROI",roi)
cv2.imshow("Image",clone)
cv2.waitKey(0)# visualize all facial landmarks with a transparent overlay
output = face_utils.visualize_facial_landmarks(image,shape)
cv2.imshow("image",output)
cv2.waitkey(0)


 被折叠的 条评论
为什么被折叠?
被折叠的 条评论
为什么被折叠?
 到【灌水乐园】发言


