


一、先下载nginx
nginx news![]() http://nginx.org/ 使⽤的版本是1.8.0版本。
http://nginx.org/ 使⽤的版本是1.8.0版本。
二、配置yum源为阿里云(这一步可配可不配)。
1、cd /etc/yum.repos.d/
2、备份⼀下:cp CentOS-Base.repo CentOS-Base.repo.bak
3、下载阿⾥云镜像到本地:
curl -o /etc/yum.repos.d/CentOS-Base.repo https://mirrors.aliyun.com/repo/Centos-7.repo
4、清除yum的缓存
yum clean all
yum makecache
三、安装环境
yum install -y gcc-c++
yum install -y pcre pcre-devel
yum install -y zlib zlib-devel
yum install -y openssl openssl-devel
四、上传
cd /home/
mkdir software
cd software
五、解压
tar -zxvf nginx-1.8.0.tar.gz
六、使⽤configure命令创建⼀makeFile⽂件
先把没有的文件夹创建出来:
mkdir -p /var/temp/nginx/client
进入的nginx目录:
cd nginx-1.8.0
七、安装
./configure \
--prefix=/usr/local/nginx \
--pid-path=/var/run/nginx/nginx.pid \
--lock-path=/var/lock/nginx.lock \
--error-log-path=/var/log/nginx/error.log \
--http-log-path=/var/log/nginx/access.log \
--with-http_gzip_static_module \
--http-client-body-temp-path=/var/temp/nginx/client \
--http-proxy-temp-path=/var/temp/nginx/proxy \
--http-fastcgi-temp-path=/var/temp/nginx/fastcgi \
--http-uwsgi-temp-path=/var/temp/nginx/uwsgi \
--http-scgi-temp-path=/var/temp/nginx/scgi \
--with-http_stub_status_module
八、
1、make
2、make install
九、验证是否成功
1、cd /usr/local/nginx
2、ll
十、启动nginx
1、cd sbin (注不要打 cd /sbin)
2、启动:./nginx
3、启动后查看是否有nginx: ps -aux | grep nginx
root      52684  0.0  0.0  24896   768 ?        Ss   13:12   0:00 nginx: master process ./nginx
nobody    52685  0.0  0.0  25324  1456 ?        S    13:12   0:00 nginx: worker process
root      53227  0.0  0.0 112824   984 pts/0    R+   13:13   0:00 grep --color=auto nginx
查看到有两个进程:master worker
十一、访问Nginx的web页面:
注:ip地址是自己的ip不要打我的
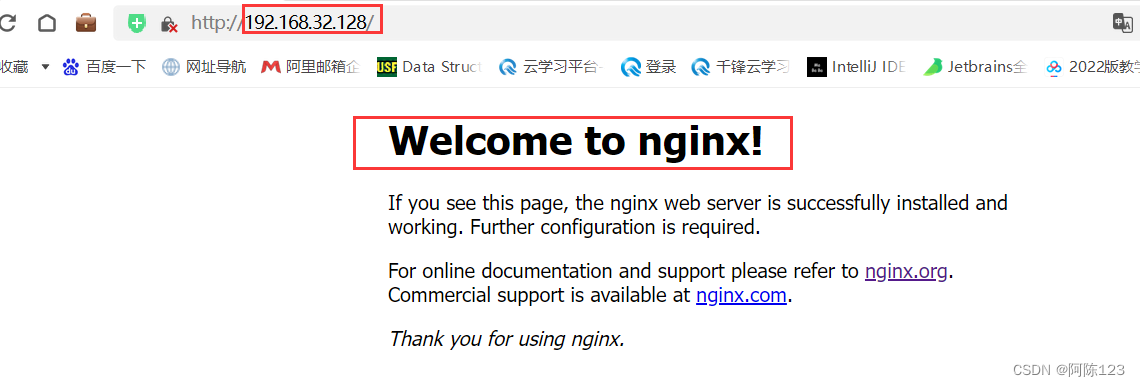
如果防火墙忘记关闭,是访问不了网址的。Nginx的默认端口是80。
补充:nginx的操作
关闭nginx:
./nginx -s stop
推荐使⽤:
./nginx -s quit
刷新(重启)配置⽂件:
./nginx -s reload


 1850
1850


 被折叠的 条评论
为什么被折叠?
被折叠的 条评论
为什么被折叠?
 到【灌水乐园】发言


