


目录
ImGui::SliderInt、ImGui::SliderFloat函数
创建窗口
包含文件(以Opengl3为例):
#include "imgui.h"
#include "backends/imgui_impl_glfw.h"
#include "backends/imgui_impl_opengl3.h"
ImGui::Begin()创建窗口,窗口展开则返回true:
	if (ImGui::Begin("Test"))
	{
		ImGui::Text("Aa");
	}ImGui::End();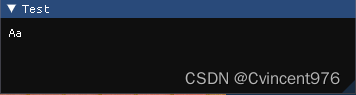
设置窗口大小,若调用没有Next的函数,则后面的窗口都会以这个大小创建,ImVec2:
	ImGui::SetNextWindowSize(ImVec2(500, 500));//ImVec2(x, y)
	//ImGui::SetWindowSize(ImVec2(500, 500));
	if (ImGui::Begin("Test"))
	{

	}ImGui::End();
Begin函数
bool ImGui::Begin(const char* name, bool* p_open, ImGuiWindowFlags flags)name:设置名称 ;
p_open:用于设置是否在右上角有关闭按钮 ,当按下按钮时,p_open为false;ImGuiWindowFlags:设置窗口属性,如_NoResize禁用改变大小,NoCollapse禁用折叠:
ImGui::Begin("Test"),NULL,ImGuiWindowFlags_NoResize | ImGuiWindowFlags_NoCollapse)设置字体
加载字体的函数:
ImFont* ImFontAtlas::AddFontFromFileTTF(const char* filename, float size_pixels, const ImFontConfig* font_cfg_template, const ImWchar* glyph_ranges)输入中文需要使用glyph_ranges参数:
		//默认
		io.Fonts->AddFontDefault();
		//加载字体
		ImFont* mainfont = io.Fonts->AddFontFromFileTTF("path.ttf", 18.f,NULL, io.Fonts->GetGlyphRangesChineseSimplifiedCommon());
		ImGui::PushFont(mainfont);
		//.....此处内容为mainfont字体
		ImGui::PopFont();
io.Fonts->AddFontFromFileTTF("path/path0/font.ttf", 18.0f);
io.Fonts->AddFontFromFileTTF("path/path1/font.ttf", 18.0f);
io.FontDefault = io.Fonts->Fonts[0];checkbox函数
bool ImGui::Checkbox(const char* label, bool* v)label:标签
v:是否勾选
	bool testbool = false;//在渲染循环外
	ImGui::SetNextWindowSize(ImVec2(500, 500));
	if (ImGui::Begin("Test"),NULL)
	{
		ImGui::Checkbox("check1", &testbool);
	}ImGui::End();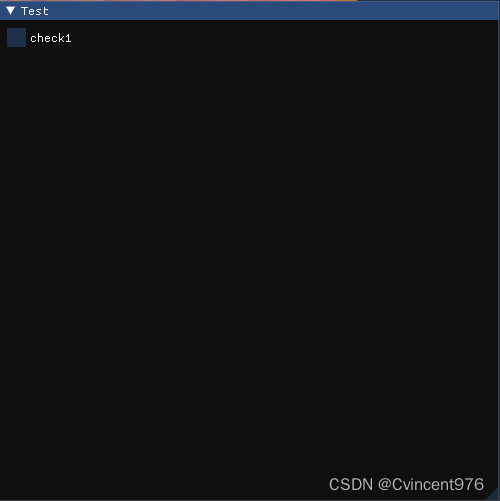
Button函数
bool ImGui::Button(const char* label, const ImVec2& size_arg)label:标签;
size_args:按钮大小
点击后返回true:
		if (ImGui::Button("Click me!"))
		{
			...//点击后执行的任务
}![]()
ImGui::SliderInt、ImGui::SliderFloat函数
bool ImGui::SliderInt(const char* label, int* v, int v_min, int v_max, const char* format, ImGuiSliderFlags flags)v:绑定的变量;
v_min、v_max:最小、最大值;
		if (ImGui::Begin("Test"), NULL)
		{
			ImGui::SliderInt("Number Int", &initI, 1, 20);
			ImGui::SliderFloat("Number Float", &initF, 0, 10);

}ImGui::End(); 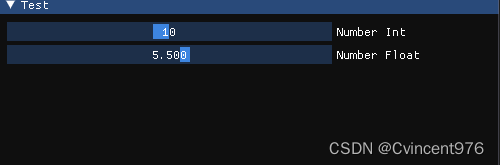
SetCursorPos函数
void ImGui::SetCursorPos(const ImVec2& local_pos)用于设置目标位置,起始点为左上角:
		ImGui::Begin("Test");
			ImGui::SetCursorPos(ImVec2(50, 50));
			ImGui::Button("Test1", ImVec2(50, 50));
			ImGui::SetCursorPos(ImVec2(100, 100));
			ImGui::Button("Test2", ImVec2(50, 50));
		ImGui::End();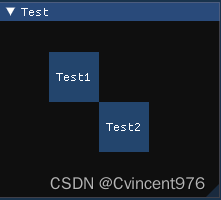
RadioButton
bool ImGui::RadioButton(const char* label, int* v, int v_button)
const char* label:名字
int* v:赋值的对象
int v_button:选择对应按钮时的赋值
示例:
目录
ImGui::SliderInt、ImGui::SliderFloat函数
    static int model = 1;
        ImGui::RadioButton("MCF-STGCN", &model, 0);
        ImGui::SameLine();
ImGui::RadioButton("DSSTGCN", &model, 1); 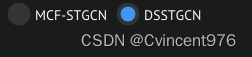
style设置样式
		ImGuiStyle& style = ImGui::GetStyle();
		style.WindowRounding = 0.0f;
		style.Colors[ImGuiCol_WindowBg] = ImVec4(0.8, 1.0, 0.2, 1.0);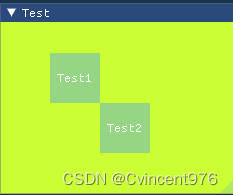
style变量有许多属性,可以设置各种样式的外观,https://github.com/ocornut/imgui/issues/707网站有各种样式的参数可以参考。
Login基本要素
		char Input_username;
		char Input_password;
		std::string username = "AAA";
		std::string password = "1234";
        //上方为全局变量
        ImGui::Begin("Test");
		ImGui::Text("UserName:");
		ImGui::InputText("##Input_username", &Input_username, MAXCHAR);
		ImGui::Text("PassWord:");
		ImGui::InputText("##Input_password", &Input_password, MAXCHAR, ImGuiInputTextFlags_Password);

		if (ImGui::Button("Login"))
		{
			if (&Input_username == username && &Input_password == password)
			{
				//...
			}
		}
		ImGui::End();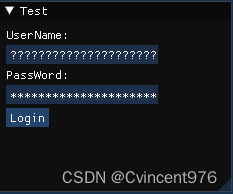
计算大小的函数
ImVec2 ImGui::CalcTextSize(const char* text, const char* text_end, bool hide_text_after_double_hash, float wrap_width)float ImGui::CalcItemWidth()


 5991
5991

 被折叠的 条评论
为什么被折叠?
被折叠的 条评论
为什么被折叠?
 到【灌水乐园】发言


