


老规矩,首先还是创建一下成员变量
@interface ViewController ()
{
    UIPageControl *_pageControl;
    UIScrollView *_scroll;
}
接着我们通过代码来创建一个scrollview,并将图片拖到我们的工程中来,这里就不截图了(我把图片按数字从小到大命名,方便后面的调用)
  //1.实例化
    UIScrollView *scrollView = [[UIScrollView alloc]initWithFrame:self.view.bounds];
    CGFloat width = scrollView.bounds.size.width;
    CGFloat height = scrollView.bounds.size.height;
然后就是添加scrollview的内容了,这部分代码仍然写在viewdidload中
for (NSInteger i = 1; i<=5; i++) {

        NSString *imageFile = [NSString stringWithFormat:@"%d.jpg",i];
        UIImage *image = [UIImage imageNamed:imageFile];

        UIImageView *imageView = [[UIImageView alloc] initWithImage:image];

        NSInteger  x = (i-1) *width;
        [imageView setFrame:CGRectMake(x, 0, width, height)];

        [scrollView addSubview:imageView];

    }
然后再设置scrollview的滚动属性并将scrollview添加到视图中,这样就可以实现分页的效果了
[scrollView setContentSize:CGSizeMake(5*width, height)];
 _scroll = scrollView;
  [self.view addSubview:scrollView];
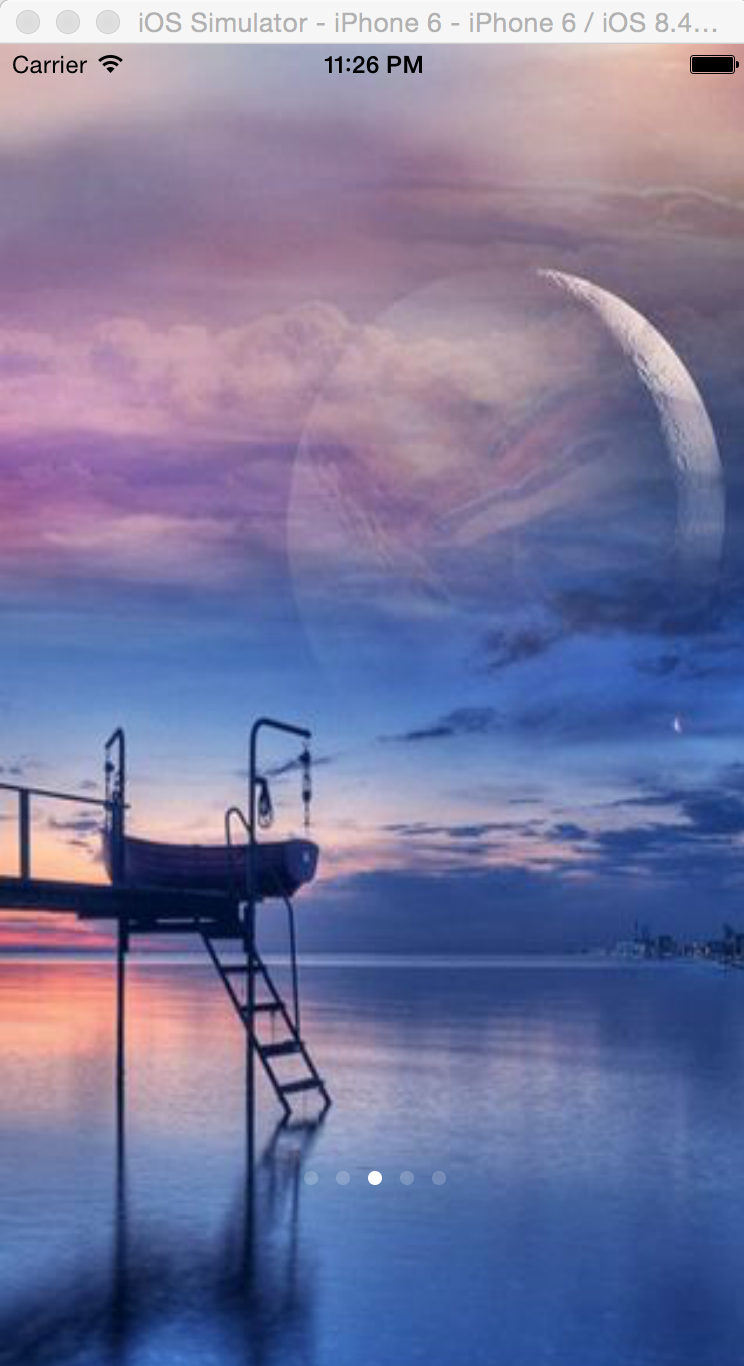

对于图中那个小圆点,大家可以思考如何实现,将在后续的博文中说明Y(^_^)Y 古耐~


 776
776


 被折叠的 条评论
为什么被折叠?
被折叠的 条评论
为什么被折叠?
 到【灌水乐园】发言


