


目录
一、Spring Cloud Alibaba AI 简介
Spring AI 是 Spring 官方社区项目,旨在简化 Java AI 应用程序开发,让 Java 开发者像使用 Spring 开发普通应用一样开发 AI 应用。Spring Cloud Alibaba AI 以 Spring AI 为基础,并在此基础上提供阿里云通义系列大模型全面适配。
二、代码实现
1.在 pom.xml 中引入如下依赖配置:
    <dependencyManagement>
        <dependencies>
            <dependency>
                <groupId>com.alibaba.cloud</groupId>
                <artifactId>spring-cloud-alibaba-dependencies</artifactId>
                <version>2023.0.1.0</version>
                <type>pom</type>
                <scope>import</scope>
            </dependency>
        </dependencies>
    </dependencyManagement>

    <dependencies>
        <dependency>
            <groupId>com.alibaba.cloud</groupId>
            <artifactId>spring-cloud-starter-alibaba-ai</artifactId>
        </dependency>

    </dependencies>

    <repositories>
        <repository>
            <id>spring-milestones</id>
            <name>Spring Milestones</name>
            <url>https://repo.spring.io/milestone</url>
            <snapshots>
                <enabled>false</enabled>
            </snapshots>
        </repository>
        <repository>
            <id>spring-snapshots</id>
            <name>Spring Snapshots</name>
            <url>https://repo.spring.io/snapshot</url>
            <releases>
                <enabled>false</enabled>
            </releases>
        </repository>
    </repositories>
因为 Spring AI 还没有正式发布到 maven 仓库,所以需要添加此配置项 目前 maven 仓库为假的。
issue:https://github.com/spring-projects/spring-ai/issues/537
同时,如果使用了阿里云的镜像,需修改Maven的conf文件夹的settings.xml配置文件:
<mirror>
      <id>alimaven</id>
      <name>aliyun maven</name>
      <url>https://maven.aliyun.com/repository/public/</url>
      <mirrorOf>*,!spring-milestones</mirrorOf>
</mirror>
把此处修改为<mirrorOf>*,!spring-milestones</mirrorOf> 。
2.api-key 配置
在开始写代码之前需要申请到模型的 api-key,按照链接的步骤申请api-key申请地址:如何开通DashScope并创建API-KEY_模型服务灵积(DashScope)-阿里云帮助中心
3.配置application.yml
spring:
  cloud:
    ai:
      tongyi:
        # 填写自己申请的api-key
        api-key: sk-xxxxxxxxxxxxxxxxxxxxxxxx
!!!注意此处要使用上述配置结构,使用官方文档的结构项目启动会报找不到api-key的错误!!!
报Caused by: com.alibaba.cloud.ai.tongyi.exception.TongYiException: Can not find api-key错误,如下图所示:

4.编写聊天对话接口
(1)创建controller:
@RestController
public class ChatController {
    @Autowired
    private ChatService chatService;

    @GetMapping("/example")
    public String completion(
            @RequestParam(value = "message", defaultValue = "讲个笑话")
            String message
    ) {

        return chatService.normalCompletion(message);
    }

    @GetMapping("/stream")
    public Map<String, String> streamCompletion(
            @RequestParam(value = "message", defaultValue = "请告诉我西红柿炖牛腩怎么做?")
            String message
    ) {

        return chatService.streamCompletion(message);
    }
}
(2)创建service
@Service
public class ChatService {

    // 聊天客户端
    private final ChatClient chatClient;
    // stream 流式客户端
    private final StreamingChatClient streamingChatClient;

    public ChatService(ChatClient chatClient, StreamingChatClient streamingChatClient) {
        this.chatClient = chatClient;
        this.streamingChatClient = streamingChatClient;
    }

    public String normalCompletion(String message) {

        Prompt prompt = new Prompt(new UserMessage(message));
        return chatClient.call(prompt).getResult().getOutput().getContent();
    }


    public Map<String, String> streamCompletion(String message) {

        StringBuilder fullContent = new StringBuilder();

        streamingChatClient.stream(new Prompt(message))
                .flatMap(chatResponse -> Flux.fromIterable(chatResponse.getResults()))
                .map(content -> content.getOutput().getContent())
                .doOnNext(fullContent::append)
                .last()
                .map(lastContent -> Map.of(message, fullContent.toString()))
                .block();
        return Map.of(message, fullContent.toString());
    }
}
(3)创建Spring Boot启动类
@SpringBootApplication
public class TongYiApplication {
    public static void main(String[] args) {
        SpringApplication.run(TongYiApplication.class);
    }
}
三、测试聊天对话
启动项目后,访问:http://localhost:8080/example?message=讲个笑话
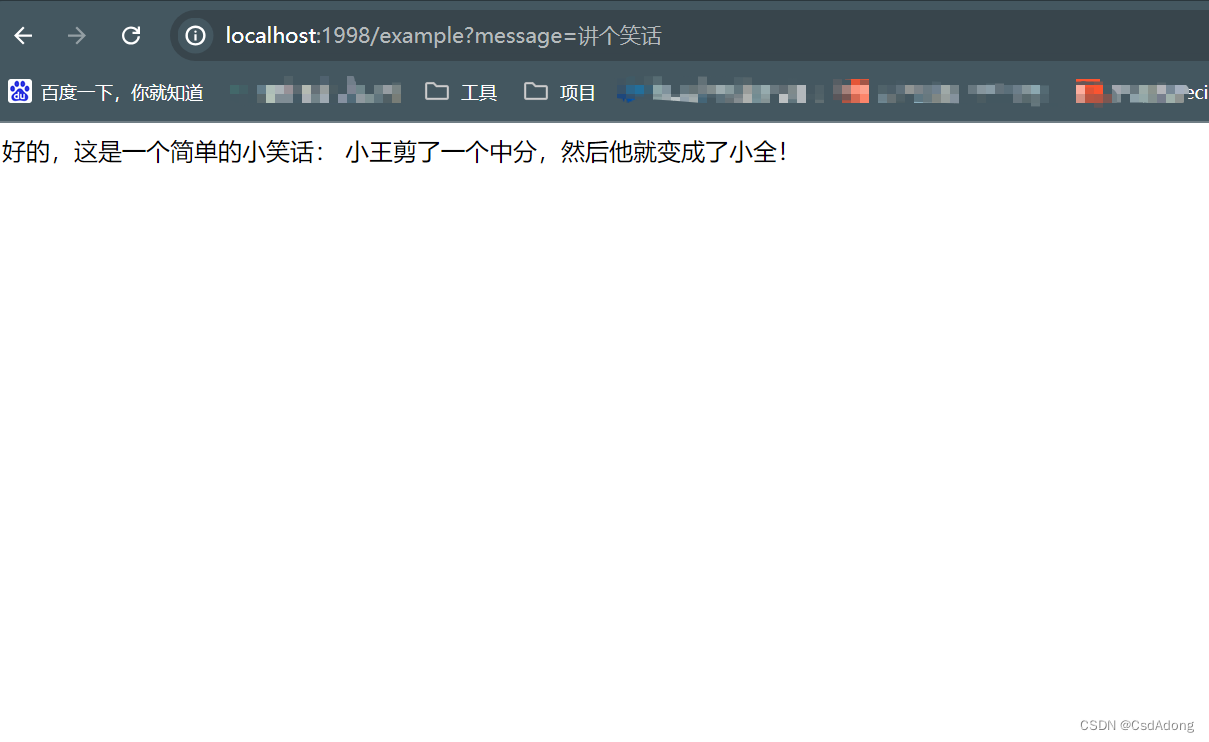
这样就可以实现问答了,也可以使用PostMan等工具进行调用接口,也可以接入自己的项目中实现智能助手。


 1489
1489

 被折叠的 条评论
为什么被折叠?
被折叠的 条评论
为什么被折叠?
 到【灌水乐园】发言


