Nginx是一款轻量级的Web 服务器/反向代理服务器及电子邮件(IMAP/POP3)代理服务器,并在一个BSD-like 协议下发行。其特点是占有内存少,并发能力强,事实上nginx的并发能力确实在同类型的网页服务器中表现较好,在我国使用nginx网站用户有:百度、新浪、网易、腾讯、京东等。
我自己搭建的nginx 版本号为1.6.3。(nginx 下载地址为:https://nginx.org/en/download.html)
下载完成后进行解压: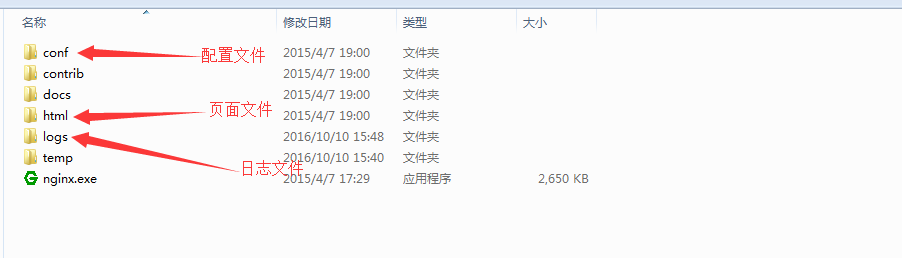
要实现负载均衡需要修改conf/nginx.conf的配置信息,修改配置信息之后重新启动nginx服务,可以通过nginx -s reload指令实现。这里我使用的是windows自带的dos。我个人常用的命令如下:
*启动
直接点击Nginx目录下的nginx.exe 或者 cmd运行start nginx
关闭
nginx -s stop 或者 nginx -s quit
stop表示立即停止nginx,不保存相关信息
quit表示正常退出nginx,并保存相关信息
重启(因为改变了配置,需要重启)
nginx -s reload*
上面需要注意的是,在dos窗口使用命令时,要切换到nginx所在的文件目录下面。
比如我的在nginx目录为:C:\nginx-1.6.3\nginx-1.6.3
如下图: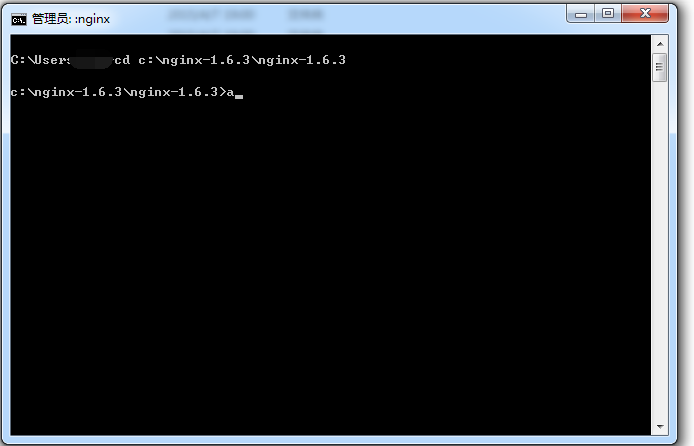
站点搭建及配置
由于我只有一台电脑,而且用来测试,我就在iis里面创建了两个站点,站点里面的代码使用端口号来进行区分的。
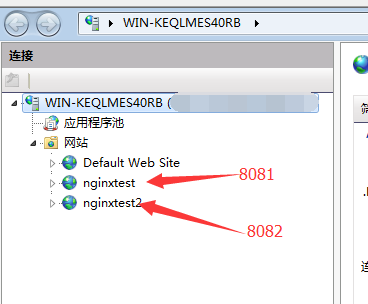
1.在iis里面搭建两个测试站点
站点下只有一个简单的default.aspx页面,用来输出当前服务器信息。由于我没有两台机器,所以将两个站点都部署到本机了,分别绑定了8081和8082两个端口。如下图:
default.aspx页面的代码如下:
protected void Page_Load(object sender, EventArgs e)
{
int port = Request.Url.Port
if (port == 8081)
{
Response.Write("第一个页面<br/>")
}
else if (port == 8082)
{
Response.Write("第二个页面<br/>")
}
else
{
Response.Write(port.ToString()+"<br/>")
}
Response.Write("请求开始时间:" + DateTime.Now.ToString("yyyy-MM-dd HH:mm:ss")+"<br/>")
Response.Write("服务器名称:" + Server.MachineName + "<br/>")
Response.Write("服务器IP地址:" + Request.ServerVariables["LOCAL_ADDR"] + "<br/>")
Response.Write("HTTP访问端口:" + Request.ServerVariables["SERVER_PORT"])
Response.Write(".NET解释引擎版本:" + ".NET CLR" + Environment.Version.Major + "." + Environment.Version.Minor + "quot;." + Environment.Version.Build + "." + Environment.Version.Revision + "<br/>")
Response.Write("服务器操作系统版本:" + Environment.OSVersion.ToString() + "<br/>")
Response.Write("服务器IIS版本:" + Request.ServerVariables["SERVER_SOFTWARE"] + "<br/>")
Response.Write("服务器域名:" + Request.ServerVariables["SERVER_NAME"] + "<br/>")
Response.Write("虚拟目录的绝对路径:" + Request.ServerVariables["APPL_RHYSICAL_PATH"] + "<br/>")
Response.Write("执行文件的绝对路径:" + Request.ServerVariables["PATH_TRANSLATED"] + "<br/>")
Response.Write("虚拟目录Session总数:" + Session.Contents.Count.ToString() + "<br/>")
Response.Write("虚拟目录Application总数:" + Application.Contents.Count.ToString() + "<br/>")
Response.Write("域名主机:" + Request.ServerVariables["HTTP_HOST"] + "<br/>")
Response.Write("服务器区域语言:" + Request.ServerVariables["HTTP_ACCEPT_LANGUAGE"] + "<br/>")
Response.Write("用户信息:" + Request.ServerVariables["HTTP_USER_AGENT"] + "<br/>")
Response.Write("CPU个数:" + Environment.GetEnvironmentVariable("NUMBER_OF_PROCESSORS") + "<br/>")
Response.Write("CPU类型:" + Environment.GetEnvironmentVariable("PROCESSOR_IDENTIFIER") + "<br/>")
Response.Write("请求来源地址:" + Request.Headers["X-Real-IP"] + "<br/>")
}
- 1
- 2
- 3
- 4
- 5
- 6
- 7
- 8
- 9
- 10
- 11
- 12
- 13
- 14
- 15
- 16
- 17
- 18
- 19
- 20
- 21
- 22
- 23
- 24
- 25
- 26
- 27
- 28
- 29
- 30
- 31
- 32
- 33
- 34
- 35
- 1
- 2
- 3
- 4
- 5
- 6
- 7
- 8
- 9
- 10
- 11
- 12
- 13
- 14
- 15
- 16
- 17
- 18
- 19
- 20
- 21
- 22
- 23
- 24
- 25
- 26
- 27
- 28
- 29
- 30
- 31
- 32
- 33
- 34
- 35
2.修改nginx配置信息
修改nginx监听端口,在conf/nginx.conf文件中修改http server下的listen节点值,我这里使用的是80端口。如下修改:
server {
listen 80;
server_name localhost;
location / {
root html;
index default.aspx;
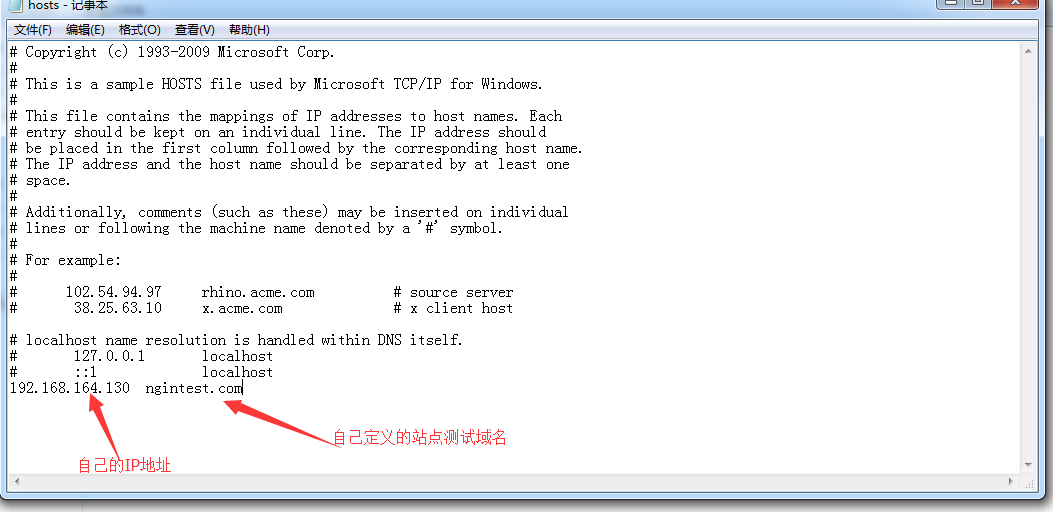
proxy_pass http://ngintest.com; (这里需要在C:\Windows\System32\drivers\etc\hosts文件中添加设置,否则有可能使用ngintest.com访问时无法使用 如代码下面的图。其中ngintest.com也是设置服务器集群的名称)
proxy_set_header X-Forwarded-Host $host;
proxy_set_header X-Forwarded-Server $host;
proxy_set_header X-Forwarded-For $proxy_add_x_forwarded_for;
proxy_set_header X-Real-IP $remote_addr;
}
}
- 1
- 2
- 3
- 4
- 5
- 6
- 7
- 8
- 9
- 10
- 11
- 12
- 13
- 14
- 15
- 16
- 17
- 18
- 19
- 20
- 21
- 1
- 2
- 3
- 4
- 5
- 6
- 7
- 8
- 9
- 10
- 11
- 12
- 13
- 14
- 15
- 16
- 17
- 18
- 19
- 20
- 21
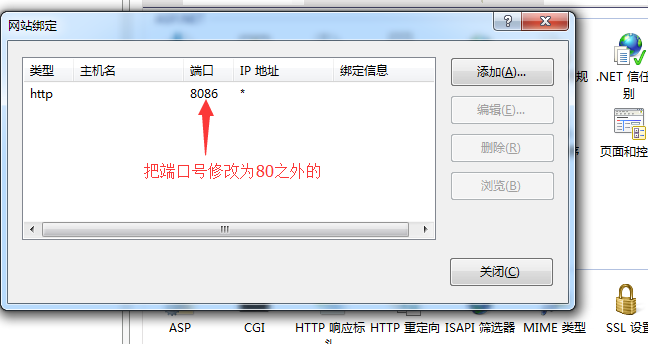
在IIS中80端口被默认站点使用的话,建议更改默认站点的端口号,这样便于进行测试。修改默认站点端口的操作如下图:右键默认站点-》编辑绑定。
在http节点下添加upstream(服务器集群),server设置的是集群服务器的信息,我这里搭建了两个站点,配置了两条信息。
#服务器集群#
upstream ngintest.com{
server 192.168.164.130:8081 weight=1;
server 192.168.164.130:8082 weight=1;
}
在http节点下找到location节点修改
location / {
root html;
index default.aspx; #修改主页为default.aspx
 #设置主机头和客户端真实地址,以便服务器获取客户端真实IP
 proxy_set_header   Host             $host;
 proxy_set_header   X-Real-IP        $remote_addr;
 proxy_set_header   X-Forwarded-For  $proxy_add_x_forwarded_for;
}
修改完成配置文件以后记得重启nginx服务,最终完整配置文件信息如下
server {
listen 80;
server_name localhost;
location / {
root html;
index default.aspx;
proxy_pass http://ngintest.com;
proxy_set_header X-Forwarded-Host $host;
proxy_set_header X-Forwarded-Server $host;
proxy_set_header X-Forwarded-For $proxy_add_x_forwarded_for;
proxy_set_header X-Real-IP $remote_addr;
}
error_page 500 502 503 504 /50x.html;
location = /50x.html {
root html;
}
}
upstream ngintest.com{
server 192.168.164.130:8081 weight=1;
server 192.168.164.130:8082 weight=1;
}
- 1
- 2
- 3
- 4
- 5
- 6
- 7
- 8
- 9
- 10
- 11
- 12
- 13
- 14
- 15
- 16
- 17
- 18
- 19
- 20
- 21
- 22
- 23
- 24
- 25
- 26
- 27
- 28
- 29
- 30
- 31
- 32
- 33
- 34
- 35
- 36
- 37
- 38
- 39
- 40
- 41
- 42
- 43
- 44
- 45
- 46
- 47
- 48
- 49
- 50
- 51
- 52
- 53
- 54
- 55
- 56
- 57
- 58
- 1
- 2
- 3
- 4
- 5
- 6
- 7
- 8
- 9
- 10
- 11
- 12
- 13
- 14
- 15
- 16
- 17
- 18
- 19
- 20
- 21
- 22
- 23
- 24
- 25
- 26
- 27
- 28
- 29
- 30
- 31
- 32
- 33
- 34
- 35
- 36
- 37
- 38
- 39
- 40
- 41
- 42
- 43
- 44
- 45
- 46
- 47
- 48
- 49
- 50
- 51
- 52
- 53
- 54
- 55
- 56
- 57
- 58
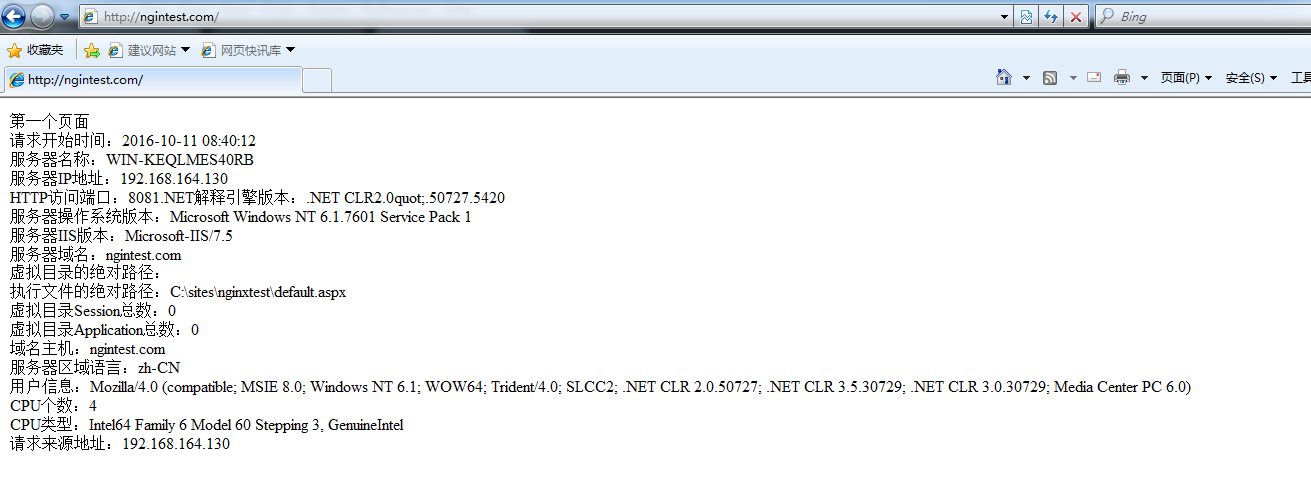
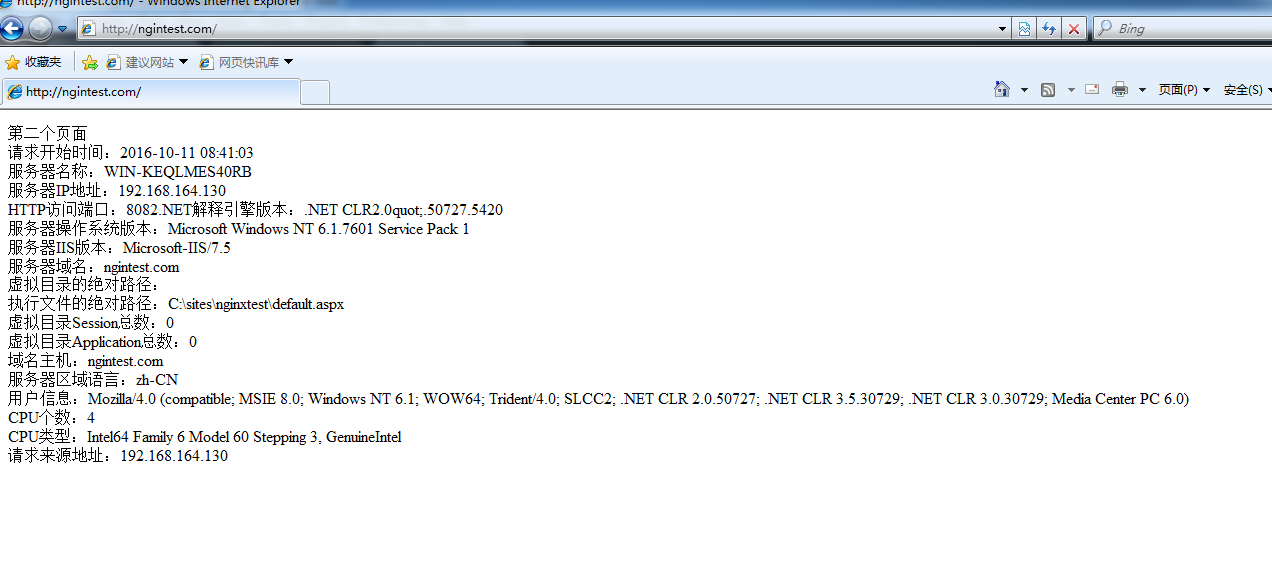
运行结果如下图:
在这里我想特别强调一点是 由于设置了
proxy_pass http://ngintest.com;
proxy_set_header X-Forwarded-Host $host;
proxy_set_header X-Forwarded-Server $host;
proxy_set_header X-Forwarded-For $proxy_add_x_forwarded_for;
proxy_set_header X-Real-IP $remote_addr;
所以要自定义错误的时候这个 proxy_intercept_errors on; 一定要设置,否则捕捉不到定义的错误页。
关于nginx里面的详细配置,请自行百度查询,里面的内容太多,本文就不在阐述。
参考内容:
https://www.kancloud.cn/kancloud/nosql/48550


 935
935

 被折叠的 条评论
为什么被折叠?
被折叠的 条评论
为什么被折叠?
 到【灌水乐园】发言


