VBA批量调整图片宽度

上午花了点时间写了段代码调整WPS文字中图片的宽度,直接看图。

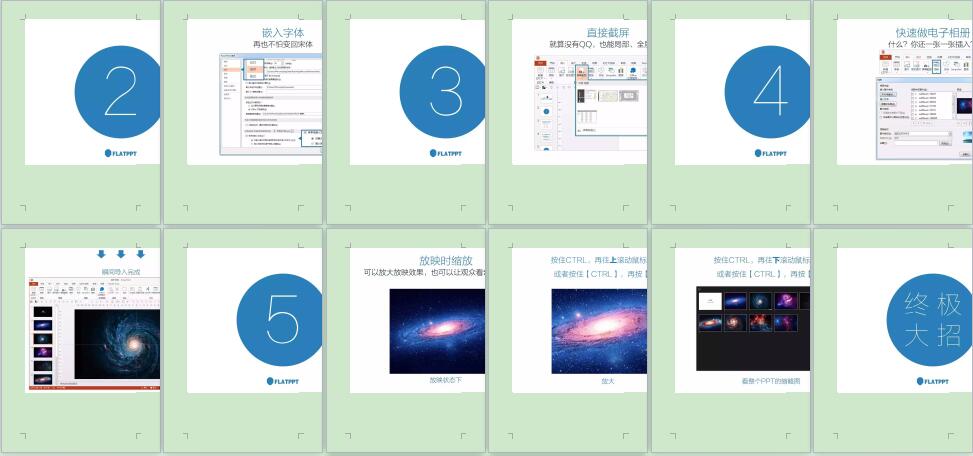
A)调整前,插入的图片都超过了wps内置文档的宽度,需要一个一个调整,图片量太大,调整起来相当繁琐又费时间。
调整前的图片

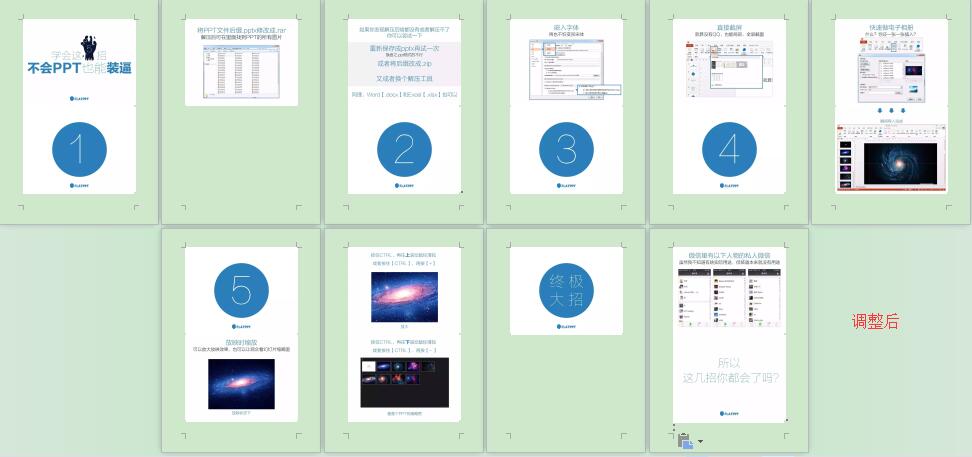
B) 执行批量调整宽度代码后一次将宽度超过文档版心尺寸的图片宽度调整为版心尺寸,高度按比例缩放。
批量调整后的图片

代码如下:

Sub 图片宽度批量调整()
Dim i
Dim j
Dim oldHeight
Dim oldWidth
Dim newHeight
Dim newWidth
Dim docWidth
docWidth = 15 * 28.345

On Error Resume Next
For i = 1 To ActiveDocument.InlineShapes.Count
 oldWidth = ActiveDocument.InlineShapes(i).Width
 oldHeight = ActiveDocument.InlineShapes(i).Height
 '如果长度大于内容区的长度则自动修改图片长度为内容区,图片高度按照比例压缩
 If oldWidth > docWidth Then
     newWidth = docWidth
     newHeight = newWidth * oldHeight / oldWidth
 End If
 ActiveDocument.InlineShapes(i).Height = newHeight '修改为自己需要的值
 ActiveDocument.InlineShapes(i).Width = newWidth '修改为自己需要的值

Next
For j = 1 To ActiveDocument.Shapes.Count
  oldWidth = ActiveDocument.InlineShapes(i).Width
  oldHeight = ActiveDocument.InlineShapes(i).Height
 '如果长度大于内容区的长度则自动修改图片长度为内容区,图片高度按照比例压缩
 If oldWidth > docWidth Then
     newWidth = docWidth
     newHeight = newWidth * oldHeight / oldWidth
 End If
 ActiveDocument.InlineShapes(j).Height = newHeight '修改为自己需要的值
 ActiveDocument.InlineShapes(j).Width = newWidth '修改为自己需要的值

Next

End Sub
### Word VBA 批量调整图片大小的方法 在 Microsoft Word 中,可以通过编写 VBA 宏来实现批量调整图片的尺寸功能。以下是基于提供的引用内容以及专业知识整理的具体方法。 #### 使用 `InlineShapes` 和 `Shapes` 集合 Word 文档中的图片分为两种类型:嵌入式图片 (`InlineShapes`) 和浮动式图片 (`Shapes`)。对于每一种类型的图片,都需要分别处理其属性以完成尺寸调整的任务[^1]。 #### 锁定纵横比 为了保持图片的比例不变,在设置宽度或高度之前应先启用 `LockAspectRatio` 属性。如果不需要保持比例,则可将其设为 `msoFalse`[^2]。 ```vba Sub AdjustPictureSize() Dim iShape As InlineShape Dim sShape As Shape ' 设置目标宽高 (单位:厘米) Dim MyWidth As Single: MyWidth = 12 ' 厘米 Dim MyHeight As Single: MyHeight = 18 ' 厘米 ' 转换单位:厘米 -> 磅 (1 cm ≈ 28.3465 pt) Const CM_TO_PT As Double = 28.3465 ' 处理 InlineShapes 类型的图片 For Each iShape In ActiveDocument.InlineShapes If iShape.Type = wdInlineShapePicture Then iShape.LockAspectRatio = msoTrue ' 锁定纵横比 iShape.Width = MyWidth * CM_TO_PT ' 设置宽度 iShape.Height = MyHeight * CM_TO_PT ' 设置高度 End If Next iShape ' 处理 Shapes 类型的图片 For Each sShape In ActiveDocument.Shapes If sShape.Type = msoPicture Then sShape.LockAspectRatio = msoTrue ' 锁定纵横比 sShape.Width = MyWidth * CM_TO_PT ' 设置宽度 sShape.Height = MyHeight * CM_TO_PT ' 设置高度 End If Next sShape End Sub ``` 上述代码实现了对文档中所有图片批量调整,并确保它们按指定的宽度和高度进行缩放,同时保留原始比例[^3]。 #### 自动居中图片 除了调整图片大小外,还可以进一步优化布局,使图片自动水平居中于页面中央: ```vba ' 添加到之前的子程序中 sShape.WrapFormat.Type = wdWrapSquare ' 设置环绕方式为方形 sShape.RelativeHorizontalPosition = wdRelativeHorizontalPositionPage ' 相对于页面位置 sShape.HorizontalAlignment = wdAlignShapeCenter ' 水平居中 iShape.Range.ParagraphFormat.Alignment = wdAlignParagraphCenter ' 行内图文字居中 ``` 此扩展部分能够增强整体视觉效果,让排版更加整齐美观[^5]。 --- ### 注意事项 - 如果仅需更改某些特定条件下的图片(如只针对某一页或者某个章节),则需要额外加入筛选逻辑。 - 当遇到复杂情况时,可能还需要考虑其他因素,例如图片是否已被裁剪、旋转等问题。
评论
添加红包

请填写红包祝福语或标题

红包个数最小为10个

红包金额最低5元

当前余额3.43前往充值 >
需支付:10.00
成就一亿技术人!
领取后你会自动成为博主和红包主的粉丝 规则
hope_wisdom
发出的红包
实付
使用余额支付
点击重新获取
扫码支付
钱包余额 0

抵扣说明:

1.余额是钱包充值的虚拟货币,按照1:1的比例进行支付金额的抵扣。
2.余额无法直接购买下载,可以购买VIP、付费专栏及课程。

余额充值