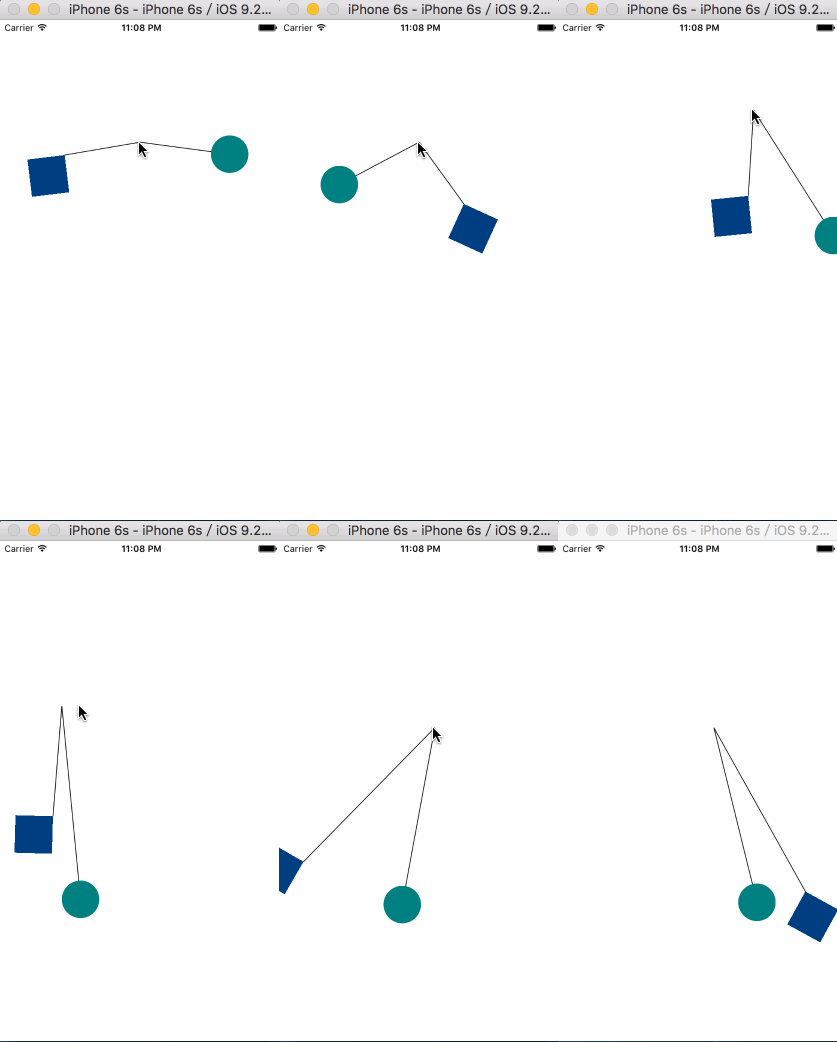
附着-UIAttachmentBehavior


物理仿真中的附着行为的实现同之前’捕捉’步骤
1.创建物理仿真器对象
2.创建物理仿真行为对象
3.设置物理仿真行为的属性
4.将仿真行为添加到物理仿真器中
@property (weak, nonatomic) IBOutlet UIView *testViewOne;
@property (weak, nonatomic) IBOutlet UIView *testViewTwo;

@property (nonatomic, strong) UIDynamicAnimator *animator;
- (void)viewDidLoad {
    [super viewDidLoad];
    // Do any additional setup after loading the view, typically from a nib.

    self.testViewOne.layer.cornerRadius = 25;

    UITapGestureRecognizer *tapGesture = [[UITapGestureRecognizer alloc] initWithTarget:self action:@selector(viewDidTapGesture:)];

    [self.view addGestureRecognizer:tapGesture];
}
- (void)viewDidTapGesture:(UIPanGestureRecognizer *)tapGesture {
CGPoint currentPanPoint = [tapGesture locationInView:self.view];
//创建物理仿真器
self.animator = [[UIDynamicAnimator alloc] initWithReferenceView:self.view];
//创建重力仿真行为
UIGravityBehavior *gravity = [[UIGravityBehavior alloc] initWithItems:@[self.testViewOne, self.testViewTwo]];
//设置重力仿真行为的属性(参数)
// CGVector gravityDirection
// CGFloat angle
// CGFloat magnitude
gravity.gravityDirection = CGVectorMake(0, 1);
gravity.magnitude = 1;
ZHJView *view = (ZHJView *)self.view;
[gravity setAction:^{
view.startPoint = currentPanPoint;
view.endPointOne = self.testViewOne.center;
CGPoint point = CGPointZero;
view.endPointTwo = [self.view convertPoint:point fromView:self.testViewTwo];
}];
//创建附着仿真行为
UIAttachmentBehavior *attachmentOne = [[UIAttachmentBehavior alloc] initWithItem:self.testViewOne attachedToAnchor:currentPanPoint];
//UIAttachmentBehavior *attachmentTwo = [[UIAttachmentBehavior alloc] initWithItem:self.testViewTwo attachedToAnchor:currentPanPoint];
//默认是和物体的中心点附着...修改中心点的偏移量 ,附着左上角
CGSize size = self.testViewTwo.bounds.size; //myView的size
UIOffset offset = UIOffsetMake(- size.width * 0.5, - size.height * 0.5);
UIAttachmentBehavior *attachmentTwo = [[UIAttachmentBehavior alloc] initWithItem:self.testViewTwo offsetFromCenter:offset attachedToAnchor:currentPanPoint];
//添加仿真行为
[self.animator addBehavior:gravity];
[self.animator addBehavior:attachmentOne];
[self.animator addBehavior:attachmentTwo];
// [self.animator addBehavior:collision];
}其中要注意的点可能就是控件和触摸点击点间的连线绘制,这里要自定义一个view(我定义的是ZHJView)的类来描述控制器viewController的View
在ZHJView类中获取手指触摸的点以及控件的锚点
在.h文件中声明
@property (nonatomic, assign) CGPoint startPoint;

@property (nonatomic, assign) CGPoint endPointOne;

@property (nonatomic, assign) CGPoint endPointTwo;
在.m文件中重写startPoint的set方法以及drawRect: ,因为drawRect:方法不能手动调用,所以在设置startPoint的时候需要重绘,见代码
- (void)setStartPoint:(CGPoint)startPoint {
    _startPoint = startPoint;

    //重绘
    [self setNeedsDisplay];
}
- (void)drawRect:(CGRect)rect {
//创建Bezier路径
UIBezierPath *path = [UIBezierPath bezierPath];
[path moveToPoint:self.startPoint];
[path addLineToPoint:self.endPointOne];
[path moveToPoint:self.startPoint];
[path addLineToPoint:self.endPointTwo];
//描边
[path stroke];
}物理仿真源码下载


 1万+
1万+

 被折叠的 条评论
为什么被折叠?


