


引言
osgEarth的官方Getting started with osgEarth — osgEarth 3.5 documentation提供了两种方式来安装osgEarth,下面记录了使用第一种方式配置环境的方式

1 安装vcpkg
在空白文件夹git一个vcpkg
git clone https://github.com/microsoft/vcpkg

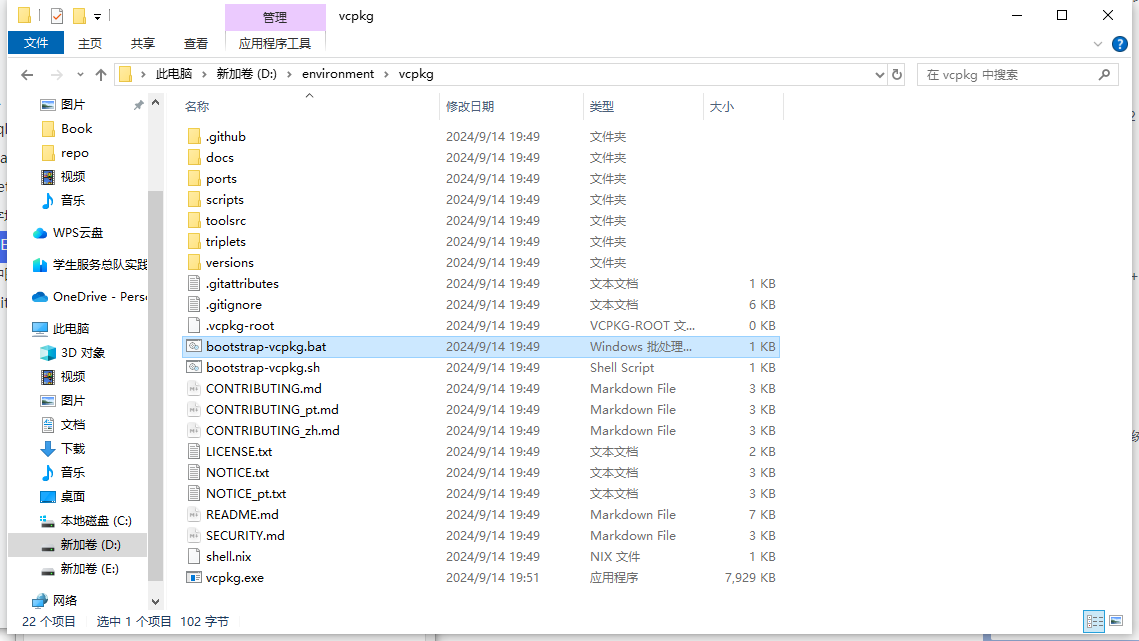
双击运行下面的文件,出现下面的图代表安装完成:
bootstrap-vcpkg.bat
2 安装osgEarth
打开下面的文件夹
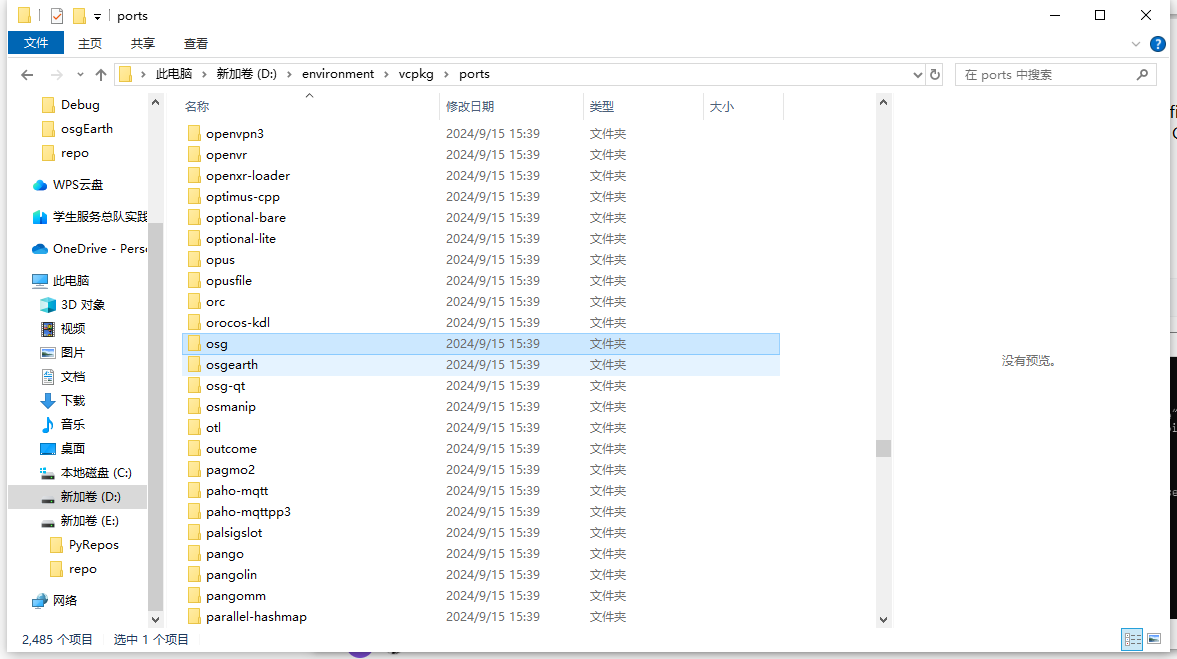
修改gl2为gl3

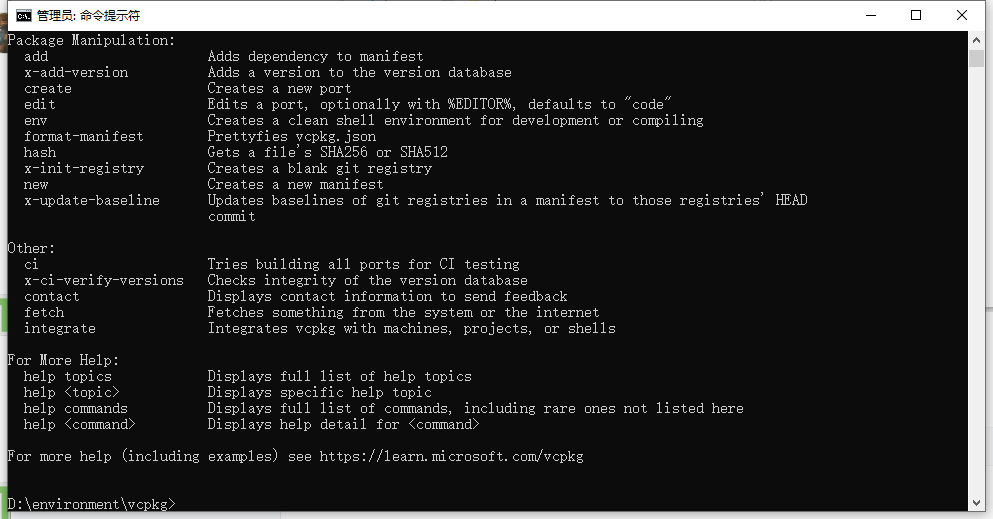
在vcpkg的根目录中以管理员模式(powershell也可以)打开CMD,并输入
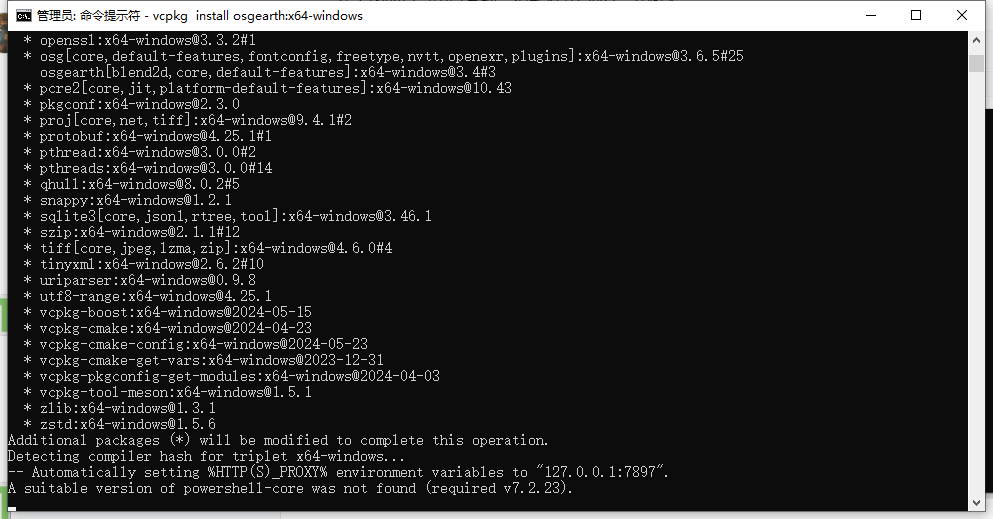
vcpkg install osgearth:x64-windows
等待安装:
3 遇到的问题
在编译成功后,在cmd中输入
vcpkg integrate install

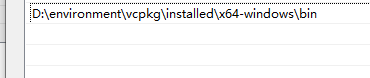
将vcpkg中安装的bin加入到环境变量中:

测试官方的示例:
#include <osgEarth/MapNode>
#include <osgEarth/TMS>
#include <osgEarth/EarthManipulator>
#include <osg/ArgumentParser>
#include <osgViewer/Viewer>
int main(int argc, char** argv)
{
osgEarth::initialize();
osg::ArgumentParser args(&argc, argv);
osgViewer::Viewer viewer(args);
auto imagery = new osgEarth::TMSImageLayer();
imagery->setURL("https://readymap.org/readymap/tiles/1.0.0/7/");
auto mapNode = new osgEarth::MapNode();
mapNode->getMap()->addLayer(imagery);
viewer.setSceneData(mapNode);
viewer.setCameraManipulator(new osgEarth::EarthManipulator(args));
return viewer.run();
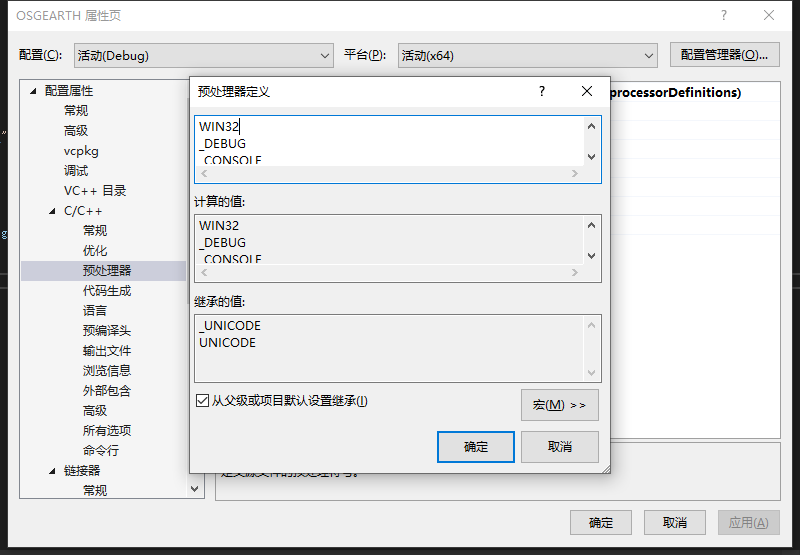
}由于gl.h的问题,需要加入预处理器WIN32
发现出现了以下的问题:
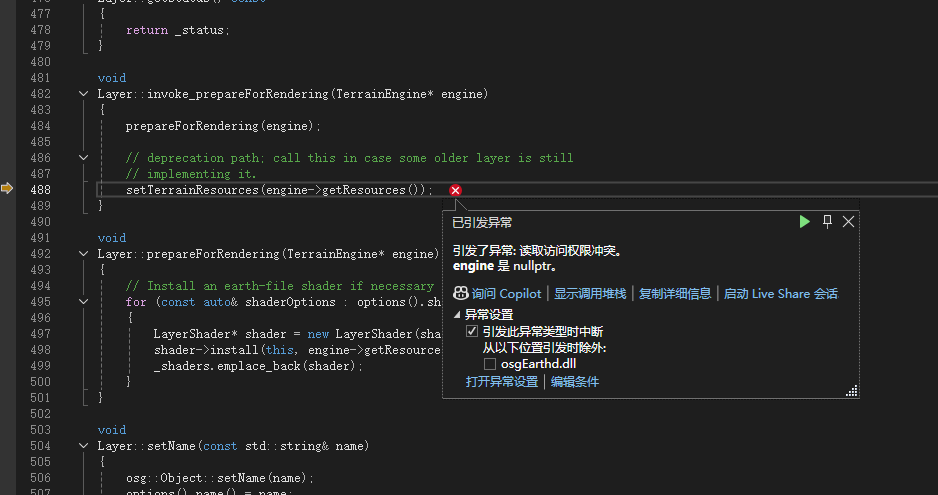
这是由于一些动态链接库并没有被导入bin中。
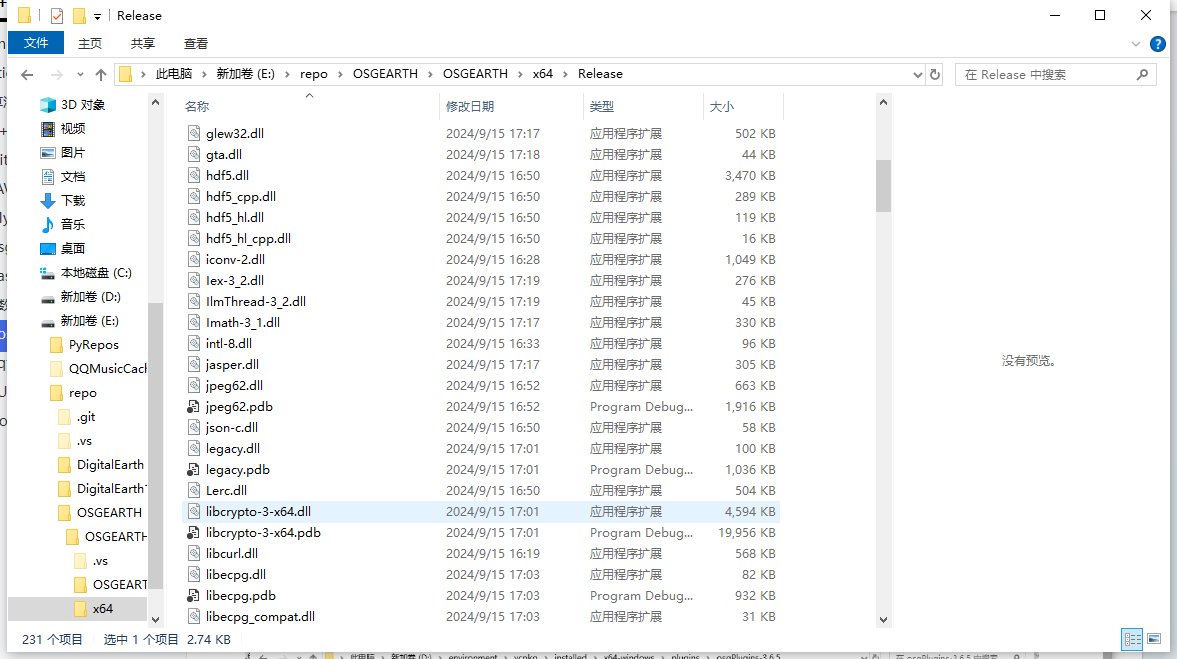
4 解决方案
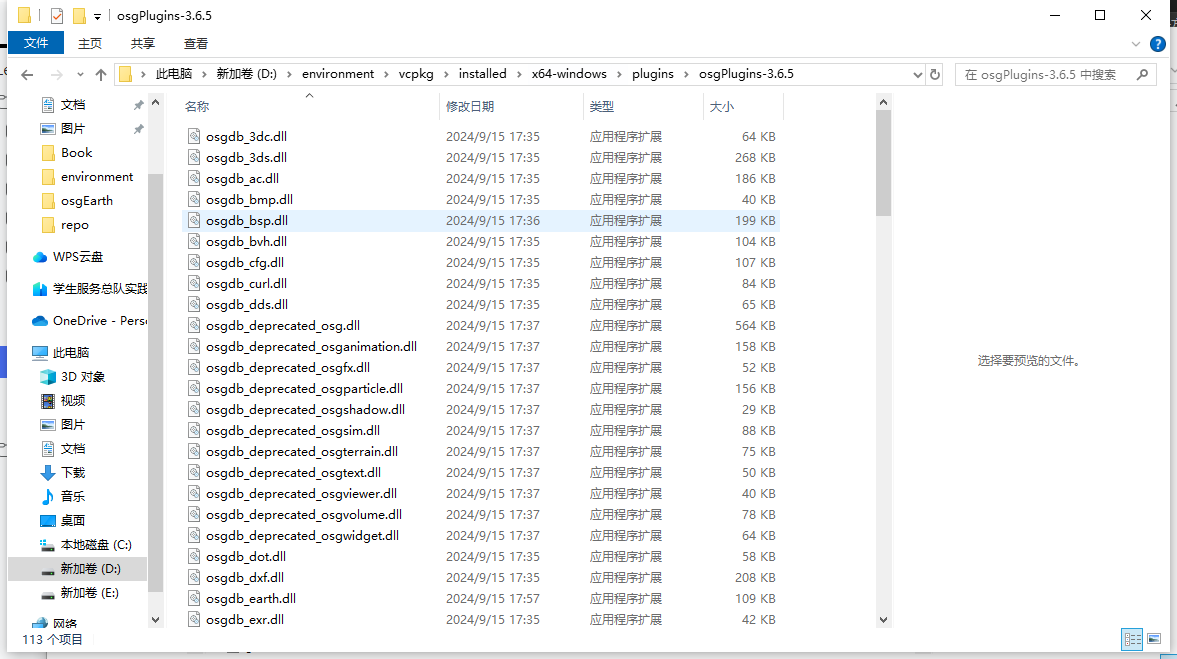
将下列所有的dll文件移动到对应的release目录中,注意如果使用debug进行调试需要将vcpkg中debug目录下的dll和pdb文件移动到对应debug目录中。
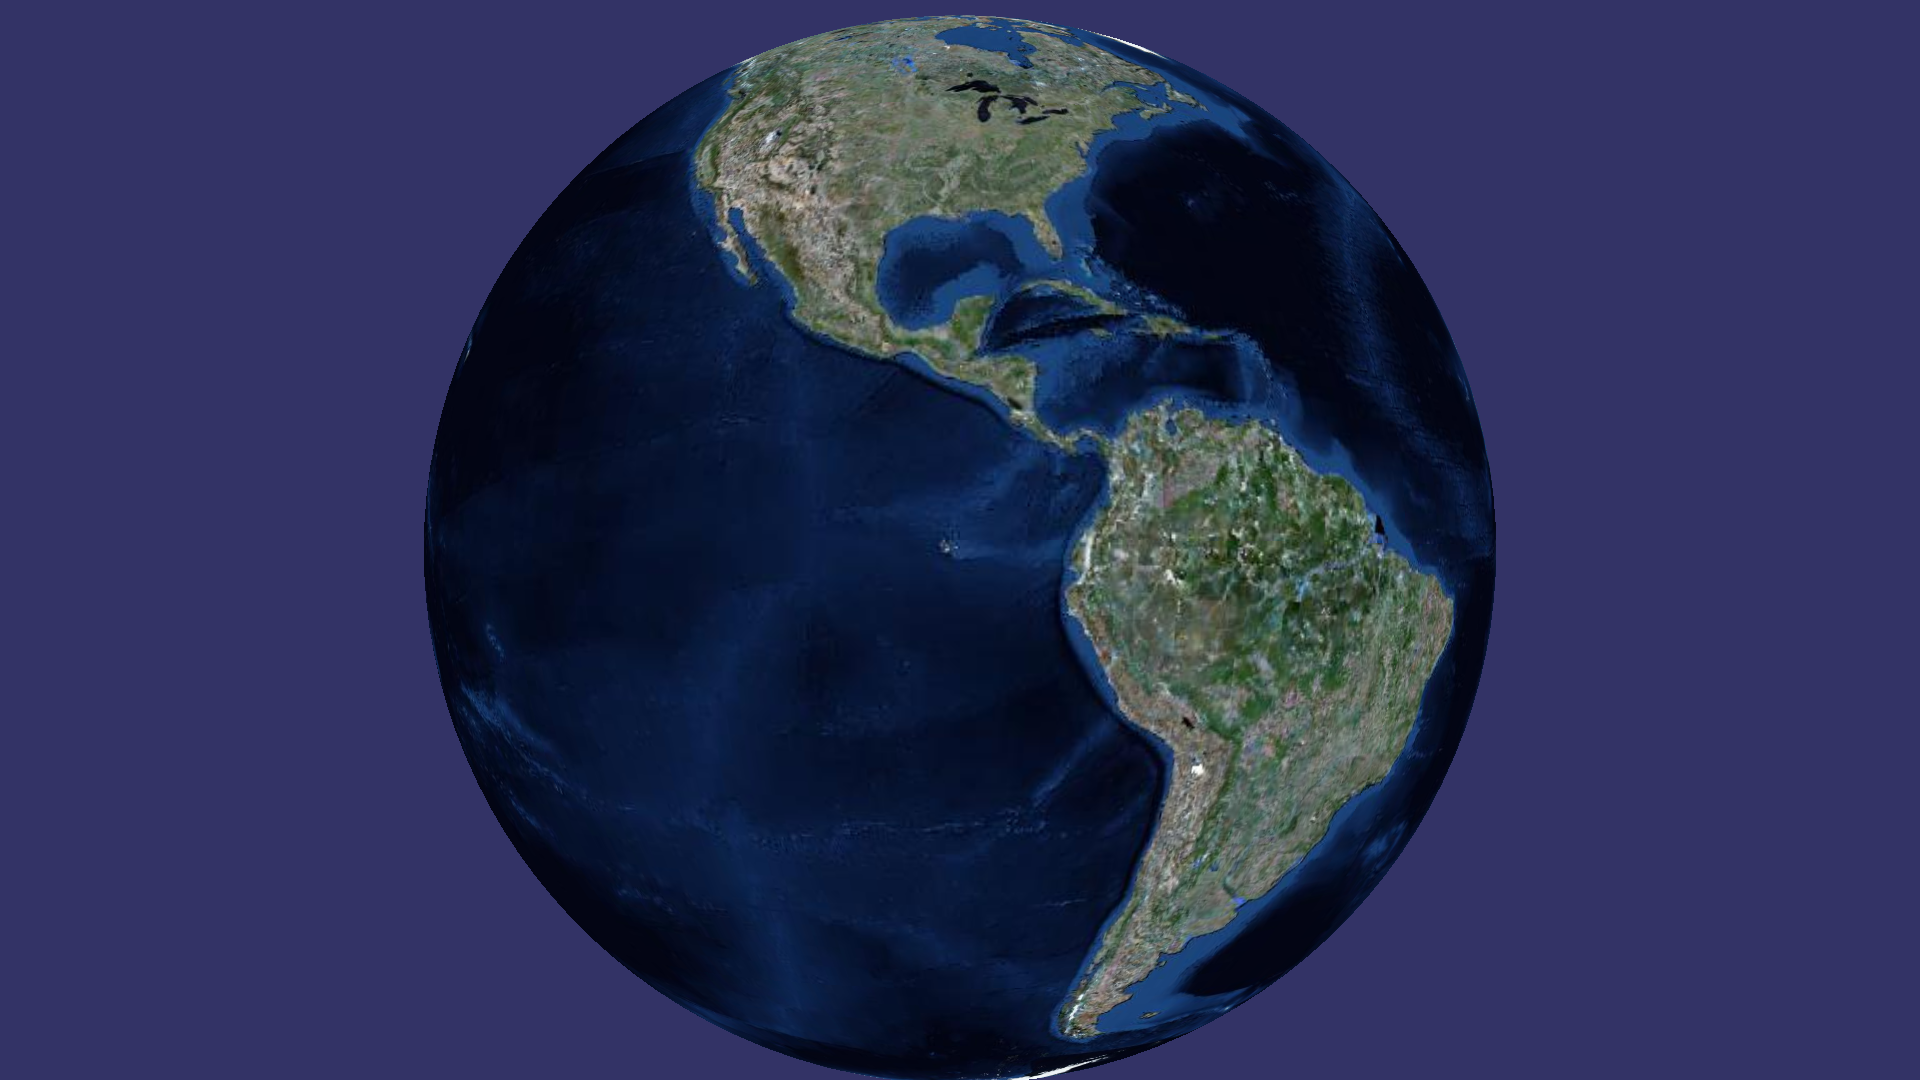
最后成功运行:


 4204
4204

 被折叠的 条评论
为什么被折叠?
被折叠的 条评论
为什么被折叠?
 到【灌水乐园】发言


