


1. 博客功能
实现以下简单功能
- 查看博客文章列表
- 查看文章内容
- 编辑文章
- 发表文章
2. 开发环境
- Python环境:python 3.5
$ python --version
Python 3.5.7
- Django: 1.8
$ pip show django
Name: Django
Version: 1.8.18
Summary: A high-level Python Web framework that encourages rapid development and clean, pragmatic design.
Home-page: http://www.djangoproject.com/
Author: Django Software Foundation
Author-email: foundation@djangoproject.com
License: BSD
Location: /Users/libing/.pyenv/versions/3.5.7/envs/myblog/lib/python3.5/site-packages
Requires:
Required-by:
- 数据库:MySql 5.7
- IDE:PyCharm
3. 准备工作
3.1 建库及用户
数据库名:myblog
用户名/密码:bloguser/blogpassword
$ mysql -u root -p
Enter password:

mysql> create database myblog default charset utf8;

mysql> create user "bloguser"@"%" identified by "blogpassword";

mysql> grant all privileges on myblog.* to "bloguser"@"%";

mysql> flush privileges;
3.2 新建Django项目
3.2.1 新建项目
命令行新建项目:
$ django-admin startproject myblog
根目录为myblog,项目目录结构如下:
$ tree myblog/
myblog/
├── manage.py
└── myblog
    ├── __init__.py
    ├── settings.py
    ├── urls.py
    └── wsgi.py

1 directory, 5 files
3.2.2 修改配置文件
修改配置文件:myblog/myblog/settings.py
数据库配置:
DATABASES = {
    'default': {
        'ENGINE': 'django.db.backends.mysql',
        'NAME': 'myblog',
        'USER': 'bloguser',
        'PASSWORD': 'blogpassword',
        'HOST': '127.0.0.1',
        'PORT': '3306',
    }
}
语言及时区:
LANGUAGE_CODE = 'en-us'

TIME_ZONE = 'Asia/Shanghai'
3.3 新建APP应用
3.3.1 新建应用simpleblog
$ python manage.py startapp simpleblog
注:
若提示:No module named ‘MySQLdb’,请安装mysqlclient:
$ pip install mysqlclient
3.3.2 添加应用至project
修改myblog/myblog/settings.py,将simpleblog添加至INSTALLED_APPS:
INSTALLED_APPS = (
    'django.contrib.admin',
    'django.contrib.auth',
    'django.contrib.contenttypes',
    'django.contrib.sessions',
    'django.contrib.messages',
    'django.contrib.staticfiles',
    'simpleblog',   # 新增本行
)
3.3.3 APP目录结构
$ tree simpleblog/
simpleblog/
├── __init__.py
├── admin.py
├── migrations
│   └── __init__.py
├── models.py
├── tests.py
└── views.py

1 directory, 6 files
3.4 数据库同步
先将原有的auth, admin等迁移至数据库:
$ python manage.py makemigrations
No changes detected

$ python manage.py migrate
Operations to perform:
  Synchronize unmigrated apps: messages, staticfiles
  Apply all migrations: auth, sessions, admin, contenttypes
Synchronizing apps without migrations:
  Creating tables...
    Running deferred SQL...
  Installing custom SQL...
Running migrations:
  Rendering model states... DONE
  Applying contenttypes.0001_initial... OK
  Applying auth.0001_initial... OK
  Applying admin.0001_initial... OK
  Applying contenttypes.0002_remove_content_type_name... OK
  Applying auth.0002_alter_permission_name_max_length... OK
  Applying auth.0003_alter_user_email_max_length... OK
  Applying auth.0004_alter_user_username_opts... OK
  Applying auth.0005_alter_user_last_login_null... OK
  Applying auth.0006_require_contenttypes_0002... OK
  Applying sessions.0001_initial... OK
登陆数据库查看:
$ mysql -u bloguser -p
Enter password:

mysql> use myblog;

mysql> show tables;
+----------------------------+
| Tables_in_myblog           |
+----------------------------+
| auth_group                 |
| auth_group_permissions     |
| auth_permission            |
| auth_user                  |
| auth_user_groups           |
| auth_user_user_permissions |
| django_admin_log           |
| django_content_type        |
| django_migrations          |
| django_session             |
+----------------------------+
10 rows in set (0.00 sec)
各个表已成功创建。
3.5 管理员站点
新建superuser:
$ python manage.py createsuperuser
Username (leave blank to use 'libing'): admin
Email address: admin@admin.com
Password:
Password (again):
Superuser created successfully.
3.6 启动Django Server
$ python manage.py runserver
Performing system checks...

System check identified no issues (0 silenced).
May 24, 2019 - 14:54:32
Django version 1.8.18, using settings 'myblog.settings'
Starting development server at http://127.0.0.1:8000/
Quit the server with CONTROL-C.
浏览器登录:http://127.0.0.1:8000/,可正常访问。
登陆管理员站点:http://127.0.0.1:8000/admin/,可正常用admin账户登陆。
4. 博客代码编写
4.1 Model定义
myblog/simpleblog/models.py:
from django.db import models

class Article(models.Model):
    title = models.CharField('标题', max_length=200)
    content = models.TextField('内容', default='blog content')
    pub_date = models.DateTimeField('发表时间', auto_now=True)

    def __str__(self):
        return self.title
4.2 数据同步
再次执行makemigrations和migrate,以同步更新的Model:
$ python manage.py makemigrations
Migrations for 'simpleblog':
  0001_initial.py:
    - Create model Article

$ python manage.py migrate
Operations to perform:
  Synchronize unmigrated apps: messages, staticfiles
  Apply all migrations: contenttypes, simpleblog, sessions, admin, auth
Synchronizing apps without migrations:
  Creating tables...
    Running deferred SQL...
  Installing custom SQL...
Running migrations:
  Rendering model states... DONE
  Applying simpleblog.0001_initial... OK
同步成功。
4.3 Model注册至admin
可将Model注册至admin页面:
myblog/simpleblog/admin.py:
from django.contrib import admin
from .models import Article

admin.site.register(Article)
启动server(python manage.py runserver)便可在admin界面看到该Model,并可在admin界面新增或编辑Article。
4.4 admin界面新增记录
在admin界面新增一个Article,如:
title:My first blog
content:This is my first blog

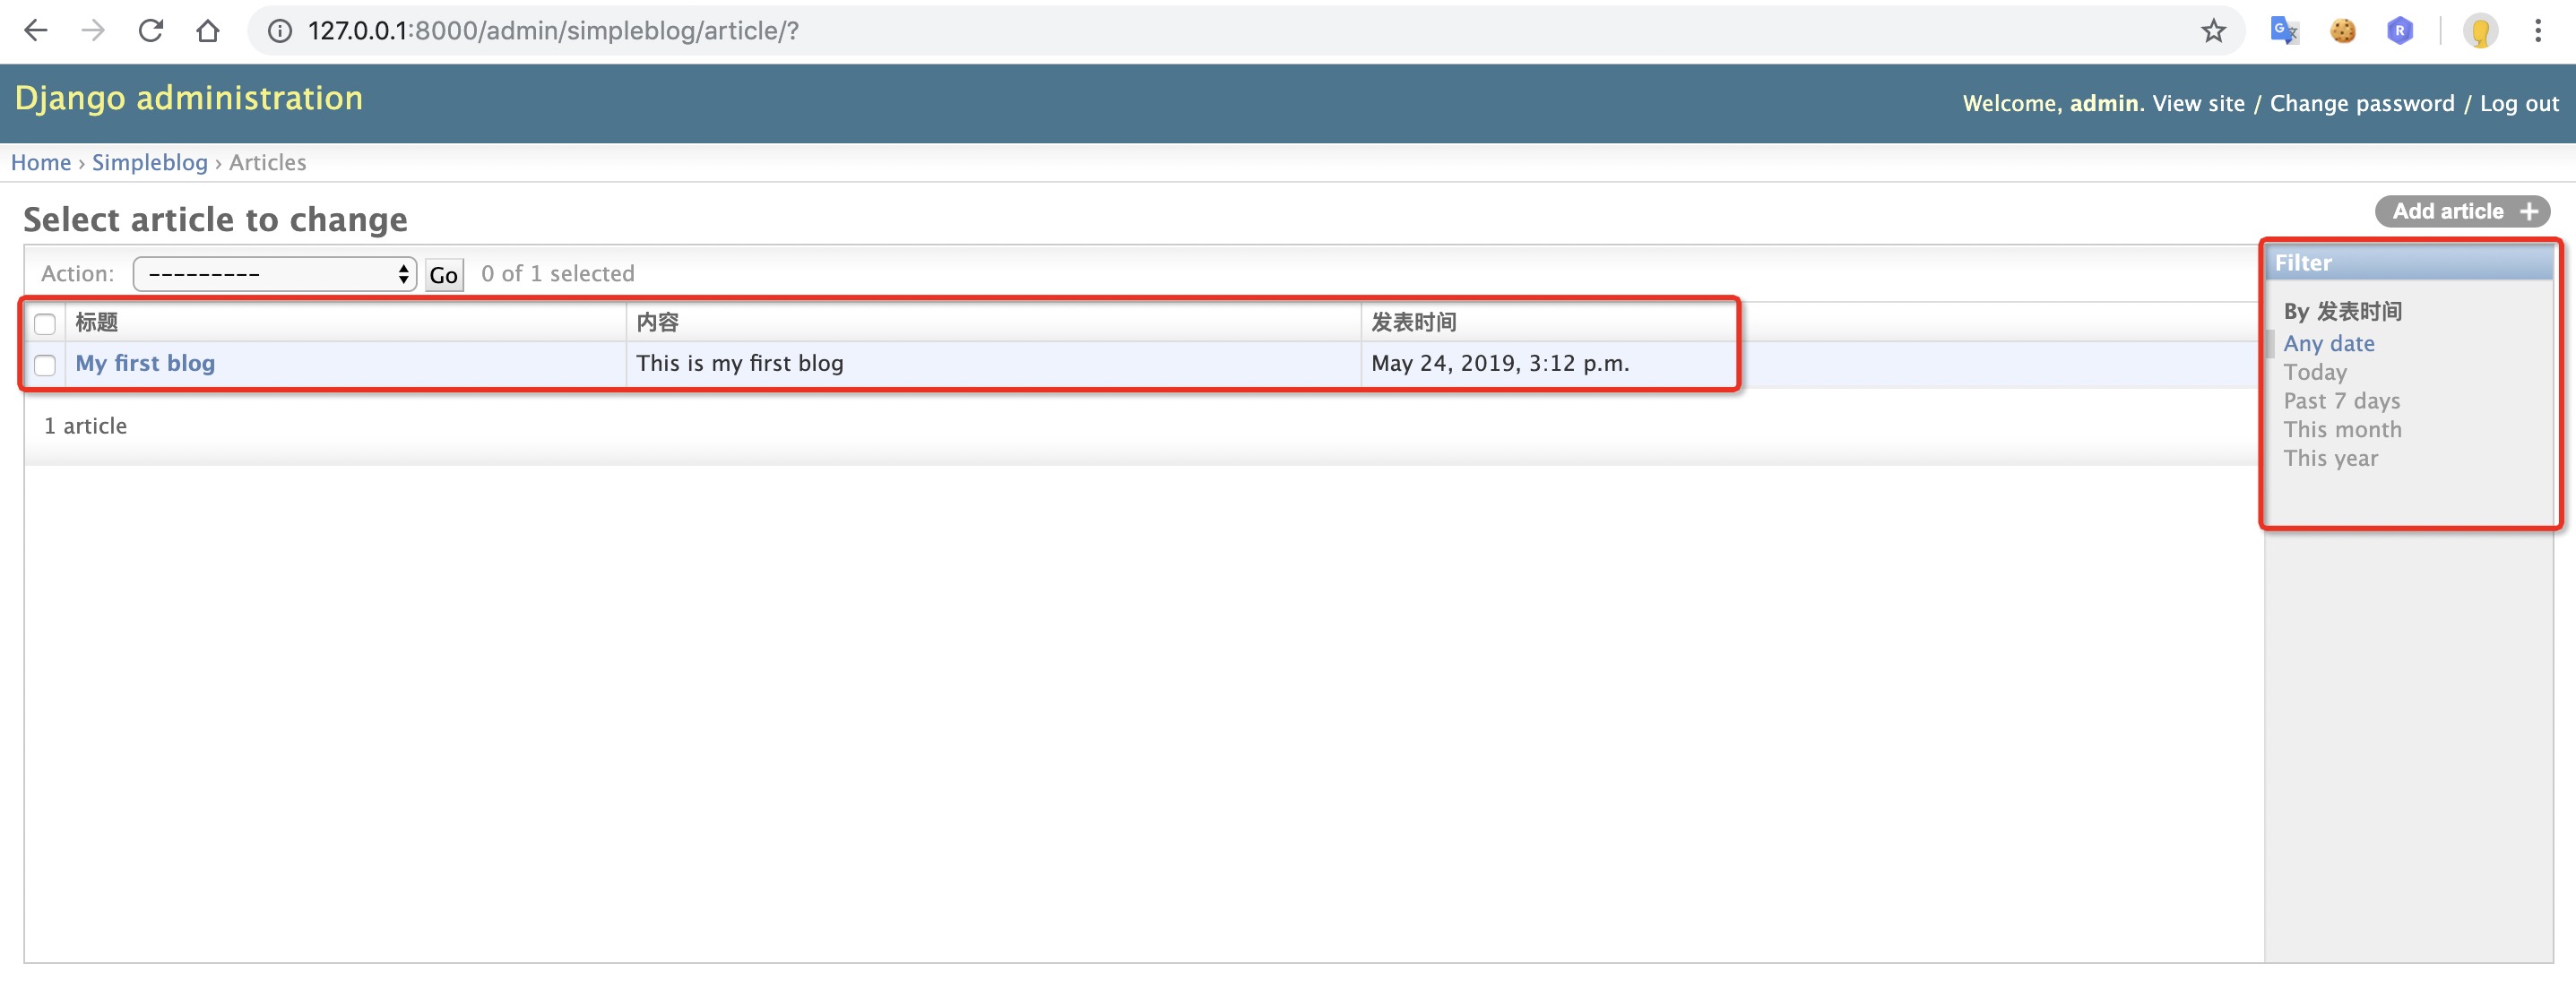
4.5 修改Model在admin界面的显示方式
myblog/simpleblog/admin.py:
from django.contrib import admin
from .models import Article

class ArticleAdmin(admin.ModelAdmin):
    # 显示列
    list_display = ('title', 'content', 'pub_date')
    # 过滤项
    list_filter = ('pub_date',)

admin.site.register(Article, ArticleAdmin)
修改完成后,在admin界面可以看到list_display中指定的列,并可通过list_filter过滤:
4.6 博客主页面开发
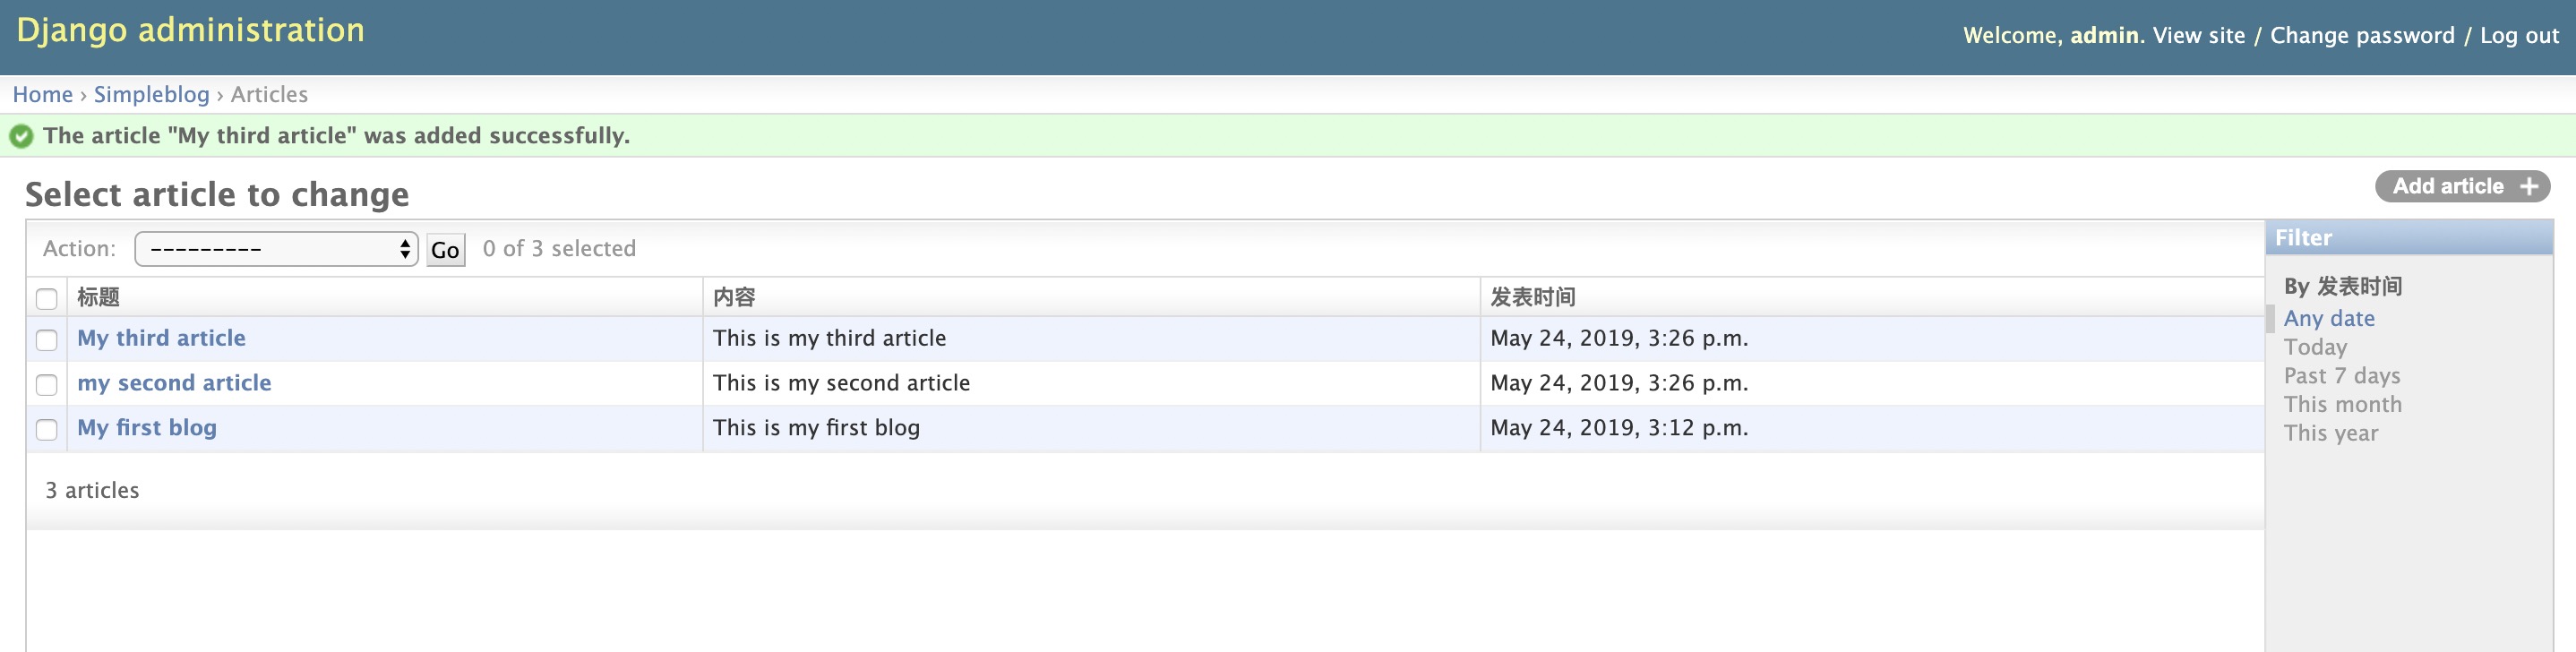
首先,在admin界面手动新增几条Article记录。
4.6.1 Template定义
myblog/simpleblog/templates/simpleblog/index.html:
<!DOCTYPE html>
<html lang="en">
<head>
    <meta charset="UTF-8">
    <title>岳周's Blog</title>
</head>
<body>
<h1>
    {% for article in articles %}
        <a href="">{{ article.title }}</a>
        <br/>
    {% endfor %}
</h1>
<br/><br/>
<h3>
    <a href="">发表文章</a>
</h3>
</body>
</html>
注:由于还未定义每篇文章的链接,href先为空
4.6.2 view定义
myblog/simpleblog/views.py
from django.shortcuts import render
from .models import Article

def blog_index(request):
    # 获取所有Article
    articles = Article.objects.all()

    # render(request, template_name, context)
    # 注意:
    # context是字典dict
    # dict中key为字符串
    return render(request, template_name='simpleblog/index.html', context={"articles": articles})
4.6.3 App urls定义
myblog/simpleblog/urls.py
from django.conf.urls import url
from . import views

urlpatterns = [
    # url(regex, view, name)
    url(r'^$', views.blog_index, name="blog_index")
]
4.6.4 Project urls定义
myblog/myblog/urls.py
from django.conf.urls import include, url
from django.contrib import admin

urlpatterns = [
    # 注意单引号,并指定namespace
    url(r'^blog/', include('simpleblog.urls', namespace="simpleblog")),
    url(r'^admin/', include(admin.site.urls)),
]
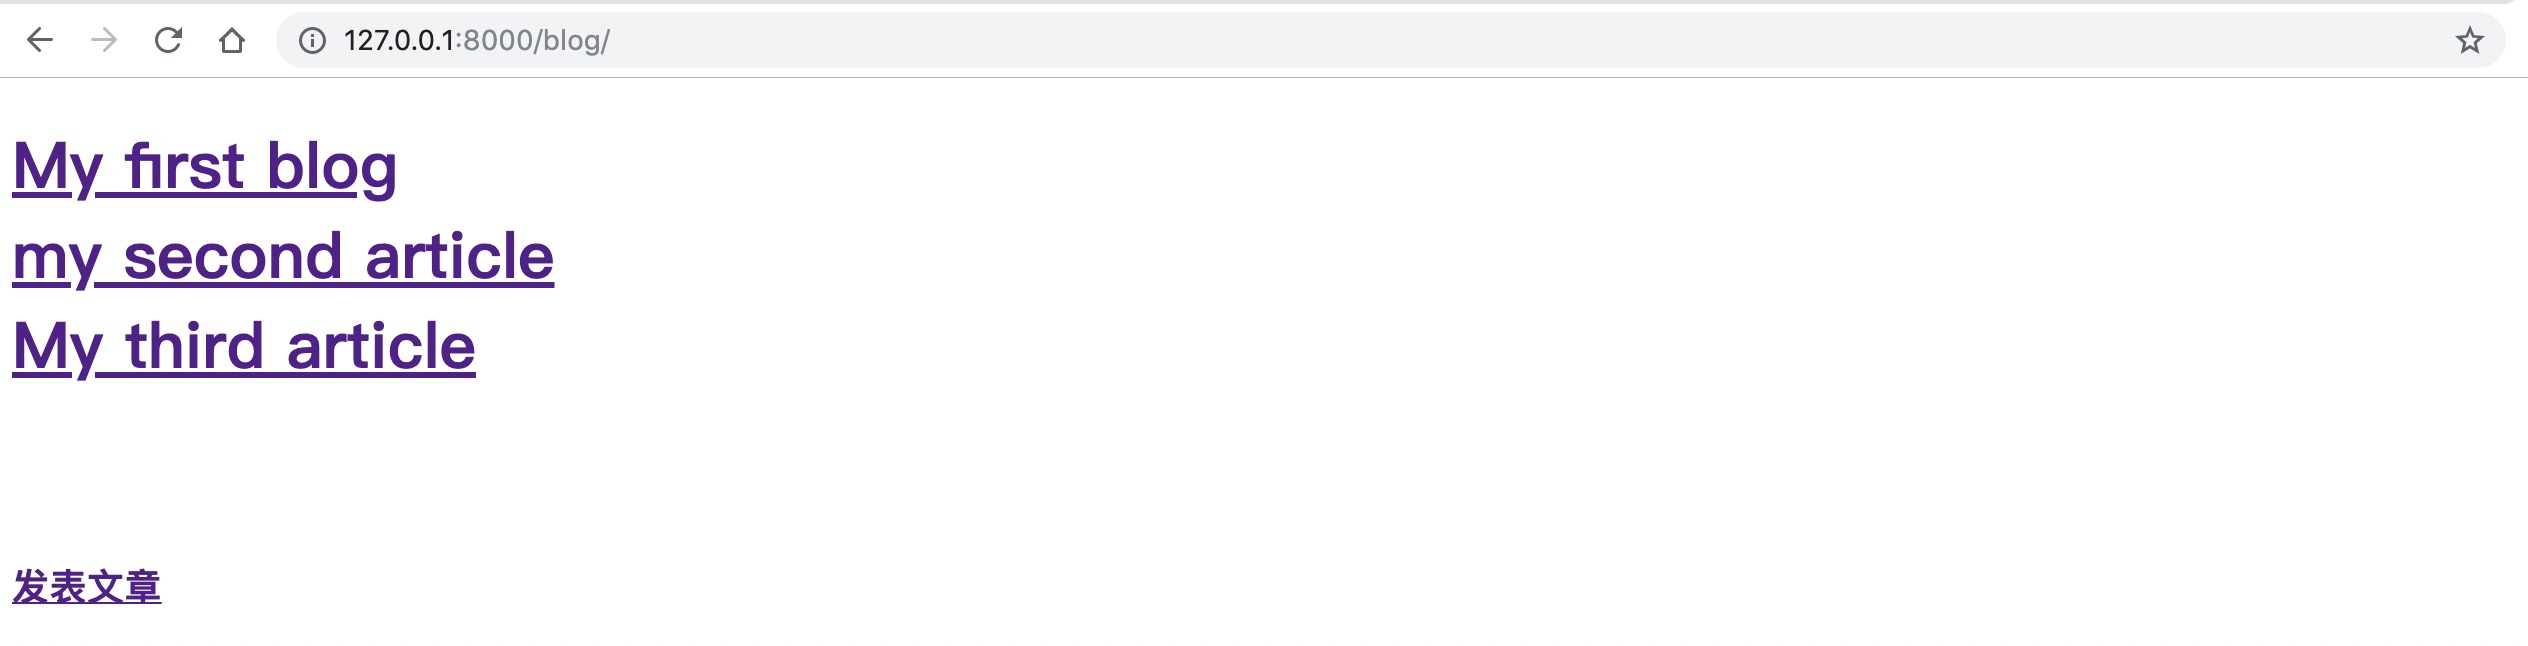
启动server,访问:http://127.0.0.1:8000/blog/
index页面可正常显示所有的文章:
4.7 文章页面开发
4.7.1 template定义
myblog/simpleblog/templates/simpleblog/article_page.html
<!DOCTYPE html>
<html lang="en">
<head>
    <meta charset="UTF-8">
    <title>{{ article.title }}</title>
</head>
<body>
    <h1>
        {{ article.title }}
    </h1>
<br/>
<h2>
    {{ article.content }}
</h2>
<br/><br/>
<h4>
    <a href="">编辑此文章</a>
</h4>
</body>
</html>
4.7.2 view定义
myblog/simpleblog/views.py 中新增:
# article_id对应urls中的参数
def article_page(request, article_id):
    article = Article.objects.get(id=article_id)
    return render(request, template_name='simpleblog/article_page.html', context={'article': article})
4.7.3 App urls定义
修改myblog/simpleblog/urls.py
urlpatterns = [
    # url(regex, view, name)
    url(r'^$', views.blog_index, name='blog_index'),
    # article/2
    url(r'^article/(?P<article_id>\d+)/$', views.article_page, name='article_page')
]
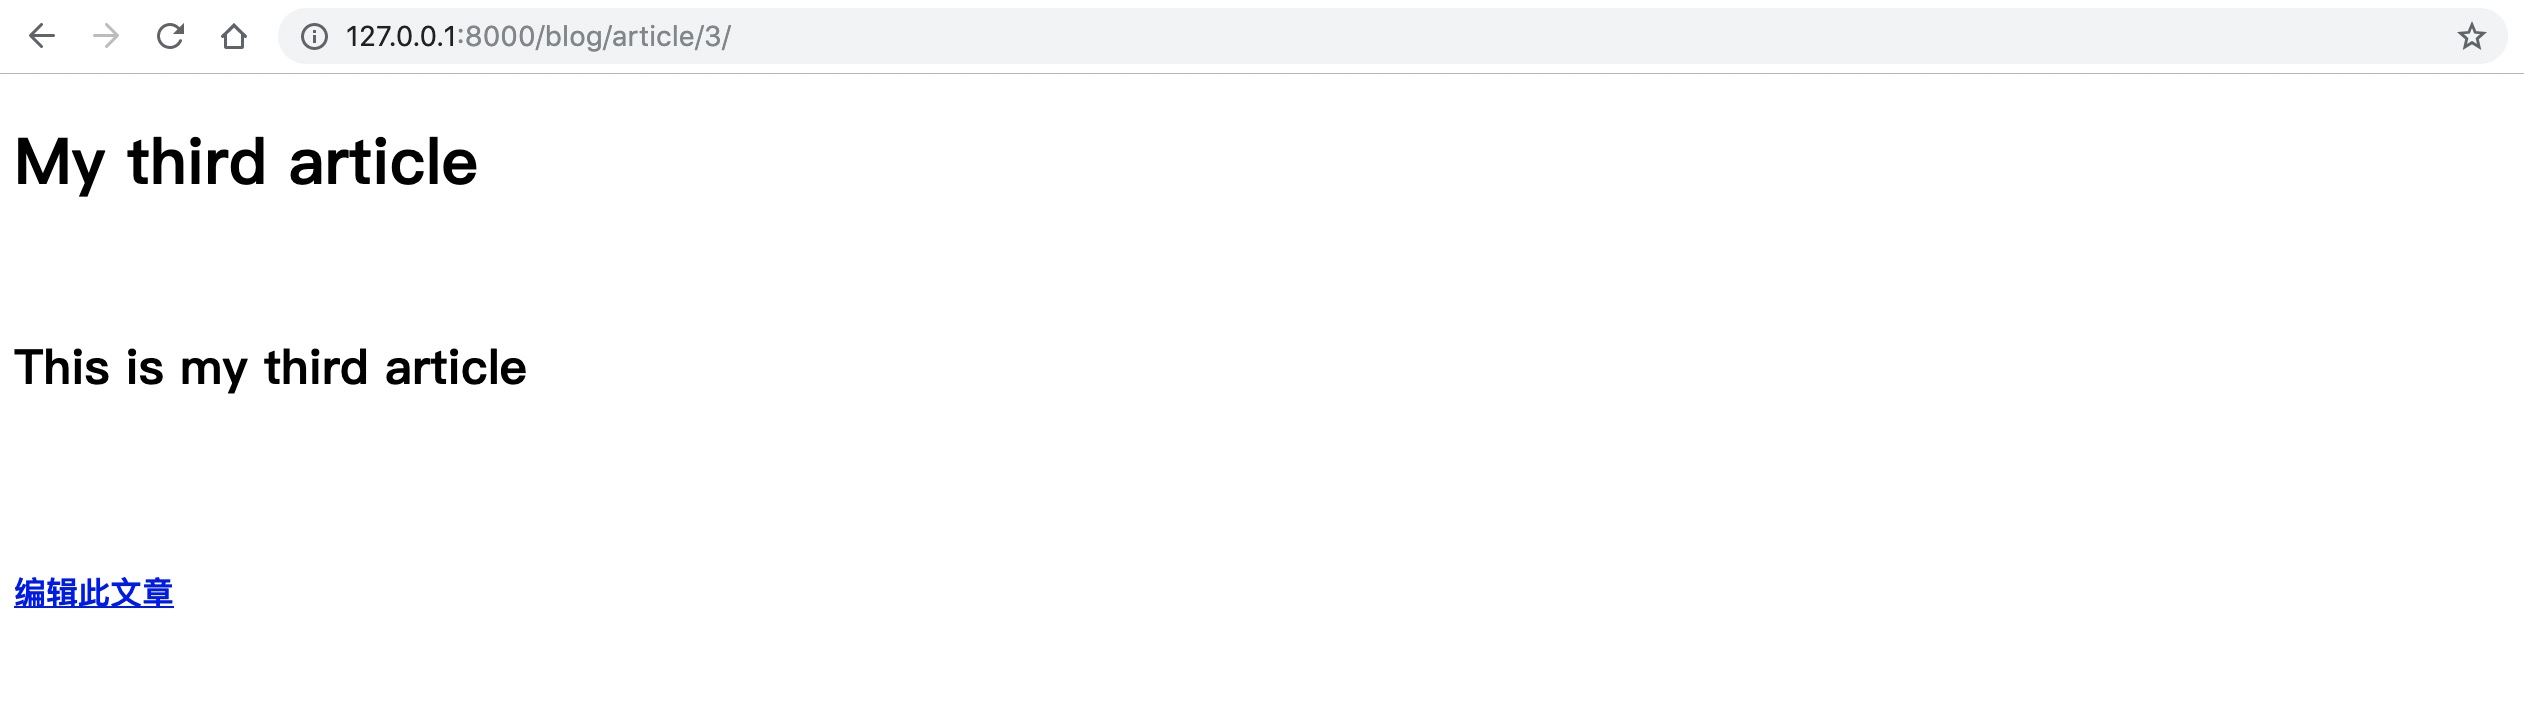
启动server,访问:http://127.0.0.1:8000/blog/article/3/
页面可正常显示文章内容
4.7.4 更新index页面跳转链接
myblog/simpleblog/templates/simpleblog/index.html:
<!DOCTYPE html>
<html lang="en">
<head>
    <meta charset="UTF-8">
    <title>岳周's Blog</title>
</head>
<body>
<h1>
    {% for article in articles %}
        <a href="{% url 'simpleblog:article_page' article.id %}">{{ article.title }}</a>
        <br/>
    {% endfor %}
</h1>
<br/><br/>
<h3>
    <a href="">发表文章</a>
</h3>
</body>
</html>
验证可正常跳转。
4.8 文章编辑页面开发
4.8.1 template定义
myblog/simpleblog/templates/simpleblog/edit_page.html
<!DOCTYPE html>
<html lang="en">
<head>
    <meta charset="UTF-8">
    <title>{{ article.title }}</title>
</head>
<body>
<form action="{% url 'simpleblog:edit_action' %}" method="post">
    <label>
        标题:
        <input type="text" name="title" value="{{ article.title }}"/>
    </label>
    <br/>
    <label>
        内容:
        <input type="text" name="content" value="{{ article.content }}"/>
    </label>
    <br/>
    <input type="submit" name="提交"/>
</form>
</body>
</html>
4.8.2 view定义
myblog/simpleblog/views.py增加:
def edit_page(request, article_id):
    article = Article.objects.get(id=article_id)
    return render(request, template_name='simpleblog/edit_page.html', context={'article': article})


def edit_action(request):
    pass
注:edit_action为下一步编辑提交所使用
4.8.3 App urls定义
修改myblog/simpleblog/urls.py
urlpatterns = [
    # url(regex, view, name)
    url(r'^$', views.blog_index, name='blog_index'),
    # article/2
    url(r'^article/(?P<article_id>\d+)/$', views.article_page, name='article_page'),
    url(r'^article/(?P<article_id>\d+)/edit/$', views.edit_page, name='edit_page'),
    url(r'^article/edit_action/$', views.edit_action, name='edit_action'),
]
注:edit_action后面实现
启动server,访问:http://127.0.0.1:8000/blog/article/2/edit/
页面可正常显示编辑页面:

4.9 编辑提交View实现
按照编辑界面template如下定义:
<form action="{% url 'simpleblog:edit_action' %}" method="post">
提交后将会发送POST请求至edit_action(url为article/edit_action/)。
4.9.1 template
myblog/simpleblog/templates/simpleblog/edit_page.html
<!DOCTYPE html>
<html lang="en">
<head>
    <meta charset="UTF-8">
    <title>{{ article.title }}</title>
</head>
<body>
<form action="{% url 'simpleblog:edit_action' %}" method="post">
    {% csrf_token %}
    <input type="hidden" name="article_id" value="{{ article.id }}"/>
    <label>
        标题:
        <input type="text" name="title" value="{{ article.title }}"/>
    </label>
    <br/>
    <label>
        内容:
        <input type="text" name="content" value="{{ article.content }}"/>
    </label>
    <br/>
    <input type="submit" name="提交"/>
</form>
</body>
</html>
新增两行:
- 跨域访问相关
{% csrf_token %}
- 发送POST请求时,提交当前article_id
<input type="hidden" name="article_id" value="{{ article.id }}"/>
4.9.2 view定义
myblog/simpleblog/views.py
def edit_action(request):
    article_id = request.POST['article_id']
    new_title = request.POST['title']
    new_content = request.POST['content']

    article = Article.objects.get(id=article_id)
    article.title = new_title
    article.content = new_content
    article.save()
    # reverse(namespace:name, url参数列表)
    return HttpResponseRedirect(reverse('simpleblog:article_page', args=(article_id, )))
实现编辑提交view。
编辑提交成功后,重定向到新的文章界面。
4.9.3 修改文章页面template
myblog/simpleblog/templates/simpleblog/article_page.html
<!DOCTYPE html>
<html lang="en">
<head>
    <meta charset="UTF-8">
    <title>{{ article.title }}</title>
</head>
<body>
<h1>
    {{ article.title }}
</h1>
<br/>
<h2>
    {{ article.content }}
</h2>
<br/><br/>
<h4>
    <a href="{% url 'simpleblog:edit_page' article.id %}">编辑此文章</a>
</h4>
</body>
</html>
在文章页面添加编辑文章链接。
4.9.4 测试
- 打开文章页面:http://127.0.0.1:8000/blog/article/2/
- 点击下方的"编辑此文章"链接,可正确跳转到编辑页面:http://127.0.0.1:8000/blog/article/2/edit/
- 编辑title和content后提交,提交成功
- 提交后跳转到该文章的页面,且正确显示修改后的内容。
4.10 发表文章页面
可重复利用"页面编辑"的view和template,定义发表新文章时的article_id为0。
4.10.1 主页面template
myblog/simpleblog/templates/simpleblog/index.html
<!DOCTYPE html>
<html lang="en">
<head>
    <meta charset="UTF-8">
    <title>岳周's Blog</title>
</head>
<body>
<h1>
    {% for article in articles %}
        <a href="">{{ article.title }}</a>
        <br/>
    {% endfor %}
</h1>
<br/><br/>
<h3>
    <a href="{% url 'simpleblog:edit_page' 0 %}">发表博客</a>
</h3>
</body>
</html>
"发表博客"链接跳转到edit_page,其中article_id=0。
因此会跳转到:http://127.0.0.1:8000/blog/article/0/edit/
4.10.2 编辑页面template
myblog/simpleblog/templates/simpleblog/edit_page.html
<!DOCTYPE html>
<html lang="en">
<head>
    <meta charset="UTF-8">
    <title>{{ article.title | default:"发表新文章"}}</title>
</head>
<body>
<form action="{% url 'simpleblog:edit_action' %}" method="post">
    {% csrf_token %}
    <input type="hidden" name="article_id" value="{{ article.id | default:0}}"/>
    <label>
        标题:
        <input type="text" name="title" value="{{ article.title }}"/>
    </label>
    <br/>
    <label>
        内容:
        <input type="text" name="content" value="{{ article.content }}"/>
    </label>
    <br/>
    <input type="submit" name="提交"/>
</form>
</body>
</html>
利用template中的默认值:
若article不存在,则相应HTML标签为空(不会报错);
若article不存在,可以设定默认值,如:{{ article.id | default:0}}。article不存在时,提交的article_id为0,然后交由edit_action处理article_id为0时的逻辑。
4.10.3 编辑页面view定义
myblog/simpleblog/views.py
def edit_page(request, article_id):
    # article_id为0,新建博客, 注意char到int转换
    if int(article_id) == 0:
        return render(request, template_name='simpleblog/edit_page.html')
    else:
        # 编辑已有博客
        article = Article.objects.get(id=article_id)
        return render(request, template_name='simpleblog/edit_page.html', context={'article': article})
传入的article_id为0时,表示新建博客,article不存在时,HTML中相应的标签值为空,因此并不影响显示效果。
4.10.4 提交view定义
myblog/simpleblog/views.py
def edit_action(request):

    article_id = request.POST['article_id']
    new_title = request.POST['title']
    new_content = request.POST['content']
    # article_id为0,新建博客
    if int(article_id) == 0:
        new_article=Article.objects.create(title=new_title, content=new_content)
        return HttpResponseRedirect(reverse('simpleblog:article_page', args=(new_article.id, )))
    else:
        # 编辑已有博客
        article = Article.objects.get(id=article_id)
        article.title = new_title
        article.content = new_content
        article.save()
        # reverse(namespace:name, url参数列表)
        return HttpResponseRedirect(reverse('simpleblog:article_page', args=(article_id, )))
若article_id为0,则需要新建Article对象;
若article_id不为0,则需要update相应ID的Article对象。
4.10.5 测试
新建博客->提交保存->新博客正常显示
-------------------------------END--------------------------------------------


 474
474

 被折叠的 条评论
为什么被折叠?
被折叠的 条评论
为什么被折叠?
 到【灌水乐园】发言


